manuals.online logo
Brands
  1. Home
  2. •
  3. Brands
  4. •
  5. Quoizel
  6. •
  7. Lantern
  8. •
  9. Quoizel COR8410K Mounting instructions

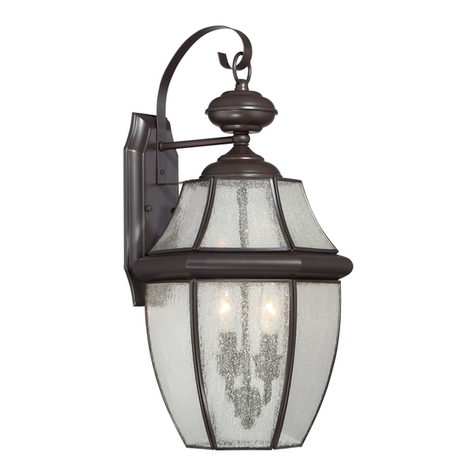
Quoizel COR8410K Mounting instructions

1of2
Assembly Instruction Sheet #IS-COR8410K_R1
For Style COR8410K
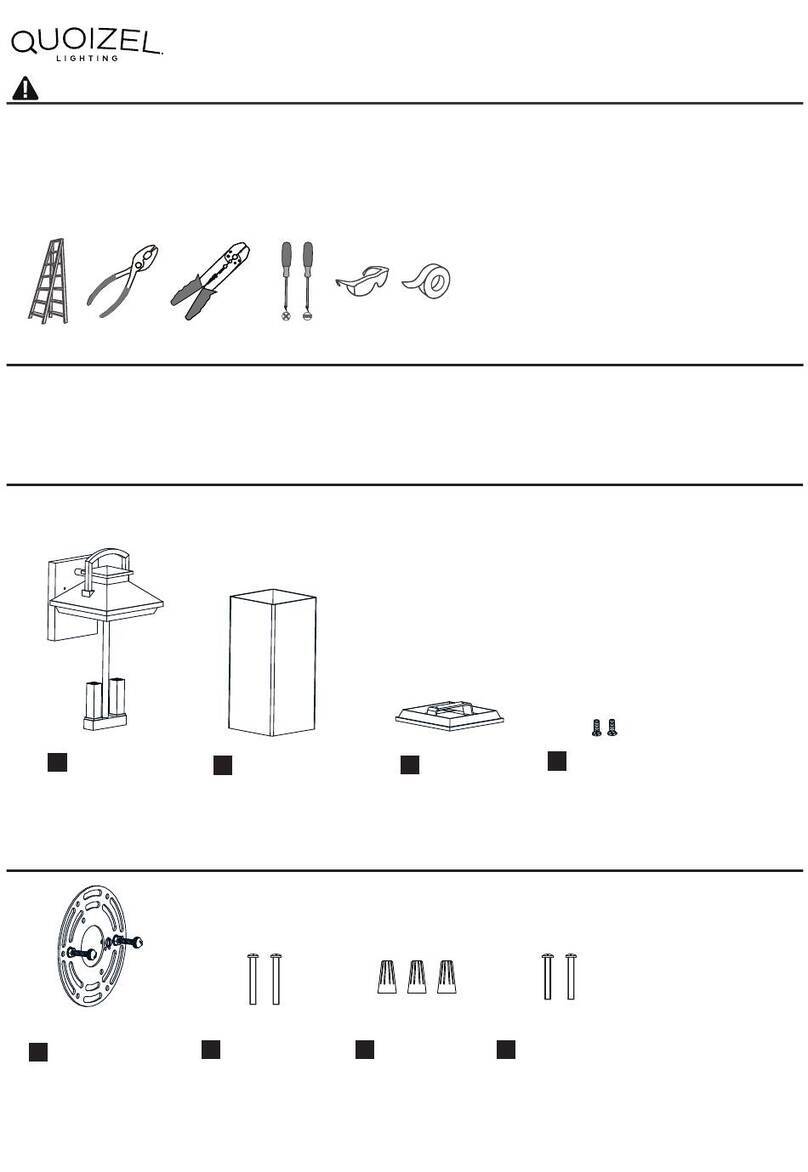
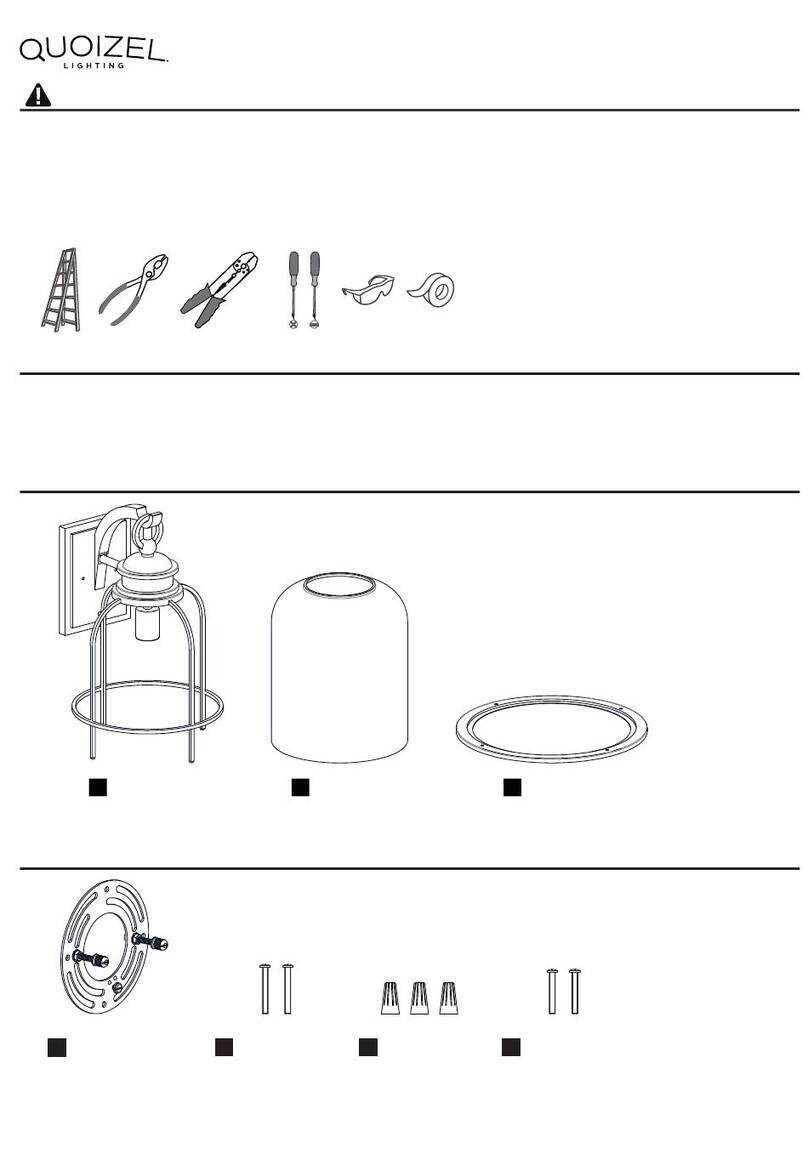
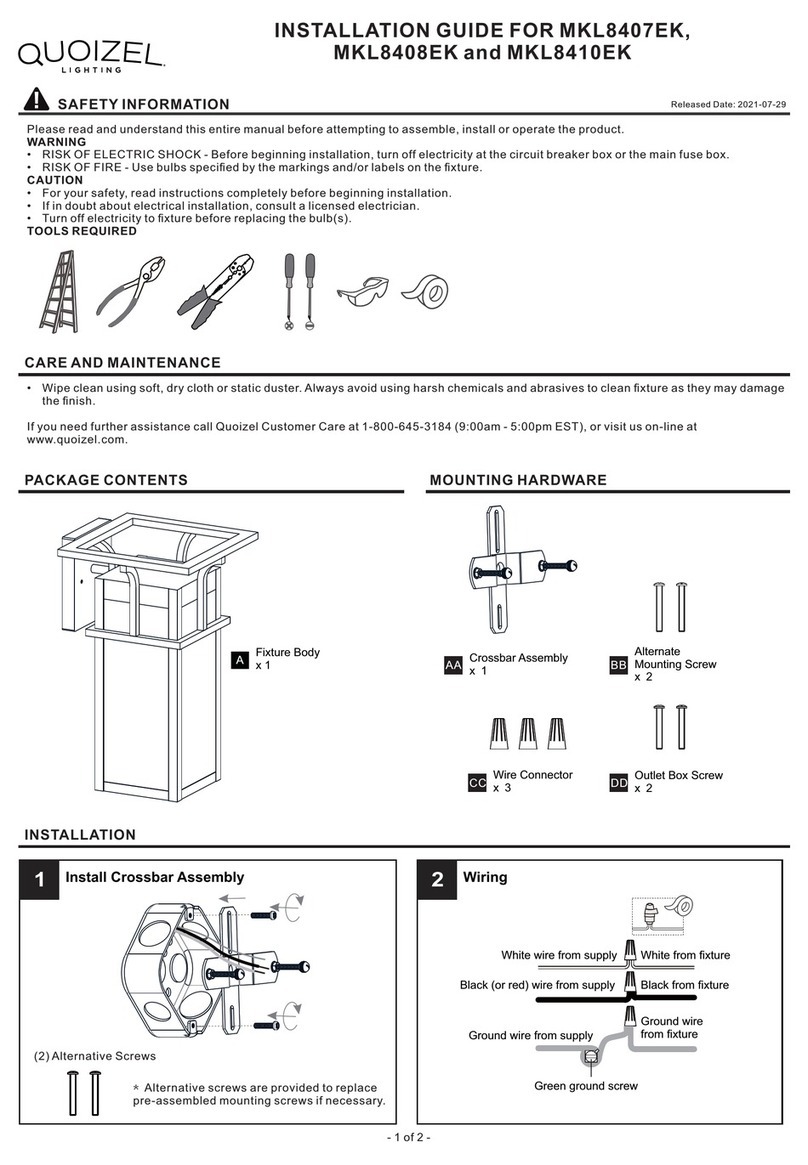
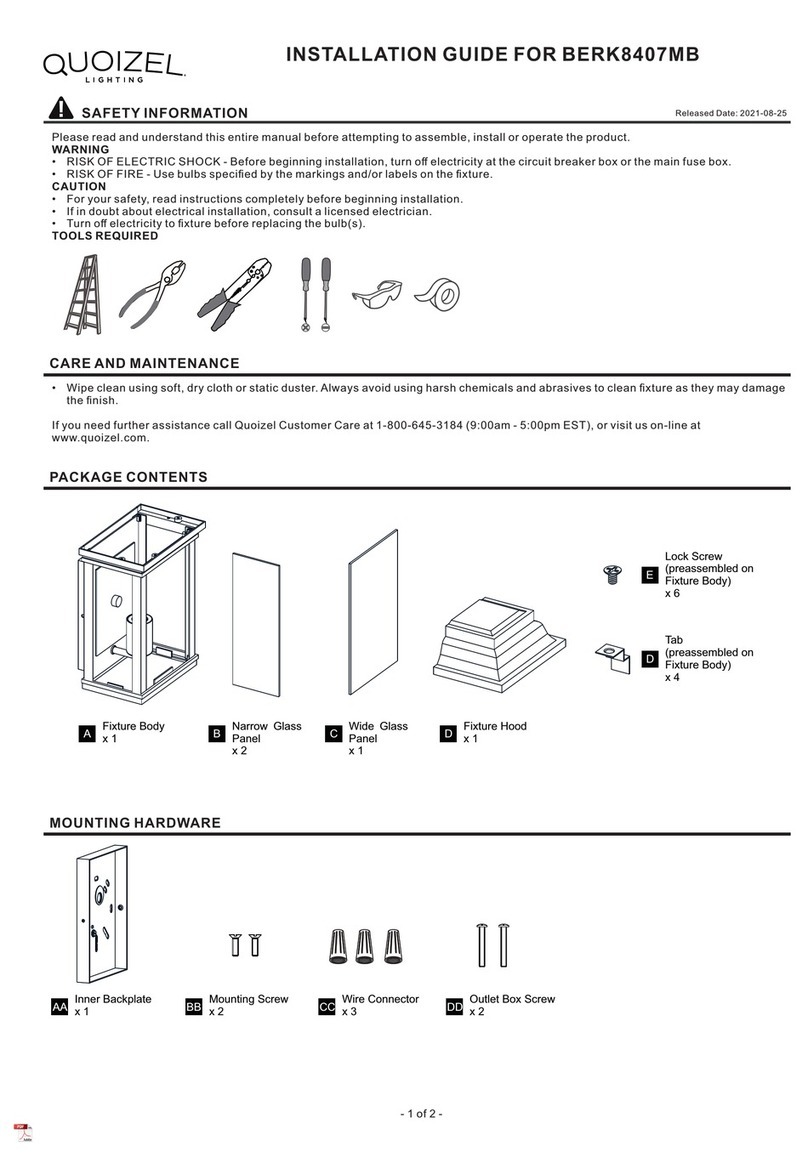
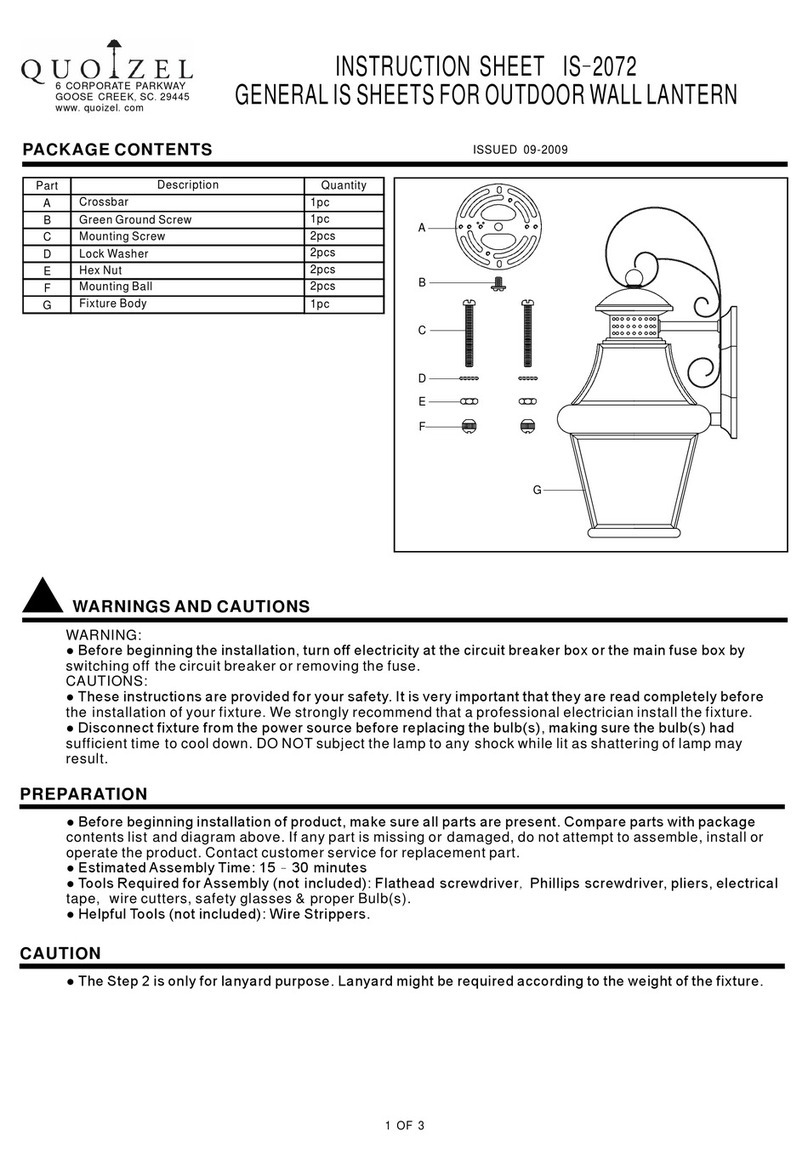
Package Contents
Pleasegoto forproductcleaningtips.Gotothe selection.
(1)MediumBaseBulb100WMaximum
www.quoizel.com Care+Maintenance
Fixturecanonlybemountedinthedirectionindicatedonpage2.
ToolsRequired:Flatheadscrewdriver, Phillips screwdriver,pliers,wirecutters,wirestrippers,electricaltape,safetyglasses.
LightSource:
EstimatedAssemblyTime:
Preparation:
20-30minutes
Identifyandinspectallpartsbeforebeginninginstallation.Checkpackagecontentlistanddiagramsbelowtobesureallpartsare
present.Ifanypartsaremissingordamaged,donotattempttoassemble,install,oroperatethefixture.Contactcustomerserviceforreplacement
parts.
Warnings and Cautions
Turn off electricity at circuit breaker or main fuse box before installation. Consult a licensed electrician if in doubt.
These instructions are provided for your safety. It is very important you read them completely before installing the fixture. We strongly
recommend that a licensed, professional electrician perform the installation.
Disconnect fixture from power source before replacing bulbs. Make sure bulbs are given sufficient time to cool before removal.
ACrossbar
x1
Nipple
x1
B
Lock Washer
x1
Hex Nut
x1
C
D
Mounting Ball
x1
E
FFixture Body
x1
STEP 1 Remove Cage with Glass-
A. By using screwdrivers, remove the screw and hex nut from tabs.
B. Unscrew lock screws and remove the cage with glass from the
Fixture Body (F).
Screw
Hex Nut
Cage with Glass
Lock
Screw
F
F
Figure 1
Tab
STEP 2 Install Bulb and Cage with Glass-
A. Install the bulb onto the socket and screw snugly into place.
B. Place the tab on the cage onto the tab on the backplate and align
mounting holes on the cage to holes on the fixture hood. Secure
them together with lock screws. Hand tighten until snug.
C. Place the screw back onto tabs and secure with the hex nut. Hand
tighten the screw until snug with screwdrivers.
STEP 3 Install Crossbar and Nipple-
A. Secure the Crossbar (A) to the outlet box with outlet box screws (not
supplied). Tighten until snug.
Figure 3
F
Lock Screw
Bulb (not
supplied)
Cage with
Glass
Socket
Hex Nut
Tab
Tab
Screw
Figure 2
Mounting Hole
Hole
Backplate
Fixture Hood
2017 QuoizelInc. RevisedDate:2017-11-23
Thank you for purchasing a Quoizel product.
Need assistance with parts or assembly? Call Quoizel customer service at 1-800-645-3184
or visit us on-line at www.quoizel.com
Outlet Box
Outlet Box Screw
(not included)
Green Ground
Screw A
2of2
2017 QuoizelInc. RevisedDate:2017-11-23
Thank you for purchasing a Quoizel product.
Need assistance with parts or assembly? Call Quoizel customer service at 1-800-645-3184
or visit us on-line at www.quoizel.com
STEP 4 Test Fit the Backplate to the Crossbar-
A. Thread the Hex Nut (D) to the middle of the Nipple (B). Place the
Lock Washer (C) over the Nipple (B) and then thread the Nipple (B)
into the Crossbar (A) until the Nipple (B) is about 0.375” above the
Crossbar (A).
B. Place the backplate and Fixture Body (F) over the Nipple (B) against
the wall to determine the correct position of the Nipple (B). Thread
A
B
C
D
E
F
Figure 4
STEP 5 - Wire Connections
A. Wrap bare or green ground wire around green ground screw on the
crossbar, no less than 2 inches from the end of the wire. Tighten the
green ground screw.
B. Use standard wire connectors (not included) to make all wire
connections. Twist connectors until wires are tightly joined together.
Wrap each connection with approved electrical tape and carefully
stuff all the connected wires into the Outlet Box.
Green Ground Screw
on the Crossbar
White wire
from outlet box White wire
from fixture
Black wire from
outlet box (or Red)
Black wire
from fixture
Bare, or Green
Ground wire
from outlet box
Ground wire
from Fixture
Figure 5
the Mounting Ball (E) onto the Nipple
(B). Adjust the Nipple (B) to allow the
backplate to rest against the wall
when held in place by the Mounting
Ball (E).
C. Remove the Mounting Ball (E) and the
Fixture Body (F). Tighten the Hex Nut
(D) against the Crossbar (A) to secure
in place.
STEP 6 - Install Fixture Body
A. Place the backplate and Fixture
Body (F) over the Nipple (B) and
secure with the Mounting Ball (E).
Hand tighten until snug.
B
E
F
Figure 6
STEP 7 -Apply Silicone Sealer
A. Make sure the exterior wall surface and fixture backplate are free of
dirt before applying caulk. Using exterior grade caulk, caulk over
top of backplate and down both sides. Do not caulk the bottom of the
fixture backplate to ensure proper moisture drainage.
Your fixture is now assembled and ready to use. Enjoy!
Figure 7
Exterior
Grade Caulk
Backplate
Exterior
Grade Caulk
Backplate
Backplate
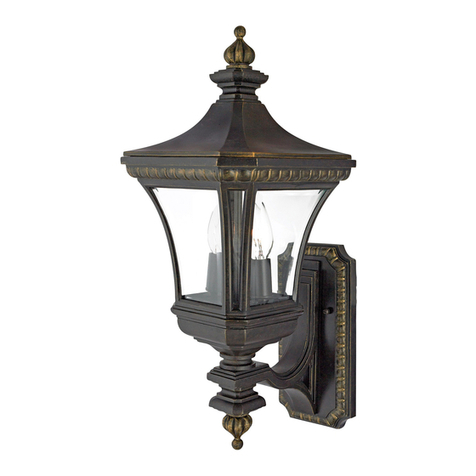
COR8410K
FINISH: MYSTIC BLACK
NOTE: ALL DIMENSIONS ARE ROUNDED UP
TO THE NEAREST 1/4"
7” Dia.
21”
8” Dia.
10” Dia.
6”
14”
11.5”
Fixture can
only be
mounted in
the direction
indicated

Other Quoizel Lantern manuals

Quoizel RAD8407MBK User manual

Quoizel

Quoizel RAD8407MBK User manual

Quoizel NY8411K Mounting instructions

Quoizel

Quoizel NY8411K Mounting instructions

Quoizel TML8408K Mounting instructions

Quoizel

Quoizel TML8408K Mounting instructions

Quoizel Buckley BUK9007MBK User manual

Quoizel

Quoizel Buckley BUK9007MBK User manual

Quoizel BERK8407MB User manual

Quoizel

Quoizel BERK8407MB User manual

Quoizel DE8959IB Mounting instructions

Quoizel

Quoizel DE8959IB Mounting instructions

Quoizel PCCA2831EK User manual

Quoizel

Quoizel PCCA2831EK User manual

Quoizel IS 2072 User manual

Quoizel

Quoizel IS 2072 User manual

Quoizel MKL8407EK User manual

Quoizel

Quoizel MKL8407EK User manual

Quoizel CYP8409WT Mounting instructions

Quoizel

Quoizel CYP8409WT Mounting instructions

Quoizel BOU8407MBK User manual

Quoizel

Quoizel BOU8407MBK User manual

Quoizel ASH31877A0 User manual

Quoizel

Quoizel ASH31877A0 User manual

Quoizel ELB9009MB User manual

Quoizel

Quoizel ELB9009MB User manual

Quoizel LWS33644B User manual

Quoizel

Quoizel LWS33644B User manual

Quoizel HND8206EK User manual

Quoizel

Quoizel HND8206EK User manual

Quoizel LWS33644C User manual

Quoizel

Quoizel LWS33644C User manual

Quoizel Paxton PAX8305MBK User manual

Quoizel

Quoizel Paxton PAX8305MBK User manual

Quoizel Bain BAN9011K Mounting instructions

Quoizel

Quoizel Bain BAN9011K Mounting instructions

Quoizel HGN8406WT User manual

Quoizel

Quoizel HGN8406WT User manual

Quoizel BWE8406EK User manual

Quoizel

Quoizel BWE8406EK User manual

Popular Lantern manuals by other brands

IKEA STRALA 70491542 manual

IKEA

IKEA STRALA 70491542 manual

Coleman 4D CPX 6 LED DOUBLE EDGE user guide

Coleman

Coleman 4D CPX 6 LED DOUBLE EDGE user guide

Royal Sovereign RSB-1330E owner's manual

Royal Sovereign

Royal Sovereign RSB-1330E owner's manual

BEGA 33 288 Instructions for use

BEGA

BEGA 33 288 Instructions for use

IKEA MORKRADD M1611 manual

IKEA

IKEA MORKRADD M1611 manual

Coleman BG 600L Instructions for use

Coleman

Coleman BG 600L Instructions for use

LUG MEDICA 2.0 LED OPAL HE Installation instruction

LUG

LUG MEDICA 2.0 LED OPAL HE Installation instruction

Signature Hardware FOXFIELD EL5104BLK Installation

Signature Hardware

Signature Hardware FOXFIELD EL5104BLK Installation

MOOD SOL-CIL455B instruction manual

MOOD

MOOD SOL-CIL455B instruction manual

Sealite iridium SL-510-SA Installation & service manual

Sealite

Sealite iridium SL-510-SA Installation & service manual

LED's light LED Bull eyes Installation and operating manual

LED's light

LED's light LED Bull eyes Installation and operating manual

ALS PINLED PINR quick start guide

ALS

ALS PINLED PINR quick start guide

Duronic Hurricane 4 in 1 Lantern manual

Duronic

Duronic Hurricane 4 in 1 Lantern manual

delviro energy ZIP LIGHT installation manual

delviro energy

delviro energy ZIP LIGHT installation manual

CEAG 55011 operating instructions

CEAG

CEAG 55011 operating instructions

Coleman 9742A Series Instructions for use

Coleman

Coleman 9742A Series Instructions for use

Visual Comfort Stratford CHO 2456 Assembly instructions

Visual Comfort

Visual Comfort Stratford CHO 2456 Assembly instructions

olympia electronics GRL-38/90/M manual

olympia electronics

olympia electronics GRL-38/90/M manual

manuals.online logo
manuals.online logoBrands
  • About & Mission
  • Contact us
  • Privacy Policy
  • Terms and Conditions

Copyright 2025 Manuals.Online. All Rights Reserved.