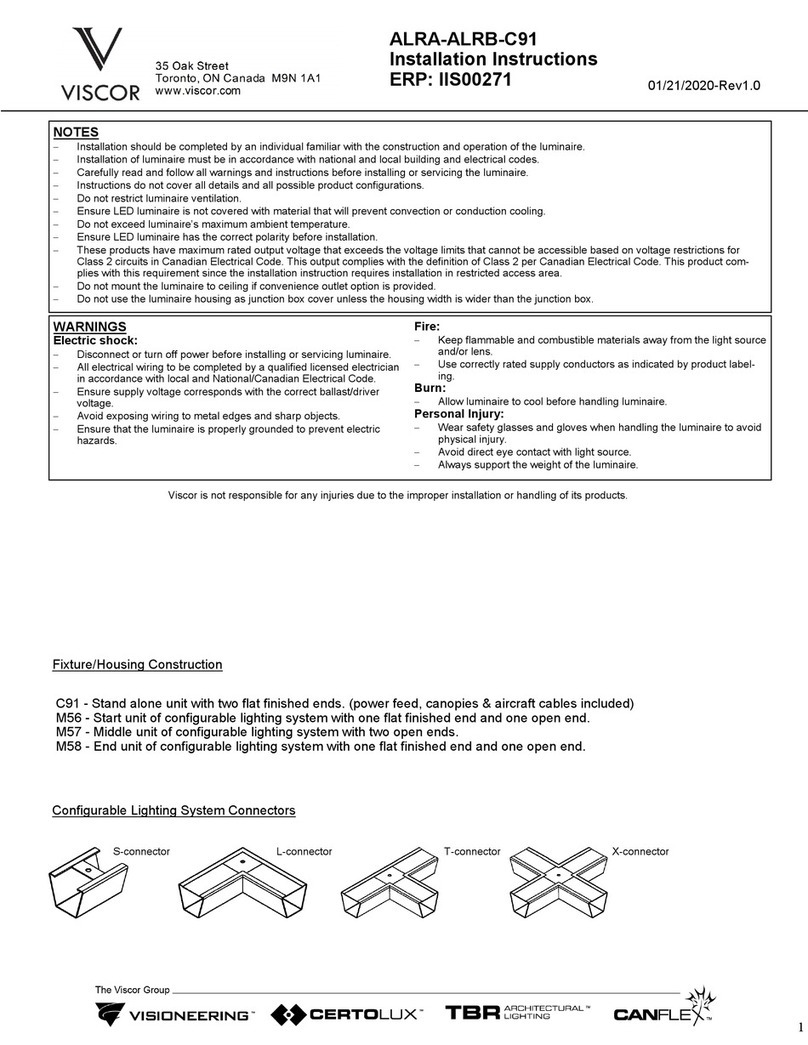
Elgo LINESMART OLN 402 User guide

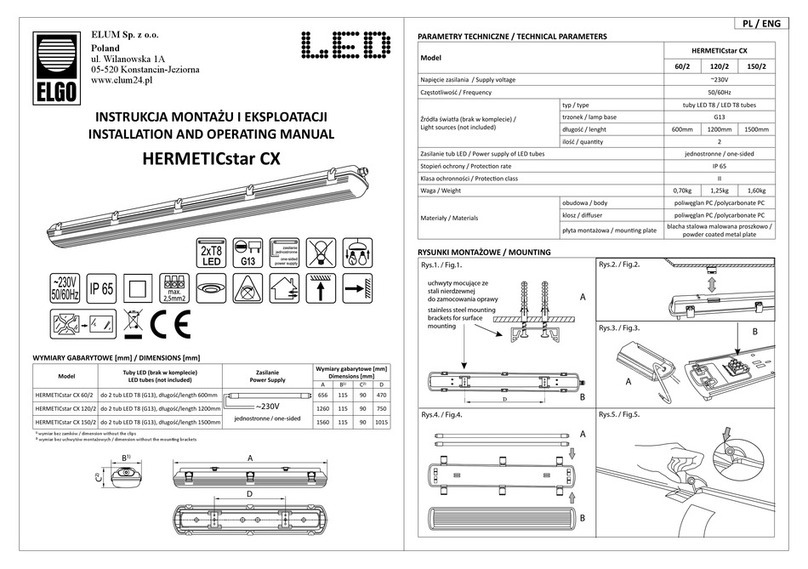
PARAMETRY TECHNICZNE / LUMINAIRES SPECIFICATIONS
Instrukcja monta¿u i eksploatacji
ELGO Lighting Industries S.A.
ul. Kutnowska 98
09-500 Gostynin
Poland
www.elgo.pl
IME-175
WYMIARY GABARYTOWE / DIMENSIONS
Installation and operating instruction
BUDOWA / DESIGN
LINESMART OLN 402
6000K
6500K
2700K
3200K
4200K
4700K
~230V
40W
This symbol stands for selective collecting of the electrical and electronic equipment, therefore, this product cannot be treated
as other household’s waste. It has to be left at a special used-equipment collection point. The appropriate dealing with the
collection of used electrical and electronic equipment is crucial, especially if the equipment includes dangerous components which
have a negative influence on the environment and on the health of people.
Symbol oznacza selektywne zbieranie sprzêtu elektrycznego i elektronicznego, czyli tego produktu nie wolno traktowaæ jak innych
odpadów domowych. Nale¿y oddaæ go do w³aœciwego punktu zbieraj¹cego zu¿yty sprzêt elektryczny i elektroniczny. W³aœciwa
realizacja zadañ zwi¹zanych ze zbieraniem zu¿ytego sprzêtu elektrycznego i elektronicznego ma znaczenie szczególnie w przypadku,
gdy w tym sprzêcie wystêpuj¹ sk³adniki niebezpieczne, które maj¹ szczególnie negatywny wp³yw na œrodowisko i zdrowie ludzi.
Napiêcie zasilania
Czêstotliwoœæ
PL GB
Wspó³czynnik mocy cos ö
Moc pobierana
ród³a œwiat³a - diody LED
Temperatura barwowa
Trwa³oœæ diod LED *
Stopieñ ochrony
Klasa ochronnoœci
WskaŸnik oddawania barw (CRI)
Temperatura pracy
402B 402C
~230V
50Hz
3 0,85
40W
896 szt. / pcs
2 700 ÷ 6 500K
~ 50 000 godzin / hours
IP 20
I
+5°C ÷ +25°C
Supply voltage
Frequency
Power factor cos ö
Power input
Light source - LEDs
Colour temperature
LED lifetime *
IP rating
Protection class
Colour rendering index (CRI)
Operating temperature
* parametr podawany w oparciu o dane producenta diod / based on LED manufacturer’s data
80
Materia³y obudowa
klosz Materials housing
shade
aluminium
PMMA mleczny/opal
PMMA pryzmat./prismatic
242,5
48
40
322,5
1155
590
452,5
klosz mleczny (opalizuj¹cy)
lub pryzmatyczny (ryflowany)
- p³yta PMMA
korpus z profili aluminiowych,
malowany proszkowo, bia³y
z³¹czka
os³ona górna z blachy stalowej
zasilacz elektroniczny
wkladka z³¹czki zasilaj¹cej
uchwyt do monta¿u na suficie
upper casing made of steel plate
bracket for on ceiling
mounting
connector pad
body made of aluminium profiles,
powder painted, white
connector
electronic power
supply unit
PMMA opal or prismatic diffuser
p³ytka z diodami LED
plate with LEDs
Strumieñ œwietlny oprawy
3 260 lm
3 260 lm
3 400 lm
Luminous flux of luminaire CB
NB
DB
3 950 lm
3 950 lm
4 100 lm
CB
NB
DB

RÓD£A ŒWIAT£A LED
PL
PRZEZNACZENIE
Installation and operating instruction
GB
Instrukcja monta¿u i eksploatacji
INSTALLATION METHOD
APPLICATION
SPOSÓB MONTA¯U
LED LIGHT SOURCES
Dokonywanie jakichkolwiek czynnoœci wewn¹trz oprawy przy w³¹czonym zasilaniu grozi pora¿eniem pr¹dem elektrycznym!
Nie ponosimy odpowiedzialnoœci za szkody powsta³e wskutek nieprawid³owego monta¿u. Zastrzegamy sobie prawo do zmian
w konstrukcji produktu.
opraw nasufitowych LINESMART OLN 402 ze Ÿród³ami œwiat³a LED
Oprawy wnêtrzowe LINESMART OLN przeznaczone do oœwietlania sal komputerowych, konferencyjnych,
wyk³adowych, biur, urzêdów i innych pomieszczeñ u¿ytecznoœci publicznej, jak równie¿ mo¿e pe³niæ rolê oœwietlenia
dekoracyjnego. Przystosowana do mocowania na suficie. Zasilacz elektroniczny w komplecie z opraw¹.
Oprawy LINESMART OLN wyposa¿one zosta³y w nowoczesne i energooszczêdne diody œwiec¹ce LED (light
emitting diodes) - 896 diod typu SMD. Barwa œwiat³a: ciep³a bia³a, neutralna bia³a lub dzienna bia³a.
UWAGA! Przed przyst¹pieniem do monta¿u nale¿y upewniæ siê, czy wy³¹czone zosta³o zasilanie! Przewody
elektryczne musz¹ byæ pod³¹czone zgodnie z instrukcj¹ oraz obowi¹zuj¹cymi przepisami. Zaleca siê, aby
monta¿ oprawy wykona³ wykwalifikowany elektryk.
Oprawy LINESMART OLN 402 przystosowane s¹ do zamocowania na suficie, na pod³o¿u o normalnej palnoœci.
Elementy
potrzebne do monta¿u
oprawy LINESMART OLN
- oprawa LINESMART OLN
- instrukcja monta¿u
- o³ówek
- wiertarka
- klucz p³aski S10
LINESMART OLN - the interior ceiling luminaire designed for illumination of computer rooms, meeting rooms,
lecture halls, offices and other public utility buildings can also be used as decorative lighting. Luminaires are designed
for on ceiling mounting on normally flammable substrate. A power supply unit included in the set with the luminaire.
LINESMART OLN ceiling luminaires are equipped with revolutionary light sources being the most technologically
advanced light emitting LEDs - 896 LEDs of SMD type. Light colour: warm white, neutral white or daylight.
CAUTION! Make sure that power is off before installation! Electrical cables must be connected according to the
instructions and regulations in force. It is recommended that the installation is carried out by a qualified
electrician.
LINESMART OLN 402 luminaires are designed for on ceiling mounting on normally flammable substrate.
- LINESMART OLN luminaires
- an installation instruction
- a pencil
- a drilling machine
- S 10 flat wrench
of LINESMART OLN 402 ceiling luminaires with LED light sources
Monta¿
++
++
Conducting of any works inside the luminaire while the power is on may result in electric shock. We shall assume no liability
for damages resulting from wrong installation. We reserve the right to make changes in the product design.
Informacje zawarte w niniejszym dokumencie mog¹ ulegaæ zmianie bez uprzedzenia. Ewentualne zmiany bêd¹ uwzglêdniane w kolejnych wydaniach instrukcji
obs³ugi lub w publikacjach i dokumentach uzupe³niaj¹cych.
BEZPIECZEÑSTWO I KONSERWACJA
Instalacjê oprawy powinien przeprowadziæ uprawniony i doœwiadczony elektryk. Przed rozpoczêciem instalacji nale¿y
koniecznie wy³¹czyæ dop³yw pr¹du do sieci elektrycznej, do której ma byæ pod³¹czona oprawa, aby zabezpieczyæ siê
przed przypadkowym za³¹czeniem napiêcia! Dla zapewnienia optymalnych parametrów technicznych oprawy nale¿y
okresowo przeprowadzaæ jej konserwacjê. Obudowê oprawy nale¿y czyœciæ ogólnie dostêpnymi œrodkami myj¹cymi i wytrzeæ
do sucha miêkk¹ tkanin¹. Nie u¿ywaæ œrodków ¿r¹cych i rozpuszczalników. Nie stosowaæ strumienia wody pod ciœnieniem.
Producent nie ponosi odpowiedzialnoœci za wady wynik³e z nie stosowa siê do zaleceñ niniejszej instrukcji.nia Zgodnie z art. 568 §1 Kodeksu Cywilnego
uprawnienia z tytu³u rêkojmi za wady fizyczne wygasaj¹ po up³ywie dwóch lat, licz¹c od dnia wydania oprawy Konsumentowi.
The installation of the fitting should be done by the certified and experienced electrician. Before the beginning of
the installation, the power supply, to which the fitting is to be installed, should be necessarily cut out in order to avoid
accidental power attachment! To ensure optimal technical parameters of the fitting, maintenance of the appliance should be
held periodically. The casing of the fitting should be cleaned with common detergents and dried up with a soft cloth. Do not use
corrosives and solvents. Do not use the stream of water under pressure.
SAFETY AND MAINTENANCE
The information included in this document may undergo changes without warning. Possible changes will be taken into consideration while working on other
issues of the instructions for use or complementary documents.
Mounting
Parts
necessary for mounting
of LINESMART OLN
12
Undo half turn two M6 nuts - figures A and B.
Dismantle a bracket
for on ceiling
mounting.
Fix the
bracket
to the ceiling with use
of 4 screws ø5x50 with wall plugs ø10x50
(included in the set).
Odkræciã ½ obrotu dwie nakrætki M6 - szczegó³ A i B. Zdemontowaæ uchwyt sufitowy. Zamocowaã uchwyt do
sufitu 4 szt. wkrætów ¸5x50 wraz z koùkami rozporowymi
¸10x50 (w komplecie).
B
A
3
Connect a power cord with electrical wiring by following
the rules as below:
L - czarny / black,
N - niebieski / blue,
- ¿ó³ty / yellow. yellow -
blue - N
black - L
Pod³¹czyæ przewód zasilaj¹cy do instalacji elektrycznej,
przestrzegaj¹c zasad: 4
Fix the luminaire with use of the ceiling bracket on M6
screws side - figure C and D.
Zaczepiæ oprawê na uchwycie sufitowym od strony
wkrêtów M6 - szczegó³ C i D.
C
D
5Move the luminaire 15mm - figure E and F.
Przesun¹æ oprawê o 15mm - szczegó³ E i F.
E
F
6
Fix the luminaire on the other side of the ceiling bracket
- figure G and H.
Zaczepiæ oprawê z drugiej strony uchwytu sufitowego
- szczegó³ G i H.
G
H
7
Move the luminaire 20mm - figure I and J.
Przesun¹æ oprawê o 20mm - szczegó³ I i J.
I
J
8
Tighten M6 nuts - figure K and L.
Dokrêciæ nakrêtki M6 - szczegó³ K i L.
K
L
The Manufacturer does not bear any responsibility for any possible damage caused to the consumer in case the Manufacturer's requirements specified in
the given instruction manual are disregarded. According to article 568 pt 1 of the Polish Civil Code, the right resulting from a warranty for physical defects
are extinct after the lapse of 2 (two) years following the deliver the fixture to the Consumer.
Other Elgo Lantern manuals
Popular Lantern manuals by other brands

Sea gull lighting
Sea gull lighting Crowell Outdoor Post Lantern 8247901 installation instructions

Brandson Equipment
Brandson Equipment 301785 user manual
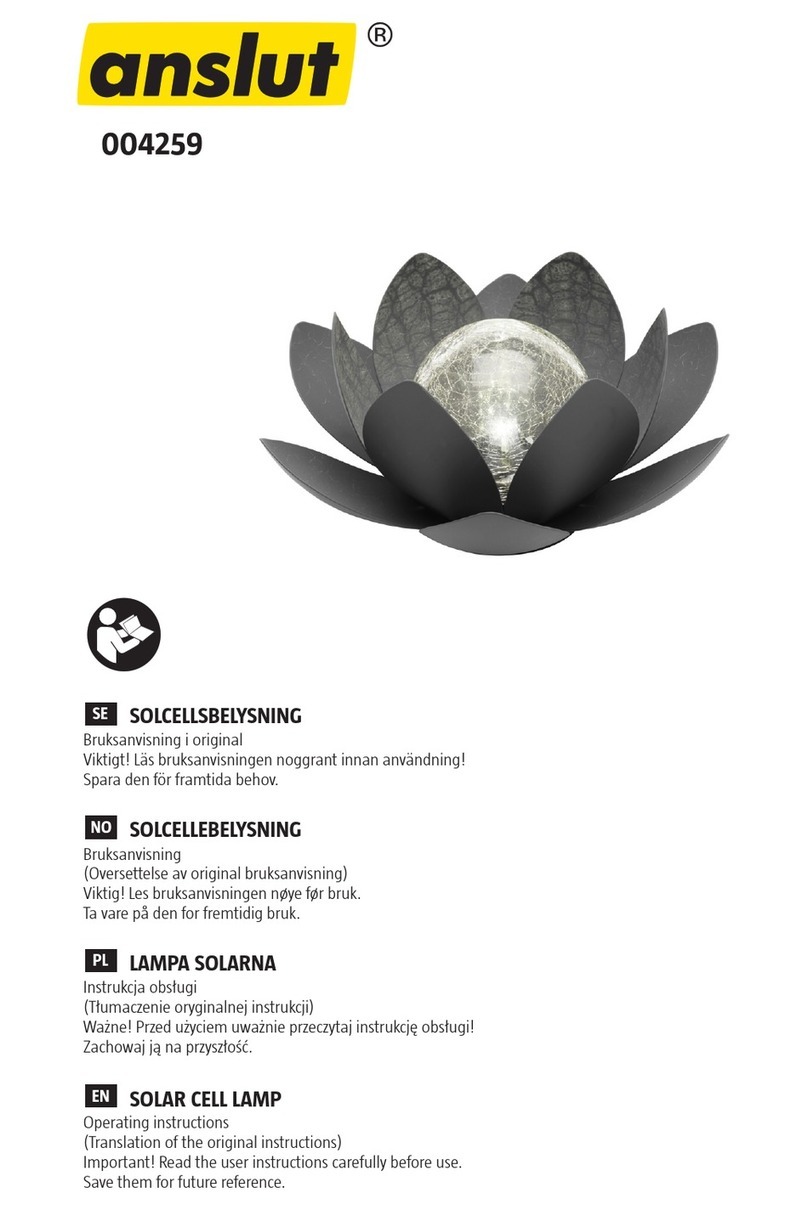
Anslut
Anslut 004259 operating instructions
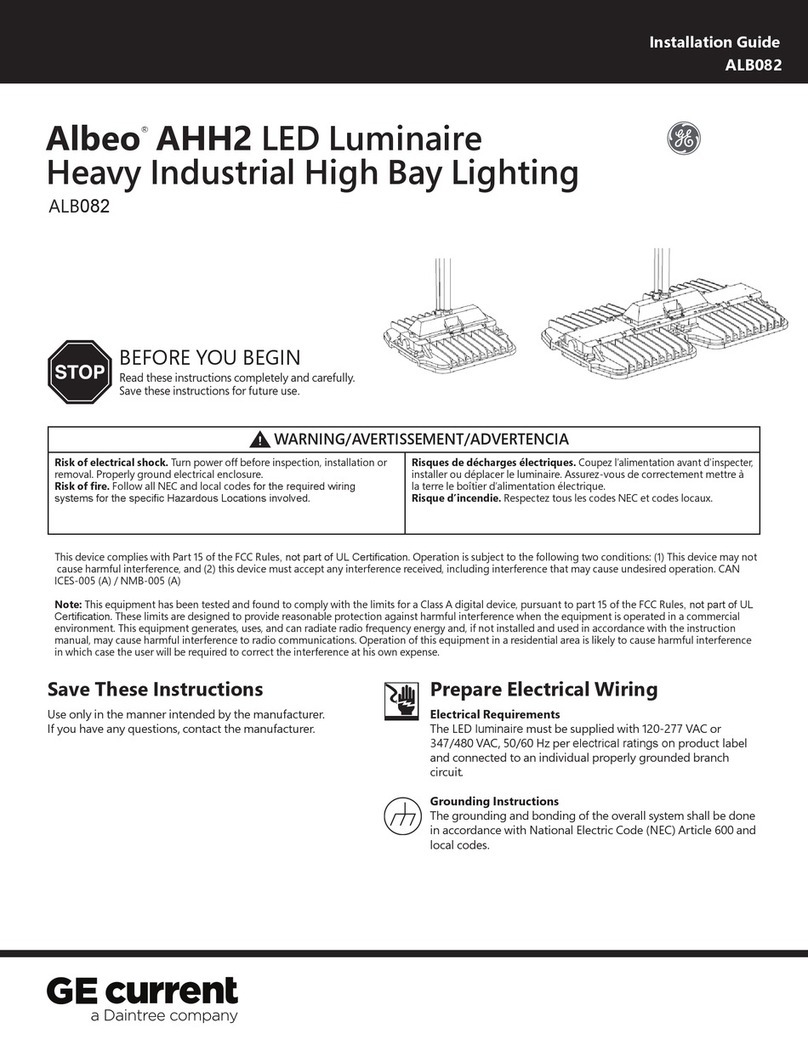
Daintree
Daintree GE Albeo AHH2 installation guide
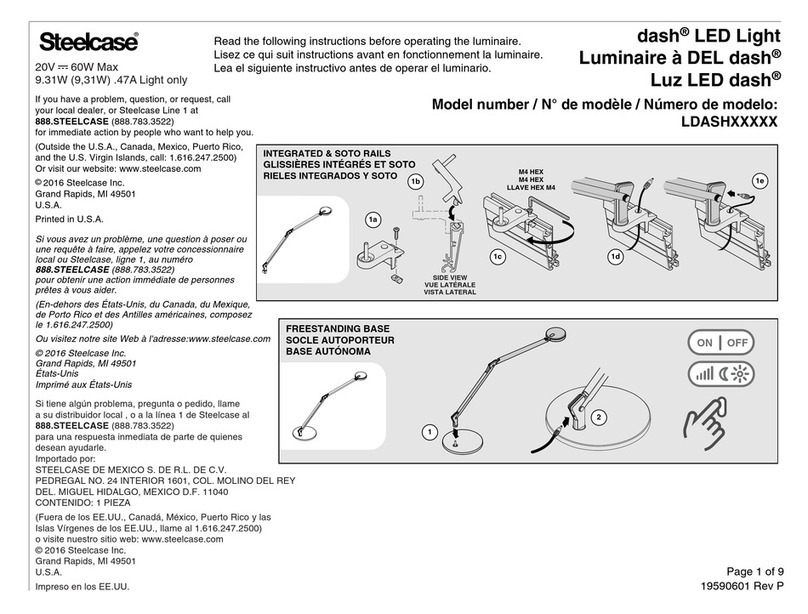
Steelcase
Steelcase Dash manual
Nemalux
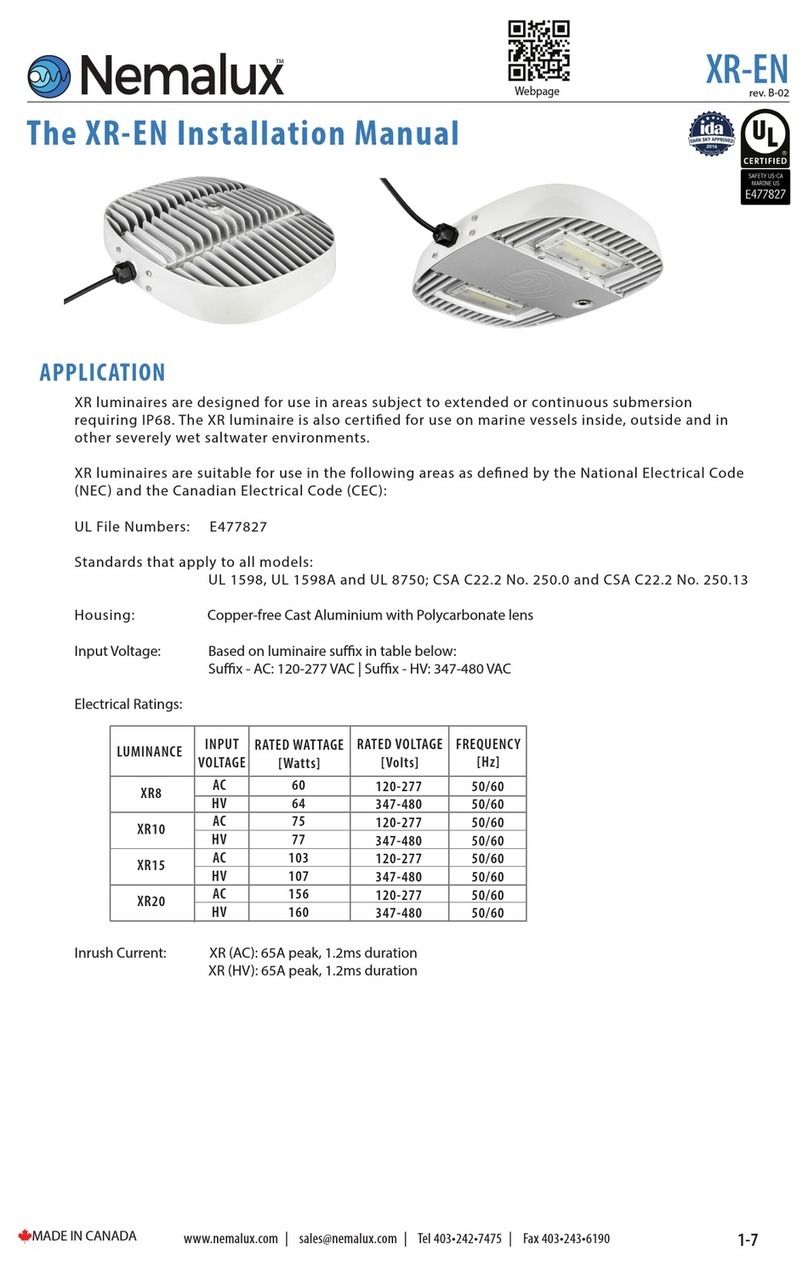
Nemalux XR8 installation manual
