evertz MViP User manual

MViP User's Guide
Revision 1.1 Page - 1
1. OVERVIEW
MViP is an IP based Multi-Image display and Monitoring solution targeted at applications where simple
and efficient monitoring of audio and video from an IP transport stream is required. MViP includes the
ability to monitor at the transport stream level using Evertz award wining TSM (transport stream analyzer
technology). It also leverages industry leading AVM (audio / video monitoring) technology from the MVP™
to determine faults with the audio and video at the base band level.
MViP is developed to be used as a tool for digital headends, IPTV networks, and sites using IP for
distribution with a requirement to monitor and display audio and video along with fault information and
transport details on a simple to configure DVI based monitor. MViP supports all major video compression
standards, and therefore can be used in almost any application where video and audio are being
transported over IP. MViP is SNMP enabled, which allows VistaLINK®Pro to configure and store all
monitoring values and alarms.
Features
•Multi-Image display of multiple IP based video programs with associated audio level bars and UMDs
•Supports IP based monitoring and display from up to 1Gbps Ethernet network
•Supports both Unicast and Multicast network topologies
•Supports all major video compression standards: MPEG 2, H.264 / MPEG 4 AVC, MPEG 4 Part 2,
VC-1
•Supports all major audio compression standards: MPEG1-L2, AC3, AAC
•Video monitoring: loss, black, freeze and macro block detection
•Audio monitoring: loss, audio over, audio under
•Metadata monitoring (optional) CC monitoring 608/708 WST OP42/OP47, XDS, Active
•Transport stream monitoring: TR101290 Level 1, level 2*, and partial level 3
•Dual Head DVI output: two unique outputs over DVI resolution support up to 1920x1200
•Simple on screen layout tools, including window creation and layout
•Includes additional informative objects: analog clocks, digital clocks, bit rate monitors and more
•SNMP enabled: complete integration with SNMP monitoring solutions like VistaLINK®PRO
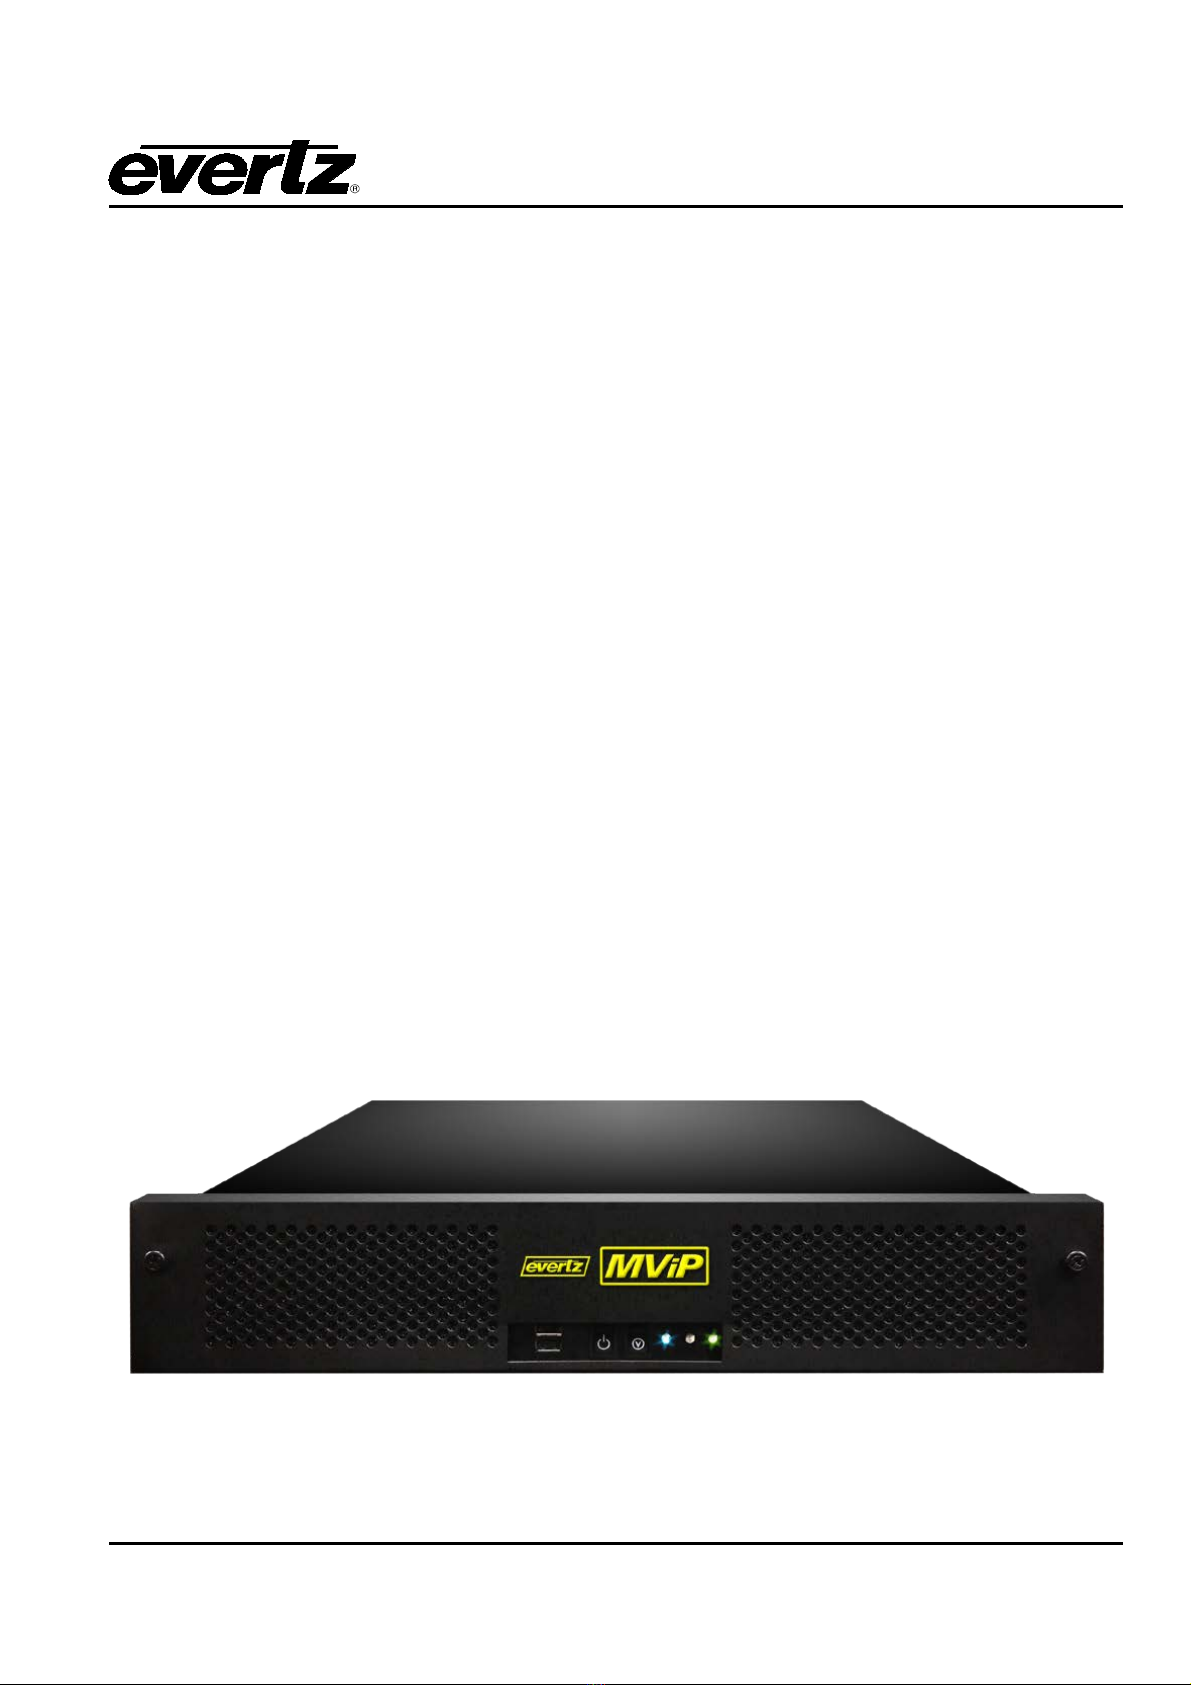
Figure 1-1: MViP System

MViP User's Guide
Page - 2 Revision 1.1
PKG-MViP-IP
MViP
PKG-MViP-TSM-IP
7780TSM-IP
7800 Frame-based
Transport Stream Monitor
DVI-D 1 (Digital Only)
DVI-D 2 (Digital Only)
Ethernet Data
Ethernet Control
Control/SNMP Network
Broadcast
Network
Ethernet Data
Ethernet Control
Ethernet Data
Ethernet Control
MViP
DVI-D 1 (Digital Only)
DVI-D 2 (Digital Only)
Control/SNMP Network
Broadcast
Network
Figure 1-2: MViP Block Diagram
1.1. GETTING STARTED: SETTING UP THE MVIP HARDWARE
In order to set up the MViP hardware, please follow the instructions outlined below:
1. Remove the MViP 2RU frame from the shipping container. Please note: The unit is heavy; therefore, it
is recommended that two people remove the unit from the container.
2. Remove the side rails from the shipping container. If the MViP is to be rack mounted, the side rails
must be securely fastened to the MViP before mounting the unit in a 19” equipment rack.
3. Attach the side rails to the chassis. Please refer to the documentation that comes with the side rails for
further instructions on installation.
4. To securely fasten the MViP to the equipment rack, make sure that the mounting screws are tightened
securely. Please note: The unit is heavy; therefore, it is recommended that two people fasten the unit
to the rack. If the user is not rack mounting the MViP, please proceed to step 5.

MViP User's Guide
Revision 1.1 Page - 3
5. Connect the power leads (using approved IEC standards) to both of the power supplies on the back of
the MViP. Please note: In order to be redundant power supplies, both power supplies must be
connected to a power lead. If only one power lead is used, the MViP will sound an alarm (high pitched
buzzer) when the unit is turned on in order to alert the user of a failed power supply. Please refer to
section 2.1.1 for further information.
6. Connect the Ethernet cables to the network ports on the back of the MViP. Please note: To avoid an IP
conflict on the networks, it is best to configure the network settings before physically connecting the
cables into the network ports.
The upper network connection is used for management purposes (SNMP, etc.). The lower network
connection is used for data. Both ports should be connected to Ethernet network switches. Properly
managed switches/routers should be used when connecting the MViP to the data network. For details
on network topology support please see section 3 of the manual.
7. Connect a USB or PS2 keyboard and mouse to the USB and PS2 ports on the rear of the unit.

MViP User's Guide
Page - 4 Revision 1.1
8. Connect the MViP to display(s) using customer supplied DVI cables. For a single monitor, the MViP
has a built in DVI connector.
When using the MViP in dual head mode, use the supplied Display Port to DVI adapter cable.
Connect the other end of the DVI to a DVI display. Make sure the display is powered on before turning
on the MViP. The MViP has the ability to auto-detect the highest resolution on the monitor and set its
output to that resolution. Please note that this is only possible while using a display that uses the EDID
video resolutions table as described by VESA.
9. Switch the unit on using the power switch at the front of the frame. First, remove the cover plate by
loosening the Pem screws on the left and right sides of the frame.
10. The MViP will now turn on and will run through its opening sequence for approximately 1 minute.
1.2. CONFIGURING THE MVIP SYSTEM AND NETWORK SETTINGS
1. The user must complete the hardware setup in section 1.1 before configuring the MViP network
settings.
2. Once the MViP has been powered on, the user will see a mouse pointer in the center of Display 1 (if
both displays are connected). If the user does not see the mouse pointer on the screen, double check
the setup in section 1.1 to ensure that the monitor and cable are connected correctly.
3. The MViP IP addresses must be set for the management port and the data port. To configure the
network addresses perform the following steps:
a. Using the attached keyboard, press “CTRL, ALT, F1” at the same time.
b. The display will show an “mvip login” prompt – enter “admin” for both user id and the
password.
This manual suits for next models
2
Table of contents
Other evertz Monitor manuals