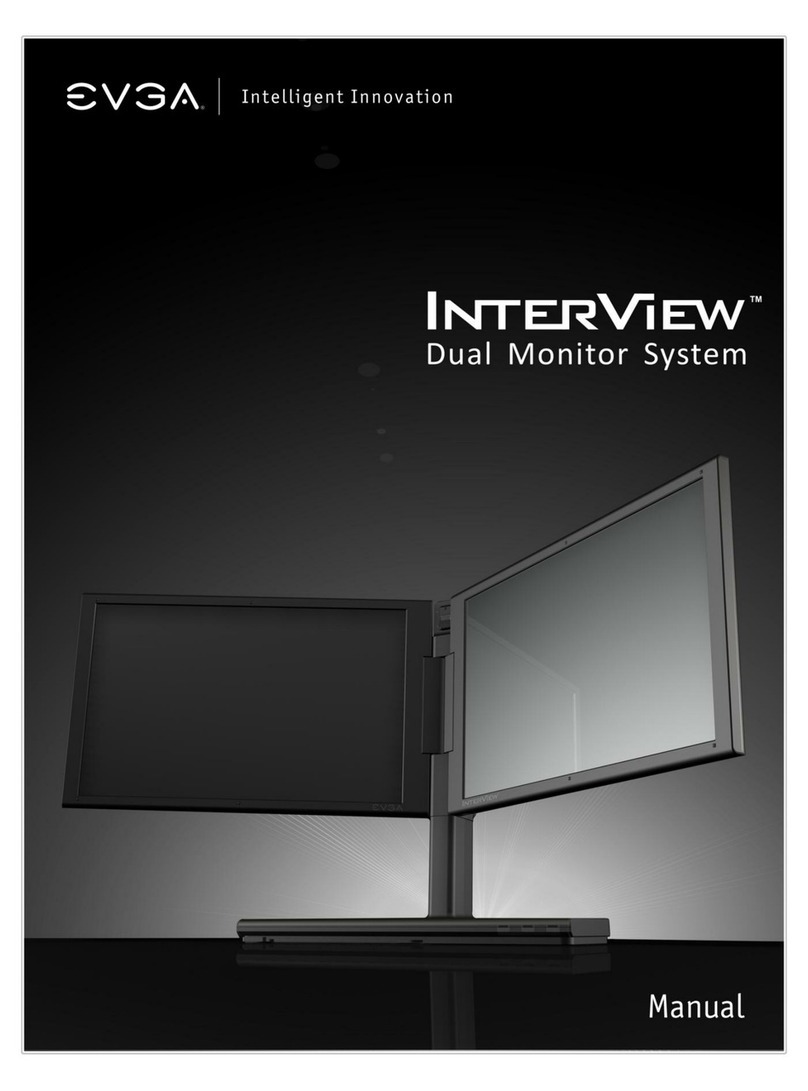
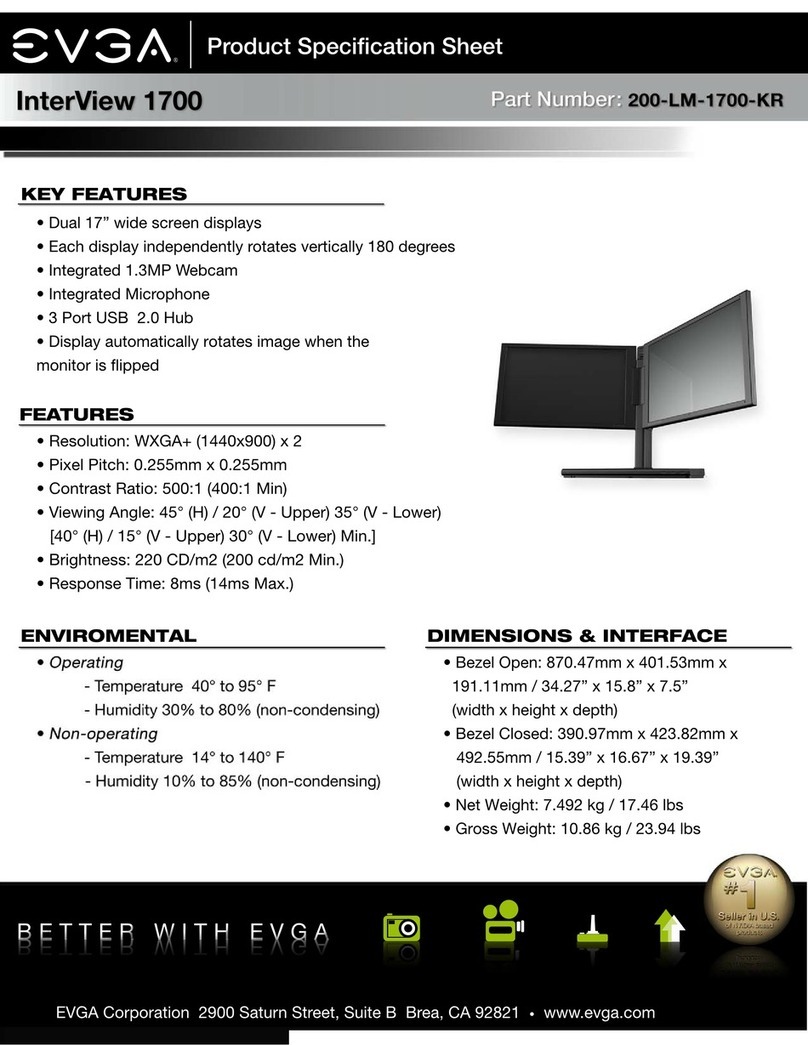
EVGA InterView 200-LM-1700 User manual


2
TABLE of CONTENTS
1. PRODUCT OVERVIEW.........................................................................................................................................................4
1.1 What’s Included................................................................................................................................................... 4
1.2 Safety Instructions.............................................................................................................................................. 5
1.3 Product Views ...................................................................................................................................................... 6
2. INTERVIEW SPECIFICATIONS.........................................................................................................................................9
2.1 InterView Technical Specifications ................................................................................................................... 9
2.2 Preset Timing Modes ........................................................................................................................................ 10
2.3 Power Management Modes.............................................................................................................................. 10
3. SETTING UP INTERVIEW ................................................................................................................................................11
3.1 Steps to Assembling InterView ....................................................................................................................... 11
3.2 Connecting InterView to a PC......................................................................................................................... 13
3.3 Plug and Play Compatibility ............................................................................................................................. 15
4. HOW TO ADJUST INTERVIEW........................................................................................................................................16
4.1 Rotating/Folding................................................................................................................................................ 16
4.2 Control Buttons.................................................................................................................................................. 17
4.3 Brightness Adjustment ..................................................................................................................................... 17
4.4 Auto Adjustment................................................................................................................................................ 17
5. SYSTEM REQUIREMENTS AND SOFTWARE INSTALLATION..................................................................................18
5.1 System Requirements....................................................................................................................................... 18
5.2 Installing the Webcam Software..................................................................................................................... 18
5.3 Using the InterView Camera Application....................................................................................................... 22
6. TROUBLESHOOTING.........................................................................................................................................................27
6.1 Self-Test Feature Check................................................................................................................................... 27
6.2 FAQs.................................................................................................................................................................... 27
7. SERVICE INFORMATION.................................................................................................................................................30
7.1 Product Registration and Customer Support................................................................................................. 30
7.2 Pixel Policy.......................................................................................................................................................... 30

3
7.3 Warranty Terms and Conditions ..................................................................................................................... 31
8. COMPLIANCE INFORMATION........................................................................................................................................33
8.1 FCC Notice.......................................................................................................................................................... 33
9. LEGAL INFORMATION......................................................................................................................................................34
9.1 Trademark Information.................................................................................................................................... 34
9.2 Software License Agreement........................................................................................................................... 34
9.3 Rights.................................................................................................................................................................. 34

4
1.PRODUCT OVERVIEW
1.1What’s Included
The following items are included with InterView:
InterView Monitor:
Dual – 17 Inch – LCD Panels
InterView Multiplatform Control Base
AC Power Adapter
Power Cord
DMS to DUAL DVI-I Signal Cable
DVI-I to VGA Adapter
Microphone Audio Cable
USB Cable
Visual Guide
Drivers and Software CD

5
1.2Safety Instructions
Safe Environment
Do not store or use the InterView in locations that are exposed to heat, extreme cold, high
humidity or dusty environment. Room temperature conditions are recommended.
Do not subject InterView to severe vibrations or high impact conditions.
Do not allow water or other liquids to spill on or into InterView.
InterView may become unstable if not placed on a solid and horizontal surface.
Safe Use
To avoid electric shock, never touch the components inside of InterView. Only a qualified
technician should open the monitor case.
Do not try to insert anything metallic or push objects into any openings.
Do not use benzene, thinner, ammonia, abrasive cleaners, or compressed air as these will
cause damage to the LCD screens. If possible, use a special screen-cleaning tissue or
solution suitable for the anti-static coating.
Handle your monitor with care as darker-colored plastics may scratch and show scuff
marks.
Keep hands off the gap between the stand and the panel as injury may take place while
rotating or folding the LCD portion of InterView.
Unplug the monitor when it is going to be left unused for an extended period of time or
before any type of service is performed.
Consider keeping the packaging for use in the future when you may need to transport the
monitor. The fitted foam packing is ideal for protecting the monitor during transport.

6
1.3 Product Views
Panel Front View
1. Integrated Webcam
2. Balance Bar
3. Multiplatform Control Base
4. Integrated 3-Port USB 2.0 Hub
5. 17 Inch LCD Panels
5
3
1
2
5
4

7
Control Base Front View
1. Power Button
2. Power Light Indicator (Left Panel)
3. Power Light Indicator (Right Panel)
4. Panel Selection Button
5. Brightness Adjust (Down)
6. Brightness Adjust (Up)
7. Auto Adjust
8. Integrated Microphone
1
2
3
4
5
6
7
8

8
Control Base Back View
1. USB to PC Port
2. Microphone Jack
3. DMS Port
4. AC Power Connector
1
2
3
4

9
2.INTERVIEW SPECIFICATIONS
2.1 InterView Technical Specifications
General
Model number EVGA InterView 1700
LCD
Screen type 17’’Wide TFT
Preset display area
Horizontal 367.20 mm
Vertical
229.50 mm
Synchronization
Horizontal 31.5 kHz to 81.1 kHz
Vertical
56 Hz to 76 Hz
Viewing angle
Horizontal
20° / 35° (CR=10)
Vertical 45° / 45° (CR=10)
Pixel pitch 0.255 X 0.255 mm
White luminance
220 typ.
Contrast ratio
500:1 typ.
Response Time 8ms typ. (14ms typ. max)
Resolution
Optimal preset resolution
1440x900*2 @ 60 Hz
Highest preset resolution 1440x900*2 @ 60 Hz
Physical Characteristics
Dimensions
Bezel Closing Dimension 417 x 485 x 390 mm
Bezel Opening Dimension
369 x 188 x 870 mm
Weight 7.5 kg/16.52 lbs
Environmental
Operating
Temperature 5° to 35°C
Humidity
30% to 80% (non-condensing)
Non-operating
Temperature
-10° to 60°C
Humidity
10% to 85% (non-condensing)

10
2.2 Preset Timing Modes
The screen will be adjusted automatically when the signal transferred from the computer is
the same as the following Preset Timing Modes. If your display mode is not listed, it is not
supported by this monitor; the screen may go blank while the power LED is on.
Display Mode
Horizontal Frequency
(kHz)
Vertical Frequency
(Hz) Pixel Clock (MHz)
Sync Polarity
(Horizontal/Vertical)
VESA, 640x480
31.469
59.940
25.175
-/-
VESA, 640x480 37.500 75 31.500 -/-
VESA, 800x600 37.879 60.317 40.000 +/+
VESA, 800x600 45.072 72 46.875 +/+
VESA, 800x600
46.875
75
49.500
+/+
VESA, 1024x768
48.363
60.004
65.000
-/-
VESA, 1024x768 60.023 75.029 78.750 +/+
VESA, 1152×864 67.500 75.000 108.000 +/+
VESA, 1280x1024
63.981
60.020
108.000
+/+
VESA, 1280x1024
79.976
75.025
135.000
+/+
VESA, 1440x900
55.935
59.887
106.500
-/+
VESA, 1440x900 70.635 74.984 136.750 -/+
2.3 Power Management Modes
For energy conservation, InterView has built-in power management that saves energy by
switching itself to low-power mode when it has not been used for a certain amount of time.
It automatically returns to normal operation when the users press a key on the keyboard. It
is recommended to turn InterView OFF when it is not needed or when leaving it unattended
for long periods of time.
VESA Modes Horizontal Sync Vertical Sync Video Power Indicator
Normal operation
Active
Active
Active
Blue
Active-off mode
Inactive
Inactive
Blanked
Amber
Switch off n/a n/a n/a Off

11
3.SETTING UP INTERVIEW
Read the safety instructions before setting up the InterView.
3.1Steps to Assembling InterView
1. Rotate the balance bar out from the bottom of the base:
2. Remove the caps on the stand and the panel:
3. Assemble the stand and the panel:

12
4. Push in the button and turn it clockwise to lock up the stand and the panel:
5. Open up the panel:
6. Push the balance bar back into the base:

13
3.2Connecting InterView to a PC
Before setting up InterView, you must power down your computer(s).
1. Connect the monitor to a computer(s) using the DMS to Dual DVI-I cord.
Note: You can use either the D-Sub plug or the DVI-D plug if there’s no available
DVI-I port on your PC.
2. Plug the power cord into the power adapter:
3. Connect the monitor to the electrical outlet using the power cord:

14
4. Power on InterView and the computer(s):
5. Use the audio cable to connect InterView to the MIC or Line-in input of the computer.
This is required to use the onboard microphone.
6. Connect InterView to the computer(s) with the USB cable to enable the front USB 2.0
HUB located on the monitor base. This is also required to use the onboard webcam.

15
3.3Plug and Play Compatibility
You can use InterView with any Plug and Play compatible system. The system configures
itself and optimizes the display’s settings. In most cases, InterView‘s installation is
automatically processed unless the user intervenes.

16
4.HOW TO ADJUST INTERVIEW
4.1Rotating/Folding
Each panel can rotate 180 degrees. The display will automatically adjust to the correct
position.
Each panel can be opened and closed 90 degrees horizontally.

17
4.2Control Buttons
1. Power Button: Powers the InterView ON or OFF
2. Panel Selection Button: Selects the monitor to be adjusted
3. Brightness Adjust (Down): Decreases brightness levels
4. Brightness Adjust (Up): Increases brightness levels
5. Auto Adjust: Adjusts vertical position, phase, horizontal position, and pixel clock
automatically
4.3Brightness Adjustment
Users can adjust the monitor brightness levels from the Brightness (Up/Down) buttons. The
Brightness levels can be adjusted from level 0 to level 8 and will be displayed on the screen
while adjusting. Press the Panel Selection Button to select the panel to be adjusted.
4.4Auto Adjustment
Users can obtain an optimal display when using the AUTO key function. When the 'AUTO'
button is pressed, InterView will optimize the currently selected panel.
Auto Adjustment is disabled when using a DVI connection or DVI dongle.
1
5
4
3
2

18
5.SYSTEM REQUIREMENTS AND SOFTWARE INSTALLATION
5.1System Requirements
Operating Systems Supported:
- Windows XP Home Edition
- Windows XP Professional
- Windows XP Professional X64 Edition
- Windows Vista™
- Windows Vista™ 64-bit
Hardware:
- 64MB of System Memory or more
- 50MB Hard Disk space or more
Others:
- Microsoft DirectX 9.0C
5.2Installing the Webcam Software
Some functions provided in InterView Application may not work if the driver is not
installed properly
(Step 1) Before the Installation
- View the Device Manager to check if the InterView webcam has already installed. Select
Start (XP)Run or (Vista)Search Box type
devmgmt.msc
Click OK. The Device
Manager window will appear. Expand “Imaging Devices” to reveal the device name:
USB2.0
UVC PC Camera.
- Insert the InterView CD into the disc drive. The AutoPlay dialogue box will appear.
- Click Run autorun.exe

19
(Step 2) Processing Installation
- Click
Webcam software installation
to start the installation process
- Click
Next,
select the application you would like to install, then click
Next
to continue
Note: For users who select to install both webcam driver and application, the installation will
starts from the webcam software then to the webcam driver.
Installing the Webcam Application
- Select the destination folder then click
Install
to begin the installation

20
- Installation in process, the dialogue box will automatically close when the installation
completes.
Installing the Webcam Driver
- Click Install
- Click Install
This manual suits for next models
1
Table of contents
Other EVGA Monitor manuals
