3UHSDUDWLRQ
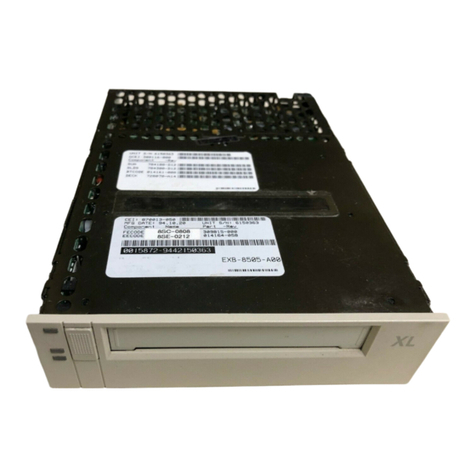
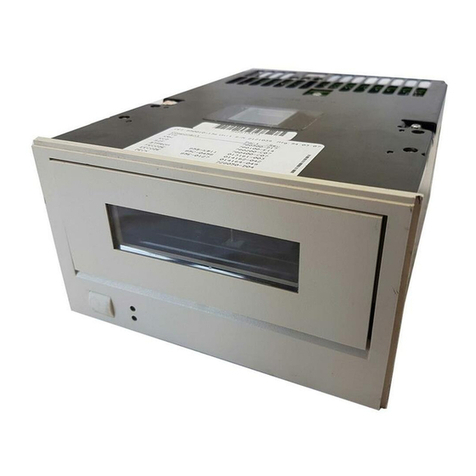
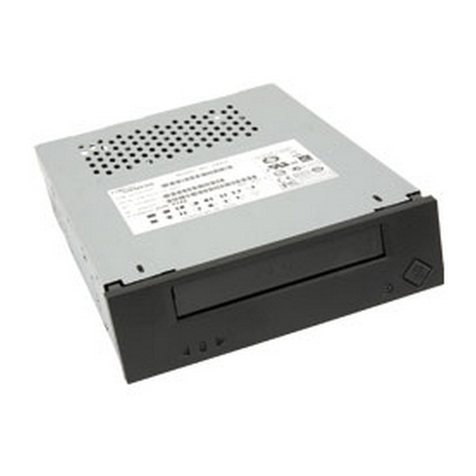
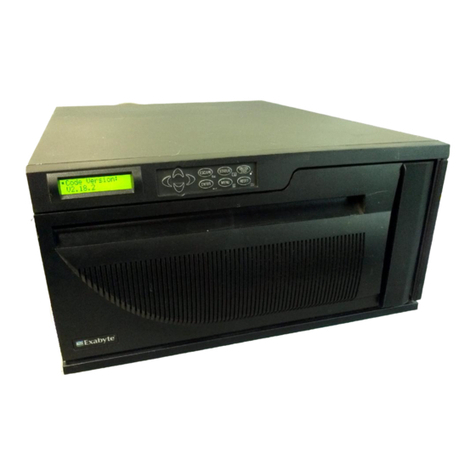
Use these instructions to install your Exabyte 8mm half-high
tape drive.
Note: If you have an Exabyte Mammoth 8mm tape drive,
order Quick Installation–Exabyte Mammoth 8mm Tape
Drives (321410) from Exabyte, or refer to Exabyte’s
World Wide Web site (www.exabyte.com).
These instructions assume that you are installing the tape
drive in a computer drive bay. If you are installing the tape
drive in a library or other enclosure, you will need to adapt
the instructions to your specific situation.
Before you begin, read through the instructions to determine
what you will need. Depending on your setup and existing
equipment, you may need to obtain the following items:
wSmall flat-nose pliers, flat-blade and Phillips screwdrivers
wSCSI adapter card (must be installed in your computer)
wSCSI ID jumpers
wTerminators
wSCSI cable
wDrive bay mounting rails
All of these items (except tools) are available from Exabyte.
Call 1-800-EXATAPE (1-800-392-8273).
3URWHFWWKHWDSHGULYHIURP(6'
Protect the tape drive from electrostatic discharge (ESD) by
following these precautions: Use an antistatic mat and
wristband, if possible. Leave the tape drive in its packaging
until you are ready to install it. Touch a known grounded
surface (such as a metal table) before handling the tape drive.
3UHSDUHWKHFRPSXWHUDQGWDSH
GULYH
1. Remove your computer's cover.
2. Remove the coverplate from the drive bayyou intendto
use. Save any screws or clips you remove.
Note: You may need toremove a device,such asan extra
floppy disk drive, to provide a drive bay for the
tape drive. Do not remove your floppy drive A. If
you remove a device, be sure to modify your
system configuration to reflect the change.
3. Determine whether the tape drive needs rails for
mounting in the drive bay. If devices in other drive bays
use rails, or if the tape drive fits loosely, you should use
rails. You can obtain rails from a computer supplier or
from Exabyte. If necessary, install the rails as follows:
Using the screws provided with the rails, fasten a rail to
each sideofthetapedrive. Usewhicheversetofmounting
holes allows the front of the tape drive to be even with
devices in other drive bays. (You may want to leave the
screws holding the rails loose until you have determined
the exact position of the tape drive.)
6HWWKH6&6,,'
The tape drive attaches to a SCSI bus, which consists of the
SCSI adapter cardin your computer, one or more SCSI cables,
and up to eight SCSI devices (including the adapter card).
Each device on the bus must have its own SCSI ID.
To set the SCSI ID, use a pair of flat-nose pliers to position the
jumpers on the SCSI ID jumper block on the back of the tape
drive, as shown below. (Depending on your model, the
jumper block may be in a different location.)
CAUTION
Turn off all devices attached to your computer,
then turn off the computer. Disconnect all power
cablesfrom yourcomputerandattached devices.
CAUTION
To avoid damaging the tape drive, use only the
screws provided with the rails.
