manuals.online logo
Brands
  1. Home
  2. •
  3. Brands
  4. •
  5. EXAIR
  6. •
  7. Power Supply
  8. •
  9. EXAIR 7940 Maintenance and service guide

EXAIR 7940 Maintenance and service guide

LIT 7118
©2007 EXAIR Corporation
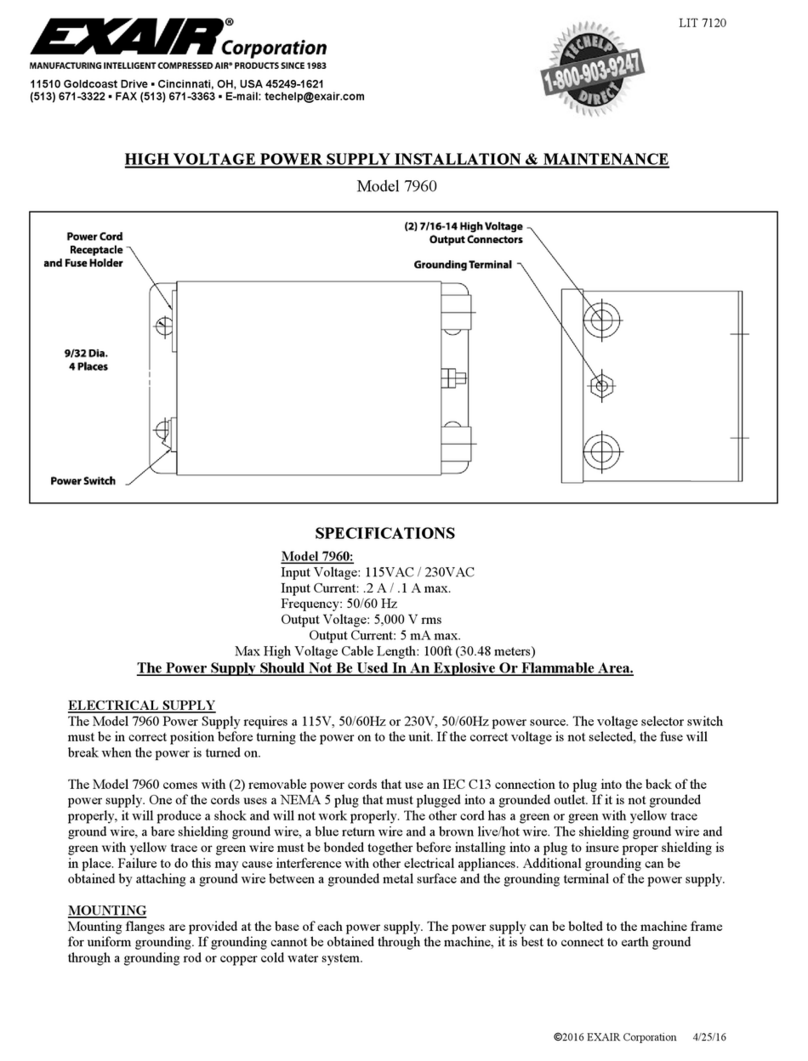
HIGH VOLTAGE POWER SUPPLY INSTALLATION & MAINTENANCE
Models 7940 and 7941
ELECTRICAL SUPPLY
The Model 7940 Power Supply requires a 115V, 50/60Hz power source. Model 7941 requires a 230V, 50/60Hz. The
Model 7940 must be plugged into a grounded receptacle. If the unit is not grounded, it will produce a shock and will
not function properly.
The power cord of the Model 7941 Power Supply has a green ground wire that must be connected to a grounded
source. Additional grounding can be obtained by attaching a ground wire between a grounded metal surface and the
grounding terminal of the power supply.
MOUNTING
Mounting flanges are provided at the base of each power supply. The power supply can be bolted to the machine frame
for uniform grounding. If grounding cannot be obtained through the machine, it is best to connect to earth ground
through a grounding rod or copper cold water system.
11510 Goldcoast Drive ▪Cincinnati, OH, USA 45249-1621
(513) 671-3322 ▪FAX (513) 671-3363 ▪E-mail: techelp@exair.com
"On-off" switch
(lighted)
Power Supply cord - 6ft. (1.8m) long
(4) 37/64 (14.7mm) mounting holes
Grounding terminal
(4) 7/16 - 14 high voltage output
connectors
SPECIFICATIONS
Model 7940:
Input Voltage: 115VAC
Input Current: .2 A max.
Frequency: 50/60 Hz
Output Voltage: 5,000 V rms
Output Current: 5 mA max.
Model 7941:
Input Voltage: 230VAC
Input Current: .1 A max.
Frequency: 50/60 Hz
Output Voltage: 5,000 V rms
Output Current: 5 mA max.
The Power Supply Should Not Be Used In An Explosive Or Flammable Area.
LIT 7118
©2007 EXAIR Corporation
HIGH VOLTAGE TERMINALS
Each power supply includes four high voltage outlets. A cap is provided to cover the unused outlets. With the power
cord disconnected, it is first necessary to connect the ground lead of the ionizer (green wire) to the grounding terminal
of the power supply. Remove the nut on the power supply and attach the ground lead of the ionizer. Replace the nut
and be sure the grounding lead is snug to the power supply box.
To connect the ionizer to the high voltage power supply terminal, simply insert the stainless steel contact into the
terminal cavity, then tighten the knurled knob. Do not overtighten. This spring loaded connector grips the mating
stainless steel terminal for a snug connection. When disconnecting an ionizer, it is important to first disconnect the
power. Loosen the knurled knob, and pull the knob away from the power supply with minimal force. The stainless steel
contact will snap loose from the connector spring.
With the grounding and high voltage connections made, connect the power cord of the power supply to an appropriate
source. To operate the power supply, there is a lighted “on/off” switch on the side of the power supply. The “on” light
indicates power to the primary of the power supply. Do not apply power until grounding and high voltage
connections are complete.
TROUBLESHOOTING AND MAINTENANCE
EXAIR Power Supplies have no user serviceable components. All parts are completely potted inside the power supply
box. There are no internal adjustments. There is no maintenance required.
If the static eliminator is not functioning properly, turn the power supply off and check that the high voltage and
ground connections are secure. Check the ionizer to insure that the point(s) are not contaminated with dirt or shorted.
With all connections properly made and the power supply “on”, there is a slight vibration that can be felt on the cable
of the static eliminator. To check for ionization, use of a static meter (Model 7905) is required. Measure the static
charge on the surface of some material. Pass the ionizer over the material. Measure the static charge on the material. If
the charge is lower than the original measurement, the ionizer and power supply are working. If there is no change,
contact the factory.
It is recommended that only qualified service personnel perform tests on this high voltage power supply or hazardous
shock could result.
If there are further questions regarding the
operation of the power supply or static eliminator
equipment or if you have any questions or problems,
please contact an EXAIR Application Engineer at:
Toll Free: 1-800-903-9247 (U.S. & Canada)
Telephone: 513 671-3322 outside of U.S. & Canada
Toll Free Fax: 866-329-3924 (U.S. & Canada)
FAX: 513 671-3363 outside of U.S. & Canada
E-mail: [email protected]
Website: www.exair.com
Power supplies are UL Listed to
U.S. and Canadian safety
standards. There are no user
serviceable parts inside.
Power Supplies meet the
requirements of applicable
European Directive(s).

This manual suits for next models

1

Other EXAIR Power Supply manuals

EXAIR 7960 Maintenance and service guide

EXAIR

EXAIR 7960 Maintenance and service guide

EXAIR 7901 Maintenance and service guide

EXAIR

EXAIR 7901 Maintenance and service guide

EXAIR 7901 Maintenance and service guide

EXAIR

EXAIR 7901 Maintenance and service guide

EXAIR 7961 Maintenance and service guide

EXAIR

EXAIR 7961 Maintenance and service guide

Popular Power Supply manuals by other brands

ITW SIMCO ION D Series Installation and operating instructions

ITW

ITW SIMCO ION D Series Installation and operating instructions

Chieftec UNC-210HS-B installation guide

Chieftec

Chieftec UNC-210HS-B installation guide

Alinco DM330MVC Adjustment manual

Alinco

Alinco DM330MVC Adjustment manual

Altronix eFlow Series installation guide

Altronix

Altronix eFlow Series installation guide

ENFORCER SECO-LARM SLI ST-2406-3AEQ manual

ENFORCER

ENFORCER SECO-LARM SLI ST-2406-3AEQ manual

nextys NPSM85 Series instruction manual

nextys

nextys NPSM85 Series instruction manual

Yaesu VP-1000 owner's manual

Yaesu

Yaesu VP-1000 owner's manual

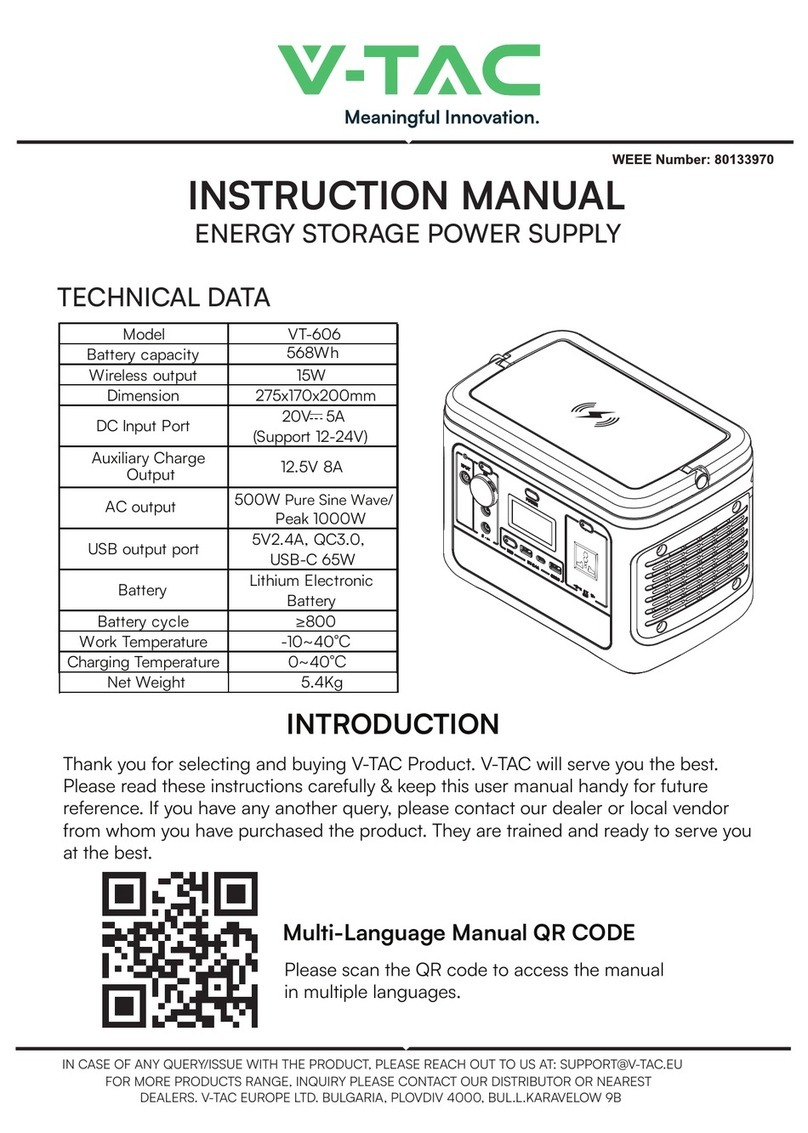
V-TAC VT-606 instruction manual

V-TAC

V-TAC VT-606 instruction manual

Rechner Sensors N-132 IL Series Adjustment instructions

Rechner Sensors

Rechner Sensors N-132 IL Series Adjustment instructions

Matsusada Precision R4K-36 Series instruction manual

Matsusada Precision

Matsusada Precision R4K-36 Series instruction manual

Portable Power Technology Vehicle Power Hub 1300 user manual

Portable Power Technology

Portable Power Technology Vehicle Power Hub 1300 user manual

Relyon plasma PLASMA BRUSH PS2000 operating instructions

Relyon plasma

Relyon plasma PLASMA BRUSH PS2000 operating instructions

Gira 2570 00 operating instructions

Gira

Gira 2570 00 operating instructions

Akyga AK-ND-08 user manual

Akyga

Akyga AK-ND-08 user manual

Larson Electronics EPL-RPS-70A instruction manual

Larson Electronics

Larson Electronics EPL-RPS-70A instruction manual

TBB idSWITCH LMP1218-PWM user manual

TBB

TBB idSWITCH LMP1218-PWM user manual

Ametek EC1000S user manual

Ametek

Ametek EC1000S user manual

NewMar POWER-PAC Installation & operation manual

NewMar

NewMar POWER-PAC Installation & operation manual

manuals.online logo
manuals.online logoBrands
  • About & Mission
  • Contact us
  • Privacy Policy
  • Terms and Conditions

Copyright 2025 Manuals.Online. All Rights Reserved.