EXALite EXL-S Profile CW 20W User manual

EXL-S Profile CW 20W
USER MANUAL
CE RoHS
EXALITE

OVERVIEW
Thank you for using our product, this unit is designed for indoor using, it’s widely used for commercials,
museums, restaurant, churches, educational theatres, etc. as high power led effects lighting, this unit can
be operated as a single unit or multiple units for large applications. Due to the small size, we make a new
lighting system of wireless control by the controller instead of the DMX signal. It is available in four field
angles: 19°, 26°, 36° and 50°.
Technical Parameter:
• Led power: 20W
•Light Color: Cool white
• IC Chip: Nichia
• LED Lamp: Japan Citizen
• Color Rendering Index(CRI): Ra≥90
• LED Life Time: over 50,000 hours
•Voltage: AC100V-240V 50-60Hz
• Max.power consumption: 26W
•Fixed Lens: 19°, 26°, 36° and 50° (oprtional)
• Dimmer: 0~100% linearly adjustable
• Strobe: 1-25times/sec
• Focus: Can be adjusted by hand
• Light body: Die-casting Aluminum
• Body color: Black / White
• Control Protocol: DMX
• Control System: DMX512, Sound mode
• DMX Channels:1/3CH(single color)
• Feature of housing: Small volume, lightweight
•Environment Temperature: 0°C~40°C
• IP Grade: IP20
• Net Weight: 2.5kg
• Packing size: 24.5x10x20cm

1. Product Introduction
1.1. Current regulation
The current need to be adjusted by software before Ex-work. (Please check the menu description of
“current adjust”.)
1.2. Screen protection
Without operate key in 30 seconds , it enter black screen (can be set)
Press any keys then it can quit screen protection status
1.3. Reminder from Signal
In the Slave State, the screen will flicker if no receive the signal from controller or master light. Attention:
When the screen flicker (it means the cable connect is wrong), it won’t be the screen protection mode
even it is time to enter screen protection mode. If it already the screen mode, it will automatically log out.
The reason that no screen protection in flicker is to help to user judge if there has cable connection
problem or not.
1.4. Delay of controller
When push up or pull down the pushrod of the controller, the light will not turn bright or dark at once, but
change smoothly. (1 second) This function can be turn on or turn off.
Special situation: pull down to “0”, the light will turn off right away without delay.
1.5. Multi-light working in the same time
When using controller to control several lights, and using strobe, the controller just send the channel data.
The strobe would be showed by itself. And should be attention for the follow situation:
1. There will be many situation make the light become not synchronization in the beginning. (For
example: the different time of opening the light will make them connect the controller in different time) .
And you can change the controller table puller data( from 20 to 0, and back to 20), then it can be
synchronization.
2. Using the controller to make program make the strobe effect to be synchronization,the screen will
be shake to judge whether it become synchronization or not. The shake will not have any effect for the
function.
3. We have tested for several times, and it still get synchronization in the end. But there are a lot of
factor to effect the synchronization, some software can not be controlled, such as hardware factor and the
environment factor. If you still can not realize synchronization after using this software, you can use the
other way such as controller programming.
2.Operation
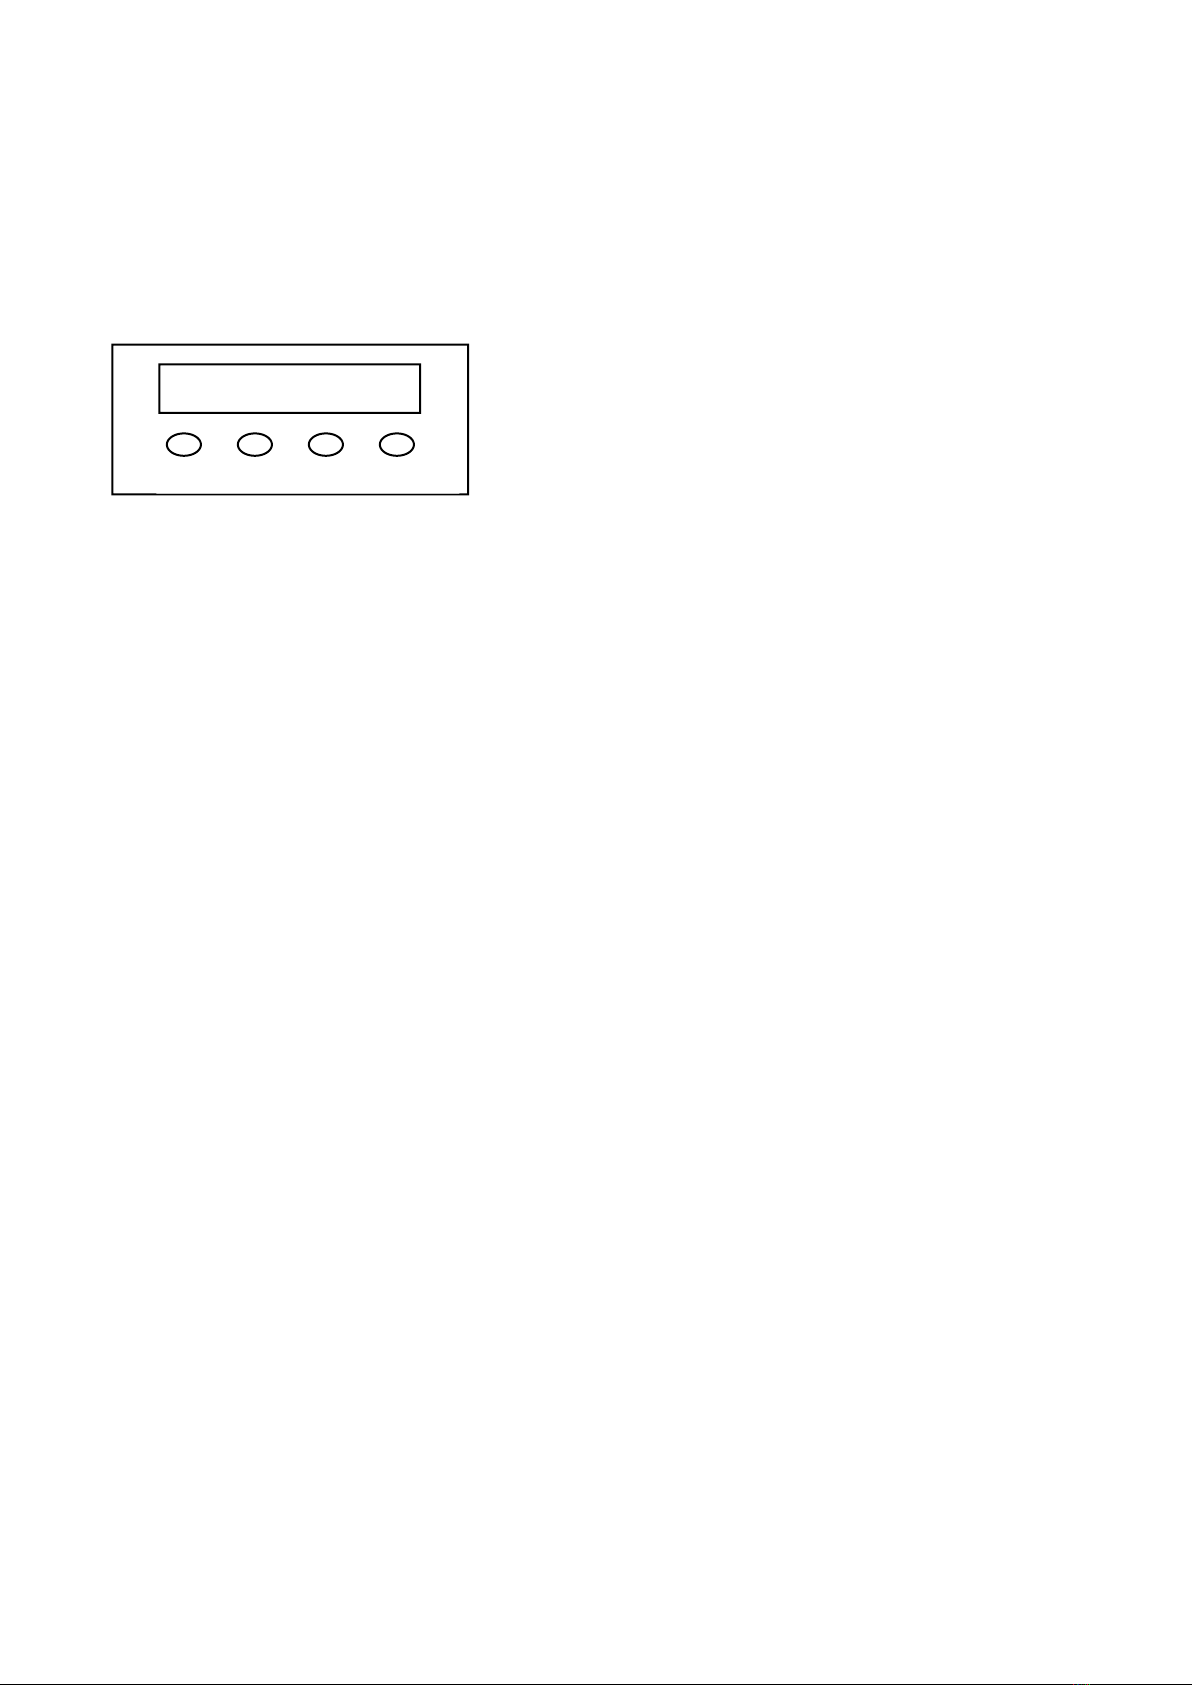
2.1. Key operation
Main key
【MENU】Main menu or back the last menu
【UP】Choosing data value
【DOWN】Choosing data value
【ENTER】Enter, choose the vice menu or end edit.
Combination key
Combination by 2 or more key. Such as “UP+DOWN” Press UP and DOWN at the same time.
Combination key of “UP+DOWN” is different from “UP” or “DOWN”, it have its own function.
Long press
Press the button for long time then leave.
MENU UP DOWN ENTER

2.2. Menu description
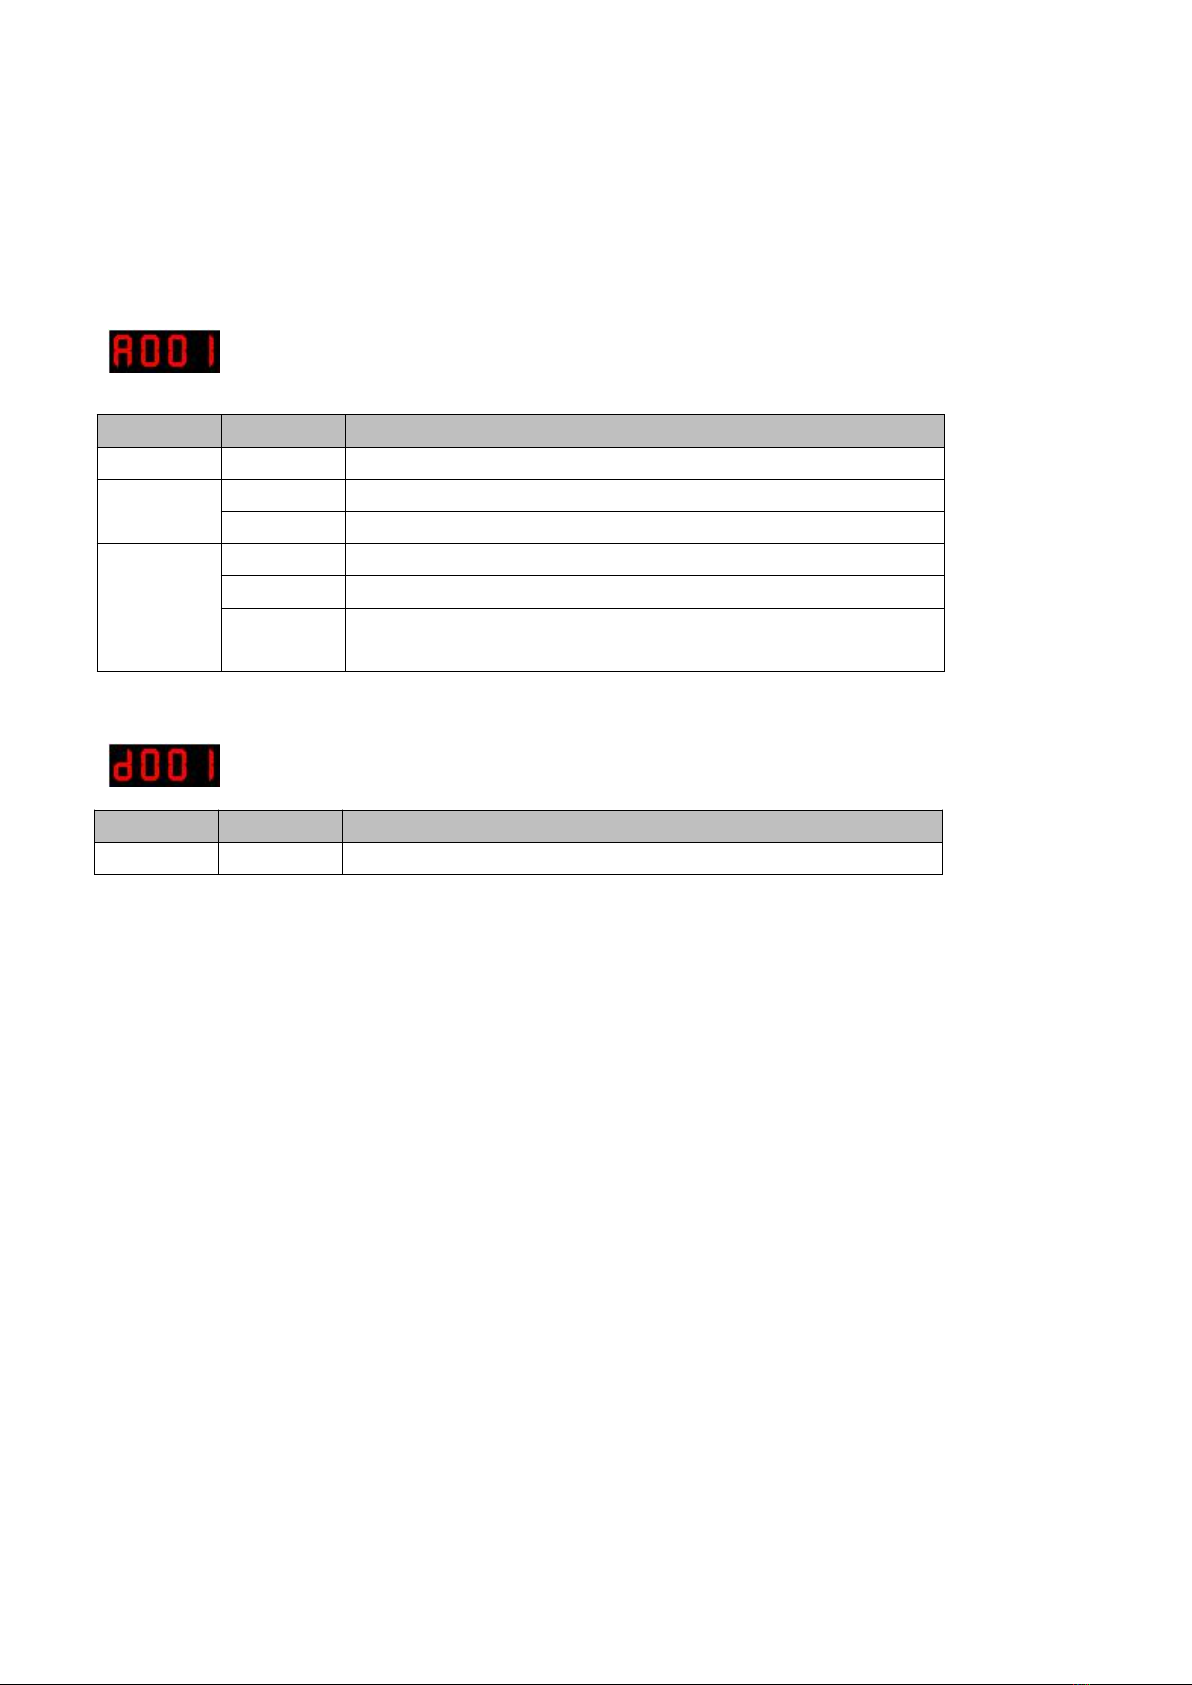
2.2.1. Main menu
Press MENU key to change the menu
LED show
English word/function
key operation
description
Advanced DMX
UP/DOWN key to choose the
address code (1~512)
ENTER key to save
check “channel
data”
Advance DMX controller
state
dMX
normal DMX controller
state
SLAve
equal“d001”
Above is the slave mode, attention:
1、Make sure there is only a signal (controller or master light)
2、The light will be turn off if the signal is cut down. (turn off the controller or
master light)
Cool white
(0~255)ENTER to choose the led
group
UP/DOWN to choose the bright of
the led group
Change color
Strobe
UP/DOWN key to choose the
speed (1~50)
ENTER to save.
Strobe
Sound
Sound model
Above is the master state, the light will send the data automatically. (the
slave light should set “d001” or “SLAv”)

2.2.2. Current adjustment
2.2.2.1. Keyboard current adjustment
Under any main menu item, press and hold the MENU, after about 3 seconds to enter the "keyboard
current adjustment" mode, Then can adjust the current . Proceed as follows:
1、First see the "r030". "R" stands for red, so only red will be lit at this time, and the other colors will turn
off automatically. "030" represents the current current value, use the UP button or DOWN button to
adjust from 0 to 255. Note that the slow increase, suitable for this: If the current is too large, will
lead to lamp beads burned!
2、After adjusting the red, press the "MENU" key to switch to "G030" began to adjust the green, the
same time it will only light green while the other colors will automatically shut down ... ... The
adjustment of other colors and the like.
3、Press "ENTER" key to save and automatically return to "A001" menu
2.2.2.2. DMX Current regulation
Through the console (or host) for multiple lights current regulation. The console for example, the following
steps:
1、For reduce the risk of burning lamp. before the completion of step 3, please do not connect the
light to the console.
2、First of all through the "keyboard current adjustment" to adjust the ideal current value in a light and
record it.
3、Set the channels 1, 2, and 3 of the console to recorded the current values (to represent red, green,
and blue, for example,then set the channel 2 value to 100 for a green current value of 100). This step
must be completed before starting step 4! Otherwise it may be caused by channel value is too
large led lamp burning!
4、After confirming that step 3 is no problem,then connect the light to the console. Press and hold the
MENU key and ENTER key at the same time in any main menu. After about 3 seconds, enter "DMX
current adjustment" mode. The screen will display "CSdA"(Color Scale dMX Adjustment),and which
will flicker if the DMX signal is not received
5、Wait for about 1 second, if "CSdA" is not flicker then it has correctly received the current value passed
by the console (also can through lamp brightness to be observed), the adjustment is successful.
4、Press "ENTER" key to save and automatically return to "A001" menu
6、In step 5, the channel value of the console can also be changed to adjust again. Since it is the ideal
value that has already been adjusted, generally do not need to adjust again. If you want to adjust,
you must be conscious, careful! If the current is too large, will lead to lamp burned!

2.2.3. Set Menu
In the “dEMo” menu, long press “ENTER” to set the menu.
Press MENU to change the menu option.
LED show
English Word/function
key operation
Description
LED waiting time
UP/DOWN choose the waiting
time
0 = no screen
protect
Screen protect time
High Power
UP/DOWN choose high power
or not
On = 100%
off = 33.3%
Power choose
dMX-controller delay
UP/DOWN choose use the
controller delay or not
controller delay
Synchronization
UP/DOWN choose
usemulti-light synchronization
or not
Multi-light
synchronization
LoAd
Long press ENTER until it
shows “LdEd”(loaded)
reset
rEturn
Press ENTER to save the data
and back to main menu.
Back to function menu
2.3. Control
2.3.1. Channel
Channel
Data
Function
1
0~255
Dimmer
2
0~5
No function
6~255
Strobe: 6 is slowest, 255 is fastest
3
0~25
Turn on “delay by controller”
26~200
Turn off “delay by controller”
251~255
Sound mode: the changing of the light depends on the MIC of
each light
Channel
Data
Function
1
0~255
Dimmer

SAFETY WARNING
1. Warning
﹡Every person involved with the installation , operation and maintenance of this device has to be
qualified .
﹡User must follow the instructions of this manual
﹡Unqualified person can not open the housing cover and operate the device , or the dealer will not
accept liability for any resulting defects or problems.
﹡The device against rain and moisture
2. Waring notes :
﹡Power supply : AC 100V-240V , 50/60Hz
﹡Make sure the power switch is off , the power plug , outlet and the earth connection is in well condition
before connecting the device with the mains.
﹡Please use qualified power plug and the outlet. Never connect the power cord of this device with other
electrical equipment.
﹡During move and installation , make sure the device not crashed with metal parts and other tough
materials.
﹡Always disconnect from the mains, when the device is on the installation and dismantled
﹡The minimum distance between light-output and the illuminated surface must be more than 50cm
﹡The device must only be installed on a non-flammable surface . In order to safeguard sufficient
ventilation , leave 50cm of free space around the device . Please note that heat-sensitive objects may be
deformed or damaged by the emitted heat .
﹡During the operation the housing becomes very hot ! Do not operate the device for 15 minutes after
switching off .
﹡The maximum ambient temperature Ta = 45℃must never be exceeded , The maximum housing
temperature Tb = 80℃must never be exceeded .
﹡For indoor use
﹡Replace any visible cracked protective shield , filters and lens .
﹡The protective shiel, filters and lens will require weekly cleaning as smoke “Cfluid tends to building up
residues , reducing the light “Coutput very quickly.

DISCLAIMER
1. The device is with one year warranty . The warranty period appear non-artificial quality problem, this
company is responsible for free maintenance
2. User violate operation caused the machine failure, this is user responsibility.
3. If due to the wrong operation or intense impact caused product destroy even safety accidents, the
manufacturer does not undertake any responsibility
4. Prohibit replaced product components by any person, therefore caused any consequences will be
whose responsible
Please contact us freely when you need our related products or in formations...
PRODANCE, s.r.o.
Osadní 799/26, 170 00 Praha 7
T: 220 806 054 E: i[email protected]
www.prodance.cz
Table of contents
Other EXALite Lighting Equipment manuals


