Oreon EMPRESS E 650 Series User manual

V20200201E
EMPRESS
THE DUTCH POWERHOUSE
(E 650 XXX YY)
INSTALLATION MANUAL
IMPORTANT: READ CAREFULLY BEFORE STARTING INSTALLING THE
FIXTURE. KEEP FOR FUTURE REFERENCE.


–3 –V20200201E
PREFACE
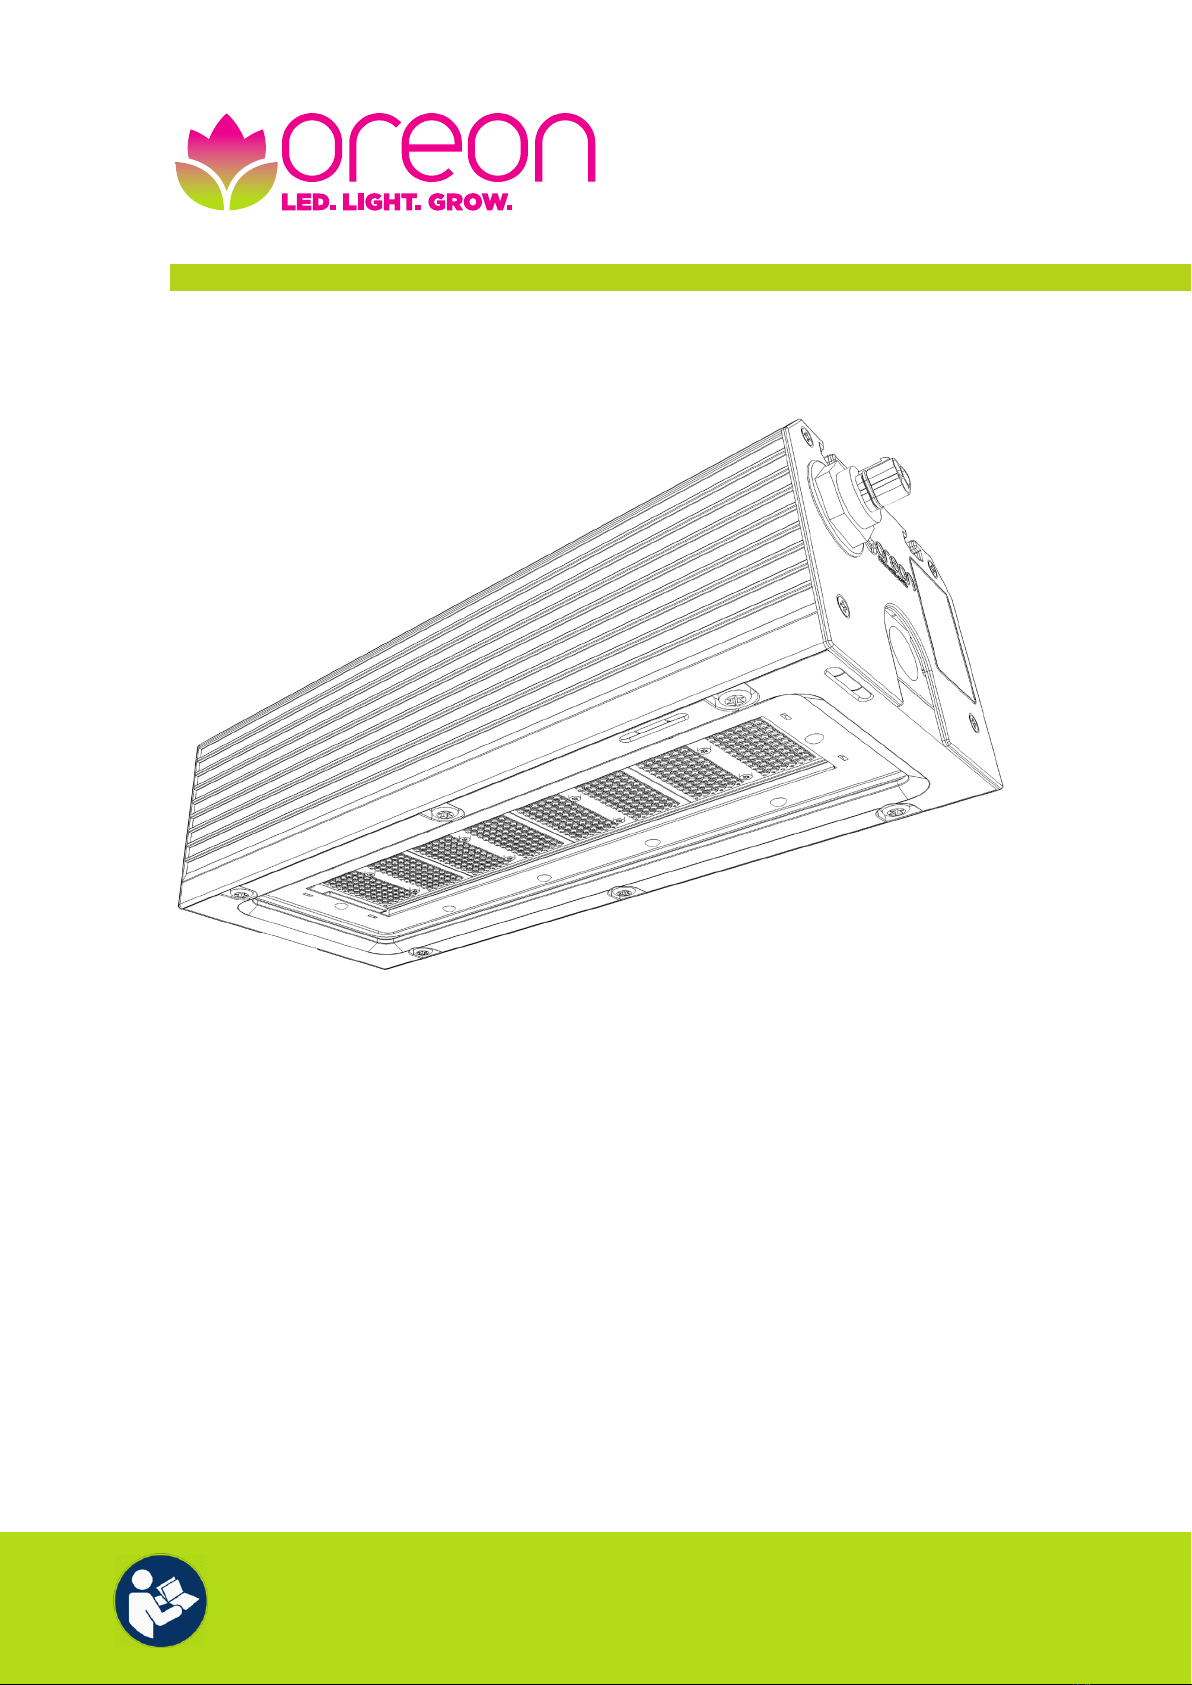
Thank you for purchasing the Dutch Powerhouse Empress (E 650 XXX YY)
This manual contains all the information needed to quickly familiarize yourself with the LED xture. We
kindly request you to read through this information carefully, before you start installing the LED xture.
This manual does not provide information of the electrical system, water-cooling system and mounting
system. These systems must be designed/provided by the installer.
This manual is intended for the installer of the Dutch Powerhouse Empress (E 650 XXX YY). This manual is
originally written in English. All other languages are translations of the original manual. Keep this manual
safe!
This manual contains warnings that point out hazardous situations and important
remarks. These warnings and remarks are grouped and represented as follows:
DANGER
Danger! The signal word that indicates a hazard with a high level of risk which, if not avoided,
will result in death or serious injury.
WARNING
Warning! The signal word that indicates a hazard with a medium level of risk which, if not
avoided, could result in death or serious injury.
CAUTION
Caution! The signal word that indicates a hazard with a low level of risk which, if not avoided,
could result in minor or moderate injury.
NOTICE
Notice The signal word that indicates information considered important, but not hazard-related
(e.g.) messages relating to property damage).
The Dutch Powerhouse Empress (E 650 XXX YY), where XXX YY ZZ = where XXX =
LB (Low Blue) LBW (Low Blue + White),
MB (Medium Blue) MBW (Medium Blue + White),
HB (High Blue) HBW (Hight Blue + White),
XB (Extreme Blue) XBW (Extreme Blue + White) or
BS (Broad Spectrum) is compliant to the following standards:
cMETus listed (ANSI/UL)
• UL 1598
• CSA C22.2 No. 250.0-08
CE
• Low Voltage Directive (LVD) 2014/35/EU
• Electromagnetic Compatibility Directive (EMC) 2014/30/EU
General
• Restriction of Hazardous Substances (RoHS) Directive 2011/65/EU
• Eco Design Directive 2009/125/EG
Please check our website for our warranty policy.
For further information please contact:
Oreon
Lorentzlaan 6
3401 MX IJsselstein
The Netherlands
T +31 30 760 0660
W www.oreon-led.com

–4 –V20200201E
TABLE OF CONTENTS
1 Product description 5
1.1 Intended use 5
1.2 Symbols used on the product 5
1.3 Main components 6
1.4 General dimensions 6
2 Technicalspecications 7
2.1 General LED xture specications 7
2.2 Cooling info light LED xture 7
3 Precautions and safety instructions 8
4 Installation 9
5 Initial starting 12
6 Maintenance and disposal 13
6.1 Maintenance 13
6.2 Disposal 13
7 Troubleshooting 14
Appendix I Water-cooling installation 15

–5 –V20200201E
1 PRODUCT DESCRIPTION
1.1 Intended use
The intended use of the LED xture is to stimulate plant growth by use of light. Typical environments for the
grow light are greenhouses and indoor growing facilities. The Dutch Powerhouse Empress (E 650 XXX YY)
can only be used with an active cooling system. This cooling system needs to be custom made by the
qualied certied professional installer.
The Dutch Powerhouse Empress (E 650 XXX YY) is mainly used in the horticultural industry.
The Dutch Powerhouse Empress (E 650 XXX YY) may only be used within the operating conditions as
specied in Paragraph 2.1.
The Dutch Powerhouse Empress (E 650 XXX YY) is referred to as the “LED xture” in this manual.
1.2 Symbolsusedontheproduct
Product is tested against EN62471
The symbol on the material, the accessories or packaging indicates that this LED
xture may not be treated as domestic waste. Dispose of the equipment through a
recycling centre that handles electronics and electrical appliances within the EU
and in other European countries which use separate collection systems for used
electronics and electrical appliances. By disposing of the equipment in the proper
way, you will be helping to prevent potential risks to the environment and public
health, which might otherwise be caused by improper handling of the discarded
equipment. Recycling of materials contributes to the conservation of natural
resources. Therefore, do not discard your old electrical and electronic equipment
via the domestic waste.

160
122
388
160
80
80
86
86
40
36
–6 –V20200201E
1.3 Main components
1. Power inlet connector
2. T-slots for mounting
3. Water-cooling inlet/outlet (Pipe thread ISO 228 G3/ 4”)
4. Glass cover
5. Aluminium enclosure
6. LED light source
1
2
3
4
5
6
1.4 General dimensions
6.30"/160
4.8"/122
15,28"/388
6,30"/160
3,15"/80
3,15"/80
3,38"/86
3,39"/86
1.57"/40
1.4"/36
6.30"/160
4.8"/122
15,28"/388
6,30"/160
3,15"/80
3,15"/80
3,38"/86
3,39"/86
1.57"/40
1.4"/36

Power consumption 655 W ± 5%, depending on model
Power factor > 0.96 @ 400 VAC
Supply voltage 200-480 VAC
Frequency range 50/60 Hz
Current range 3.5 - 1.5 A
Inrush current < max. 40 A (t< 1msec)
Leakage current < 0.75 mA @ 480 VAC
Recommended circuit breaker type-K trip characteristic
Ambient operating conditions 32 to 113°F | 0 to 45°C / 95% RH
Water-cooling inlet/outlet Pipe Thread ISO 228 G3/4”
Power inlet connector1Wieland RST20i3 male
Isolation class Class I
Ingress protection IP67 for LED module
Impact protection IK-10 (IK-7 for glass cover)
Net. weight 19.0 lb | 8,6 kg
LED xture dimensions (l x w x h) 15.35” x 6.3” x 4.8” | 390 mm x 160 mm x 122 mm
Heat imparted on the cooling liquid (W) 275-340 Watt (Depending on model)
Cooling liquid Water
Cooling liquid temperature From dew point to 113°F | 45°C
Direction of ow Can be both ways
Water connection 2x Pipe thread ISO 228-G 3
/
4” (26,4 mm)
Materials and corrosion Use pipe ttings of a material compatible with aluminium. Do not use
brass or steel ttings.
Water quality Ideally the cooling water should have a PH-value between 4 and 8 to
minimize any risk of corrosion.
Water ltration Contaminated water should be ltered for optimal performance and
cooling capacity of the light xtures. Oreon advises a lter of 300 micron
on the cooling system.
– 7 –V20200201E
2 TECHNICAL SPECIFICATIONS
2.1 GeneralLEDxturespecications
NOTICE
See the Technical Datasheet for more specications and properties of the LED xture.
2.2 CoolinginfolightLEDxture
1To order the female Wieland connector, please contact Oreon.

–8 –V20200201E
3 PRECAUTIONS AND SAFETY INSTRUCTIONS
DANGER
Follow proper grounding methods: The electrical system must be grounded. If you are not sure if your
power system is grounded, DO NOT install the LED xture. Contact a licensed electrician for information on
proper grounding methods as required by your local electrical code. FAILURE TO FOLLOW THIS WARNING
MAY LEAD TO DEATH, SEVERE INJURY, OR PROPERTY DAMAGE.
WARNING
• Ensure that the wiring meets the requirements in order to use the LED xture within the specications.
The LED xture is only suitable for a supply voltage of 200-480VAC.
• The LED xture may only be installed by a qualied person.
• Use a suitable circuit-breaker that is able to handle the high inrush current of the LED xture.
• Switch off the mains voltage before commencing installation or maintenance work.
• LED xture installation must comply with the current applicable standards.
• Never roll up cables and ensure that connection cables are kept separate. This helps to prevent
electromagnetic interference.
• The electrical power must be clean and have stable voltage and current and undistorted waveforms. The
LED xture contains a discrete surge protective device, but it is highly recommended to install suitable
surge protective devices in the electrical panels to prevent damage by surge events. Failure to ensure
power quality requirements will void warranty.
• The LED xture must be installed in accordance with your local electric code. Oreon recommends that
installation is only to be performed by a qualied electrician.
• Do not open or disassemble the LED xture. Opening the LED xture can prove hazardous and will void
the warranty.
• Never exert excessive pressure on the LED casing.
• The warranty does not cover damages caused by misuse or improper handling of the LED xture.
• Risk of eye injury! The high intensity light, produced by the LED xture, can cause severe damage to the
eye if viewed directly at close range. Avoid staring into the light or wear suitable protective eyewear.
NOTICE
The end user is responsible for ensuring correct installation and use of the LED xture. Incorrect installation
can cause damage or defects to the LED xture. The warranty will void if the LED xture and/or electronic
components are damaged due to incorrect installation.

–9 –V20200201E
4 INSTALLATION
BeforeinstallingtheLEDxture,makesurethat:
• The electrical system and water-cooling system are installed by the installer. These systems must be
custom made. Oreon advises to install the water-cooling system in a closed loop system according to the
Tichelmann conguration. It is highly recommended to consult a licensed mechanic/installer for the total
design of the cooling system. If any questions arise, please contact Oreon. See Appendix I Water-cooling
installation.
• You have chosen a mounting system which is suitable for the LED xture, the amount of LED xtures and
the installation area.
• You own a lighting plan of the installation area. The lighting plan is made by Oreon and determines the
number of LED xtures that will be used in an installation. Every lighting plan is customized to the specic
needs of our customers. The lighting plan determines where the grow lights will be located and species
the electrical system and water-cooling system.
1. Switch off the mains voltage.
2. Read the lighting plan and make sure you are familiar with it.
3. Gather the equipment for mounting the LED xture.
4. Mount the LED xtures with the chosen mounting system.
The LED xture has a water channel which makes it possible to cool the LEDs using water. The LED xture
has an inlet and an outlet to allow water ow through the lamp. The inlet/outlet are equipped with a
standard G 3/4” inner thread. Use a pipe tting with G 3/4” outer threading to connect the pipes to the inlet
and outlet.
ToconnecttheLEDxturetothewater-coolingsystem,followthestepsbelow:
5. Cut the tubes used to transport the cooling liquid to length. Connect the LED xtures using the tubes.
Calculate tube length? Note: thickness of the end plate and add 0.01” | 3,25 mm
0.01” |3,25 mm

–10 –V20200201E
ToconnecttheLEDxturetotheelectricalsystem,followthestepsbelow:
NOTICE
You can order the female Wieland connector from Oreon. Please contact Oreon for details.
6. Strip the appropriate length of cable. (x=8mm, y=30mm for PE wire & 25mm for N and L wires).
7. Crimp ferrule to the cable using the appropriate tool.
DANGER
Make sure to turn off the power before connecting the cable in the junction box.
8. Connect the wires of the electrical installation to the Wieland Female connector (torque typ. 0.8…1Nm).
Use the required cable types as specied in paragraph 2.1.

–11 –V20200201E
9. Close the connector and tighten the cable gland (torque type 4+1 Nm).
10. Connect the female connector to the male connector integrated in the LED xture.
11. Attach the LED xture to the rail by choosing the correct mounting system.

–12 –V20200201E
5 INITIAL STARTING
Installations containing a large number of LED xtures may require specic requirements for start-up and
shutdown of the installation. Consult a qualied electrician for the design of the electrical installation.
Switching on
The LED xture can have a considerable inrush current, therefore we advise against turning on a large
number of LED xtures at the same time. This can be achieved by switching on the LED xtures in groups
with a small delay (1 sec) between the groups. The dimensioning of the electrical installation determines the
maximum number of LED xtures that can be turned on together.
Switching off
Depending on the characteristic impedance and length of the branch circuit, a sudden shutdown of all LED
xtures could cause a high voltage surge that can be damaging to the equipment connected to the branch
circuit. Therefore an installation with a large number of LED xtures should be designed in such a way that
the LED xtures are turned off in a sequence of groups of LED xtures.
NOTICE
See Chapter 8: Troubleshooting if the LED xture fails to light up.

–13 –V20200201E
6 MAINTENANCE AND DISPOSAL
6.1 Maintenance
1. Check the LED xture at regular intervals for build-up of dust and dirt. Clean the LED xture if
necessary. Contamination can lead to overheating and reduced performance.
2. Clean the LED xture with a dry, slightly damp cloth or use a garden hose if the LED xture is very lthy.
3. In the event that the LED xture is to be stored, it must be kept in a dry, non-condensing and clean
environment with an ambient temperature of 0°C / 32F to 60°C / 140F, 85%RH.
6.2 Disposal
The product should be dismantled and disassembled safely and in an environmentally friendly way, in line
with the rules dened by the national authorities.

–14 –V20200201E
7 TROUBLESHOOTING
WARNING
Do not open or disassemble the LED xture. Opening the LED xture can prove hazardous and will void the
warranty.
NOTICE
In the event that the LED xture is defective or damaged, contact the dealer or installer. Never switch on a
defective or damaged LED xture.
What can you see? What is the cause? What should I do?
LED xture turns off
unexpectedly
The LED xture is
protected against
overheating and will turn
itself off when there is no
cooling liquid owing.
• Check cooling after ensuring cooling water is owing.
• Switch off the power and then turn the power on
again. The LED xture should now work again.
If you have any questions about the LED xture, or about the installation of the LED xture, please contact us.
Oreon
Lorentzlaan 6
3401 MX IJsselstein
The Netherlands
T +31 30 760 0660
W www.oreon-led.com
Oreon cannot be held liable for any direct or indirect (consequential) damages as a result of any wrongful
installation of the LED xtures when the steps in the installation manual have not been followed in detail.

–15 –V20200201E
APPENDIXIWATER-COOLINGINSTALLATION
Oreon advises to install the water-cooling system according to the Tichelmann conguration.

V20200201E
Oreon
Lorentzlaan 6 T+31
30 760 0660
3401 MX IJsselstein Einfo@oreon-led.com
The Netherlands Wwww.oreon-led.com
Table of contents
Other Oreon Lighting Equipment manuals
Popular Lighting Equipment manuals by other brands

Seliger
Seliger FOGSTAR 600 operating instructions

Olympic Medical
Olympic Medical BILI-LITE 33 instruction manual

Heitronic
Heitronic 38185 installation instructions

HOOTBOOTH
HOOTBOOTH ILLUMIN8+ Hardware setup guide

Rego
Rego LEGO OPTIMUS PRIME 10302 LIGHT KIT install guide

JB Systems
JB Systems Genius-2 LED Operation manual