manuals.online logo
Brands
  1. Home
  2. •
  3. Brands
  4. •
  5. PacLights
  6. •
  7. Lighting Equipment
  8. •
  9. PacLights FSTA/2 Series User manual

PacLights FSTA/2 Series User manual

INSTALLATION GUIDE FSTA/2 Series LED Roadway Lights
Instructions and specifications are subject to change at any time without notice. Copyright© 2023 PacLights All Rights Reserved Page 1 of 2
Need help? (800) 988 -6386 Email: CS@PacLights.com Website: www.PacLights.com
PL_INST_FSTA/2_v0
FSTA/2 INITIAL SET-UP
IMPORTANT
READ CAREFULLY BEFORE INSTALLING FIXTURE. RETAIN THESE INSTRUCTIONS FOR FUTURE REFERENCE.
PacLights fixtures must be wired in accordance with the National Electrical Code and all applicable local codes. Proper grounding is required for safety.
THIS PRODUCT MUST BE INSTALLED IN ACCORDANCE WITH THE APPLICABLE INSTALLATION CODE BY A PERSON FAMILIAR
WITH THE CONSTRUCTION AND OPERATION OF THE PRODUCT AND THE HAZARDS INVOLVED.
WARNINGS:
• Make certain power is OFF before installing or maintaining fixture. No user serviceable parts inside.
• To prevent wiring damage or abrasion, do not expose wiring to edges of sharp objects.
CAUTION:
• For proper weatherproof function all gaskets must be seated properly and all screws inserted and tightened firmly. Apply weatherproof silicone
sealant around the edge of the Back Box and/or Junction Box. This is especially important with an uneven wall surface. Silicone all plugs and
unused conduit entries.
FIG. 1
OPTIONAL PHOTOCONTROL SENSOR
FIG. 2
FSTA/2-L/M/H FSTA/2-X
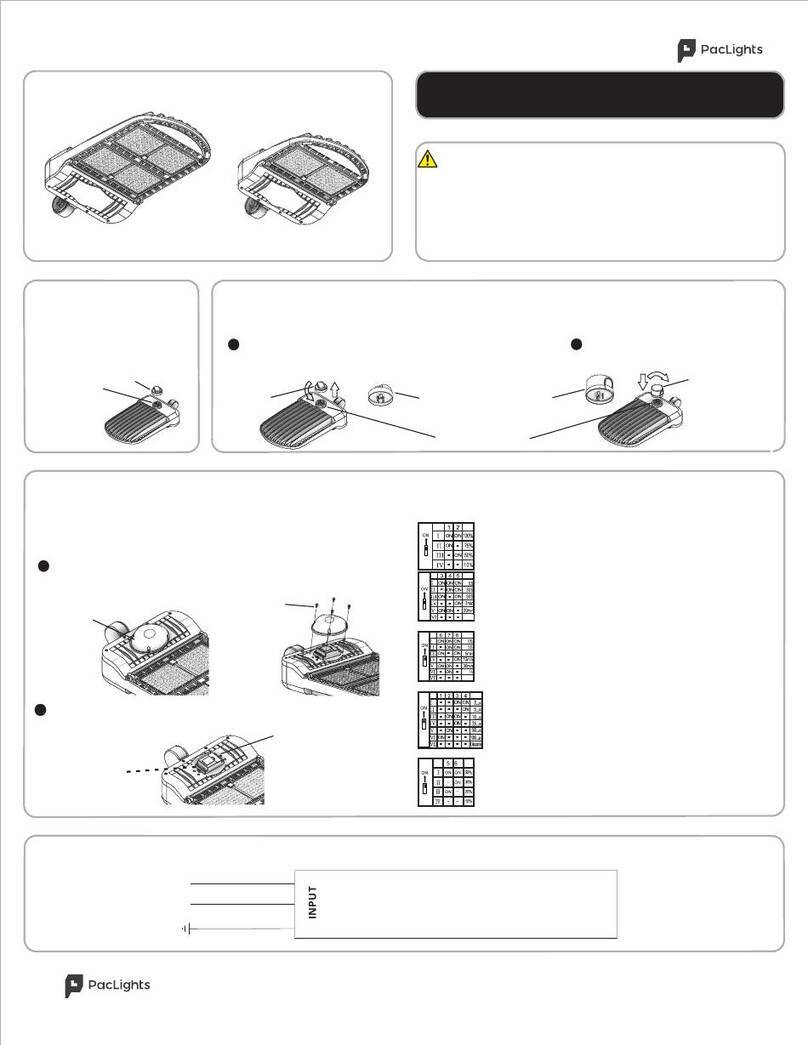
Install the Short-Cap on the Receptacle correctly by pressing down and
twisting CW (Fig. 1). Note: If Photocontrol Sensor is provided see the
following for instructions.
Connect the ACL and the ACN from the FSTA/2 fixture to the conduit with the AC power Supply Cable. Follow the Wiring Diagram provided.
AC POWER SUPPLY
FSTA/2 DRIVER
GRAY (-)
PINK (+)
HOT [BLACK]
NEUTRAL [WHITE]
GROUND [GREEN]
WIRING DIAGRAM
DIM
INPUT
SHORT-CAP
There are two types of Twist-Lock Photocontrol Sensors available. One
of the Photocontrol Sensors has a Dusk to Dawn functionality. Both
Photocontrol Sensors can be easily installed on all FSTA/2 fixtures as shown
below. Install the Photocontrol Sensor on the Receptacle correctly by
pressing down and twisting CW (Fig. 2). Note: If the Photocontrol Sensor
is not included the following step can be skipped. If the Photocontrol
Sensor is included prior to field installation, Initial Set-Up can be skipped.
PHOTOCONTROL
SENSOR
FSTA/2 FIXTURE
RECEPTACLE
INSTALLATION GUIDE FSTA/2 Series LED Roadway Lights
Instructions and specifications are subject to change at any time without notice. Copyright© 2023 PacLights All Rights Reserved Page 2 of 2
Need help? (800) 988 -6386 Email: CS@PacLights.com Website: www.PacLights.com
PL_INST_FSTA/2_v0
The FSTA/2 fixture can be mounted easliy to most standard Roadway
Upsweep Arms. Pull both Cover Tabs outwards to release from the
Cover to open the Cover of the fixture (Fig 5).
1
ROADWAY UPSWEEP ARM MOUNTING
FIG. 5
3
FIG. 8
COVER TABS
FIG. 9
PIPE ARM
4
FIG. 7
PIPE ARM
SUPPORTS
WASHERS
BOLTS
FIG. 3
MOUNT
BRACKETS
The 4-Bolt Mount Brackets supplied fits 1-3/4” to 2-3/8” OD Pipe
Arms. Loosen the bolts or remove if needed (Fig. 6).
COVER
2
FIG. 6
Install the FSTA/2 fixture onto the Pipe Arm by setting onto the Pipe
Arm Supports (Fig. 7).
5
With the Pipe Arm in place close the Cover by closing the Tabs onto
the Cover of the FSTA/2 fixture (Fig. 8).
The FSTA/2 fixture in a typical setting with a Light Post and a Roadway
Upsweep Arm (Fig. 9).
FIG. 4
COVER
UPSWEEP ARM
LIGHTPOST
FSTA/2 FIXTURE
COVER TABS
FSTA/2 FIXTURE
OPTIONAL HALF GLARE SHIELD
The FSTA/2 Half Glare Shield can help to limit light trespass. Align the Half
Glare Shield to the holes near the FSTA/2 Lens Base and fasten with the
Screws (Fig. 4).
FSTA/2 FIXTURE
GLARE SHIELD
SCREWS
FIELD-ADJUSTABLE LUMEN OUTPUT/WATTAGE
Open the Cover to adjust the Wattage with the Wattage Switch inside of
the FSTA/2 fixture (Refer to Fig. 5). The FSTA/2-L can be adjusted to
40/50/60W, the FSTA/2-M to 60/75/90W, FSTA/2-H to 80/100/120W
and the FSTA/2-X to 150/200/240W (Fig. 3).
WATTAGE
SWITCH

This manual suits for next models

2

Other PacLights Lighting Equipment manuals

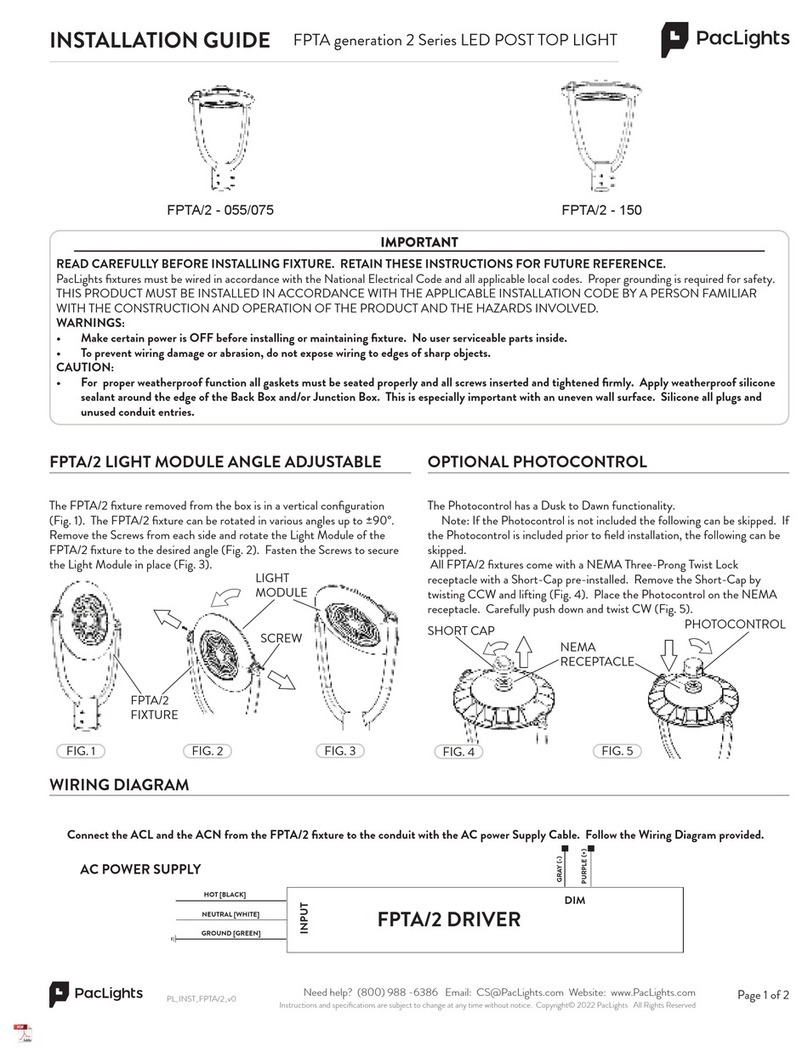
PacLights FPTA/2 - 055/075 User manual

PacLights

PacLights FPTA/2 - 055/075 User manual

PacLights FPNN Series User manual

PacLights

PacLights FPNN Series User manual

PacLights FALC Series User manual

PacLights

PacLights FALC Series User manual

PacLights FCPC Series User manual

PacLights

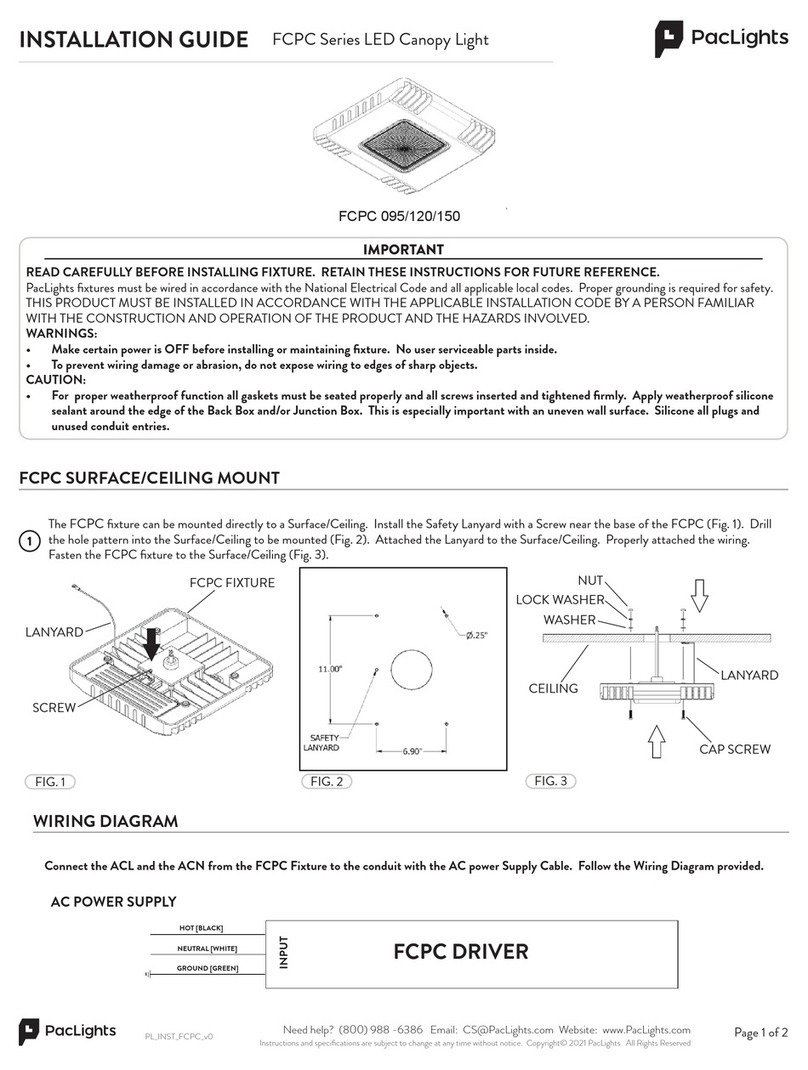
PacLights FCPC Series User manual

PacLights FPTA Series User manual

PacLights

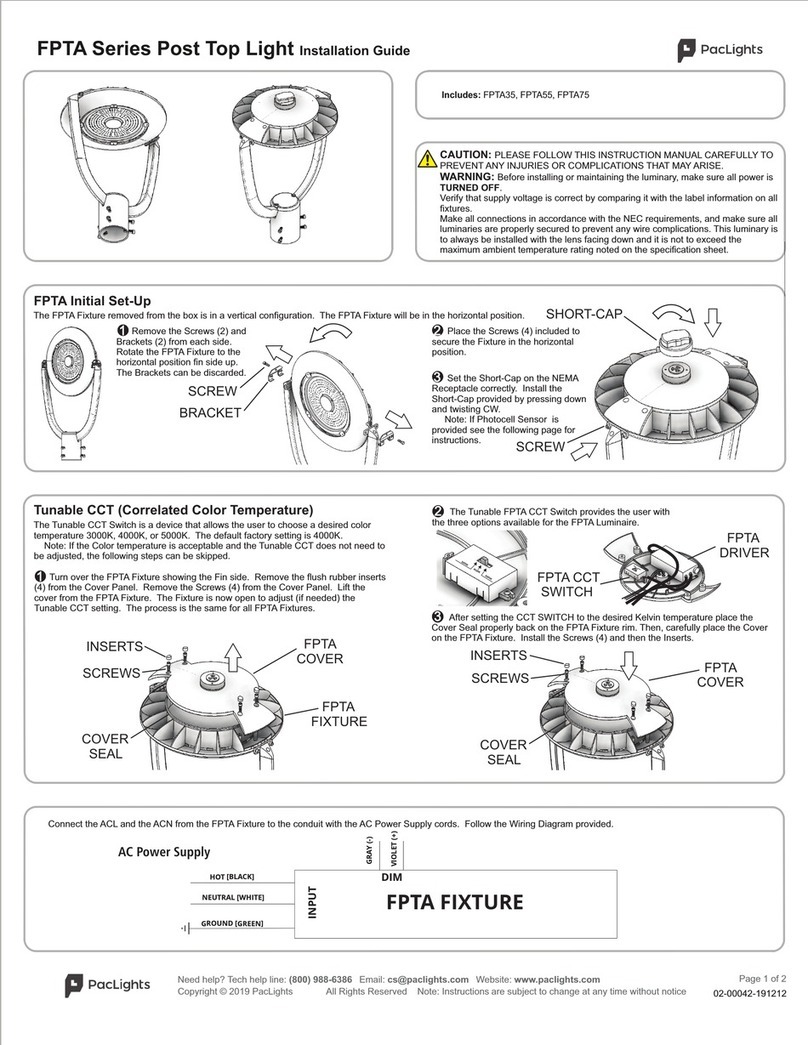
PacLights FPTA Series User manual

PacLights FFHS/3 Series User manual

PacLights

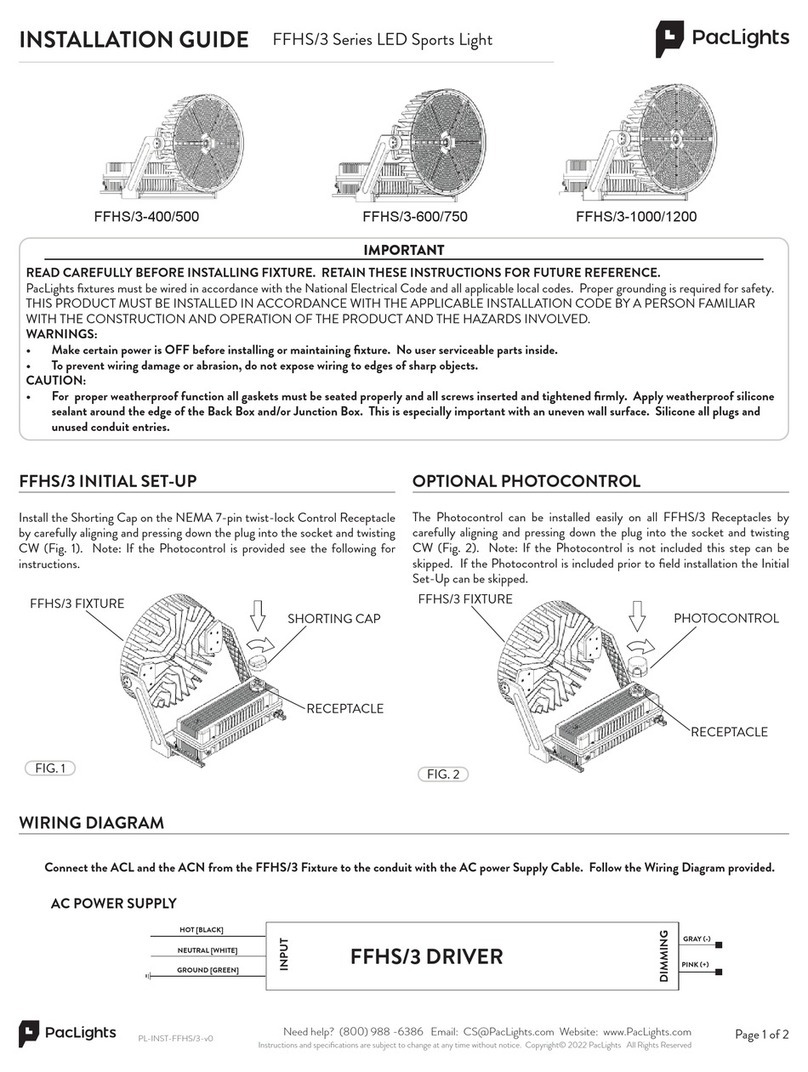
PacLights FFHS/3 Series User manual

PacLights FFHL Series User manual

PacLights

PacLights FFHL Series User manual

PacLights FSLN Series User manual

PacLights

PacLights FSLN Series User manual

Popular Lighting Equipment manuals by other brands

Photon Systems Instruments SL 3500 Instruction guide

Photon Systems Instruments

Photon Systems Instruments SL 3500 Instruction guide

GTV SENSA OP-SENZWOKB-10 user manual

GTV

GTV SENSA OP-SENZWOKB-10 user manual

Somogyi home KD 90 T quick start guide

Somogyi

Somogyi home KD 90 T quick start guide

thomann StairVille PAR56 MKII RGBA user manual

thomann

thomann StairVille PAR56 MKII RGBA user manual

V-TAC VT-20201ST Installation instruction

V-TAC

V-TAC VT-20201ST Installation instruction

SKYDANCE S1-D1 quick start guide

SKYDANCE

SKYDANCE S1-D1 quick start guide

Emos CHERRY COLORS manual

Emos

Emos CHERRY COLORS manual

Easylife 6956 instruction manual

Easylife

Easylife 6956 instruction manual

Osram Clay Paky ALPHA WASH 300 instruction manual

Osram

Osram Clay Paky ALPHA WASH 300 instruction manual

WESTEK KERNL12W Instructions for installation

WESTEK

WESTEK KERNL12W Instructions for installation

Cooper Crouse-Hinds CEAG SEB 9 operating instructions

Cooper Crouse-Hinds

Cooper Crouse-Hinds CEAG SEB 9 operating instructions

Command Light SL445A manual

Command Light

Command Light SL445A manual

Shehds 7X40W user manual

Shehds

Shehds 7X40W user manual

Osram OTi50W Installation and troubleshooting guide

Osram

Osram OTi50W Installation and troubleshooting guide

SUNTERRA 300420 owner's guide

SUNTERRA

SUNTERRA 300420 owner's guide

Anslut 423-357 User instructions

Anslut

Anslut 423-357 User instructions

LIGMAN ODESSA 2-G installation manual

LIGMAN

LIGMAN ODESSA 2-G installation manual

Philips bodine LP400 installation instructions

Philips

Philips bodine LP400 installation instructions

manuals.online logo
manuals.online logoBrands
  • About & Mission
  • Contact us
  • Privacy Policy
  • Terms and Conditions

Copyright 2025 Manuals.Online. All Rights Reserved.