manuals.online logo
Brands
  1. Home
  2. •
  3. Brands
  4. •
  5. Excalibur
  6. •
  7. Car Alarm
  8. •
  9. Excalibur AL-1000 SX User manual

Excalibur AL-1000 SX User manual

Other Excalibur Car Alarm manuals

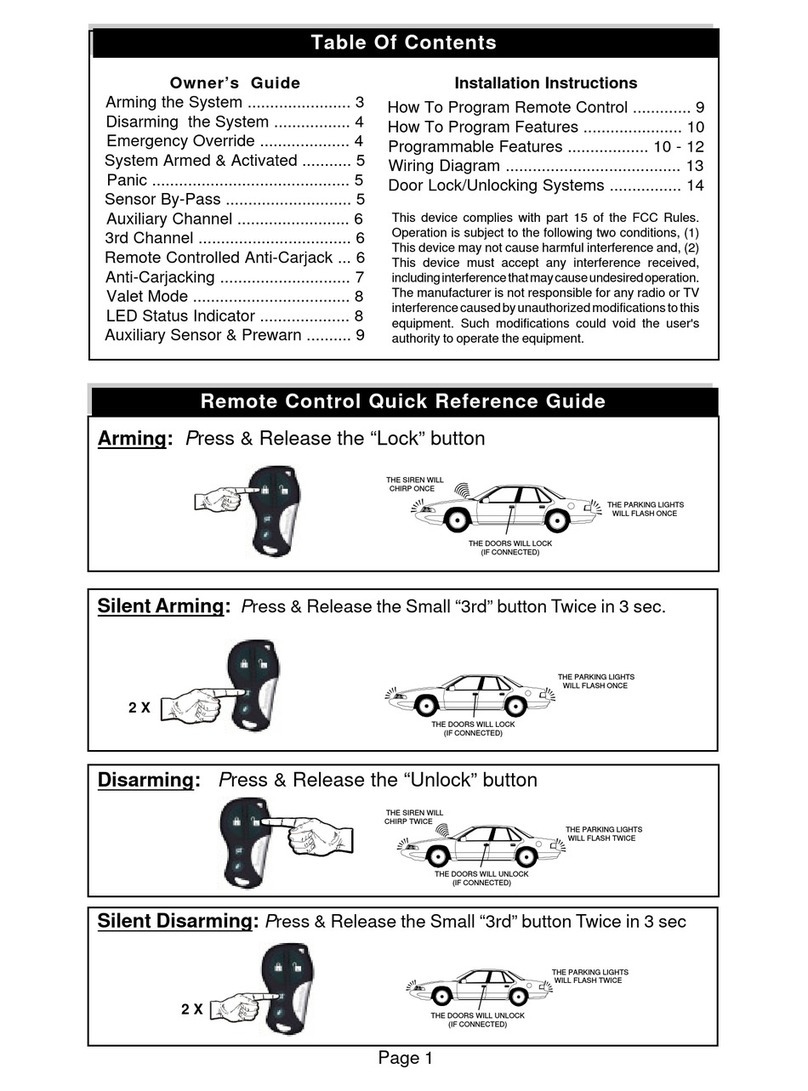
Excalibur AL-1860-EDPB User manual

Excalibur

Excalibur AL-1860-EDPB User manual

Excalibur AL-2075-3DB-L User manual

Excalibur

Excalibur AL-2075-3DB-L User manual

Excalibur Al-1820-EDP User manual

Excalibur

Excalibur Al-1820-EDP User manual

Excalibur 500 User manual

Excalibur

Excalibur 500 User manual

Excalibur Excalibur Gold eg-1400atv User manual

Excalibur

Excalibur Excalibur Gold eg-1400atv User manual

Excalibur AL-560 User manual

Excalibur

Excalibur AL-560 User manual

Excalibur Excalibur Gold 1600atv User manual

Excalibur

Excalibur Excalibur Gold 1600atv User manual

Excalibur Excalibur Gold eg-1800atv User manual

Excalibur

Excalibur Excalibur Gold eg-1800atv User manual

Excalibur AL-2030-EDPB User manual

Excalibur

Excalibur AL-2030-EDPB User manual

Excalibur AL-1010-EDP User manual

Excalibur

Excalibur AL-1010-EDP User manual

Excalibur AL-1660-EDPB User manual

Excalibur

Excalibur AL-1660-EDPB User manual

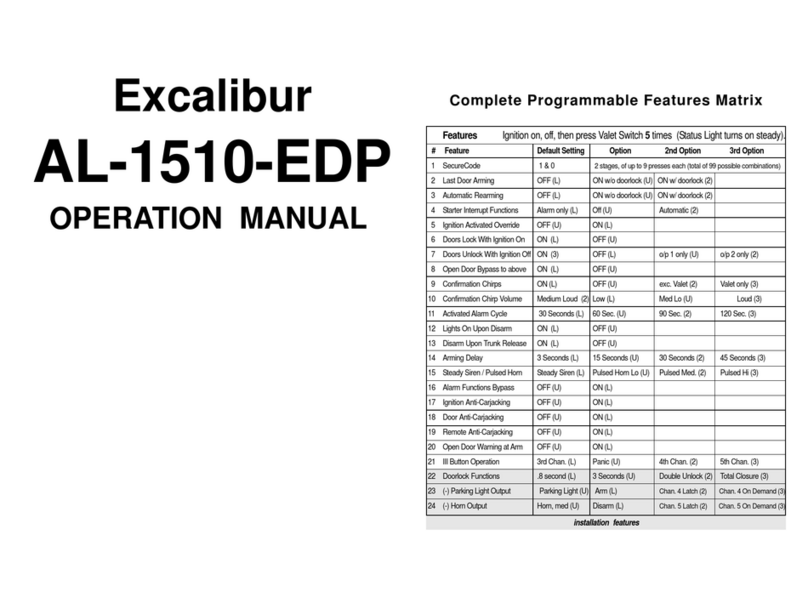
Excalibur AL-1510-EDP User manual

Excalibur

Excalibur AL-1510-EDP User manual

Excalibur RF-51-eDp User manual

Excalibur

Excalibur RF-51-eDp User manual

Excalibur AL-1510-EDP User manual

Excalibur

Excalibur AL-1510-EDP User manual

Excalibur RS-255-EDP+ User manual

Excalibur

Excalibur RS-255-EDP+ User manual

Excalibur RF-10-EDP User manual

Excalibur

Excalibur RF-10-EDP User manual

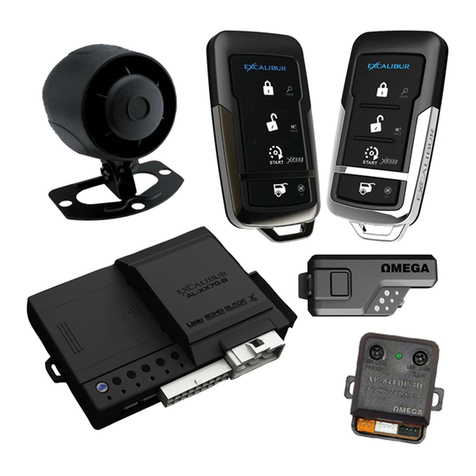
Excalibur AL-XX70-B User manual

Excalibur

Excalibur AL-XX70-B User manual

Excalibur RS-240-DP User manual

Excalibur

Excalibur RS-240-DP User manual

Popular Car Alarm manuals by other brands

jablotron Athos CA-1202 user manual

jablotron

jablotron Athos CA-1202 user manual

Audiovox AVX1B4S Programming guide

Audiovox

Audiovox AVX1B4S Programming guide

Clifford 3606X owner's guide

Clifford

Clifford 3606X owner's guide

Clifford Nova 3 owner's manual

Clifford

Clifford Nova 3 owner's manual

Ultra Start 2500M SERIES install guide

Ultra Start

Ultra Start 2500M SERIES install guide

Viper 560XV owner's guide

Viper

Viper 560XV owner's guide

Ultra Start 650 Series owner's manual

Ultra Start

Ultra Start 650 Series owner's manual

Audiovox Prestige Platinum+ APS-511C owner's manual

Audiovox

Audiovox Prestige Platinum+ APS-511C owner's manual

Sparkrite SRA8 Guide

Sparkrite

Sparkrite SRA8 Guide

Federal Signal Corporation Pathfinder Siren Series Installation and maintenance manual

Federal Signal Corporation

Federal Signal Corporation Pathfinder Siren Series Installation and maintenance manual

Falcon Predator XL3 Installer manual

Falcon

Falcon Predator XL3 Installer manual

Audiovox Auto Security XR91 Programming guide

Audiovox

Audiovox Auto Security XR91 Programming guide

Clifford Sabre II owner's manual

Clifford

Clifford Sabre II owner's manual

SECO-LARM 300C owner's manual

SECO-LARM

SECO-LARM 300C owner's manual

CrimeStopper CS-8717 Wiring diagram

CrimeStopper

CrimeStopper CS-8717 Wiring diagram

Python 660XP owner's guide

Python

Python 660XP owner's guide

Scytek electronic Vectra X3 product manual

Scytek electronic

Scytek electronic Vectra X3 product manual

Clifford CYBER 2 owner's manual

Clifford

Clifford CYBER 2 owner's manual

manuals.online logo
manuals.online logoBrands
  • About & Mission
  • Contact us
  • Privacy Policy
  • Terms and Conditions

Copyright 2025 Manuals.Online. All Rights Reserved.

AL-1000 SX
REMOTES: 3 Button/Green LED 433MHz Omega Part #103-03 Board # ET4E
REMOTE OPERATION:
Large Button- Press and release to arm/lock and disarm/unlock. Press and hold to activate panic.
Right Button- Hold for 3 seconds to activate 2nd channel output.
Left Button- Press and hold for 3 seconds to activate 3rd channel output. Press and release within 3 seconds before arming to Arm
without confirmation chirps. Press and release before disarming to disarm without confirmation chirps. Press and release after arming
to achieve sensor bypass. Press and release after disarming to achieve remote valet.
ZONE VIOLATION CODE: After remotely disarming the LED will flash one of the following codes if the alarm was activated while it was in
an armed state.
Flash 1X- System was activated from the current sensing feature.
Flash 2X- System was activated from the hood or trunk circuit wire.
Flash 3X- System was activated from the door circuit wire.
Flash 4X- System was activated from the auxiliary input.
CODING REMOTES: Unit must be in a disarmed state.
Step 1- Turn “on” the ignition.
Step 2- Press valet button 5 times and wait for a siren chirp.
Step 3 –Press the large button, unit will respond with 1 siren chirp. Press the right button, unit will respond with 2 siren chirps. Press
left button, unit will respond with 3 siren chirps. (Repeat as needed.)
NOTES
1) Unit has 12-pin harness.
2) Unit has 2nd and 3rd channel outputs in the main harness.
3) Unit has 4-pin auxiliary port.
4) Unit has 4 pin door lock plug.
5) Unit has back up battery port for use with a 9 volt battery.
6) Unit has 4 dip switches for features. (See feature section)
7) Unit has plug in valet button.
8) Unit includes starter interrupt socket and relay.
9) AU-84TA shock sensor included. Programmable Features
Turn ignition “on” then “off”- Press valet button 5 times and wait for response chirp- Press valet button equal to the feature # you wish to
change— Pressing Large button turns feature “on”— Pressing small button turns feature “off”.
FEATURE# DEFAULT LARGE BUTTON SMALL BUTTON
Feature#1Ignition Activated Door Locks ON ON OFF
Feature#2 Open Door By-Pass To Feature 1 ON ON OFF
Feature#3 Parking Light Duration 60 sec. 60 sec. 30 sec.
Feature#4 90 Second Rearming ON ON OFF
Feature#5 Disarm Alarm Upon Trunk Release ON ON OFF
Feature#6 Door Lock Pulse Duration .8 sec. .8 sec. 3 sec.
Feature#7 Arming Delay 3 sec. 3 sec. 45 sec.
Feature#8 Chirp Confirmation ON ON OFF
DIP SWITCHES DEFAULT UP DOWN
Switch #1- Hijack OFF ON OFF
Switch #2- Last Door Arming ON ON OFF
Switch #3- Doors Lock With Last Door Arming ON ON OFF
Switch #4- Current Sensing ON ON OFF
Total System Reset
Must be reset at the factory.
WIRING DIAGRAM FOR AL-700J, AL-900JX &AL-1000SX
4-SLIDE ON/OFF SWITCH
SW.1=HI-JACK
SW.2=PASSIVE ARM
SW.3=PASSIVE LOCK
SW.4=12V SENSING
EXCALIBUR
AUX. PLUG
DOOR LOCK
YELLOW=ACC. 12V
VIOLET =DOOR +
BLUE =TRIG -
GREEN =DOOR -
GRAY =TRUNK -
ORANGE=STARTER-
BLACK =GROUND
BROWN =SIREN +
RED =+12V
WHITE =LIGHTS +
WHITE/BLACK I/O
WHITE/BLACK I/O
#3 CHANNEL OUTPUT
BATTERY BACKUP
LED LIGHT
VALET SWITCH
This device complies with
part 15 of FCC rules.
Operation is subject to the
following two conditions
(1) This device may not
cause harmful interference, and
(2) This device must accept
any interference that
may cause undesired
operation.
1234567890123
1
23456789012
3
1
23456789012
3
1
23456789012
3
1
23456789012
3
1
23456789012
3
1
23456789012
3
1
23456789012
3
1
23456789012
3
1
23456789012
3
1
23456789012
3
1
23456789012
3
1
23456789012
3
1
23456789012
3
1
23456789012
3
1
23456789012
3
1
23456789012
3
1
23456789012
3
1
23456789012
3
1
23456789012
3
1
23456789012
3
1
23456789012
3
1
23456789012
3
1
23456789012
3
1
23456789012
3
1
23456789012
3
1
23456789012
3
1
23456789012
3
1
23456789012
3
1
23456789012
3
1
23456789012
3
1234567890123
9 VOLT BATTERY
BACK UP
ANTENNA: DO NOT CONNECT TO ANYTHING
UNLOCK #2
UNLOCK #1 12V LOCK
YELLOW: Connect to ignition 12V
VIOLET: Door input for (+) dome light
BLUE: (-) Instant trigger
GREEN: Door input for (-) dome light
GRAY: (-) Output for trunk release
ORANGE: (-) When armed output for Starter Interrupt
BLACK: Connect to chassis ground
BROWN: Siren output (+)
RED: Connect to constant 12V
WHITE: Parking light output (+)
WHITE/BLACK : Dome light supervision Input or
Output
WHITE/BLACK: Dome light supervision Input or
Output