
Greetings!WeatExtremeCoptersaretremendouslypleasedthatyoudecidedtopurchaseaHexTreme
multi‐rotorkit.Whetheryouarenewtomulti‐rotorsoraseasonedprofessional,weareconfidentthat
yournewHexTremehasallthegreatfeaturesyouneednowandhastheabilitytogrowwithyouinthe
future.
HereisabriefreviewofthetechnicalfeaturesofyourHexTremekit:
MotortoMotor:550mm
Motorsize:980kv
Battery:3Sto4S(4Srecommended)
Propsize:8X5
Weight: 1385gramswithoutbattery
MotorArm:10mmx10mmanodizedsquarealuminumtube
AbundantframeareatomountoptionalFPVandotheruserequipment
HighRiselandinggearallowforadditionalequipmenttobemountedbeneaththeHexTreme
Acceptsmostpopularflightcontrollers,includingbutnotlimitedtotheDJINAZAwiththeDJI
NAZAGPS,orDJINAZAV2withtheDJINAZAGPSV2arerecommended.Thefollowingflight
controllershavebeenusedsuccessfullywiththeHexTreme:
oDJINazaMw/DJINazaGPS
oDJINazaMV2w/DJINazaGPSV2
oDJIWooKongM
o3DRoboticsAPM2.0,2.5,2.6withArducopterFirmwareversion2.8andlater
oAutoQuad6
Designedforeaseofassemblyandrepair
IncludesFPVcameramount
IncludesGPSmountingplate
IncludesStandardtelemetrytransmittermount
IncludesStandardvideotransmittermount
Througharmmotorwiringforcleanappearance
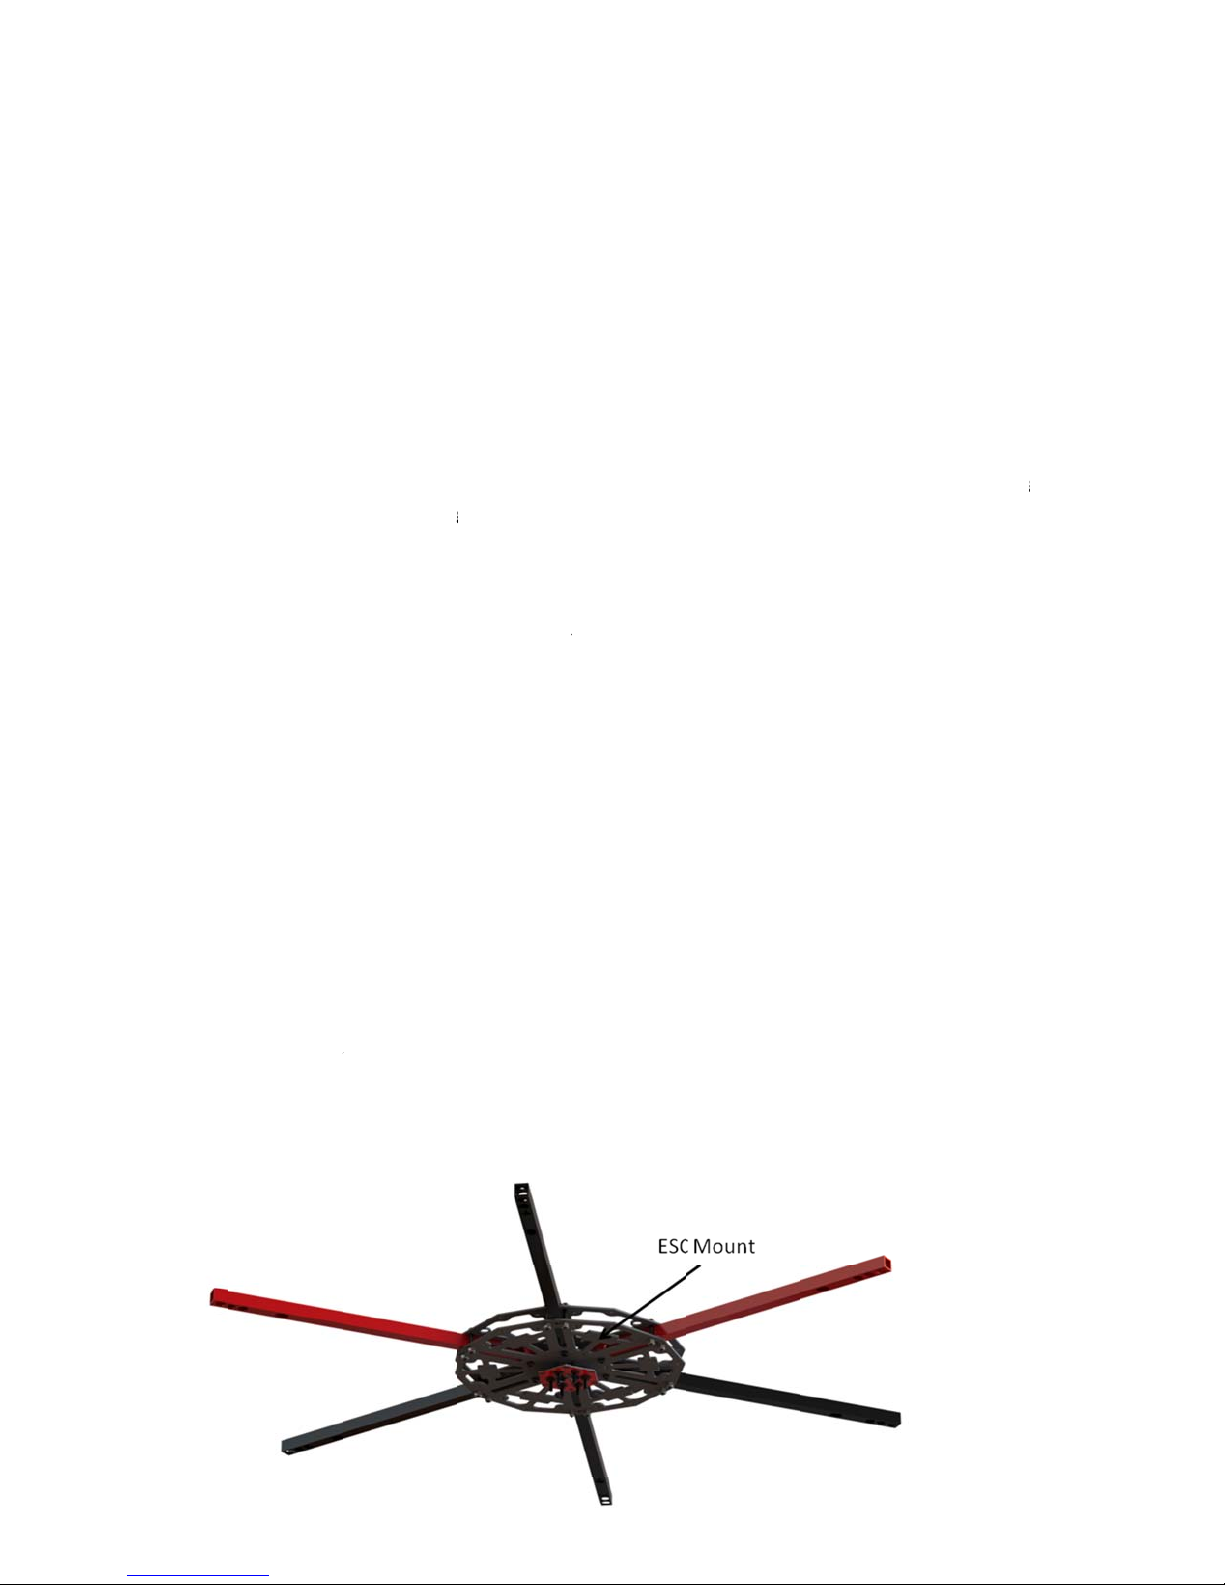
Includesasimple,yeteffectivePowerDistributionBoard(PDB)tosimplifywiringwithfactory
presolderedESC’sandLEDconnectionpigtailswithJSTconnectors.
ThePDBandESC’sarelocatedbetweenframeandbatterytrayforprotection.
Plentyofadditional3mmholesforaddingenduserequipment
Afulllineofsparepartsisavailable.
Now…let’sgetstartedbuildingyourHexTreme!


 user manual")