9: Balance the camera
vertically by raising and
lowering the camera as
shown above.
11: Once the vertical balance is
good, point the camera
downward then tighten the
camera cradle knobs.
10: A perfect balance should allow you to position the
camera at any angle and stay in place when released.
Do this with both motors dis-engaged. Continue to
adjust the vertical and horizontal balance until perfect.
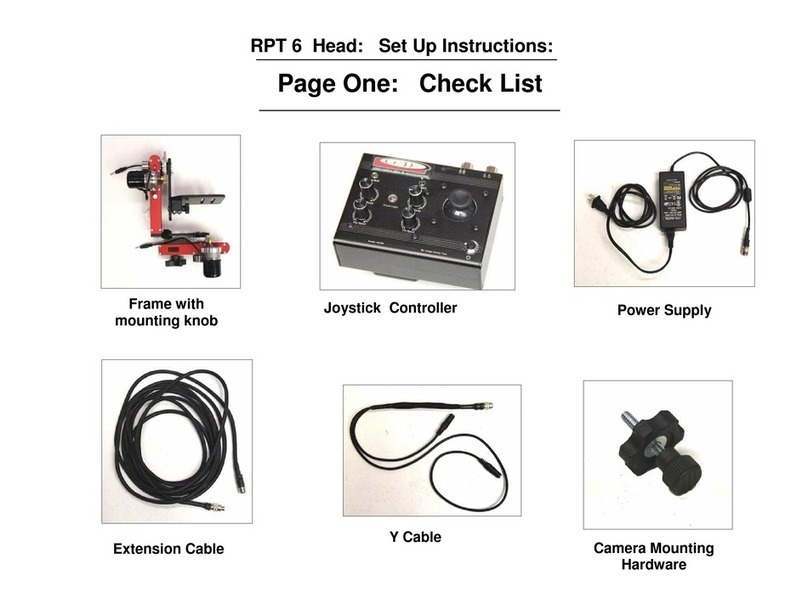
12: Connect the ends of the extension cable to the
motors of the head. The shorter cable goes to the pan
motor and the longer cable goes to the tilt.
Dress the extension cable on to the jib and connect it
to the joystick box. Connect the power adapter to
joystick box and plug it in.
IMPORTANT NOTE: Do not touch the
joystick for a full 4 seconds after turning
on the joystick box power switch.
The internal programming needs this time to calibrate
the center point for the joystick.
If the motors drift on their own, power down
and restart the box as noted.
NOTE: The joystick direction controls can be
customized to suit the preferences of the
individual operator. Simply switch the pan or tilt
direction switch to accommodate.
13: Engage both the tilt
and pan motors and
tighten the motor knobs.
NOTE: Be sure to disable the image
stabilization feature of your camera
as it may cause the image to jump at
the end of the pan/tilt movement.


