EzwatchPro EZ-EYE User manual

www.ezwatchstore.com
EZ-EYE User Guide – Setup,
Configuration, Usage
External Configuration -
The EZ-EYE unit has two external dip switches which control
the video ode and recording ode of the unit. These switches should be configured to the
desired settings prior to connecting and powering on the unit.
NTSC – PAL : This switch controls the video for at the unit is displaying in. For North A erican
television sets the ‘NTSC’ ode is used. PAL ode is used pri arily in European and African
sets. If the wrong video ode is used then you ay experience poor video quality, loss of color,
off-center i ages or other si ilar video issues.
Full Stop – Overwrite : This switch controls the recording ode of the ca era. When set to
‘Full Stop’, the unit will record until the e ory is full then stop recording until it is cleared. The
unit will not record until the e ory has been erased using the ca era enu. When set to
‘Overwrite’, the ca era will record constantly and when the e ory is full it will overwrite the
oldest i ages with new ones.
Once the EZ-EYE unit has been configured using the dip switches , configuration ust be done
within the ca era enu. To access the enu, you ust first connect the ca era to a television
set using the provided RCA video cable. Si ply run the cable fro the Video Out port on the
back of the ca era, to the yellow Video In port on your Television. After that, switch your
ca era on. If you do not see an i age fro the ca era then you ay need to change the input
on your Television (Most co only done using a ‘Input’, ‘Source’, or ‘TV/VCR’ button on your
re ote control) until you do. See your TV’s user anual for ore infor ation on changing your
TV’s input.
Live View Di play –
The i age that appears on the screen when the ca era is
connected to your TV is the Live View. On this screen you can see exactly what the ca era
sees. Across the top and botto of the display are translucent bars which display infor ation
about the syste . Across the top the current date and ti e will be shown. The for at that this
date and ti e appears in can be configured within the ca era’s enu.
At the botto of the screen you will see the recording bar. This will have the following ite s
displayed :

www.ezwatchstore.com
Recording Indicator – When the ca era is recording, you will see a white circle on the botto
left, with a rotating red section. This indicates that the ca era is currently recording. If the
ca era is not recording, then this icon will not appear.
Record Type Icon – This is an icon which can show you what type of recording the unit is set
to. If you see a finger pointing down, then the unit is currently recording using the ‘Manual
Record’ button. If you see a figure of a an, then the unit is currently in its Motion Detection
schedule. If you see an i age of a clock, then the unit is currently running a Continuous
recording schedule. If none of those icons appear, then the syste is not currently in any of its
schedules and not currently recording.
Re olution and Quality – This indicator will show you the resolution and quality that the unit is
set to record in. The resolution displayed will be either 640x480 or 320x240. Higher resolution
indicates better picture quality. No atter what the recording resolution is, the ca era always
displays live video at 640x480 resolution. To the i ediate right of the resolution is the quality
indicator, which indicates the quality of the video is LQ (Low) MQ (Mediu ) or HQ (High)
quality.
Recording Mode – The last icon that appears at the botto is the recording ode icon. A s all
rectangular icon indicates that the unit has e ory built-in (This icon nor ally will not disappear
fro the screen). To the right you will see either a series of arrows in a circle, or a percentage.
When you see the series of arrows in a circle, then the unit is in ‘overwrite’ ode. When you see
a percentage, the unit is in ‘Full Stop’ ode. The percentage displayed will slowly count down
the a ount of free space until it reaches 0%. Once the unit is at 0% it will stop recording, and
cannot be started again until the recordings are deleted.
Camera Menu –
The EZ-EYE ca era enu is used to configure the recording features
and control the capabilities of the ca era. To access the enu, si ply press the ‘Menu’ button
on the back of the unit. You can navigate the enu by using the Up (Record) and down (Play)
buttons on the back of the unit, and use the + (Fast Forward) button to enter an option. Pressing
the Menu button will exit the enu or (If you are in one of the sub- enus) return to the previous
enu. While you are in the ca era enu, the red light above the ‘Menu’ button on the back of
the unit will stay lit up.
SEARCH AND PLAY – This option is used to play back previously recorded clips. For
infor ation on this enu option, see the ‘Playback’ section below.
SET DATE/TIME – This option is used to configure the date and ti e. It consists of three
options : Date for at will affect how the ca era shows the date. Year/Month/Day is default, but
Month/Day/Year and Day/Month/Year is also available. Set Date and Set Ti e are options
which allow you to set the current date and ti e, which is displayed on live video and on
recorded i ages.

www.ezwatchstore.com
SET MOTION DETECT – This option allows you to configure the sensitivity of the Motion
Detection of the unit. On the screen you will see a white bar with a red line through it – this bar
shows you how uch ‘energy’ is on the screen. MD Energy represents how uch otion is
being seen on the screen. More energy eans ore otion occurring over a larger part of the
screen. As energy is seen, the white bar will fill up with black, to indicate how uch otion the
ca era sees. When the energy is higher than the threshold (The red bar) the ca era will begin
recording. Using the - / + or up/down buttons, you can adjust the threshold so that the ca era
requires ore otion or less otion to trigger. If the Threshold is too low, the ca era ay
trigger based on extre ely s all changes and ay trigger when otion is not seen. If the
Threshold is too high, the ca era ay not trigger even though otion is occurring in front of the
ca era. 10% is the default Threshold.
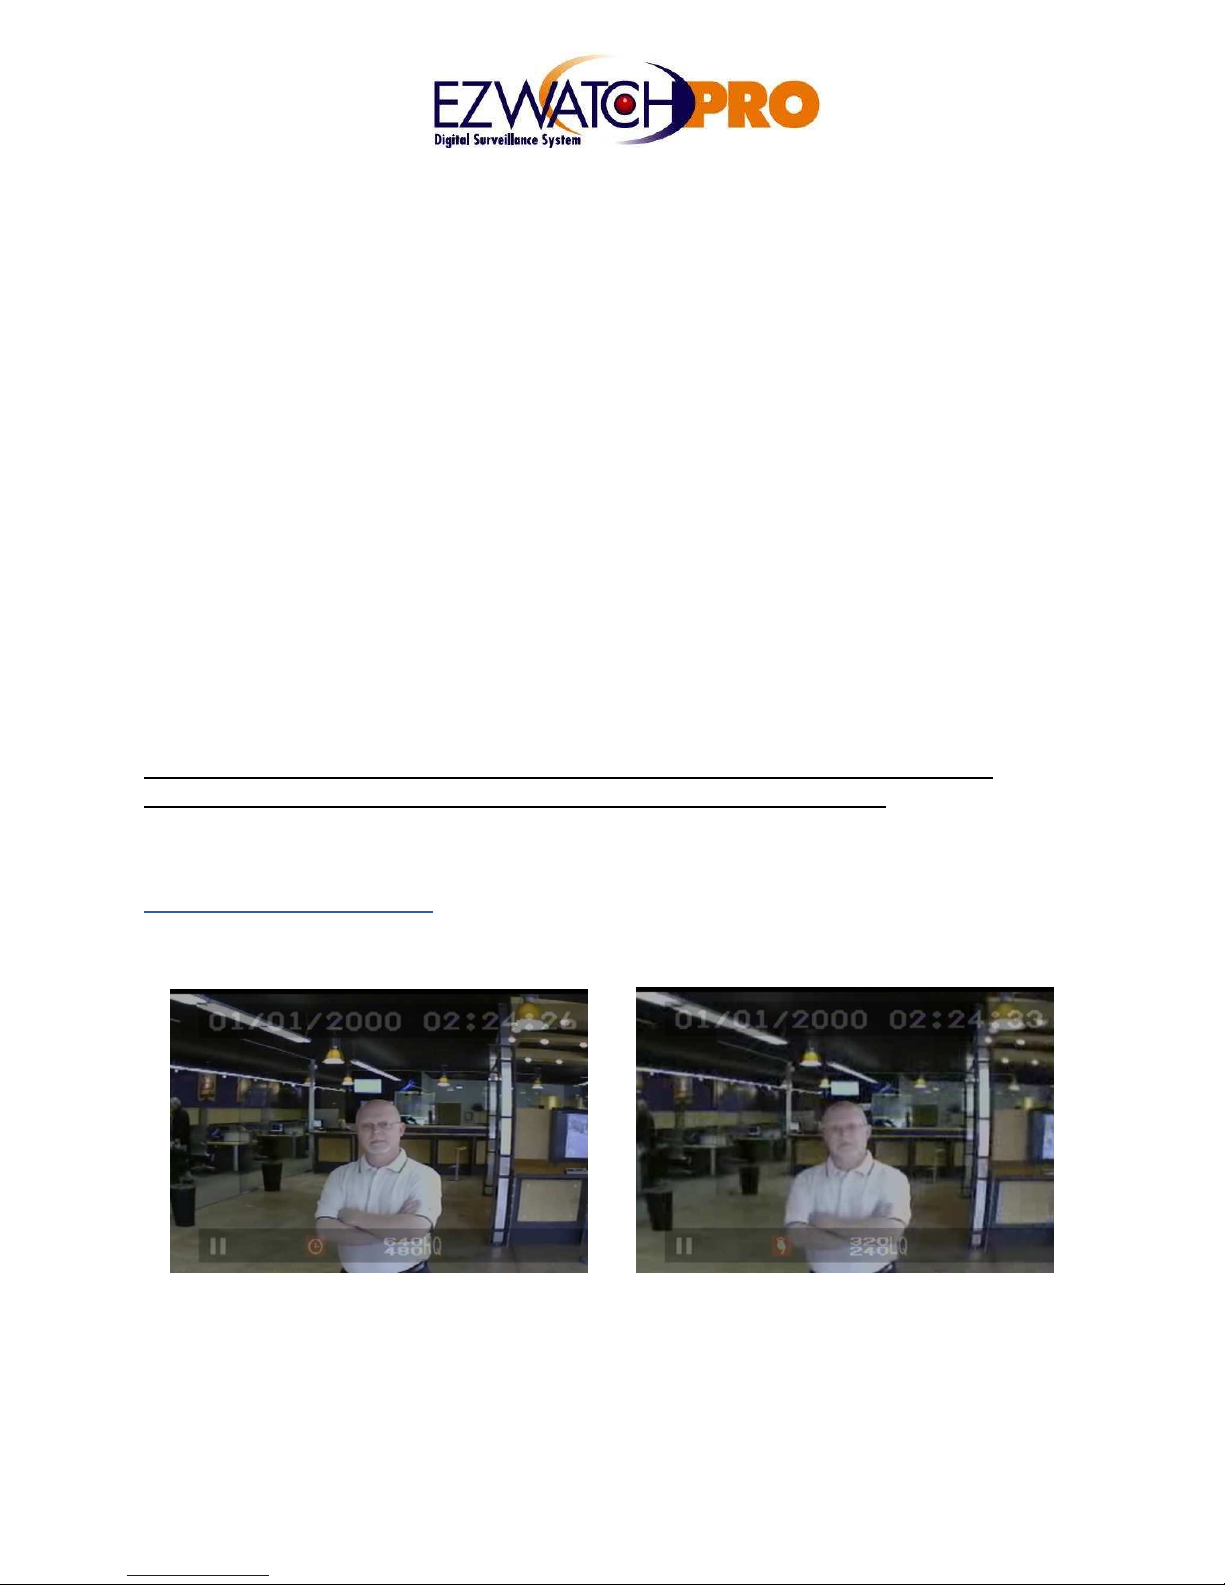
Manual Record – This option controls how the ca era acts when it is anually told to record.
Video size can be set to either 640x480 or 320x240. Higher size i proves quality, but
decreases your total recording ti e. S aller size decreases quality, but allows you to record
longer a ounts of ti e. Fra e rate affects how any i ages are recorded every second –
larger fra e rates are ore s ooth, ore fluid, while s aller fra e rates are ore jerky and
have gaps in the otion. Larger fra e rates will use up the ca era’s e ory uch faster,
eaning less recording ti e. The ini u fra e rate is 1 fra e recorded every second. The
Maxi u fra e rate is 12 fra es per second when set to 640x480, and 30 fra es per second
when set to 320x240. Lastly, set the desired i age quality. Once again, High quality uses up
the ca era’s storage faster which eans less ti e recorded. Lower quality provides longer
recording ti es by using less storage. Manual recording is always continuous and cannot detect
otion.
Schedule Record – This option allows you to record using a daily schedule. The schedule can
be set to either record constantly (Continuous) or record when otion is seen (Motion
Detection). Each can be scheduled separately, but if they overlap then Motion Detection
recording settings (Quality, Resolution, Fra erate) will take precedence over continuous
settings whenever the ca era sees otion.
Schedule Record -> Motion Record – The first option on this enu allows you to turn the
schedule on or off (Record : On/Off). Below that, you can enter the ti e to start recording, and
the ti e to end. If the ti e to start recording is after the ti e it ends, then it will record overnight.
The recording schedule is set using 24-hour ti e; 1:00p corresponds to 13:00 and 10:00 PM
corresponds to 22:00. Below the scheduled ti e is the duration – once the ca era sees otion
it will record for the entire duration specified. This can be set fro 5 to 30 seconds (In
incre ents of 5 seconds). The unit will record the full duration, even if otion does not last the
entire ti e. Below the duration is the quality settings of the recording – these settings are
identical to the ones present in the ‘Manual Record’ section listed above.

www.ezwatchstore.com
Schedule Record -> Continue Record – This option allows you to enter a schedule for the
ca era to record constantly and not based on otion. The settings are the sa e for entering in
the date, ti e, and quality as on the previous enu. Because the ca era records constantly,
there is no ‘Duration’.
SD Card Option – This enu allows you to see how uch of the ca era’s internal e ory is
being used, as well as the total a ount of e ory. Total Space is a listing of the axi u
a ount of space on the ca era. Typically this nu ber is slightly lower than the actual axi u
because the ca era’s software ust use a s all a ount of space for its progra . The nu ber
below that one, Re ain Space, indicates how uch space is available. If you are recording on
‘Overwrite’ ode then this nu ber is nor ally going to stay extre ely low. If you are recording
on ‘Full Stop’ ode, then you ust delete the recorded i ages before it reaches 0. If you do
not, the ca era will not record any ore until the recordings are deleted. To delete all recorded
i ages, press ‘+’. It will ask you if you are sure, press + to confir and delete everything or
press Menu to cancel. Once you press +, please give the unit up to 60 seconds to co plete
erasing. Once it is finished, it will display ‘For at OK!’ on the screen.
Sy tem Statu – This enu will allow you to view the current recording settings: Resolution,
Fra erate, Quality, Schedule Start/Stop ti es and whether the schedule is enabled or not. It
also displays the internal version of the ca era for troubleshooting purposes.
Factory Default – This option will reset all settings within the ca era back to their default
values.
Recording –
There are three ways to record an i age.
The first way is to record anually, where the recording is started and stopped by pressing the
‘Rec’ button on the back of the unit. Manual recording will record everything in front of the
ca era constantly – whether or not there’s any otion occurring in front of the unit. The quality
of the recording of anual recordings is configured within the ‘Manual Record’ section of the
Menu.
The second way is to record using a Motion Detection Schedule. When the schedule is turned
on, the ca era will sense otion ‘energy’ (A easure ent of how uch otion is occurring on
the screen) and record whenever the energy reaches a specific Threshold. The sensitivity is set
within the ‘Set Motion Detect’ section of the ca era enu, while the quality settings (Resolution,
Fra erate, Quality) and scheduled ti e for recording is controlled within the ‘Schedule Record -
> Motion Record’ section of the enu.
The last way is to record using a constant, continuous schedule. Whenever the schedule is
turned on, the ca era will record everything in front of it during the scheduled ti e. The quality

www.ezwatchstore.com
settings and scheduled ti e is controlled within the ‘Schedule Record -> Continue Record’
section of the ca era enu.
Whenever the ca era is recording, whether by otion, anual, or continuous the ‘Rec’ light on
the back of the unit will stay lit. When the ca era is not recording (Either the schedules are off
and anual recording is off, or if it is on Motion Detection and not currently seeing any otion)
then the REC light will be off. Recording is always turned off when the ca era is in the Menu
ode.
Recording precedence always follows this sequence: Continuous, Motion Detection, Manual.
What this eans is that if the ca era is in Continuous Schedule ode and Motion Detection
schedule ode, whenever the ca era sees otion it will use the ‘Motion Detection’ settings
until the duration ends. When the ca era is in EITHER ode and the Manual Record button is
pressed, it will use the Manual Record settings until the anual recording is turned off.
Playback –
There are two ways to initiate playback. Manually, and through the Search
feature.
To anually begin playing back recordings, si ply press the ‘Play’ button on the back of the
unit. The unit will i ediately begin playing the oldest clip that it has recorded. You can then
use the fast forward and rewind buttons to You can use the Fast Forward and Rewind buttons to
control speeds in either direction. The unit will display the recording type (Motion, Continuous,
or Manual), video resolution, and quality at the botto of the i age. The date and ti e of the
recorded i age will be displayed at the top of the screen.
If you do not wish to play fro the beginning, you can search for a recording by going into the
Menu and selecting the ‘Search and Play’ option. This will bring up a new screen with a lot of
infor ation on it.
Date allows you to select which day to begin playing back video fro . Files shows you how
any recordings were taken on that day. You can adjust which day you play back using the
up/down buttons.
Below the date you will see a ulti-colored bar. Each section of that bar corresponds to one of
the video recordings. The color of the section indicates what type of recording was taken – blue
sections are recordings that were taken using Manual Recording, red sections are recordings
that were taken by Motion Detection, and white sections are recordings that were taken by
Continuous Recording. To play a recording, use the + / - buttons to select the section you wish
to play, then hit ‘Menu’. Use the + / - buttions to select ‘Play’, and hit Menu once ore. The
selected i age will begin to play.

www.ezwatchstore.com
To exit playback and return to the ‘search’ screen, press the Stop (up) button. To exit the search
screen and return to the enu, press the ‘Menu’ button, select ‘Exit’, and hit Menu once ore.
External Copy/Recording –
To ake a copy of video that was taken by the ca era,
you ust connect the ca era to an external recorder. This is ost co only going to be a
VCR or Digital Video Recorder (DVR). Plug the ca era into the VCR and switch your VCR and
TV input until you can see the ca era i age on the screen (See your VCR anual for
instructions on how to do this). Insert a blank tape, and press ‘Record’ on your VCR. Then play
back the recording you wish to ake a copy of using the EZ-EYE unit. As the ca era plays the
recording, the VCR will copy it onto tape. Once you are done, stop the VCR.
Power Operation –
The ca era is designed to operate using two power odes – Direct
power, and Battery Power. To operate the unit in Direct Power, connect the 12V DC power
supply (included) to a wall outlet. Then plug the other end into the ca era. The Ca era can be
on and recording indefinitely (so long as power is connected).
The other ethod is using 4x AA batteries. Using standard Alkaline batteries, the syste can
run for a full 8 hours on battery power. Using Heavy Duty or lower quality batteries can severely
decrease battery life with these units. Alkaline or Lithiu batteries are HIGHLY reco ended.
NOTE – The unit cannot operate in both odes at once. If you connect power while the
batteries are present, the unit WILL continue to drain the batteries over ti e.
Quality Compari on –
I age taken fro ~5 feet fro target.
640x 480 resolution, ‘High’ recording quality : 320 x 240 resolution, ‘Low’ recording quality

www.ezwatchstore.com
Recording Time –
All ti es based on constant recording. Recording ti es on Motion
Detection ay vary depending on conditions.
1-Gig Unit 2-Gig Unit 4-Gig Unit 8-Gig Unit
High Resolution
640x480 HQ
~7 Hours ~ 14 Hours ~ 28 Hours ~56 Hours
Low Resolution
320x240 HQ
~28 Hours ~56 Hours ~112 Hours ~224 Hours
Table of contents
Other EzwatchPro Security Camera manuals