FAAFTECH FT-LVDS-MB17 User manual

REV 020118
INSTALLATION MANUAL
FT-LVDS-MB17

Follow the steps below to install the FT-LVDS-MB17 interface:
1°. Set up the interface according to the instructions on page 2;
2°. Connect the whip and the accessories to be installed, according to what is
shown on pages 3-4;
3°. In case you are installing a TV module, set up the IR according to the
instructions on pages 5-6;
4°. Finish the installation process by testing the interface and the accessories.
See functioning instructions on pages 7-8.
Important Notice: Do not isolate the ventilation entries in the FT-LVDS-MB17
equipment using foam, carpet or similar objects. Doing so can cause damages
to the equipment and void the warranty.
1
INSTALLATION
• Enables 2 AV inputs
• Enables 1 input for frontal camera
• Enables 1 input for dynamic lines rear camera
• TV controlled by iDrive commands
• 12V Cam and GND output
• 1 year warranty against manufacturer defect
• Compatible vehicles: www.faaftech.com/produtos/interface-de-video/ft-lvds-mb17
CHARACTERISTICS

Set up the interface’s DIP Switches while the equipment is unplugged from the
whip, and while the car ignition is off.
Important Notice: The DIP Switches will only be validated if they are done with
the power off.
2
DIP Switches
SET UP TABLE
UP enables AV2 (TV) input
DOWN disables AV2 input
UP enables video input 3
DOWN disables video input 3
UP enables AV1 (DVD or mirroring) input
DOWN disables AV1 input
UP enables RGB (GPS) input
DOWN disables RGB input
DIP 1
DIP 2
DIP 3
DIP 4
DIP 5
DIP 6
DIP 7
DIP 8
Keep up
Keep down
UP if there’s a manufacturer camera OR if a camera won’t be installed
DOWN if a rear camera will be installed
No function
ON
1 2 3 4 5 6 7 8

3
CONNECTIONS
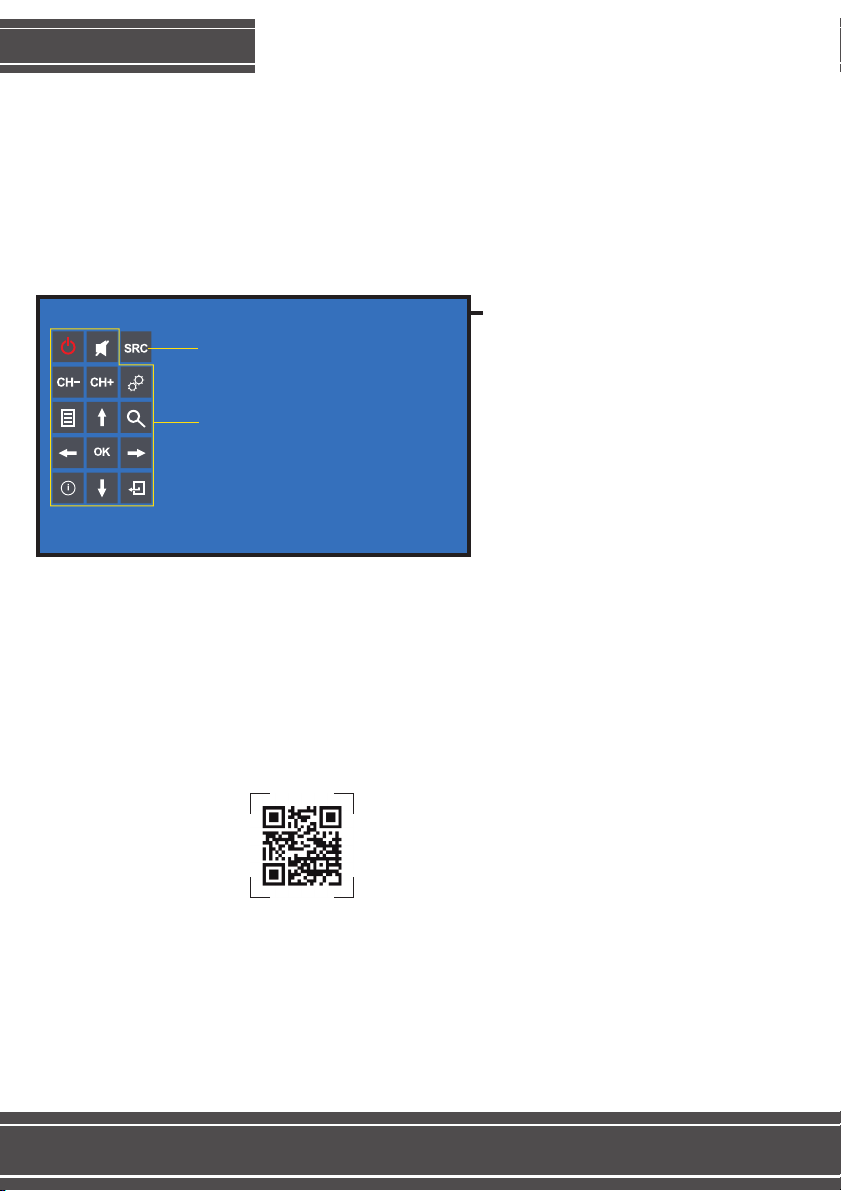
Scan this QR Code to watch the
video demonstrating how to
connect these interface’s plugs.
Or access:
www.faaftech.com/videos/mb17
Remove the fakra cable from the
original connector and connect the
device’s LVDS IN cable where the
original connector was
Remove the black connector from
the Quadlock, remove the cape
and connect the plug A where the
original connector was. Then,
connect the original plug to the B
plug on the device’s whip.
ACC – Connect to the cigarette
lighter post-key
GND – Connect to the ground
cable
ACC
GND
Connect the cable that was
removed from the original
connector. Plug it into the FAKRA
green connector that goes with the
kit and plug it to the device’s LVDS
OUT.
A
B

4
CONNECTIONS
REAR Not used
SAFE
RGB input
AV1 Input
(DVD or mirroring)
External button
connection for AV
commutation. Usage is
optional.
IR sensor connector for the
use of the LVDS remote
control
AV 2 Input
(TV)
Video Input 3
Rear camera input
Front camera input
Use to power the front camera
Use to power the rear camera
Not used
Page 3 Page 3
No function
Connect to the Digital
TV’s IR connection
No function
No function
IR-TV
AR1
AL1
V-IN1
AR2
AL2
V-IN2
V-IN3
R-CAM 12V
R-CAM GND
R-CAM
F-CAM 12V
F-CAM GND
F-CAM

5
Follow the steps below in order to program the IR that will control the Digital TV
through the vehicle’s original commands.
1º – After the LVDS installation, select input AV1 or AV2;
2º – Point the remote to the LVDS IR sensor, connected to the equipment’s IR
input. Press the < button for three seconds. The MENU OF FACTORY will pop
up;
3° – Select option UTIL2 from MENU OF FACTORY;
4° – Setup the IR REMOTE SELECT option to USER, and setup the IR OSD
CONTROL to YES;
IR PROGRAMMING
MENU to Return SEL to Select/Save
Menu of FACTORY
PARK
UTIL1
UTIL2
INFO
IMAGE H-POSITION
V-POSITION
MENU to Return SEL to Select/Save
PARK
UTIL1
UTIL2
INFO
IMAGE
Menu of FACTORY
IR REMOTE SELECT
IR OSD CONTROL
IR MEMORY
CALIBRATE
Keep on USER
Keep on YES
Select DTV to setup the Digital TV remote
control

6
Menu shows the keys to be programmed
during setup of the Digital TV’s remote control
5°– In the programming menu, select the key you want to program. Then, press
the same key on the TV remote, so that LVDS will be set up in the same way.
6°– After programming all the keys, press the SRC key to finish the
programming;
7°. Finish the programming by exiting the MENU OF FACTORY.
IR PROGRAMMING
Keys for programming
Finishes and leaves programming
Scan the QR code to watch the
IR programming video, or go to
www.faaftech.com/videos/bm17

7
Follow the steps below to access and use the equipment’s AV inputs.
1st – Tune in to the FM radio frequency that was previously setup on the FM
transmitter to be able to hear the accessories’ audio. (FM transmitter sold
separately.)
2nd – Press the BACK button for 3 seconds to alternate between the RGB, AV1
and AV2 inputs from the equipment. (Only the inputs enabled through the DIP
switches will be available.)
3rd – Simply push the BACK button once to go back to the original menu.
USING
BACK button on the steering wheel
command

8
If you are using a TV on input AV2, it is possible to use the iDrive commands to
control that accessory.
To control the accessories, use the iDrive command on the central console, as
shown on the image below.
Note: the commands will only work if you have previously made the IR
programming according to the instructions on pages 5-6 and if you have
connected the IR-TV cable on the TV module.
USING
Move the iDrive to the left to
visualize the commands. Then
move it forward, back, left or right
to move the icon selection. Then,
move it to the left and hold for 2
seconds to select the chosen
icon.
Command icons. You can see them on screen by
spinning the iDrive or by touching the screen, if you
are using a touchscreen.

1. After installing the interface, the radio won’t turn on.
• Review the installation and check if the cables are connected according to the
images on pages 3 and 4;
• Check if the cables are well connected.
2. When I try to access AV1 or AV2, no sound will come out.
• To listen to the accessories audio, you need to tune in to the FM bandwidth
previously configured. The FM transmitter is sold separately.
3. The rear camera won’t show up when I put my car on reverse.
• Check the DIP Switches to make sure they are set accordingly to the table on
page 2.
4. I can’t control the TV using the original commands.
• Check if the IR-TV cable is correctly connected;
• Remake the IR programming, following the instructions on pages 5 and 6;
• Make sure the TV is connected to the AV2 input. That is the only way the
commands will work.
9
Problem Solving

10
Warranty
FAAFTECH assures their clients a 01 (one) year period against defects in
materials and workmanship, proved by presenting both the receipt of purchase
from the reseller to the costumer and the present Warranty Certificate filled,
observing the following:
1. FAAFTECH will null the warranty if Faaftech or their authorized technical
assistance concludes that the equipment suffered from damage caused by poor
usage, by inadequate installing, by accidents (crashes, falls, and others), or if
there are any signs of the product having been violated, adjusted or fixed by
non-authorized personnel;
2. The Warranty Certificate is only valid when filled and presented together
with the receipt from the reseller to the costumer, as well as the attendance
number that is generated by our Technical Support, which can be reached from
the numbers: +55 0800 603 2330 (landlines only) or +55 62 3241 4600. From
Mondays to Fridays, from 8 a.m. to 6 p.m. (GMT -03:00).
3. Any repairs and maintenances of the equipment still covered by the warranty
will be exclusively handled by FAAFTECH.
4. This warranty will not cover any products with unreadable or adulterated serial
code numbers.
5. The expenses with shipping, securing and packaging are not covered by this
warranty, and they are the full responsibility of the owner of this equipment.
WARRANTY CERTIFICATE
EQUIPMENT: FT-LVDS-MB17 1 Year
Buyer’s name:
Phone number: City:
Address:
Date of purchase:
Serial Attendance number:
Attention: This Warranty Certificate is only valid when filled and presented together with the receipt from the
reseller to the costumer. Keep this in a safe place.
State/Province
Receipt number:

0800 603 2330 ou (62) 3241-4600
www.faaftech.com.br
Available from Monday to Friday, from 8 a.m. to 6 p.m. Brasilia time
TECHNICAL SUPPORT Follow us on social media
Table of contents
Other FAAFTECH Recording Equipment manuals
Popular Recording Equipment manuals by other brands

Yellowtec
Yellowtec VIPdigital Getting started

Broadcast Tools
Broadcast Tools TT-1 Plus Installation and operation manual

IntesisBox
IntesisBox KNX Series installation manual

Harman Kardon
Harman Kardon CDR 30 Service manual

SOLIDDRIVE
SOLIDDRIVE SD1 Installation & use guide

dallmeier
dallmeier Smatrix DMX 800 Commissioning

Technisonic Industries Limited
Technisonic Industries Limited A710 Installation and operating instructions

Yamaha
Yamaha EMP700 Operation manual

Keysight
Keysight 82351A user guide

Extron electronics
Extron electronics RGB 500 AKM user manual

Peak
Peak PCAN-cPCI Dual Channel opto-decoupled user manual

Roland
Roland SR-20HD Reference manual