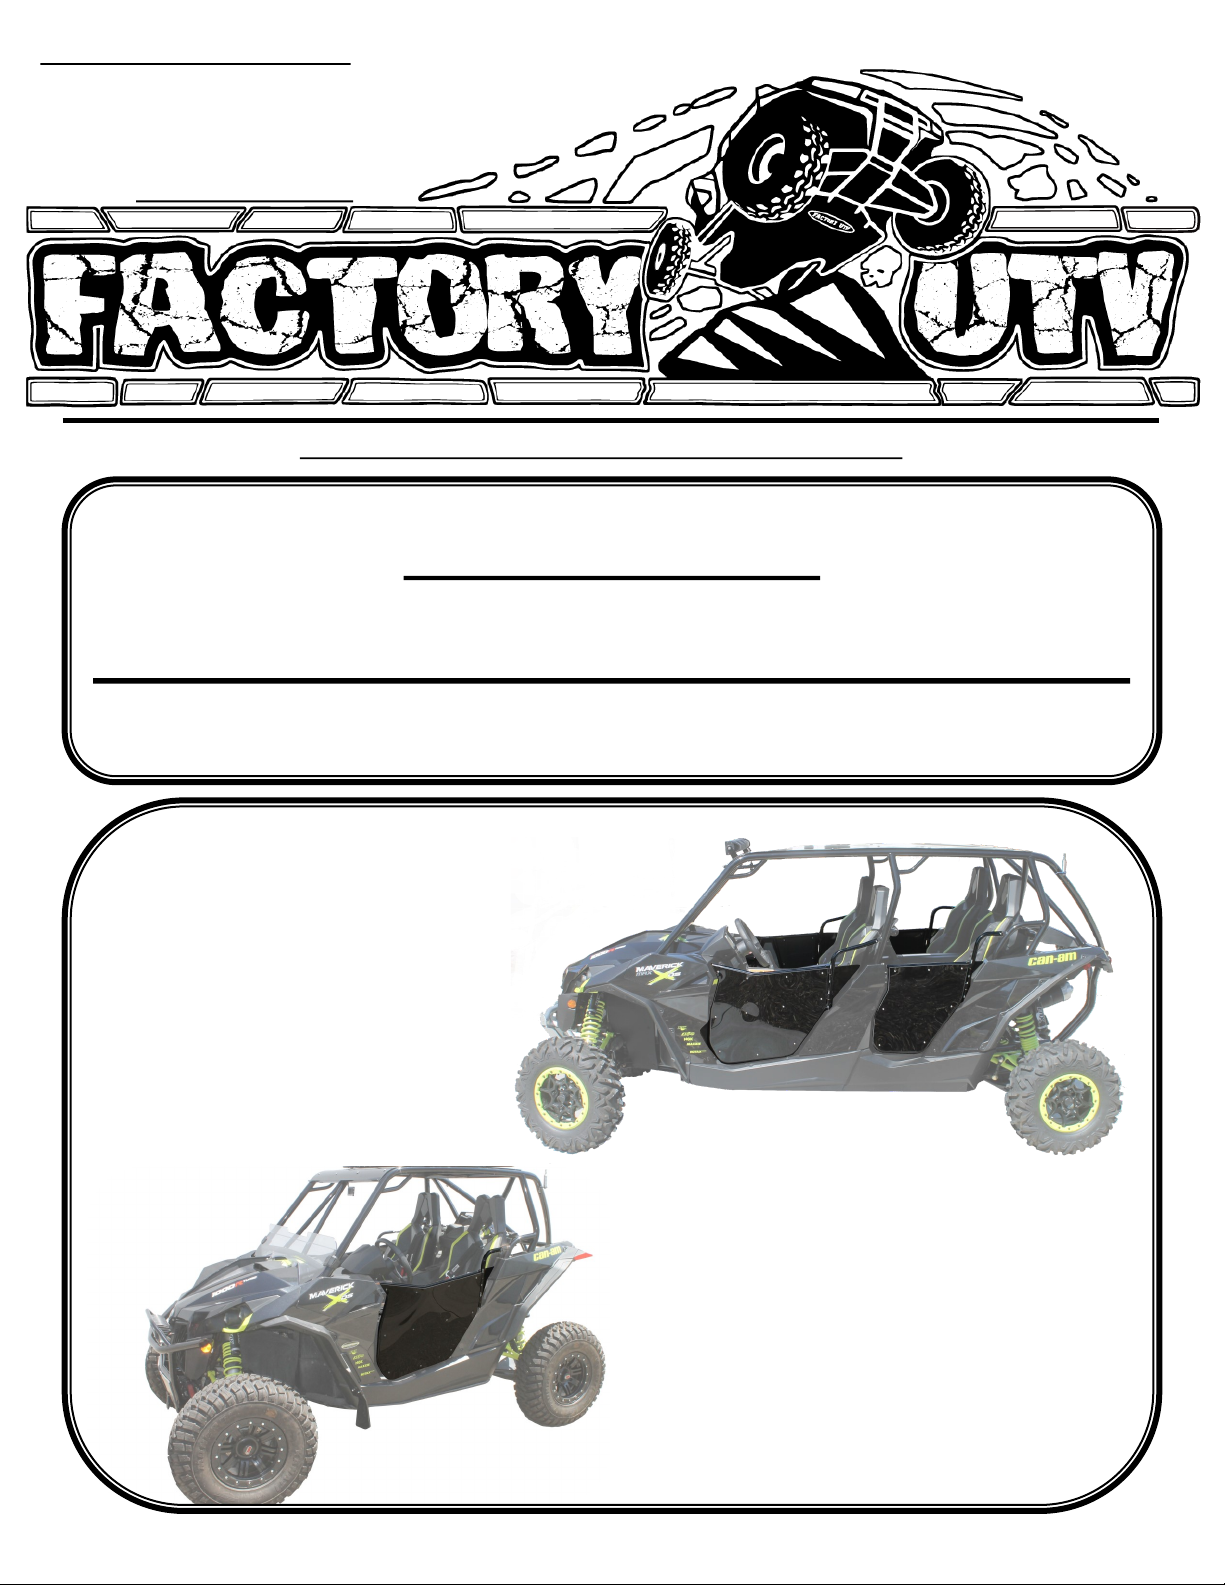
Factory UTV Can-Am Maverick Door package instruction guide v2
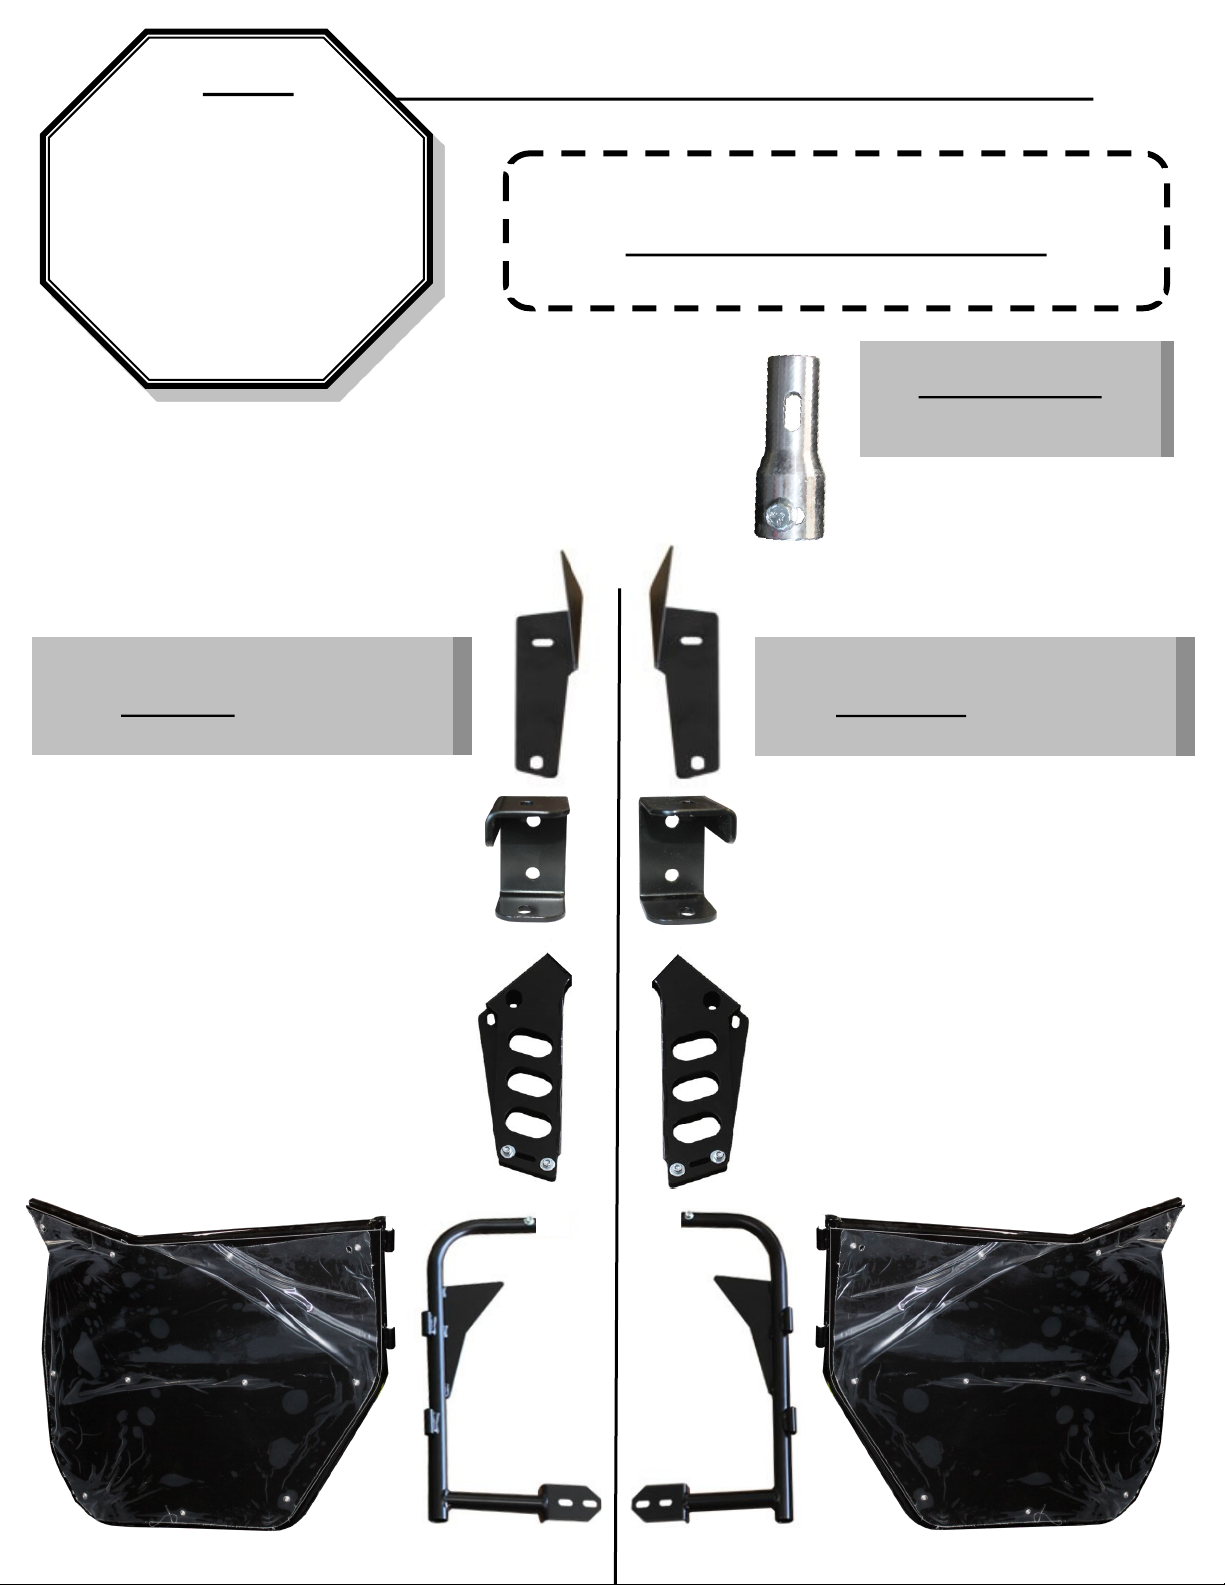
Factory UTV Can-Am Maverick Door Kit
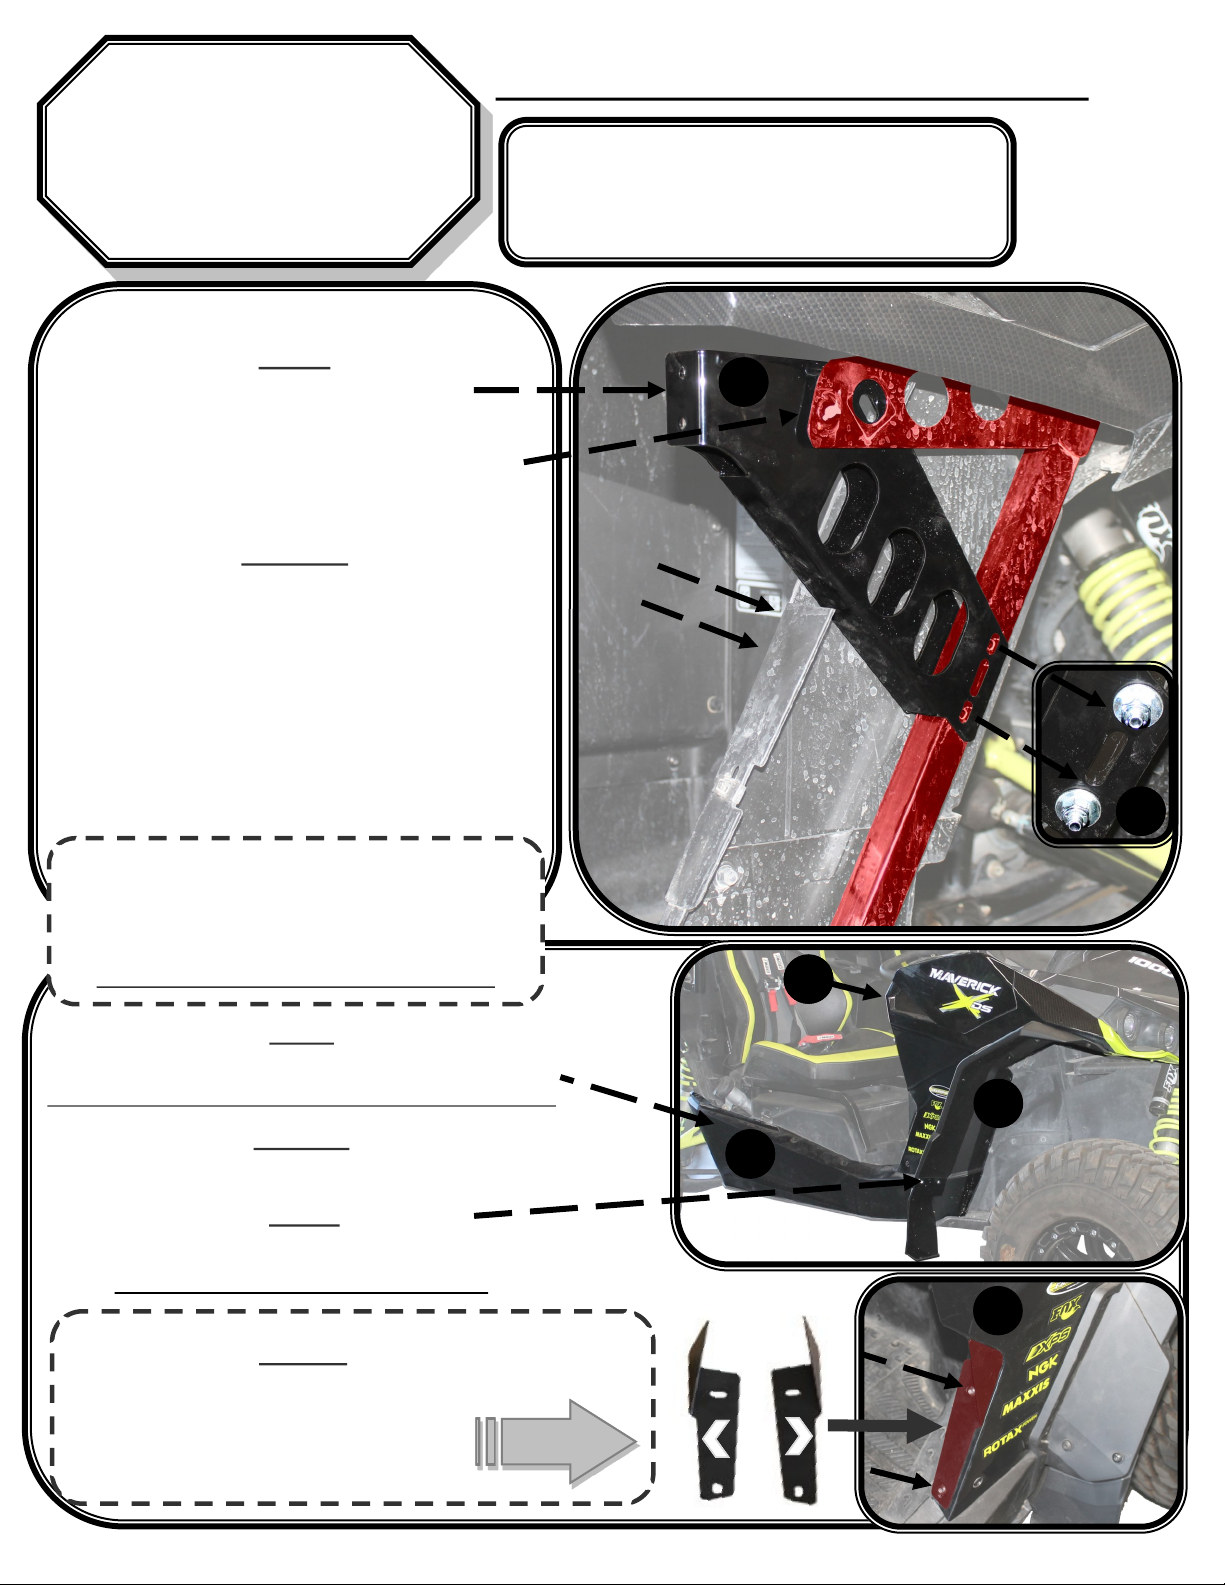
(#A) Latch at front of door,
align hinges & hold in place
*(We Recommend leaving plastic film on doors until completion)
#B
All bolts
should be finger tightened to
allow for adjustments once in place.
Fasten all bolts securely when complete.
(#B:) Position door, install (2x) hinge ”pin’s” & (2x) brass washers
downward through the top of door in to door hinge mount
place brass washer in-between top and bottom hinge mount
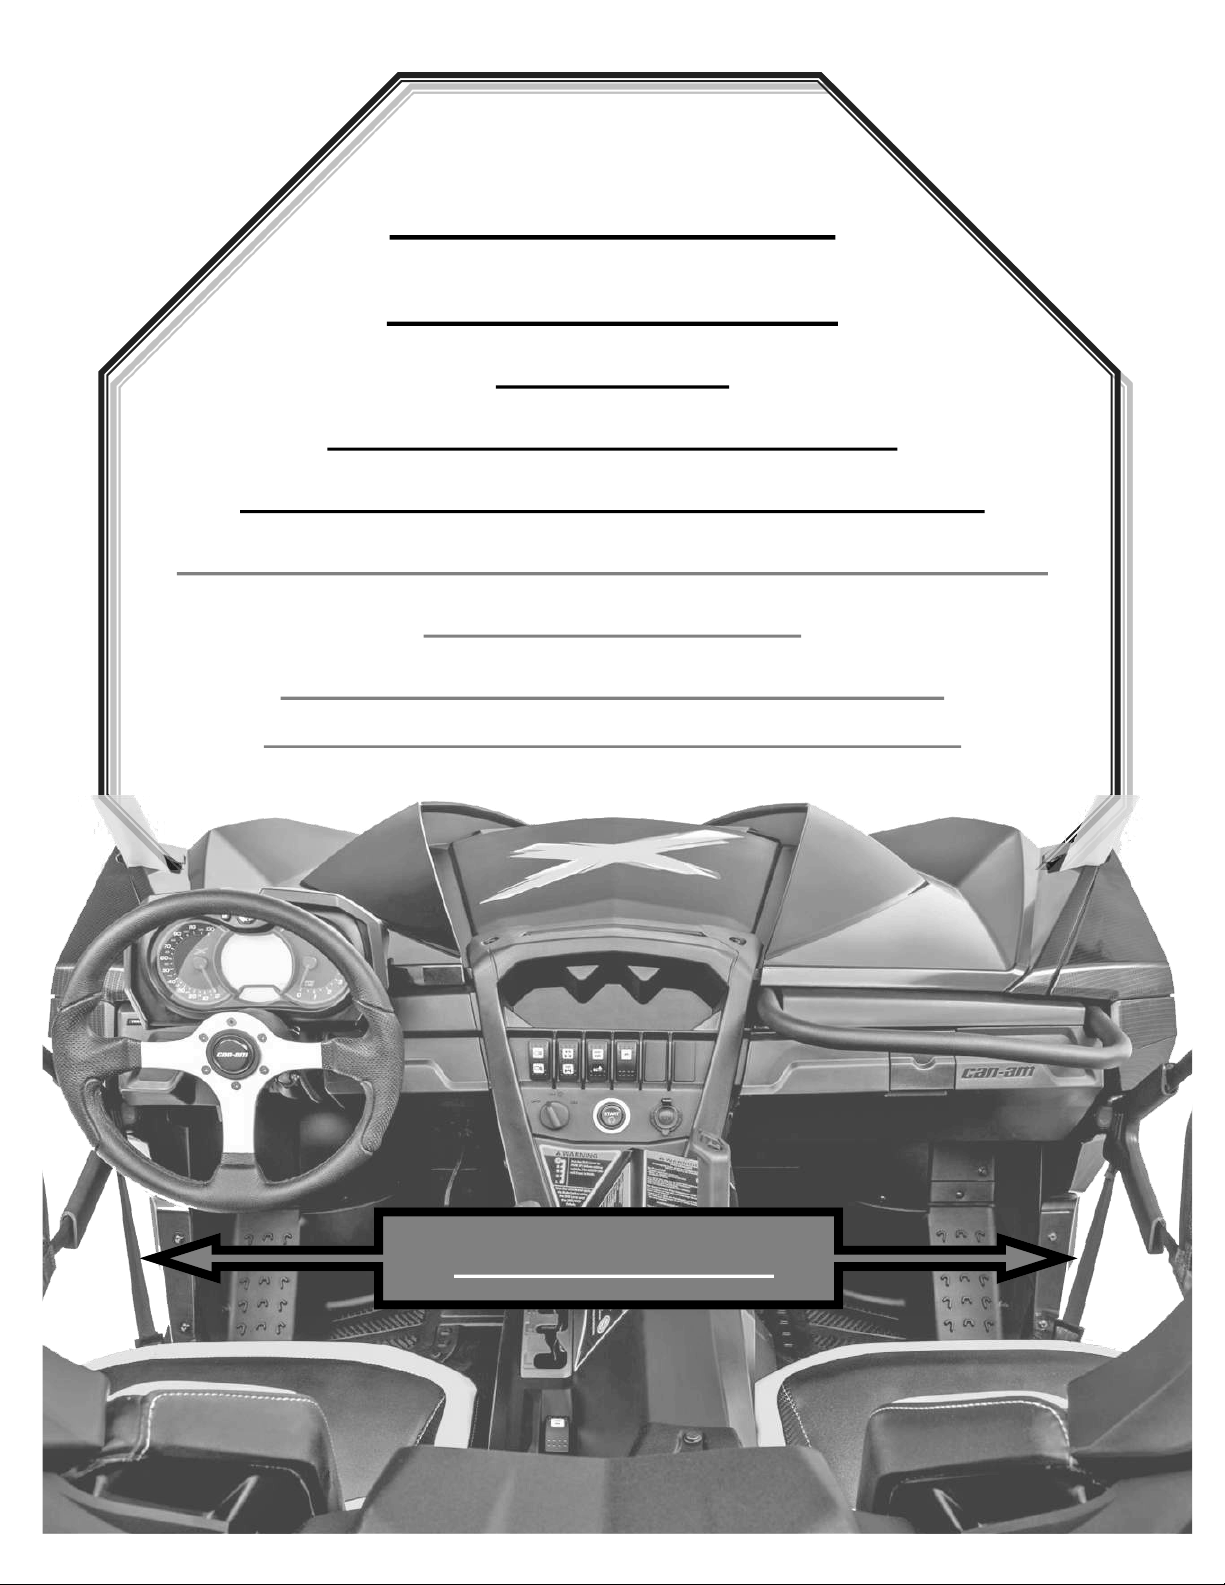
Door Mounting Adjustments
Final step:
Install foam door stopper on outer lip of latch mount
after door is secured (as to not rough up foam)
*(we recommend graphite / dry lube to prevent hinge wear)
*(if a sealed door is desired, weather stripping can be applied)
*(weather stripping not included)
Door Mounting
First:
Mount, adjust, & Align the door
tighten the bottom bolts, readjust as needed
Second:
Adjust & align the door, Tighten the top bolts,
on door coupler, then on door mount
Third:
Once rear of door is tight, swing door
& check the clearance at latch,
adjust and tighten all bolts securely
make sure door opens & closes freely
and meets up with latch securely
adjust bolts as necessary for a secure fit
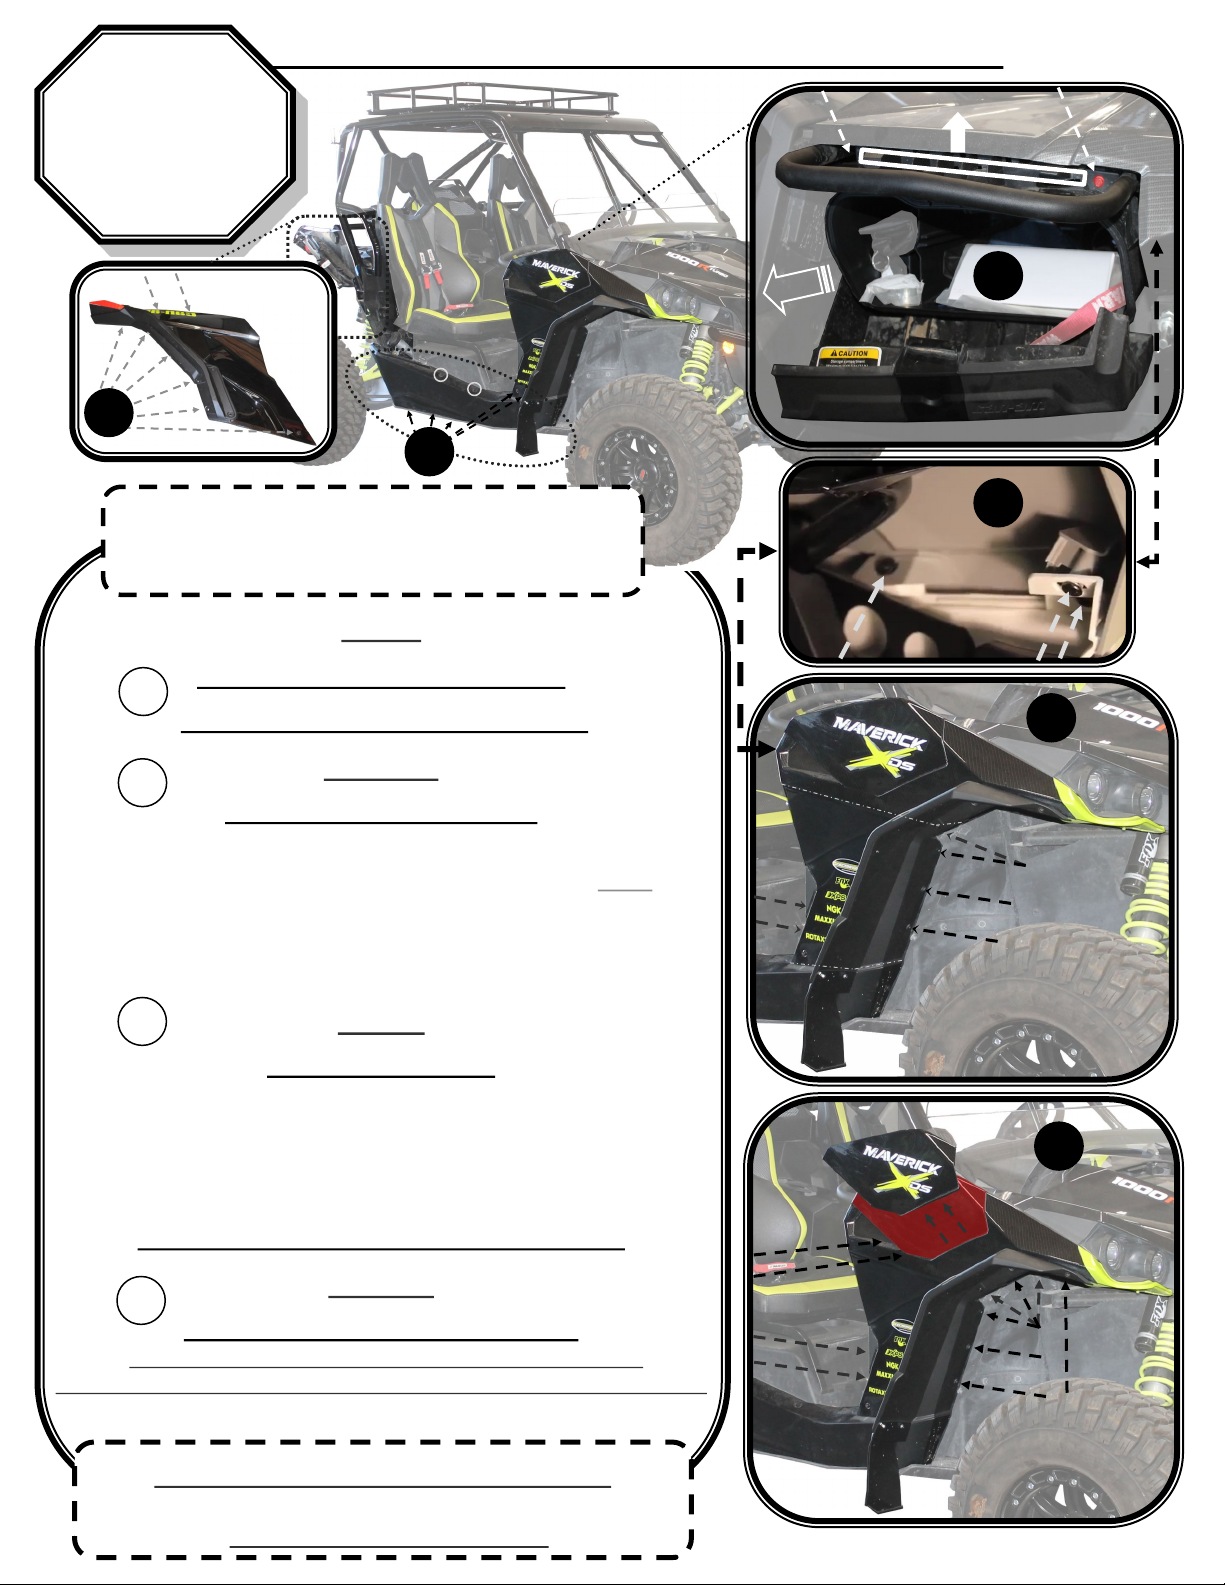
When Mounted & Tightened Securely,
Re-attach Rear Quarter Panel
(as shown on page #3)
4 seater models:
Cut & trim plastic panel as needed.
install center hinge mounts,
and door latches in
a similar fashion.
#B
#A
#3
#1
#2
#5