3
Warning :
Please read the user guide carefully before turning on your appliance so that you can
learn how to use it as quickly as possible.
Important :
Keep these operating instructions with
your appliance. If you should sell your
machine or give it to someone else, ensure
that the operating instructions are provided.
Please take note of these safety instructions
before installing and using your appliance.
They have been written for your safety and
that of others.
•
SAFETY INSTRUCTIONS
•
Installation
— When you receive the appliance, unpack it or
have it unpacked immediately. Check that it
has not suffered any damage during trans-
port. Express any reservations in writing on
the delivery slip and keep a copy.
Never connect a damaged appliance.
If your appliance is damaged, please contact
your dealer.
— Before connecting your appliance, please
refer to the installation instructions.
— Your tumble dryer must be kept disconnec-
ted from the mains supply throughout the
whole installation process.
— The electrical connection details shown on
your appliance’s information plate must match
those of the local mains supply.
— Once your appliance has been installed, the
electrical plug must remain accessible.
— Do not alter or try to alter the appliance’s
characteristics. This could be dangerous.
— If your installation requires alteration, only
entrust the electrical and plumbing work to
qualified electricians and plumbers.
— The appliance must not be installed behind a
locking door, a sliding door or a door with hin-
ges on the opposite side to those on the dryer.
— Your appliance is designed for normal
domestic use. Do not use it for commercial or
industrial purposes or for any purpose other
than the one for which it has been designed
•
Children’s safety
— This appliance must only be used by adults.
Do not let children play with the appliance and
keep pets away from it.
— Keep young children away from the
appliance when it is operating.
— Keep the packaging materials out of chil-
dren’s reach (e.g.: plastic bags, polystyrene,
etc.) because they can be dangerous for chil-
dren : risk of suffocation.
— This appliance is not intended for use by per-
sons (including children) with reduced physi-
cal, sensory or mental capabilities, or lack of
experience and knowledge, unless they are
supervised or instructed concerning use of
the appliance by the person responsible for
their safety.
•
Use
Important :
Your tumble dryer is designed for
domestic use only, for drying textiles suitable
for tumble drying.
Important :
You must observe the following instruc-
tions. We decline any responsibility and res-
cind the guarantee if these recommendations
are ignored : failure to observe them can
result in material damage and physical injury.
— Use your appliance in accordance with its
method of use, thereby avoiding injury to your-
self and damage to your items. Do not use sol-
vents in the appliance (risk of fire and explo-
sion).
— Strictly comply with the care instructions on
your laundry.
— If you have to open the door of the drum
during the drying cycle, ensure that you do not
touch the drum immediately, as it is very hot.
2
1 / FOR THE USER’S ATTENTIONCONTENTS
1 / FOR THE USER’S ATTENTION
• Safety instructions ______________________________________ 3
• Protection of the environment ____________________________ 4
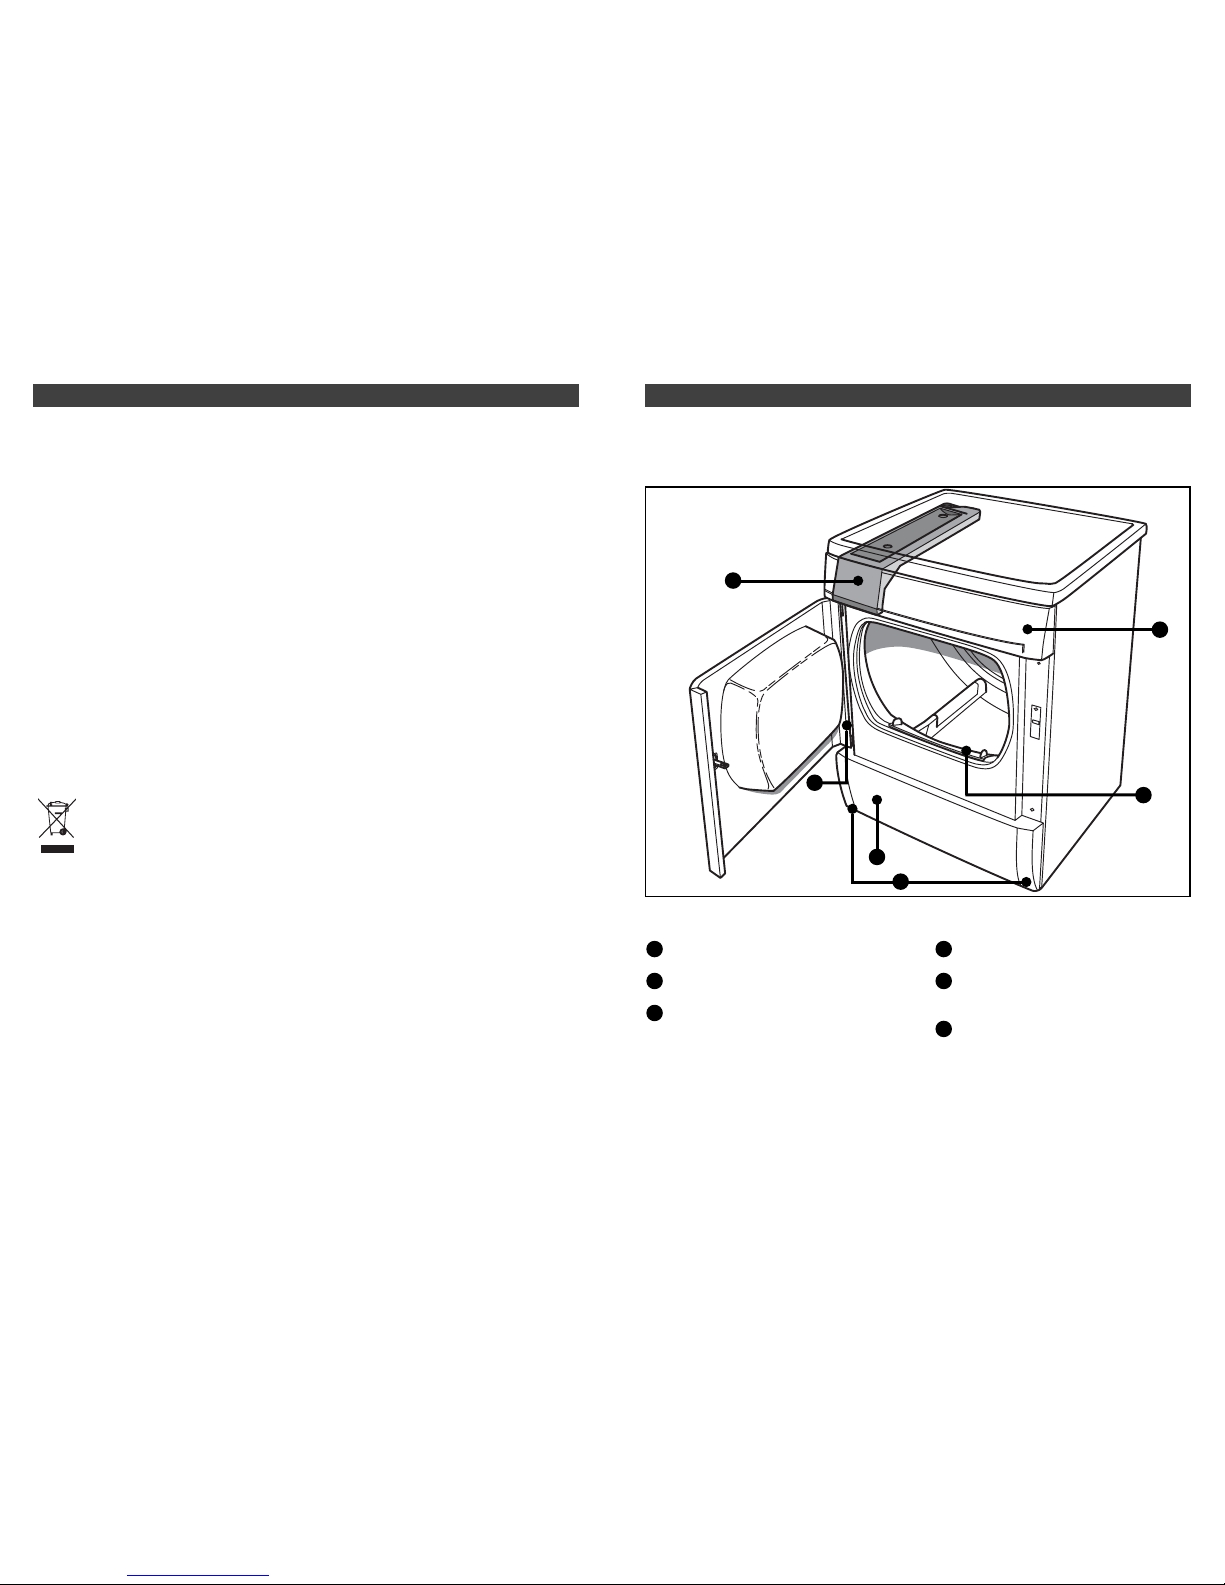
2 / DESCRIPTION OF YOUR APPLIANCE
• General presentation of the tumble dryer ____________________ 5
• The steam tank ________________________________________ 6
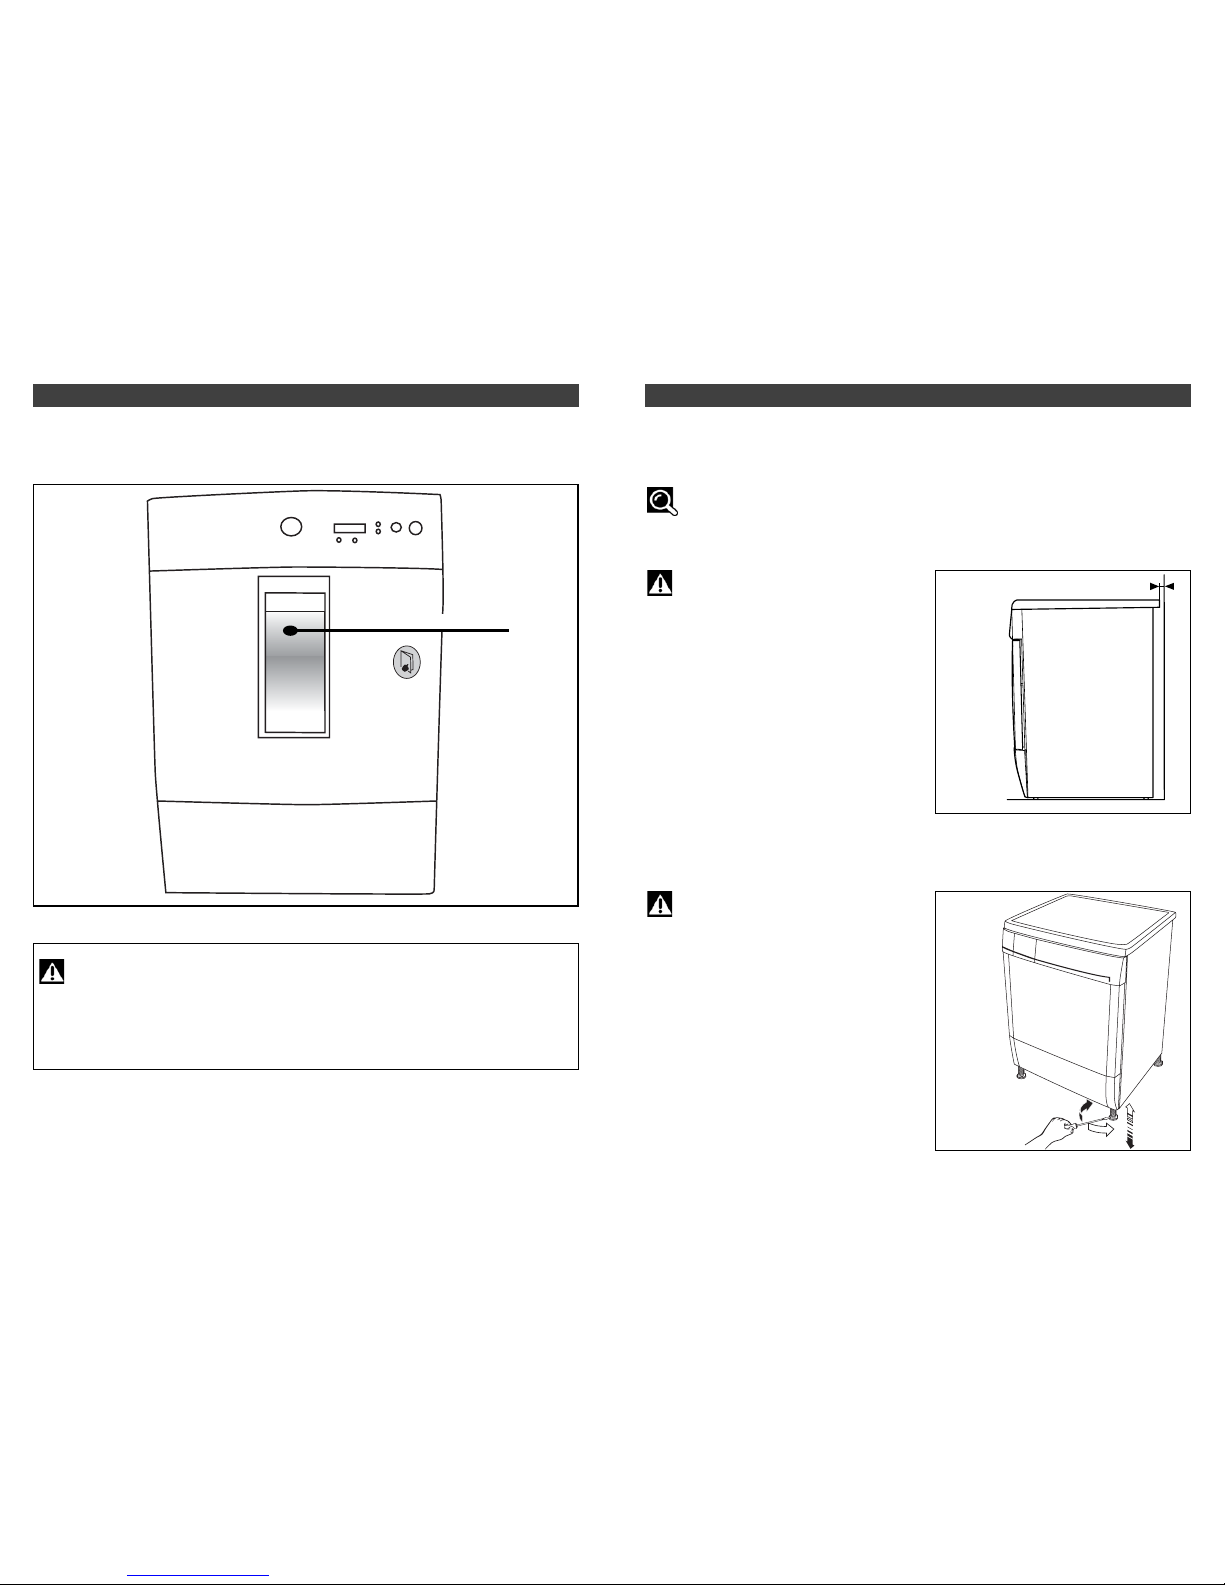
3 / INSTALLING YOUR TUMBLE DRYER
• The appliance’s surroundings ____________________________ 7
• Levelling ______________________________________________ 7
• Before using the Steam program for the first time ____________ 8
• Built-in installation ______________________________________ 8
• Combined washer/dryer installation ________________________ 8
• Electrical connection ____________________________________ 9
4 / PREPARING YOUR ITEMS
• Checking the condition of your textiles______________________ 10
• Inserting the items in the drum ____________________________ 10
5 / PROGRAMMING
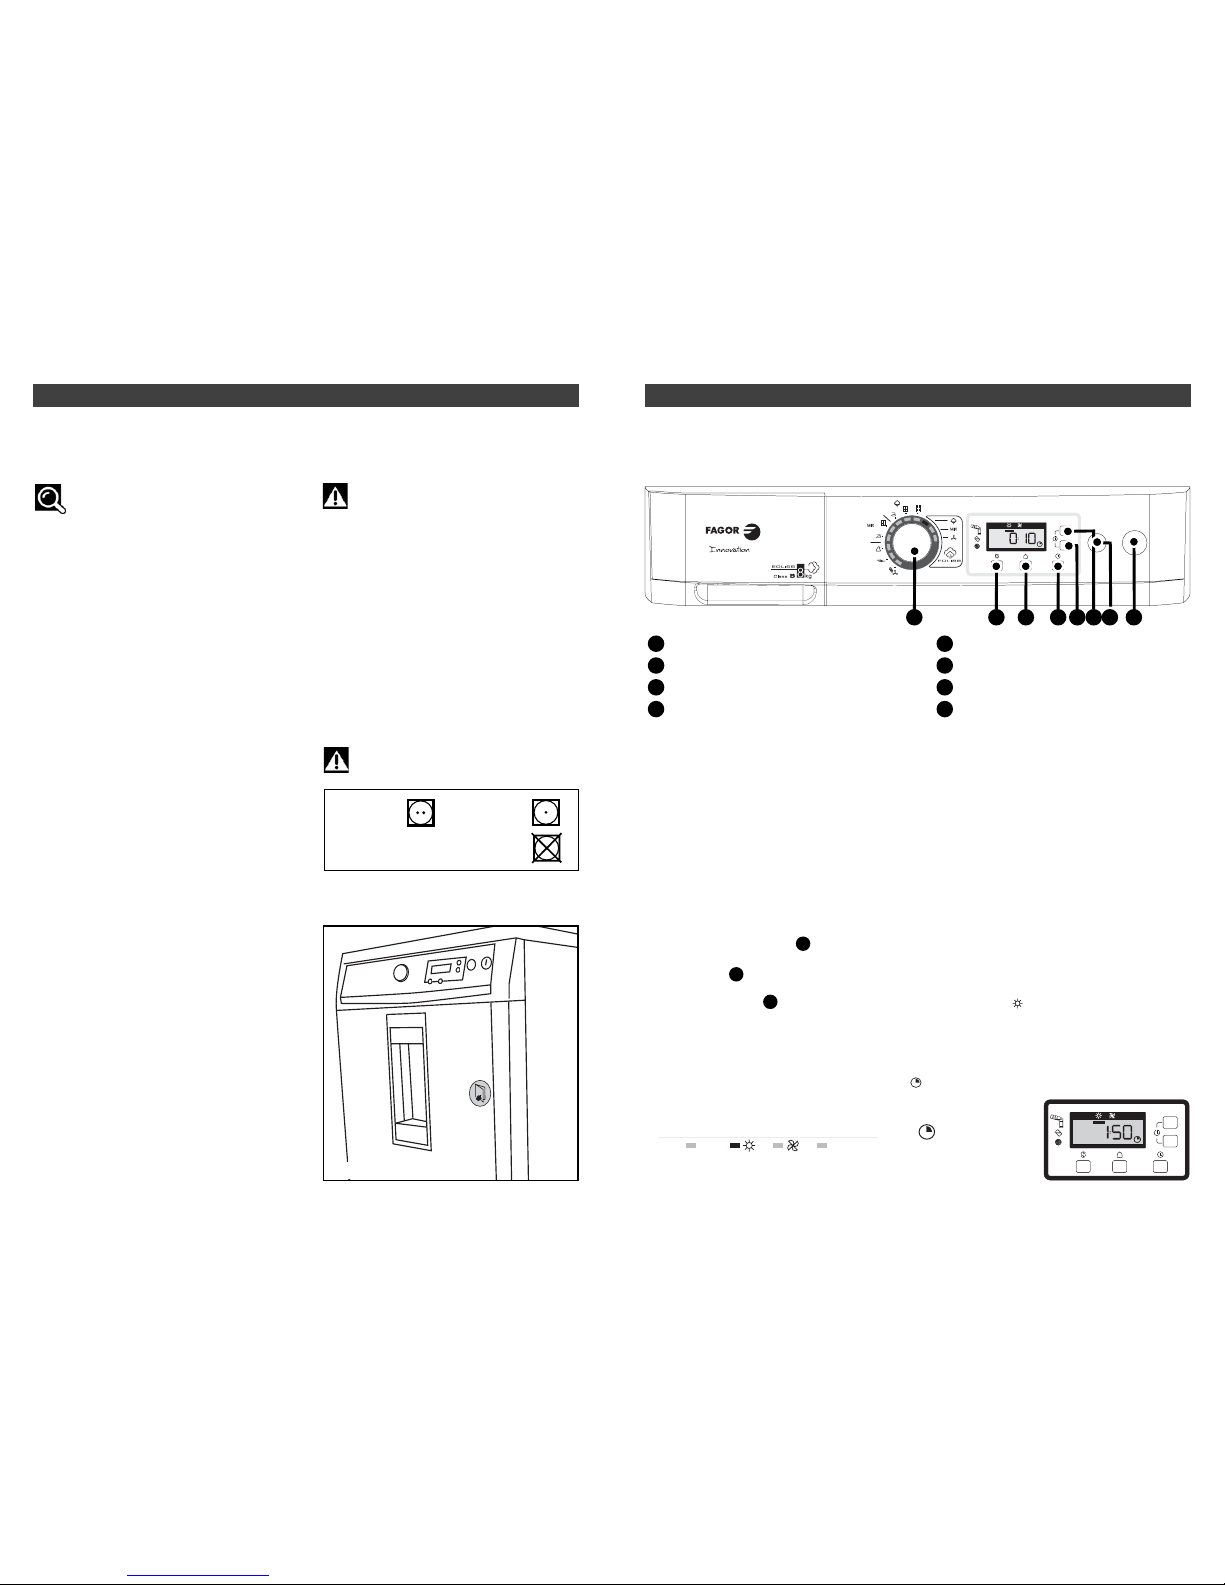
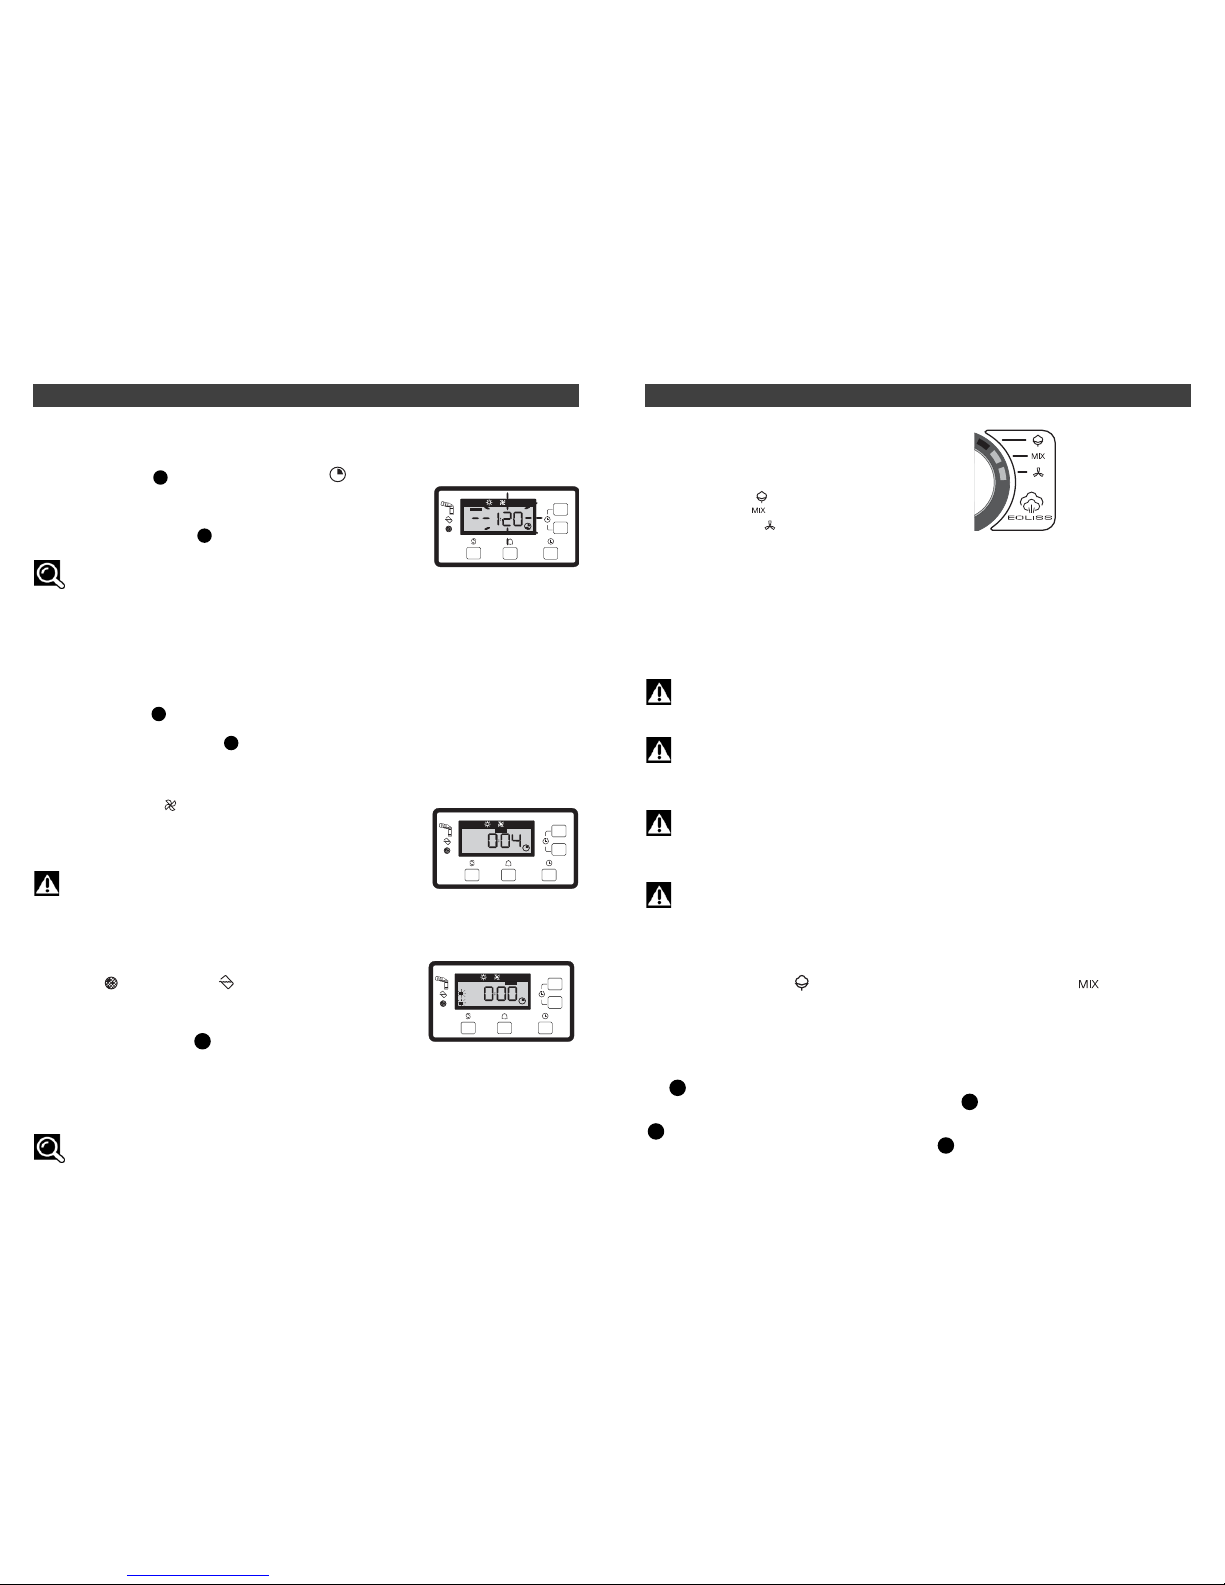
• Presentation of the control panel __________________________ 11
• Drying programs ________________________________________ 11
• "Steam" programs ______________________________________ 13
• Your dryer’s programs __________________________________ 16
• Options________________________________________________ 17
6 / REGULAR MAINTENANCE
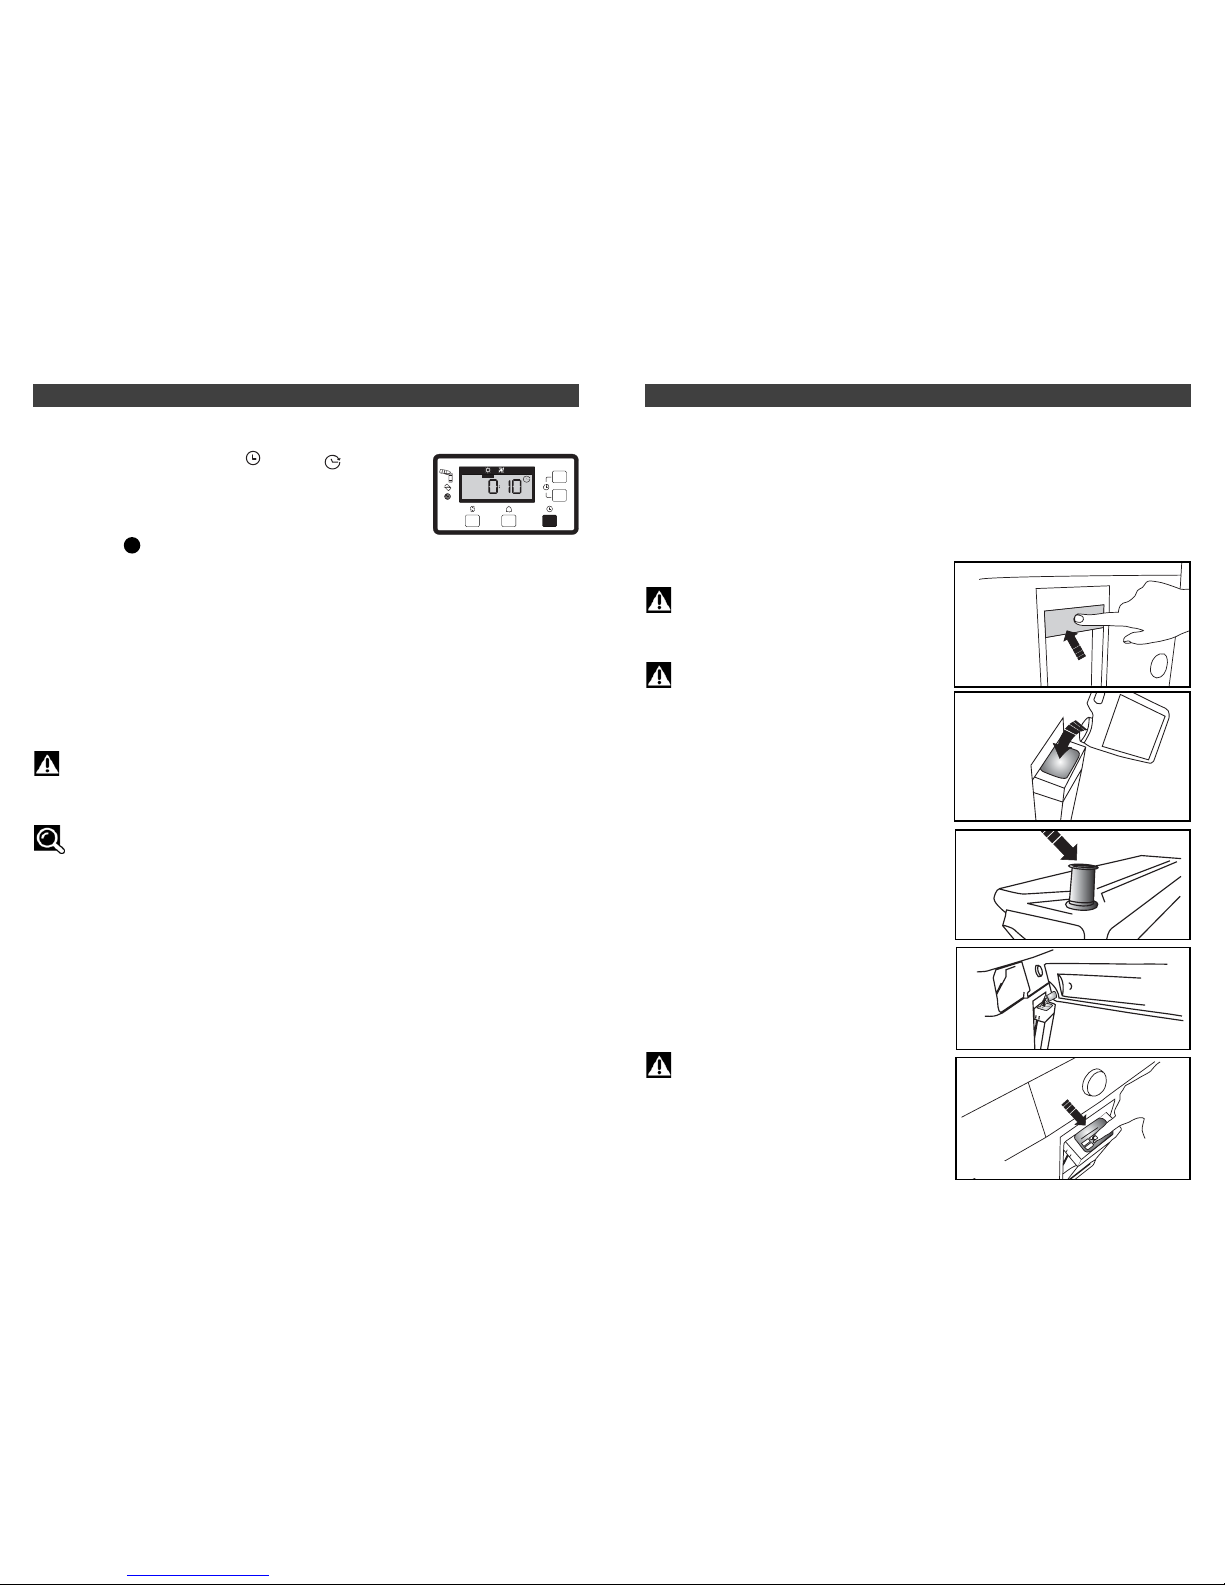
• Filling the steam tank ____________________________________ 19
• Cleaning the steam tank __________________________________ 20
• Cleaning the filter ______________________________________ 21
• Emptying the recovery tank ______________________________ 21
• Direct evacuation of water condenser ______________________ 22
• Cleaning the condenser __________________________________ 23
• Cleaning the appliance __________________________________ 23
• Changing the bulb ______________________________________ 24
7 / PERIODIC MAINTENANCE
• Cleaning the filter housing ________________________________ 25
• Cleaning the condenser housing __________________________ 25
8 / TROUBLESHOOTING ______________________________________ 26
9 / AFTER-SALES SERVICE ____________________________________ 28