Fairhaven Micro Alti 2 User manual


FAIRHAVEN Micro Alti 2
*The world’s smallest, most sensitive, micro-power multifunction vario-
altimeter.
The Micro Alti 2 is designed as an aid for paraglider, paramotor and
hang-glider pilots to provide essential information and enhance your
ying experience.
Based on the success of the original Micro Alti, the Micro Alti 2 has been
redesigned from the ground up, using today’s sensors and electronics,
providing the ultimate sensitivity and battery life in a wristwatch size
package!
Getting Started
To begin using the Micro Alti, switch on by pressing the middle button
for about a second. To switch o, go to OFF on the middle button and
press it for a second, or just keep the middle button pressed in any
mode and it will shut down.
Press any button to move down its menu and use EXIT to leave any sub
menus.
The separate quick guide sheet gives an overview of the menus.
Charge the Micro Alti via the USB socket if it doesn’t function.

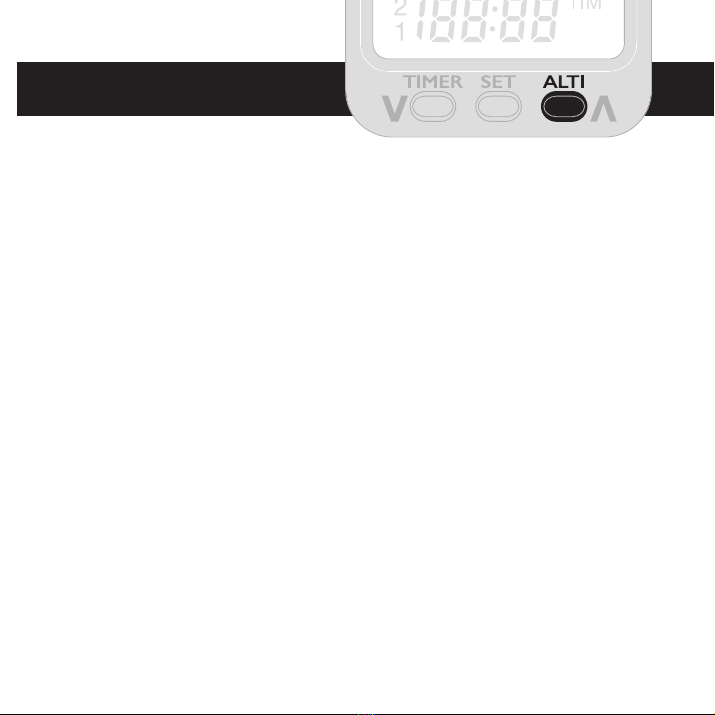
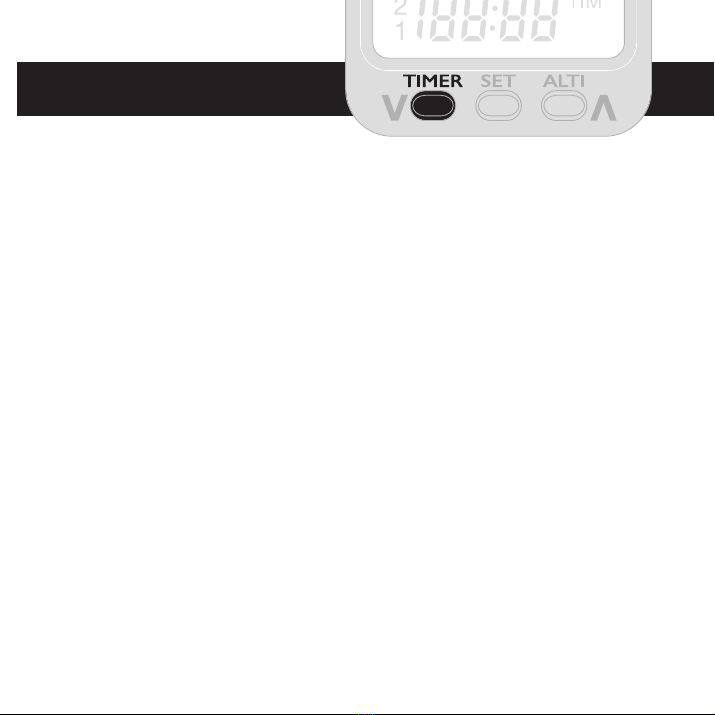
The time clock and timers are on the left button, altimeter and barometer
references are on the right and various other functions are on the middle
button. After displaying a function, for example temperature or altimeter
type, that function will be remembered when you return to the button.
After checking the time, the menu will automatically return to the
previous function without having to press it again, and after selecting
the averager it will return to the current altimeter after a few seconds.
If you press either of these functions a second time it will stay on that
function, the vario will then be displayed above the time and altitude
below the averager.
The middle button gives access to 3 sub menus when SUB is displayed:
The left submenu shows maximum readings for altitude, humidity etc.
The right sub menu allows you to adjust regular user settings.
The middle sub menu is accessible with a long press on SUB and gives
access to less used settings, tests, serial number etc. Remember to use
EXIT to leave any of the sub menus.
The Micro Alti is shipped in DEMO mode to let you see how it responds,
but it may be too sensitive for general ying so we would recommend
selecting DEFS (ying defaults) in the middle SUB menu and press the
right button to make the change. You can also customise your settings
in the right SUB menu.

The ALTI button
Three types of altimeter and barometers are accessed with the ALTI
button. A quick press shows the altimeter or barometer name before
displaying the reading, a further press while the name is displayed
moves to the next.
QNE indicates altitude relative to the standard pressure of 1013.25mB.
This is equivalent to pressure at mean sea level dened by the
International Standard Atmosphere.
QNH can be set to the height of the hill or aireld, or a pressure reference.
After selecting QNH, hold the ALTI button to enter Height adjustment
mode (H) then use left and right buttons followed by SET to store the
displayed height or move to Pressure setting mode (P). This is adjusted
in the same way and is usually set to the pressure given by the local
aireld.
ALTI 1, 2 and 3, can be zeroed with a long press and can be used as
your take-o reference. ALTI 1 measures altitude in 10cm steps (or 4
inches) reverting to 100cm steps above 1999.9

The next option on the ALTI button is BARO. This will indicate your local
barometric pressure which will usually dier from barometric pressure
in weather reports which are referenced to sea level. Increasing altitude
will cause a decrease in pressure by approx 1mB per 30 feet above sea
level, decreasing at higher altitudes.
This is followed by PRESSURE CHANGE which records how local air
pressure changes over time and can give an indication of a potential
trend in the weather, for example when a low pressure system is
approaching. Allow an hour or so for the trend indicator to register any
change or leave it on overnight before you y.
In PRESSURE CHANGE mode the segmented scale indicates in quarter
millibar increments. Current pressure is indicated by a ashing segment
while other segments will have registered previous pressure excursions.
This can be reset to the current pressure with a long press on the ALTI
button.
This function will be aected if you y or change altitude and is only
provided as a guide if you are deciding whether to y.

The TIMER button
The TIMER button gives access to the time clock, alarm timer and
stopwatch.
An initial press of the TIMER button shows the current time and will
automatically revert to its previous mode (current altimeter, temperature
etc.) without further key presses. Press again to keep the clock displayed
along with the vario.
Clock setting: A long key press allows you to set the clock. First hours
will ash and can be adjusted with the left and right keys, use the SET
button to set hours and then set minutes in the same way.
A third press gives the ALARM timer which can be used to set a reminder
or time events. If you are using your Micro Alti with a paramotor headset,
the alarm timer can be used as a prompt when your fuel tank is likely to
be low or half full, providing you rst familiarise yourself with your fuel
consumption. The alarm timer will permanently store the setting, so the
same duration can be used again.

Alarm setting: A long key press on the TIMER button allows hours
to be set using the left and right buttons followed by the SET button.
Minutes can then be set in the same way. Press the SET button again to
begin the countdown and ALARM ON will be displayed before returning
to the altimeter.
When the alarm sounds, press the middle button to silence it. You can
cancel the alarm at any time by returning to ALARM and holding the left
button, this will be conrmed with ALARM OFF. Switching o the Micro
Alti will also cancel the alarm.
The last option on the TIMER button is the stopwatch.
STOPWATCH AUTO START (ight timer) can be initiated with a long key
press on the left button and READY will be displayed. The stopwatch will
then start as soon as height changes by +/- 30 feet or 10 metres.
The stopwatch can also be started, paused and restarted with further
key presses and can be zeroed with a long press on the TIMER button.
Press any other key to exit.

The Middle Button
The rst item on the middle button is the averager. This is a useful tool
to nd your overall rate of climb when ying conditions create short
bursts of lift and sink.
The averager is selected on the middle button along with the averaging
time, e.g. AV 20 (20 second averaging). It will return to the current
altimeter after a few seconds but a further press leaves it in averager
mode along with the altimeter reading. The averager is shown as a
black band of petals and the normal vario rate is also shown as a single
ashing petal in this mode. The audio tones will still respond quickly if
lift or sink is encountered.
The averager can be adjusted to smooth out variations of lift and sink
over a 1 to 60 second period and can be set with a long press on the
middle button or in the right sub menu, which is explained further down
the manual.
The vario is displayed next (shown with a V) and has a numeri cal readout
of 0.1 metres per second in this mode and a resolution of up to 10mm
per second on the petal display. The sensitivity of the petal display can
be set with a long press or in the right settings menu.

Battery shows the actual battery voltage. The upper segments of the
display will only indicate while charging, after which a full charge is
indicated with around 80% of the segments showing, which is around
4 volts. “BAtt” will ash whenever the battery voltage drops to level “2”
on the battery display. To avoid damaging the battery, recharge if it
becomes empty.
The time clock has a separate back-up battery and is recharged along
with the main battery.
The G-Meter is the next option on the SET menu and this shows the
strength of gravitational or centrifugal force acting on the pilot and
normally indicates approximately 1G at rest, displayed as G 1_00
Higher “G” may be encountered during a turn or dive and the G-Meter
will indicate this to 2 decimal places, for example: G 2_15 (i.e. just over
twice the Earth’s gravitational force).
The maximum G-force encountered during your ight can be seen
in the left sub menu. This will be permanently stored and will only be
updated if higher G-force is registered. This reading can be reset back
with a long key press.
This is followed by temperature in degrees Celsius which equates
to local air temperature if the vario is not heated by sunlight or body
temperature etc. A long press gives temperature in Fahrenheit.
Humidity % is shown next and can be a useful indication of saturation
as you approach cloud formations.

The nal menu item is the FM radio. This option is included as many
people use devices to listen to music in ight and the Micro Alti is a
convenient choice as the vario tones are blended with the radio. While
we don’t encourage activity that might distract from the task of ying,
listening to music is generally allowed if done with due caution and does
not divert your attention; for example on cross country ights, and away
from obstacles or groups of other paragliders. You may consider using
a single ‘over the ear’ headphone so that you can still listen out for other
aircraft. While you are on the ground, you may want to catch a weather
forecast, keep up with the sport or pass the time waiting for the perfect
opportunity to y!
Operating the radio
Plug an earpiece or headphones into the socket on the top of the Micro Alti.
The radio is switched on with a long press on the FM RADIO option.
Left and right buttons change the radio stations stored in memories
0-9. (Several frequencies are already stored for testing, so it should
nd a station straight away). A further press on the middle button gives
the volume control which is operated with the left and right buttons,
followed by the MONO/STEREO control, then EXIT and OFF. (EXIT will
leave the radio on after pressing the left and right buttons, OFF will exit
with the radio switched o).
Storing stations: A long press on the middle button in memory mode will
cause it to begin scanning and the radio will stop when it nds a station.
You can press again to continue scanning or use the left and right buttons

to chose a memory number, then press the SET button to store the station.
A long press on left or right will exit scanning mode without storing a
station. The vario tones are also sent to the headphone socket and the
volume of the radio should be adjusted to give a suitable blend.
Note: If FM is indicated on the display the radio will be switched on
and consuming power!
Sub Menus
Press the middle button to go to SUB MENUS, then left and right buttons
to access the two main sub menus, continue down the menus with the
middle button. The middle sub menu is explained later in the manual.
Left Sub Menu
The left Sub Menu shows maximum and minimum readings relating to
your ight. All readings are stored permanently and can be individually
reset with a long key press. Vario and G-Meter readings are visually
represented on the petal display starting from the left. 1- indicates that
a vario reading has gone over the maximum of 19.
Maximum lift is followed by maximum altitude, then maximum sink,
followed by minimum altitude. High and low readings are generally
indicated with H and L. This is followed by maximum and minimum
temperature then maximum humidity % and maximum G force. EXIT
followed by left or right buttons returns to clock or altimeter displays.

Right Sub Menu
PIZO - Allows the piezo bleeper to be turned o when not required by
selecting “n”, selecting “Y” will turn the vario’s tones back on. Select “A”
to allow the tones to turn on automatically if barometric pressure changes
by more than 1mB. This will silence the vario until you begin ying.
AVERAGER SETTING - Allows the averaging display to be set between
1- 60 seconds.
SENSITIVITY - Sets the sensitivity of the vario scale. On the secondary
scale, petals reduce from the centre of the display as the rate of climb/
descent increases.
Setting Petal sensitivity Full scale Secondary scale
11 5 mm/s 50 mm/s 0.1 m/s
10 10 mm/s 0.1 m/s 0.2 m/s DEMO setting
9 20 mm/s 0.2 m/s 0.4 m/s
8 50 mm/s 0.5 m/s 1 m/s ^ More sensitive
7 0.1 m/s 1 m/s 2 m/s
6 0.2 m/s 2 m/s 4 m/s DEFS (Flying defaults)
5 0.5 m/s 5 m/s 10 m/s Thermal ying
4 1 m/s 10 m/s 20 m/s General Aviation
3 2 m/s 20 m/s 40 m/s
2 4 m/s 40 m/s 80 m/s v Less sensitive
1 5 m/s 50 m/s 100 m/s

VOLUME - Sets the volume of the bleeper in 20 steps. Use the left and
right buttons to set the level as required. This does not aect the headset
volume. Lower volume levels will give slightly longer battery life.
UP threshold (UP th) - This sets the climb rate at which the vario begins
to bleep. The threshold can be adjusted with the left and right buttons
to prevent excessive triggering.
DOWN threshold (DN th) - A continuous tone Indicates that the glider
is descending. You may wish to set the down threshold to only respond
when you are descending rapidly, as a warning that you are in rapidly
sinking air.
WEAK LIFT FINDER - The “Weak Lift” or “Thermal Finder” is used to
indicate rising air even when the glider itself is not ascending! This would
usually be set to the sink rate of the glider, then if rising air reduces the
rate of sink above this point, the Weak Lift Finder will start to chirp and
speeds up as level ight is approached. The default threshold is set to 1100
mm/second, which is typical for modern paragliders. Left and right buttons
adjust the threshold and the Weak Lift Finder tones can be switched o if
set to zero or “n” in the middle sub menu.
VARIO DAMPING - This controls how quickly the vario’s audio and visual
indications respond to changes in height. A short response will cause the
vario to respond quickly, but it may respond too readily to small changes
such as when wind is bueting the vario. You may prefer a slower response
which will average out small and rapid variations. Once you are ying, the
Micro Alti will tend to silence until lift is detected.

PACE of tones - This sets the scale of the vario’s tones. So if you
are generally searching for small amounts of lift, such as when ridge-
soaring, a high setting will make the vario more responsive to small
altitude changes. If, on the other hand, you are used to ying at higher
climb rates, such as when thermalling, a lower setting will be more
useful as the audio tones will vary more gradually over a larger range.
Unit - Allows metric or imperial units to be selected.
1. Metric altimeter and vario in metres per second.
2. Altitude in feet and vario in feet (x100) per minute.
3. Altitude in feet and vario in metres per second.
G-METER AUDIO – Selecting this option (with a press on the right
button) provides a range of tones (similar to the vario) to indicate G
force, providing audible feedback in acrobatics and training. Selecting
VARIO AUDIO reinstates the regular vario tone system.
EXIT - Use left or right buttons to exit.
Middle Sub Menu
The middle sub menu is accessible with a long press on SUB and gives
access to less-used settings, tests, serial number etc. Short presses then
cycle the options below, use left and right buttons to change settings.
DEMO - Sets the Micro Alti to be highly responsive to demonstrate its
operation. Lift tone=30mm/second, Lift nder threshold=1.1m/s, sink
threshold=800mm/s.

DEFS - Loads typical ying defaults: Lift tone=100mm/second, Lift
nder threshold=1.1m/s, sink threshold=2m/s.
SHUT DOWN TIMER - Automatically shuts o the Micro Alti when there
is no activity, to save the battery. The timer can be set from 1 minute to 6
hours. If any buttons are pressed or the pressure changes by more than
1mB, the timer will reset and the Micro Alti will stay awake.
When the Micro Alti is about to shut down, it will bleep and show
“SHUTTING DOWN” on the screen.
The countdown timer can be disabled if set to OFF. It will also be
disabled when in PRESSURE CHANGE mode, so that the pressure
trend can be monitored over a long period.
WEAK LIFT FINDER - Switches weak lift nder on or o.
LED ON - Switches the blue Lift LED on or o. (O prolongs battery life).
USB ON/OFF - Enables USB port for communication with other devices.
DATA FORMAT - Select NMEA or hexadecimal USB data formats with
right or left buttons.
G th - Provides a threshold to prevent the G-Meter from randomly
triggering the tone system.
CHG.H / CHG.L - Changes from high to low battery charging to
extend battery lifetime.
EXIT - Use left or right buttons to exit, or exit further down the menu.
PIZO CHECK - Bleeps to check the piezo bleeper.

LCD CHECK - Turns all LCD segments on.
CONTRAST - Changes the contrast of the LCD.
EXTENSION BLEEPER - Changes the headphone jack output to drive
a piezo extension bleeper.
G CAL - Provides calibration of the G-Meter which may need to be set
up initially or if the G-Meter does not show approximately 1G at rest.
To do this, press and hold the SET button and “Flat” will appear in the
display. Place the Micro Alti on a at, stationary surface and press the
left button. The G-Meter will then calibrate itself and will be ready for
use. If the right button is pressed, factory defaults will be restored.
CLOCK ADJUST - Allows adjustment if clock is running fast or slow.
QNE ADJUST - Allows the QNE reading to be adjusted to compensate
for small changes as the altimeter’s pressure sensor ages. We don’t
recommend this without having a precision reference for comparison.
BARO ADJUST - Allows the Barometric pressure reading to be adjusted
to a known reference, taking into account your height above sea level. Note
that QNE and Barometric pressure will both change when adjusted. QNE
will always be zero when barometric pressure equals 1013.25mB.
FW VERSION - Shows the rmware version. Fairhaven will occasionality
provide updates to improve features and operation of the Micro Alti.
SN (SERIAL NUMBER) - Displays the Micro Alti 2’s unique serial
number. (You may wish to take a note of this).

ERROR CODE - Shows last error logged by the processor for
debugging. Usually 2083 (power o).
DEBUG MODE - Sends live data variables to the USB port which can
be viewed with a terminal program for fault analysis.
EXIT - Use left or right buttons to exit.
Headphone/external bleeper socket
As well as having an internal audio sounder or “bleeper” the Micro Alti’s
headphone socket can connect to an external piezo bleeper that can
be worn under the helmet or inside a headset cup. This is particularly
useful to paramotor iers who make use of thermals to extend their
ights.
For helmets that are open around the ears, the extra piezo bleeper can still
be heard when mounted near to the ear, in the padding of the helmet.
Any type of stereo earbuds can be used too, or the Micro Alti can be connected
to an intercom for tandem or sailplane gliding, to your paramotor headset
auxiliary input, or with an earpiece if you have impaired hearing. You can set
the Micro Alti to suit a headset or piezo bleeper in the middle sub menu. The
volume of the vario tones in the headset is independent of the volume settings
for the internal bleeper, which can be turned o if not required.
Note: When using a piezo extension bleeper, use a stereo jack plug
and leave the jack’s ring unconnected. (Fairhaven can supply this part).

Audio tones
The lift tone is a “bleep-bleep” that increases in rate and pitch as rate
of climb increases.
The thermal nder tone is a short chirp that increases in frequency
above the glider’s sink rate and the sink tone is continuous tone that
starts high and reduces in frequency indicating sinking air. Use the
Right Sub Menu to customise the vario’s tone response.
Mounting
The Micro Alti can be mounted on your wrist, over a coat sleeve or on
your risers, or it can be panel-mounted in sailplane gliders etc.
We supply a velcro strap that can be cut down as required and adhesive
Velcro pads that will stick to most surfaces and can be sewn onto
clothing. Additionally we supply a lanyard which should be fastened
through the strap retainer on the rear of the Micro Alti and slipped
around your wrist or riser for extra security. Ensure that this will not
entangle with lines or controls.
The strap retainer on the back of the Micro Alti can be xed
horizontally or vertically or removed if the Micro Alti is mounted
onto a at surface. Take care when replacing the 4 screws. Engage
the threads by turning the screws slightly anti-clockwise before
tightening. Do not over tighten.

Battery
The battery is a 100mA re-chargeable lithium polymer type that is
automatically recharged when the Micro Alti is plugged in to any USB
5 volt supply, such as a computer, phone charger, sat-nav lead or solar
charger and we have included a charger that plugs into your car’s
cigarette lighter socket.
Charging is indicated with a red LED and a charge of approximately
one hour can give over 60 hours of autonomy (depending on use). If the
FM radio is in use, battery life will be around 8 hours. The charger will
switch o and the light will extinguish when fully charged, and even a
short charge is sucient for most ights! We can supply new batteries
if required which can be tted by the user.
Note: This product is designed as an aid to amateur ying under visual
ight rules. It is not guaranteed for use in obstacle or aircraft avoidance.
The specication may change from time to time and any claims relate
to the device at time of manufacture and in relation to devices of that
specic type.
Table of contents