5
• Make sure the shelves are pushed firmly to the back
of the oven. DO NOT close the door against the oven
shelves.
• DO NOT use aluminium foil to cover shelves, linings or
the oven roof.
• When the oven is on, DO NOT leave the oven door
open for longer than necessary, otherwise the control
knobs may become very hot.
• DO NOT use the timed oven if the adjoining oven is
already warm.
• DO NOT place warm food in the oven to be timed.
• DO NOT use a timed oven that is already warm.
• Use dry oven gloves when applicable – using damp
gloves might result in steam burns when you touch a
hot surface.
Hob care
• NEVER allow anyone to climb or stand on the hob.
• DO NOT use the hob surface as a cutting board.
• DO NOT leave utensils, foodstus or combustible items
on the hob when it is not in use (e.g. tea towels, frying
pans containing oil).
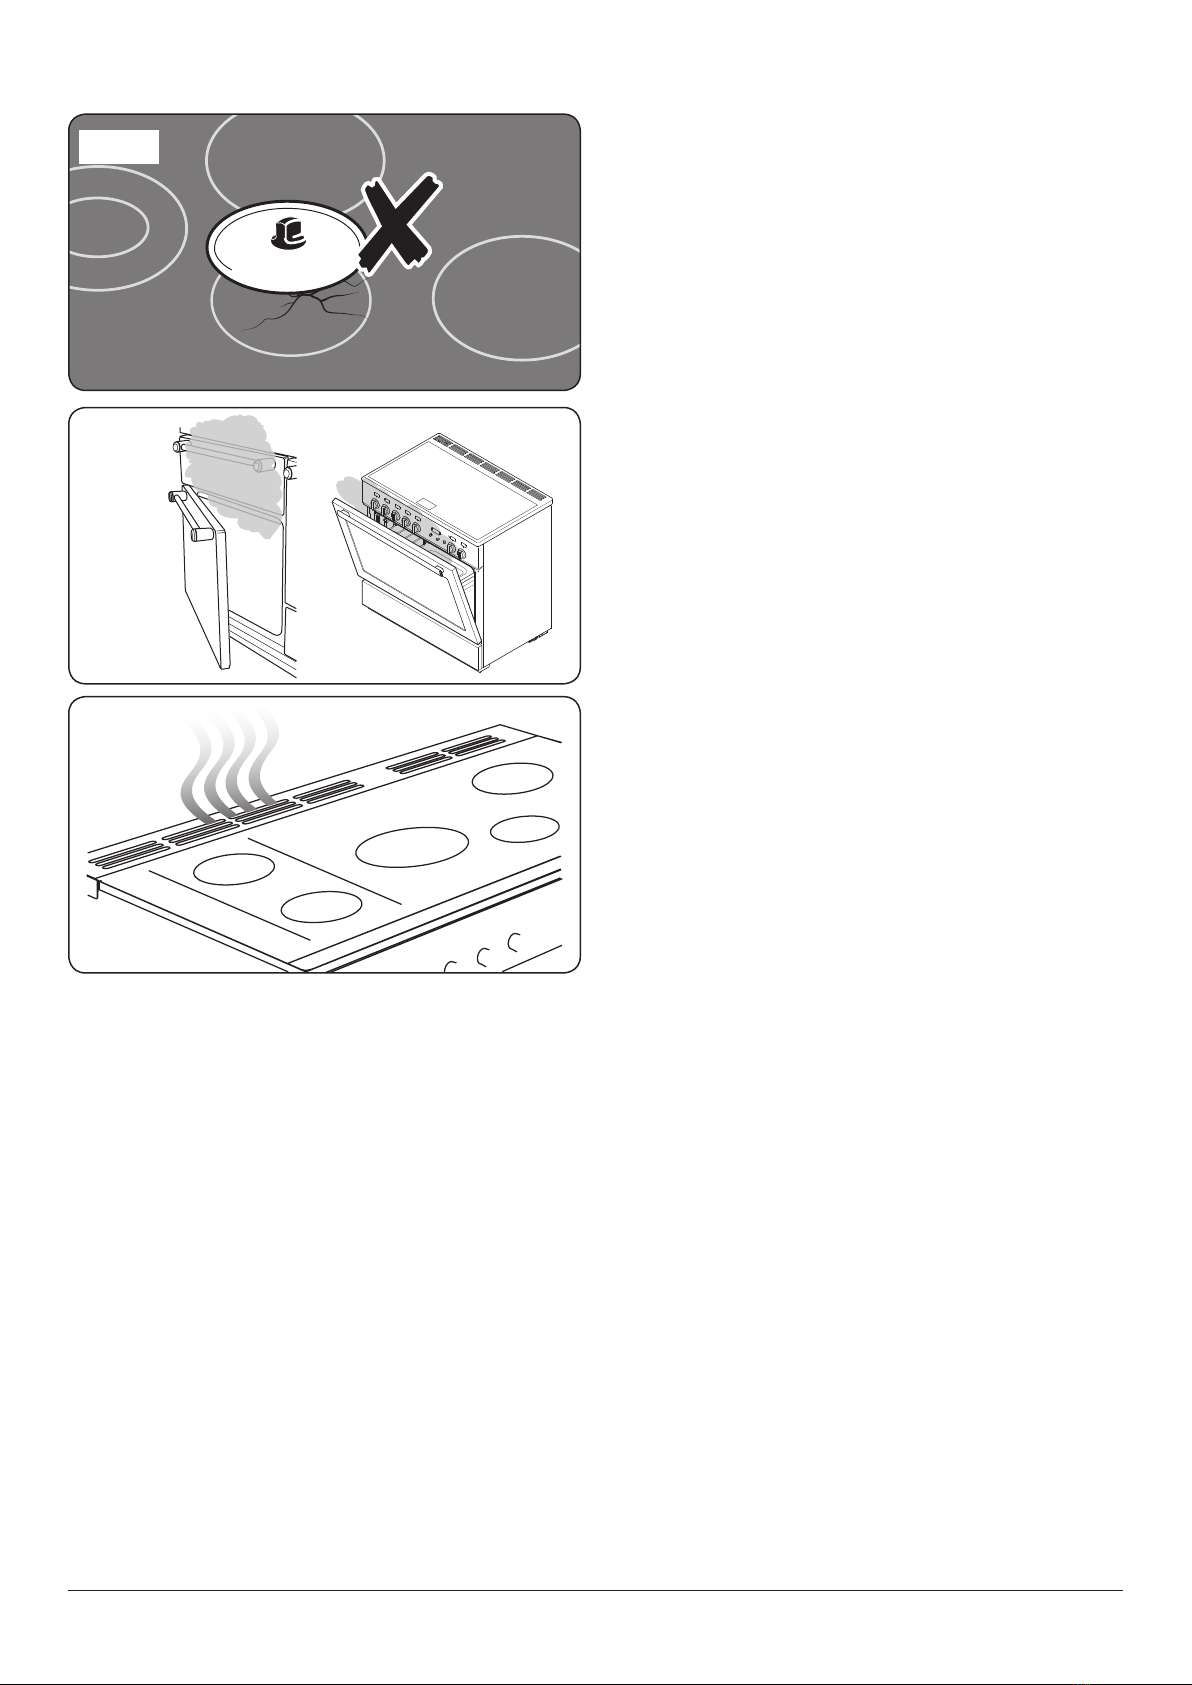
• DO NOT place plastic or aluminium foil, or plastic
containers on the hob.
• ALWAYS turn the control to the OFF position before
removing a pan.
• Avoid heating an empty pan. Doing so may damage
both the hob and pan.
Grill/glide-out grill™ care
• When using the grill, make sure that the grill pan is
in position and pushed fully in, otherwise the control
knobs may become very hot.
• DO NOT leave the grill on for more than a few moments
without the grill pan underneath it, otherwise the knobs
may become hot.
• NEVER close the grill door when the grill is on.
• Accessible parts may be hot when the grill is in use.
Young children should be kept away.
Cooling fan
This appliance may have a cooling fan. When the grill or oven
is in operation the fan will run to cool the fascia and control
knobs.
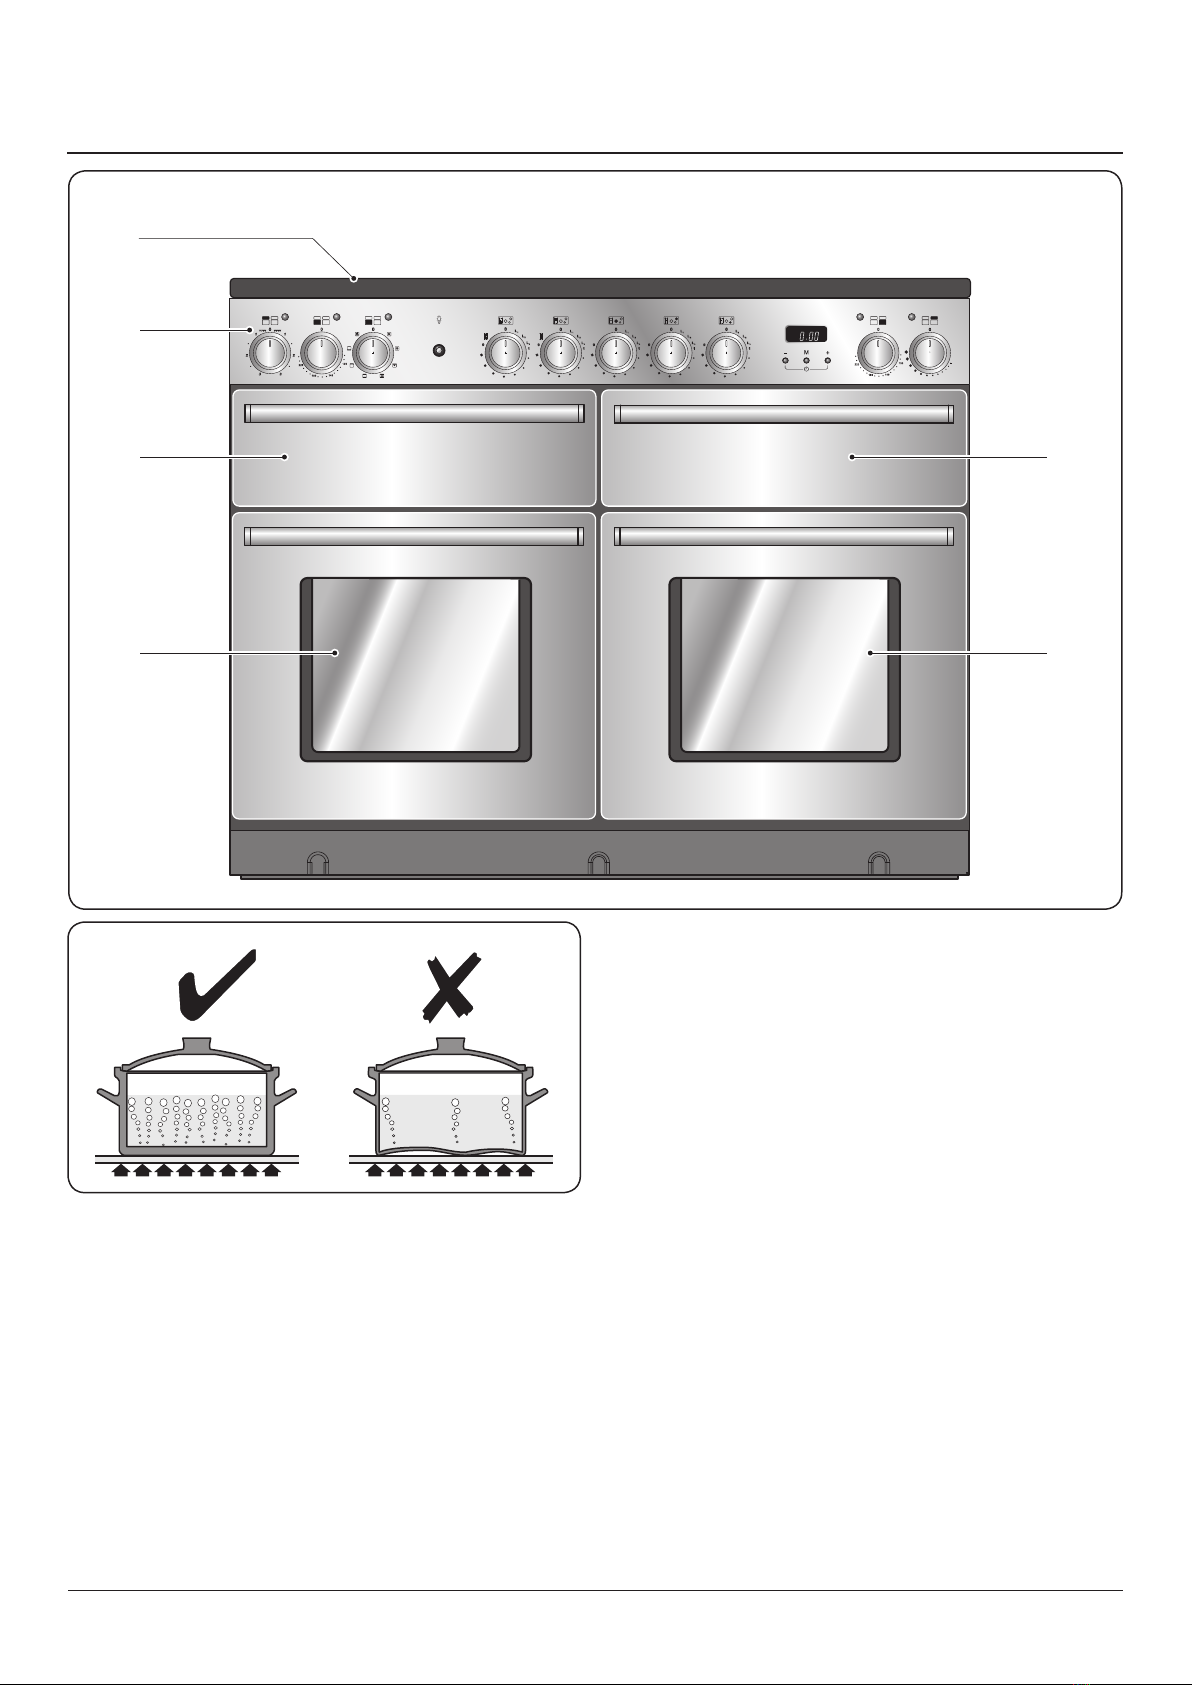
Cooker care
As steam can condense to water droplets on the cool outer
trim of the oven, it may be necessary during cooking to wipe
away any moisture with a soft cloth. This will also help to
prevent soiling and discolouration of the oven exterior by
cooking vapours (Fig. 1.7).
Cleaning
• Isolate the electricity supply before carrying out any
thorough cleaning. Allow the cooker to cool.
• In the interests of hygiene and safety, the cooker should
be kept clean at all times as a build up in fats and other
food stuff could result in a fire.
• Clean only the parts listed in this guide.
• Clean with caution. If a wet sponge or cloth is used to
wipe spills on a hot surface, be careful to avoid steam
burns. Some cleaners can produce noxious fumes if
applied to a hot surface.
• NEVER use paint solvents, washing soda, caustic
cleaners, biological powders, bleach, chlorine based
bleach cleaners, coarse abrasives or salt.
• DO NOT mix different cleaning products – they may
react together with hazardous results.
• All parts of the cooker can be cleaned with hot soapy
water.
• Take care that no water seeps into the appliance.
• Before you remove any of the grill parts for cleaning,
make sure that they are cool or use oven gloves.
• DO NOT use any abrasive substances on the grill and
grill parts.
• DO NOT put the side runners in a dishwasher.
• DO NOT put the burner heads in a dishwasher.
• NEVER use caustic or abrasive cleaners as these will
damage the surface.
• DO NOT use steel wool, oven cleaning pads or any
other materials that will scratch the surface.
• NEVER store flammable materials in the drawer.
This includes paper, plastic and cloth items, such
as cookbooks, plastic ware and towels, as well as
flammable liquids.
• DO NOT store explosives, such as aerosol cans, on or
near the appliance.
• DO NOT use steel wool, oven cleaning pads, or any
other materials that will scratch the surface.
• DO NOT attempt to disassemble or clean around any
burner while another burner is on, otherwise an electric
shock could result.