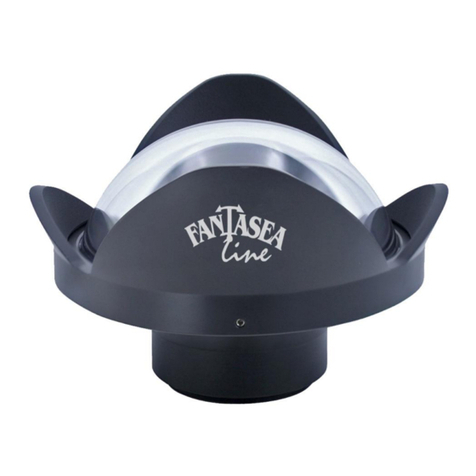
Fantasea Line UWL-09Pro User manual

AOI UWL-09Pro Wide Angle Lens Instruction Manual 20190213
1
AOI UWL-09Pro
Wide Angle Lens
Cat. No. 5158
Instruction Manual

AOI UWL-09Pro Wide Angle Lens Instruction Manual 20190213
2
DISCLAIMER
While every effort has been made in order to ensure that the information included in this
instruction manual is accurate and complete, no liability will be accepted for any errors or
omissions. Fantasea Line reserves the right to change product specifications and features
described herein at any time without prior notice. No part of this instruction manual may be
copied, translated or reproduced without the prior written permission of Fantasea Line.
Fantasea Line makes no warranties aside from limited product warranty as described at the
end of this manual.
INTRODUCTION
The AOI UWL-09Pro Wide Angle Lens is a quality “wet” wide angle conversion lens that fits
onto the housing 67mm lens port thread and can be installed and removed during the
course of the dive. It is perfect for photographing seascapes, divers, ship wrecks and schools
of fish without moving further away from the subject, thereby still taking full advantage of
water clarity and artificial light sources.
The AOI UWL-09Pro Wide Angle Lens can be mounted directly on top of 67mm threaded
housing lens ports or on top of lens ports featuring a different thread, by using a compatible
adaptor.
SPECIFICATIONS
67mm thread mount
Bezel / Barrel Material: Aluminum alloy with black hard anodize, ABS
Lens Material: 6 groups and 6 elements
Lens coating: Inner surface multi layer AR coating on the optical grade glass dome
lens + Multi layer AR coating on all glass lens elements
Depth rated to 100 meters / 330 feet
Magnification: 0.45X
Angle of View: 127 degrees*
*Diagonal angle of view (or field of view) on land, using a focal length equivalent to 24 mm
with a 35 mm format image sensor. To understand how this lens performs using a specific
camera, please check our compatibility tables or contact us.
Minimum focus distance: 0mm from glass dome lens
Weight (on land): 1408 g / 49.7 oz
Weight (underwater): 770 g / 27.2 oz
Dimensions (diameter x height): 139 x 99 mm / 5.47 x 3.89 inch
Included in package: Neoprene dome cover, rear lens cap, UWL-09Pro type-B
adaptor kit, secure string, microfiber cloth and lens padded carrying case

AOI UWL-09Pro Wide Angle Lens Instruction Manual 20190213
3
INCLUDED IN PACKAGE
1. UWL-09Pro Wide Angle Lens
2. Rear cap
3. Dome cover
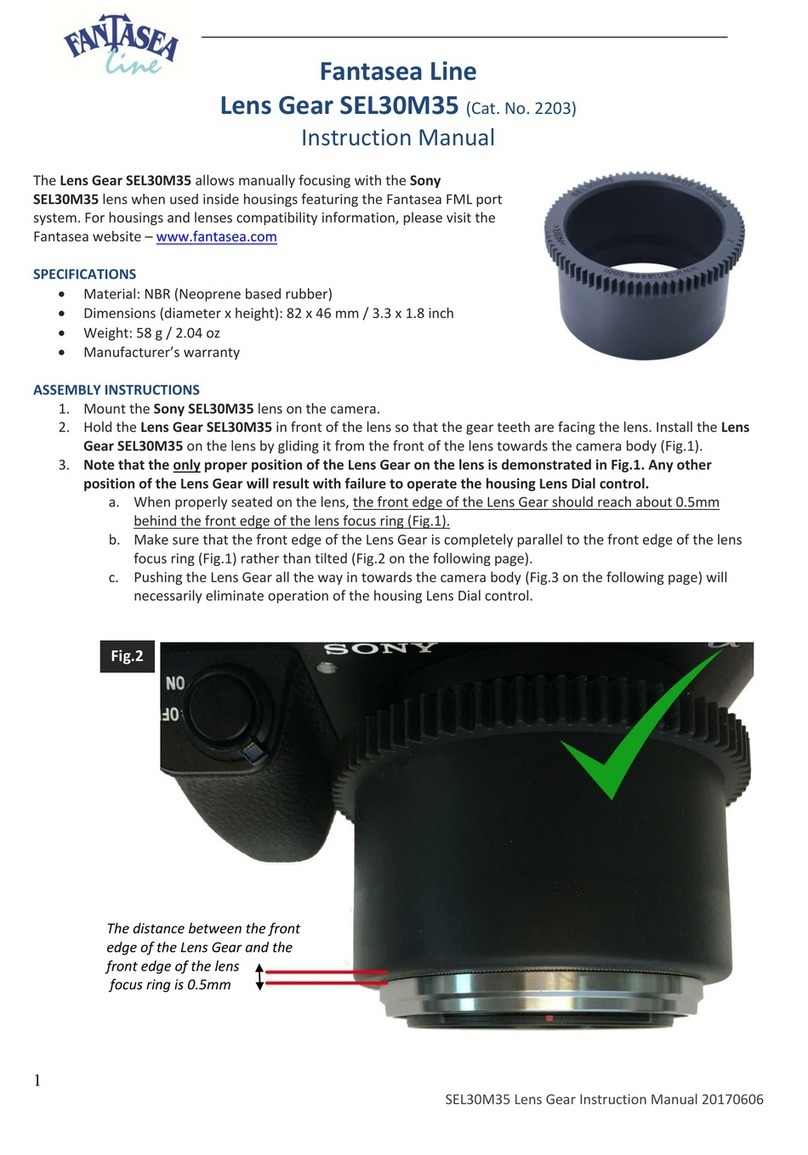
4. Microfiber cloth
5. UWL-09Pro type-B adaptor kit
6. Secure string kit
7. Padded carrying case
Type-B Adaptor
for UWL-09Pro
2.5mm Allen Key
1
2
3
4
5
6
7

AOI UWL-09Pro Wide Angle Lens Instruction Manual 20190213
4
COMPATIBILITY
The AOI UWL-09Pro Wide Angle Lens can be mounted on 67mm threaded lens ports or other lens
ports by using an adaptor. For a selection of adaptors available, please visit our website -
www.fantasea.com
INSTRUCTIONS FOR USE
1. Please use the utmost care and do not use excessive force when assembling and
disassembling the lens, in order not to cause any damage to the product.
2. The UWL-09Pro lens comes with the type-A adaptor for UWL-09Pro preassembled. This
adaptor allows mounting the lens on almost all housing lens ports featuring a 67mm
thread. Note that an additional narrower adaptor is separately included in the package
and marked as type-B adaptor for UWL-09Pro. When installed on the UWL-09Pro Lens
instead of the type-A adaptor, the type-B adaptor allows the lens glass to be positioned
closer to the housing lens port and the camera lens (image #1), resulting with even
better optic performance and enhanced results. This configuration, however, is only
compatible with some of the housings.
Image #1

AOI UWL-09Pro Wide Angle Lens Instruction Manual 20190213
5
If it seems that your housing lens port might be compatible with the type-B adaptor setup,
you might consider replacing the preassembled type-A adaptor with type-B adaptor:
a. Place the lens on a working surface so that the dome is facing downwards and the
thread is facing upwards. To protect the lens, cover the working surface with soft
cloth and leave the front neoprene cover assembled on the lens.
b. Remove the rear cap of the lens by unscrewing it until it separates from the lens.
c. Use the Allen Key (2.5mm) included
with the Type B Adaptor Kit in order
to unscrew all of the screws installed
on the rear side of the lens (image
#2).
d. Remove the type-A adaptor from the
lens and install the type-B adaptor
instead, so the screw holes on the
adaptor are aligned with the screw
holes on the lens.
e. Using the 2.5mm Allen Key, reinstall
the screws to secure the type-B
adaptor in place.
f. Test the configuration by screwing
the lens on to your housing lens port
(image #3 and 4). If the lens properly screws all the way in and sits within a fixed and
stable position, the configuration is most likely compatible with your housing.
Otherwise, replace the type-B adaptor with the type-A adaptor again.
Image #2
Image #3
Image #4

AOI UWL-09Pro Wide Angle Lens Instruction Manual 20190213
6
3. Install the secure string on the lens:
a. Insert the secure string through the secure loop featured on the lens (image #5).
Pull it through itself and test it in order to make sure it is secure (image #6).
b. It is recommended to attach the secure string of the lens to the housing, in order
to secure the lens. If making use of an arm in the system, secure strings can be
secured to the arm rather than to the housing.
4. Install the lens by screwing it on to your housing lens port (images #3 and 4 on page 5).
5. It is recommended to apply a small amount of silicone grease on the threaded area in
order to prevent corrosion. Make sure that no grease is applied over the lens glass.
6. Once the lens is installed on the housing lens port, test the mount to make sure it’s
stable and that the lens sits within a fixed and secure position.
7. During the dive, install the lens by screwing it on your housing lens port. Avoid
tightening the lens too hard onto the housing port, filter or adaptor, as this might result
in difficulty with removal.
8. Once the lens has been installed on the housing lens port, align the wings by carefully
swiveling them so that the longer wings are positioned vertically - on the bottom and
top. This will prevent the wings from being visible in images captured. Note that
swiveling the wings for the first time might require applying additional pressure.
9. Note that water must enter the gap between the lens port and UWL-09Pro lens glass
when using the lens underwater. Therefore, when diving with the lens, it is best to
install it underwater. Before capturing images, make sure that the gap between the wide
angle lens and the housing lens port fills with water and that there are no air bubbles
trapped there.
IMPORTANT NOTICE
The AOI UWL-09Pro Lens should only be screwed till the point of minimal resistance.
Continuing to screw the lens further than this point will make it difficult to remove it
later on.
Image #5
Image #6

AOI UWL-09Pro Wide Angle Lens Instruction Manual 20190213
7
10.The UWL-09Pro Lens can be removed and installed repeatedly throughout the course of
the dive.
11.Note that prior to unscrewing the lens from the housing lens port, the secure string clip
attached to the housing or arm should be released.
12.When removing the UWL-09Pro Lens from the housing, it can be conveniently stored by
attaching it to the EyeGrabber F67, which mounts on any standard Flex or B&J Arm, or a
different EyeGrabber Lens Holder if using an adaptor with the lens. For a selection of
EyeGrabber Lens Holders available, please visit our website - www.fantasea.com
13.During the beginning of your dive, the lens might become foggy as a result of an increase
in the air temperature inside the lens, following submersion in cooler water. Storing the
lens in a cool dry place when not being used, such as a padded housing bag with a few
silica gel packs inside, and submerging it in cool water for 10 minutes prior to the dive,
should assist in preventing such condensation. However, even if the lens starts fogging
up at the beginning of the dive due to temperature differences, note that continuing to
dive with it for about 10 minutes should eventually dissolve the fog.
14.It is recommended to use an external strobe when the UWL-09Pro Lens is mounted on
the housing. The UWL-09Pro Lens blocks the camera internal flash, resulting in
underexposed or shaded images.
15.When using an external flash or shooting against the sun, there are a few techniques
that should be followed in order to avoid a lens flare, which is often encountered when
using dome ports of any kind due to the reflection of the sun or strobe:
a. Images in which the sun is captured can be usually taken during mornings or afternoons,
when the sun is not as strong as during the middle of the day. In general, the sun will
have a much softer and successful effect during early and late hours of the day and will
also cause less of a flare.
b. Make sure that the strobe is not positioned towards the lens. When shooting a nearby
subject, for instance, it is better to position the strobe a little bit in front of the camera
housing rather than behind it (so the light doesn't reflect on the Wide Angle Lens), or if
you choose to position the strobe behind the camera housing, make sure it's not pointed
directly towards the lens, but a little bit tilted towards the side.
16.After the dive, detach the wide angle lens and all components from the housing lens
port and rinse them in fresh water.
17.Dry and store in a safe protected place.
CARE & MAINTENANCE
1. Please use the utmost care and do not use excessive force when assembling and disassembling
the different accessories, in order not cause any damage to the product.
2. Keep the lens away from extreme high temperatures, as under direct sunlight, since it might
damage lens.
3. Do not clean the lens with any chemical solvents or other materials, which might cause
damage to the lens.
4. Never look at the sun through the lens.
5. When mounting the lens on a housing lens port, it is recommended to follow the guidelines
below in order to avoid wearing out the threads of the lens and housing over time:

AOI UWL-09Pro Wide Angle Lens Instruction Manual 20190213
8
a. Prior to installing the lens on the housing, it is recommended to apply a small amount of
silicone grease on the threaded area of the lens (and adaptor, if used) to reduce the
amount of friction.
b. Install the lens on the housing lens port underwater only and remove it prior to ending
the dive. Once removed, the lens can be mounted on a lens holder. Avoid having the lens
assembled on the housing on land as much as possible, as it is heavier and exerts more
pressure on the threads.
c. It is recommended to reduce wearing of the threads by using lens mounting accessories
such as bayonet mounts or flip adaptors.
6. After Dive Care:
a. Detach the lens from the housing lens port and rinse all lens components in fresh water.
b. To ensure that the accumulated salt has completely dissolved, it is recommended to soak
the lens in warm fresh water once in a while.
c. Wipe the water drops with a soft cloth. Do not leave any droplets to dry on lens surface,
as permanent water spots may remain.
d. When storing the lens and during transportation, make sure that it is properly protected
in order to prevent scratches, cracks or any other damage to the lens.
e. Store the lens in a dry and protected area. Storing the lens in a low humidity environment
will decrease the chances of the lens fogging up when submerged in water.
f. Do not store the lens in presence of chemicals, solvents or fuels.
FANTASEA PRODUCT CONSUMER LIMITED WARRANTY
“Fantasea” warrants this Fantasea Line branded product against defects in materials and workmanship
under reasonable use for a period of ONE (1) YEAR, (two years, where required by law as determined by the
origin of the authorized dealer). This warranty is effective from the date of retail purchase from Fantasea or
an authorized Fantasea dealer, by the original end-user purchaser (“Warranty Period”). This warranty does
not cover any commercial use of the product. If a product defect arises and a valid claim is received within
the Warranty Period, at its option, Fantasea, or its authorized service facilities will either (1) repair the
product defect at no charge, (2) exchange the product with a product that is new or which has been
manufactured from new or serviceable used parts and is at least functionally equivalent to the original
product. The warranty will not extend beyond the original warranty period.
Your Fantasea Product should be registered within 30 days of purchase. You must keep the proof of
purchase which indicates the date on which the purchase was made; as you may be required to show proof
of purchase if you need warranty service. The following conditions apply: 1. This warranty extends to the
original purchaser only. It is not assignable or transferable. 2. The warranty does not cover damage resulting
from misuse, abuse, negligence, or accidents. Proper maintenance of the Product is the responsibility of the
owner. 3. The warranty does not cover damage directly or indirectly resulting from the use of unauthorized
replacement parts or service performed by unauthorized facilities. 4. This warranty does not cover any
damage to any other product used in conjunction with the Fantasea product, including cameras and lenses,
and resulting from any defect in the product materials or workmanship. 5. The cost of sending the product
back to Fantasea or its authorized service facilities is the responsibility of the customer. 6. The warranty
does not cover any incidental damages resulting from any defects in the product. This expressly includes any
travel reimbursements or any other costs associated with the purchaser’s optional use of the product. The
conditions of this warranty are expressly in lieu of all other expressed warranties, including the payment of
consequential or incidental damages for the breach of any warranty. Please register your product on line at
this URL: http://www.fantasea.com/registration.
www.fantasea.comor visit our websiteinfo@fantasea.comease contact us atFor further information, pl
This manual suits for next models
1
Table of contents
Other Fantasea Line Lens manuals
Popular Lens manuals by other brands

Nikon
Nikon AF-S DX NIKKOR 18-300mm f/3.5-5.6G ED VR user manual

Sony
Sony VCL-HG2030/HG0730 operating instructions

Tokina
Tokina 10~17mm F3.5~4.5 Fisheye DX instruction manual

DZOFILM
DZOFILM PAVO ANAMORPHIC PRIME user manual

Navitar
Navitar 1-62314 Dimensional drawing

Lightolier
Lightolier SV5 T5 specification