manuals.online logo
Brands
  1. Home
  2. •
  3. Brands
  4. •
  5. Fantech
  6. •
  7. Fire And Smoke Damper
  8. •
  9. Fantech FQ-FD User manual

Fantech FQ-FD User manual

fantech
Installation and Operation Manual
Manuel d'installation et d'opération
Item #: 483761
Rev Date: 2015-05-13
United States
10048 Industrial Blvd., Lenexa, KS, 66215
Tel.: 800.747.1762 • Fax: 800.487.9915
Canada
50 Kanalflakt Way, Bouctouche, NB, E4S 3M5
Tel.: 800.565.3548 • Fax: 877.747.8116
FQ-FD
Radiation Damper
Registre coupe-feu
This kit includes:
Radiation damper assembly, 1 pc
#8 x 3/8” machine screws, 7 pcs
#8 Kep nuts, 7 pcs
L’ensemble comprend:
Ensemble de registre coupe-feu, 1 pc
Vis #8 x 3/8 po, 7 pcs
Écrous #8, 7 pcs
2
fantech
Note Warning /
Important
note
Information Technical
information Practical tip
Read and Save these instructions for future reference.
Model FQ-FD ceiling Radiation Damper UL classied for use in up to 3
hour rated oor/roof ceiling designs.
For use with Fantech series FQ exhaust fans.
1. Align the 2 large holes of the damper with the 2 side panel screws.
Veillez à lire et conserver ces instructions pour leur
consultation future.
Modèle FQ-FD registre coupe-feu pour plafond. Certié UL pour utilisation
dans les modèles de planchés ou de plafonds coté pour une résistance au
feu jusqu’à 3 heures. Pour utilisation avec les ventilateurs de série FQ de
Fantech.
1. Aligner les 2 grand trous du registre avec les 2 vis du panneau latéral.
2. Install the 7 provided machine screws with Kep nuts into the damper
ange and tighten. 2. Installez les 7 vis fournis avec les écrous dans le panneau latéral et
serrer.
Vis du panneau
latéral
Side panel
screws
3
fantech
4. For all other oor or roof ceiling designs:
Position the assembly so that the damper ange is ush with the top
side of the ceiling membrane. Fasten through the mounting brackets
as described in the fan installation instructions.
5. All installations must be approved by the local authority prior to
completion.
3. For UL listed oor or roof ceiling designs:
Hang assembly with four (4) #12 gauge wires, one at each support
bracket.
NOTE: Wires must hang vertically and not be angled. Flange damper must
be ush with side of ceiling membrane. (acoustical tile, acoustical
panel, or gypsum wallboard)
Ceiling See classication
marking on product
Ceiling
Suspend from roof or
deck support or from
cross member installed
above
NOTE: The fourth wire may be attached to the electrical box as shown
below.
4. Pour tout autres modèles de planchers ou de plafonds:
Positionner l’ensemble de sorte que le rebord du registre est au niveau
avec le côté de la membrane du plafond. Fixer à travers les supports
de montage tel que décrit dans les instructions du ventilateur.
5. Toutes les installations doivent être approuvées par l’autorité locale
vant la n.
3. Pour les models de planchés ou de plafonds certier UL:
Suspendre l’assemblage avec les quatre (4) l d’acier de calibre no°12,
un à chaque support.
Remarque: Les ls doivent pendre verticalement et ne doivent pas
être inclinés. Le rebord du registre doit être à niveau avec le
côté de la membrane du plafond. (Tuile acoustique, panneau
acoustique, ou plaques de plâtre)
Plafond Voir marque de classication
sur le produit
Plafond
Suspendre du support
de toit ou de la terrasse
ou de la traverse
installée au-dessus.
Remarque: Le quatrième l d’acier peut être attaché à la boîte électrique
comme indiqué à la gure.
fantech
Fantech reserves the right to make technical changes. For updated documentation please
refer to www.fantech.net
Fantech®
Fantech se réserve le droit de faire des changements techniques. Pour de la documentation à
jour, s'il vous plaît se référer au www.fantech.net

Popular Fire And Smoke Damper manuals by other brands

Johnson Controls BD-1300 installation instructions

Johnson Controls

Johnson Controls BD-1300 installation instructions

Tamco 7000 Series Installation guidelines

Tamco

Tamco 7000 Series Installation guidelines

BSB FSD-C Series quick start guide

BSB

BSB FSD-C Series quick start guide

Mandik RKM Instructions for use

Mandik

Mandik RKM Instructions for use

Trox Technik FKRS-EU Installation and operating manual

Trox Technik

Trox Technik FKRS-EU Installation and operating manual

Trox Technik FKR-EU Installation and operating manual

Trox Technik

Trox Technik FKR-EU Installation and operating manual

Johnson Controls FD-1600 installation instructions

Johnson Controls

Johnson Controls FD-1600 installation instructions

Alnor FDA-BU Technical documentation

Alnor

Alnor FDA-BU Technical documentation

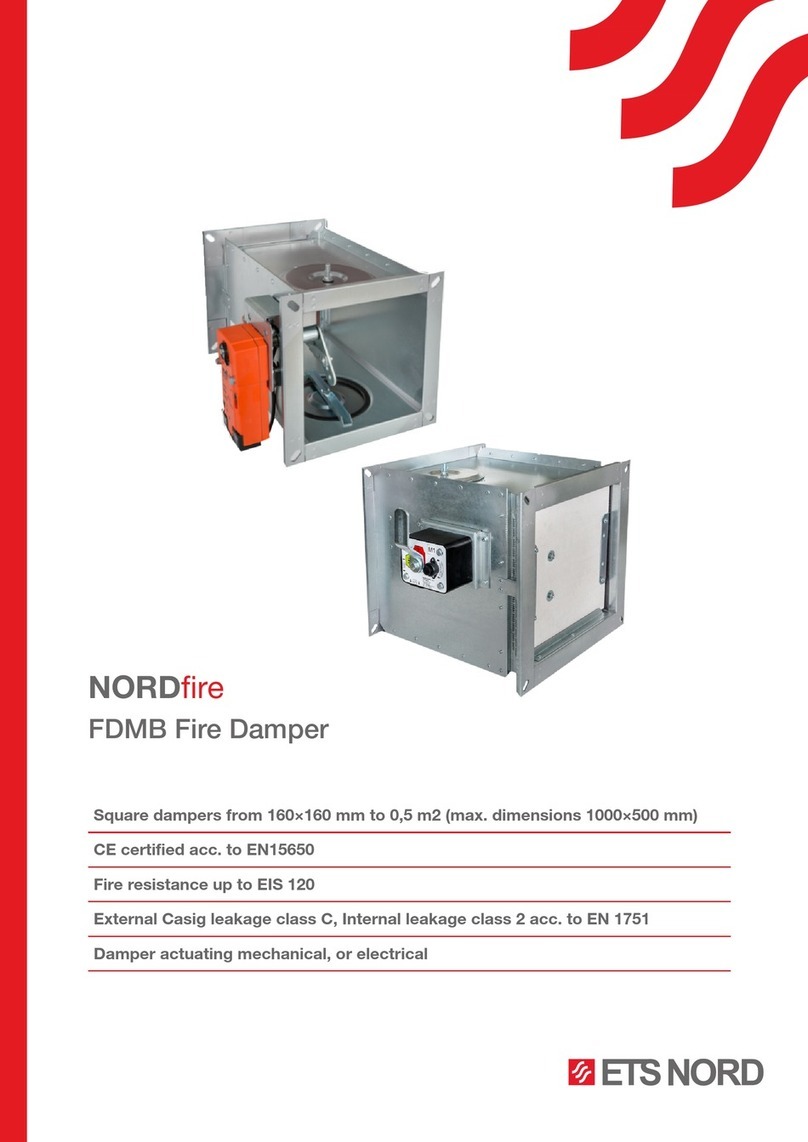
ETS NORD NORDfire FDMB manual

ETS NORD

ETS NORD NORDfire FDMB manual

SMAY WKP installation manual

SMAY

SMAY WKP installation manual

mercor mcr FID B Operation and maintenance manual

mercor

mercor mcr FID B Operation and maintenance manual

Tecnosystemi SIRIO 2.0 MASTER user manual

Tecnosystemi

Tecnosystemi SIRIO 2.0 MASTER user manual

Trox Technik FK2-EU installation manual

Trox Technik

Trox Technik FK2-EU installation manual

ETS NORD NORDfire manual

ETS NORD

ETS NORD NORDfire manual

Trox Technik FKR-EU Supplementary Operating Manual

Trox Technik

Trox Technik FKR-EU Supplementary Operating Manual

System air S-RA1 Series Handbook

System air

System air S-RA1 Series Handbook

HAG INTACT manual

HAG

HAG INTACT manual

Rf-t CA2 installation manual

Rf-t

Rf-t CA2 installation manual

manuals.online logo
manuals.online logoBrands
  • About & Mission
  • Contact us
  • Privacy Policy
  • Terms and Conditions

Copyright 2025 Manuals.Online. All Rights Reserved.