manuals.online logo
Brands
  1. Home
  2. •
  3. Brands
  4. •
  5. HVC
  6. •
  7. Fire And Smoke Damper
  8. •
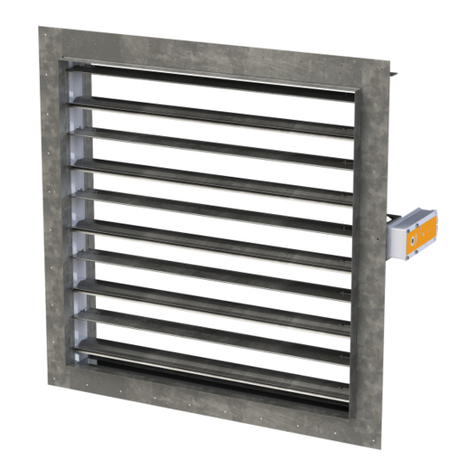
  9. HVC NCA 700 Series User manual

HVC NCA 700 Series User manual

www.h-v-c.com
Operation and maintenance manual
NCA Series 700 motorised leakage rated fire damper
Regular inspection and maintenance of fire dampers is essential to
ensure they remain in good working condition. It is the system owner’s
responsibility to ensure this is carried out.
In accordance with EN 15650:2010 fire damper maintenance routines,
such as that given below, must be carried out at intervals not exceeding 6
months.
Some automatic systems may allow more frequent testing (48 hours or
less) and this may be required by national regulation.
Installation guide: NCA Series 700 motorised leakage rated fire damper
Operation and maintenance manual
Page 1 of 2 - Issue A - 27/05/2020
Damper type: NCA Series 700 motorised leakage rated fire damper
Thermal probe rated temperature: 72°C
Damper reference (if applicable):
Damper serial number (see CE label):
Damper location (within site):
Date of inspection:
Step Operation Notes Yes/No
1Is the thermal probe LED lit? Fitted to ductwork near the damper, this indicates the damper is powered
open (its normal working state)
2Are the actuator/s, thermal probe (and fire
damper relay box if present) secure? Check these are secure and that all fixings are present and tight
(4 qty M6 bolts on actuator, 2 qty screws on probe)
3Is all wiring undamaged? Actuators are not user servicable
If damaged the actuator must be replaced
4Remove access door/s to access the inside of
ductwork and damper blades Both sides of the damper blades should be easily accessible. N/A
5Are all damper blades in the fully open
position and secure? All damper blades should be in the fully open position.
Gently try to move each blade by hand, none should rotate.
6Are the damper blades unobstructed? Ensure there is nothing present which is obstructing or could obstruct the
damper blades operating
7Is the damper clean and free from damage
and corrosion? Use a damp cloth, brush or vacuum cleaner to remove any dirt and debris.
Pay close attention to blade ends and stainless steel seals
If damaged or corroded dampers must be replaced
9Does the damper close correctly, quietly and
smoothly? Depress the 'TEST' button on the thermal probe and visually confirm the
damper closes correctly in around 16 seconds.
10 Does the damper open correctly, quietly and
smoothly? Release the 'TEST' button on the thermal probe and visually confirm the
damper opens correctly in under 120 seconds.
11 Do you have any concerns about the
installation? Is there anything that does not look correct, do you have any doubts etc.?
12 Refit access door/s securely N/A N/A
Danger!
Risk of electric shock
• Do not touch any live electrical components.
• Only qualified electricians should work on electrical
equipment.
• Switch off the power supply before working on any
electrical equipment.
Caution
Risk of entrapment in mechanism
• During maintenance dampers should remain powered
open and could close while being inspected/cleaned.
• Never put hands or arms through damper blades
during maintenance.
Troubleshooting overleaf →
Periodic maintenance procedure
If any of questions 1 - 10 is answered ‘no’, or if the answer to
question 11 is ‘yes’, please see troubleshooting overleaf.
www.h-v-c.com
Symptom Possible causes Action
The thermal probe's LED is not lit and the
damper is closed
No power or incorrect supply Check supply
Thermal probe has been
tripped or is faulty
Replace thermal probe tripping element, part reference
‘Belimo ZBAT72’
Actuator faulty or damaged Replace actuator
See below: 'Actuator removal and replacement procedure'
Damper blades operating in unison but not
fully opening or closing
Damper motion obstructed by
debris
Remove debris
Ensure no damage has been caused to damper
Actuator fitted incorrectly Remove and refit actuator correctly
See below: 'Actuator removal and replacement procedure'
Ensure no damage has been caused to damper
Damper seized Lubrication required
See below: 'Lubrication procedure'
Mechanical failure Contact HVC
Damper blade/s loose and not synchronised Mechanical failure Contact HVC
Damper is noisy or judders during operation Lack of maintenance Lubrication required
See below: 'Lubrication procedure'
Multiple section unit only
The thermal probe's LED is lit but the
dampers are closed
Relay box fault Contact HVC
Multiple section unit only
Damper sections not synchronised
(e.g. one section closed, one section open)
Installation guide: NCA Series 700 motorised leakage rated fire damper
Operation and maintenance manual
Page 2 of 2 - Issue A - 27/05/2020
Actuator removal and replacement procedure
1. Isolate and disconnect existing actuator from power supply (or
multiple fire damper relay box), actuator will spring closed.
2. Remove actuator from damper (4 qty M6 bolts), retain bolts.
3. If the unit is a single section, remove thermal probe from
ductwork (2 qty screws). If unit is a multiple section do not
remove the thermal probe.
4. Ensure the new actuator is in its closed position by inserting
the winding handle (supplied) and relieving the factory set
spring tension.
5. Ensure the damper is still in its closed position.
6. With the side labelled ‘R’ of the actuator facing away from the
damper (the ‘L’ side towards the damper), slide the actuator
onto the 12mm square spindle.
7. Using the retained M6 bolts fit the new actuator to the damper,
and the thermal probe to ductwork if one was previously
removed.
8. Connect the new actuator to an appropriate power supply (or
multiple fire damper relay box), allow the damper to open and
then conduct a cycle test as per steps 9 and 10 of the periodic
maintenance procedure.
Troubleshooting
Additional procedures
Lubrication procedure
1. Remove access door/s to access the inside of ductwork and
damper blades
2. Clean damper if required following step 7 of the periodic
maintenance procedure.
3. Depress the stainless steel side seals, and apply a small
amount of light oil (WD40 spray grease recommended) directly
into the blade axle bushes.
4. If required a light application of oil can be made to the blade
ends and stainless steel side, top and bottom seals.
5. Remove any excess oil with a cloth.
6. Conduct a cycle test as per steps 9 and 10 of the periodic
maintenance procedure and observe whether the operation
has improved. Several reapplications/cycles may be required
to permit the lubricant to reach all required areas.
Contact HVC if the above does not solve your problem.
Periodic maintenance procedure overleaf →

Other manuals for NCA 700 Series

1

Other HVC Fire And Smoke Damper manuals

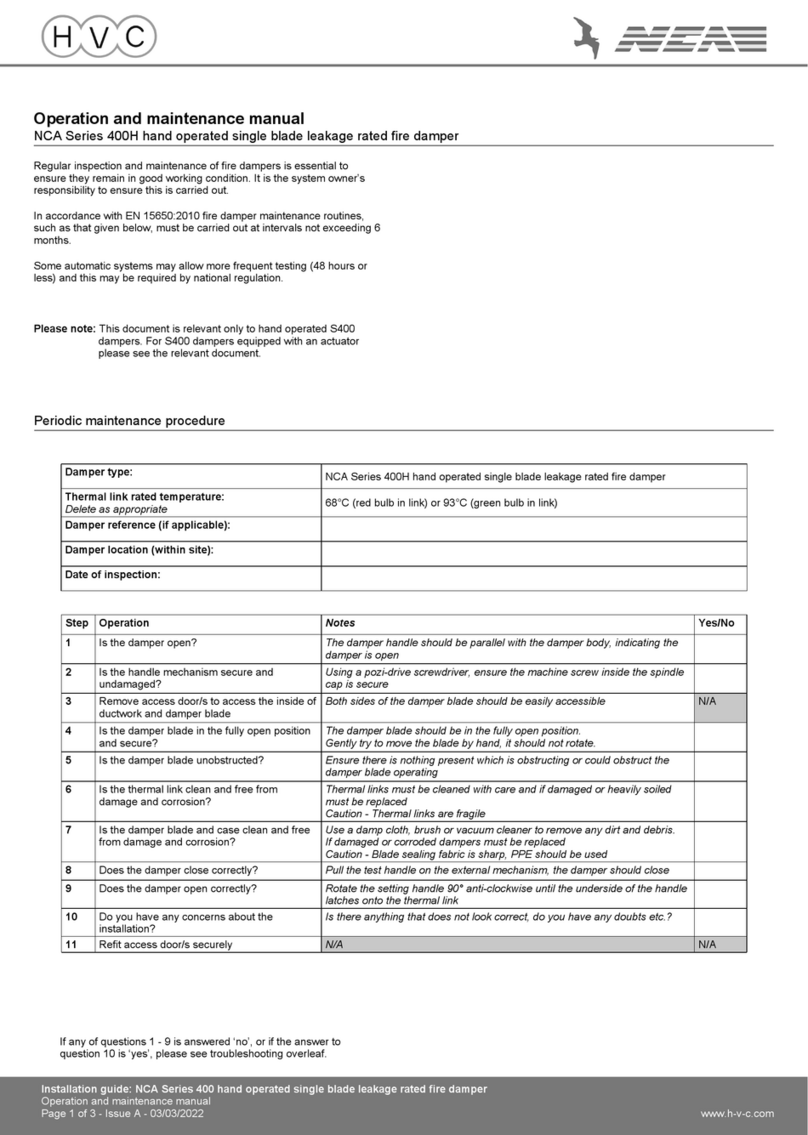
HVC NCA 100 Series User manual

HVC

HVC NCA 100 Series User manual

HVC NCA 700 Series User manual

HVC

HVC NCA 700 Series User manual

HVC NCA Series User manual

HVC

HVC NCA Series User manual

HVC NCA Series User manual

HVC

HVC NCA Series User manual

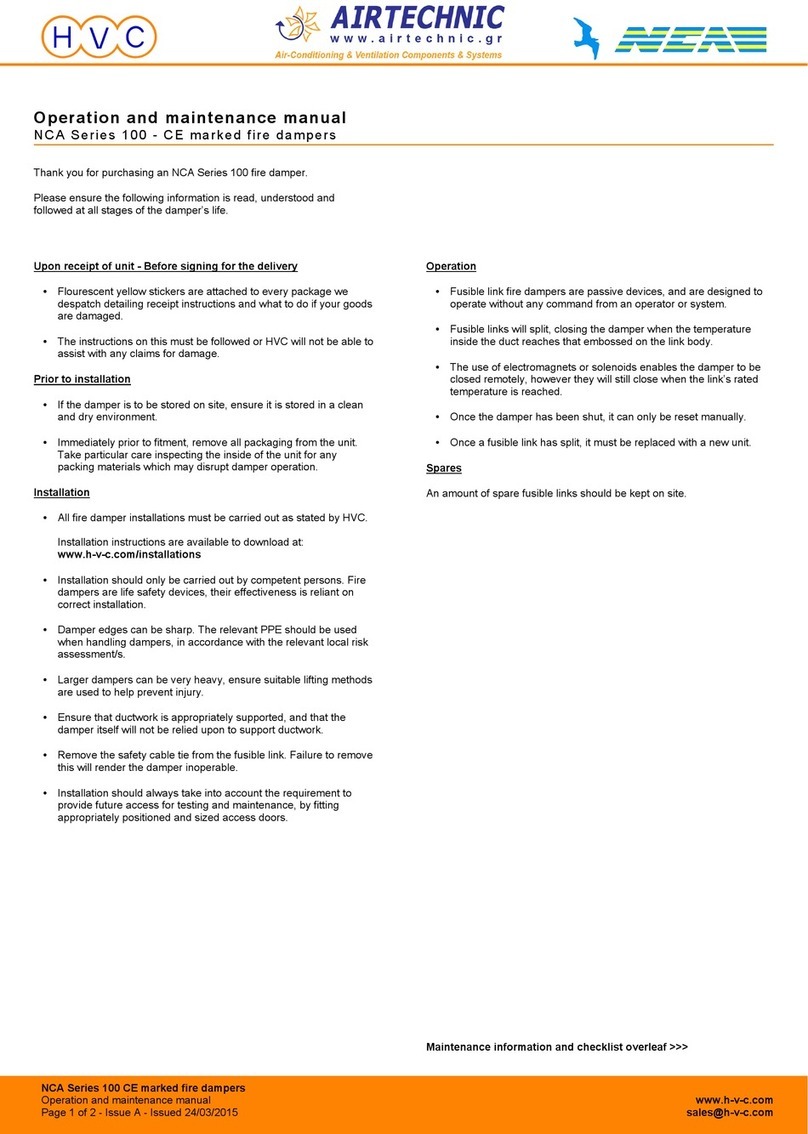
HVC Airtechnic NCA 100 Series User manual

HVC

HVC Airtechnic NCA 100 Series User manual

HVC NCA S100 Troubleshooting guide

HVC

HVC NCA S100 Troubleshooting guide

Popular Fire And Smoke Damper manuals by other brands

Greenheck FSD Series Installation, operation and maintenance instructions

Greenheck

Greenheck FSD Series Installation, operation and maintenance instructions

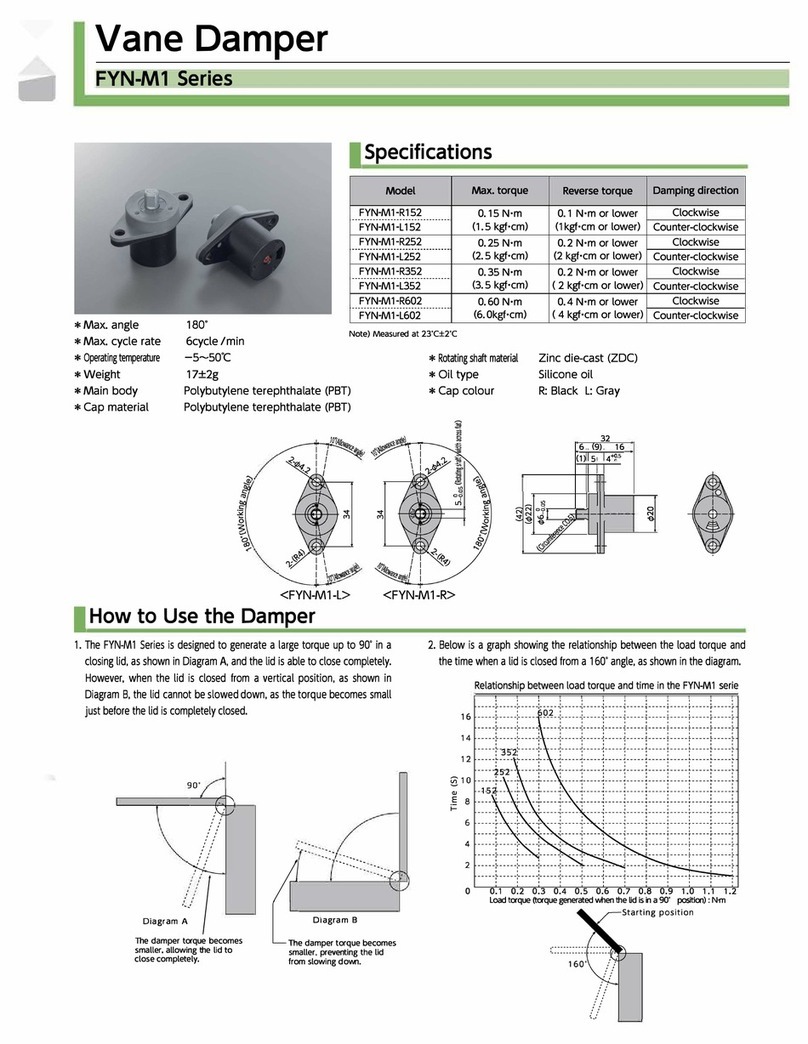
Ace FYN-N1 Operating and mounting instructions

Ace

Ace FYN-N1 Operating and mounting instructions

SMAY KTS installation manual

SMAY

SMAY KTS installation manual

Greenheck ESK-402 Installation, operation and maintenance

Greenheck

Greenheck ESK-402 Installation, operation and maintenance

Madel FBK-EIS-120 Installation and use

Madel

Madel FBK-EIS-120 Installation and use

HAG INTACT Installation, operation and maintenance

HAG

HAG INTACT Installation, operation and maintenance

System air S-SA2 Handbook

System air

System air S-SA2 Handbook

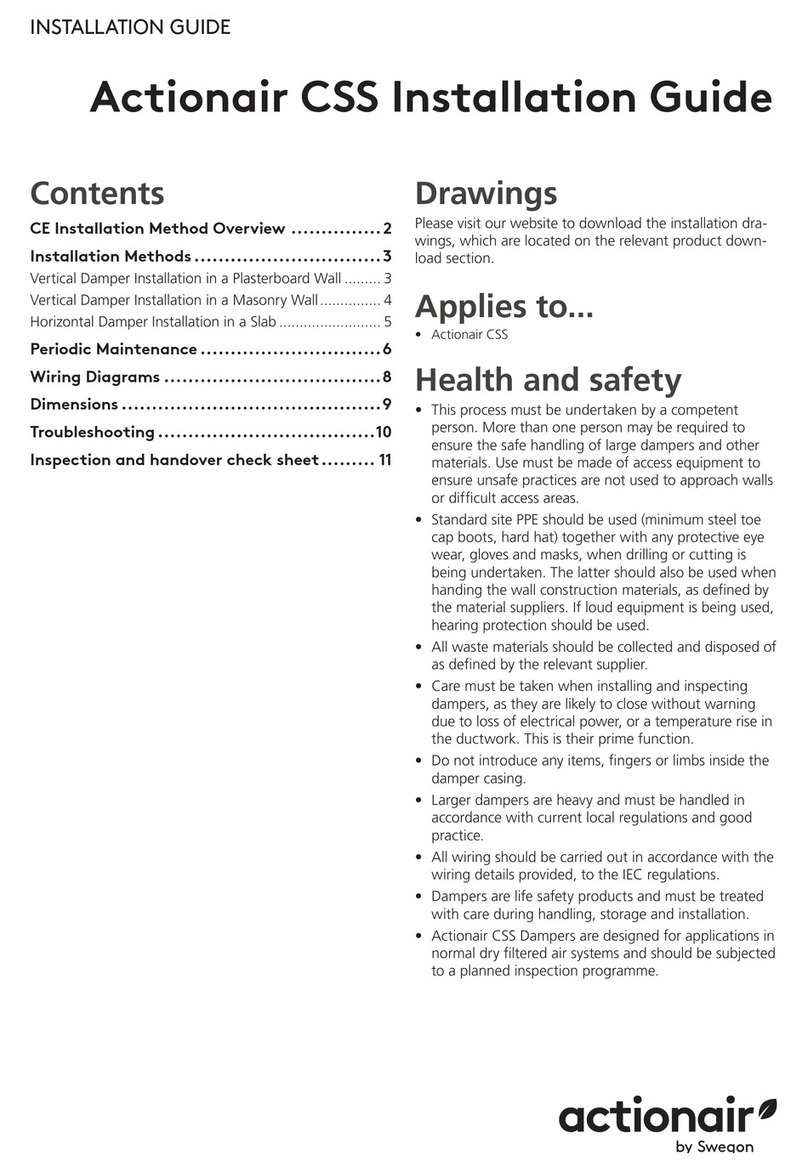
actionair CSS Installation

actionair

actionair CSS Installation

Trox Technik FK-EU ODA Supplementary installation manual

Trox Technik

Trox Technik FK-EU ODA Supplementary installation manual

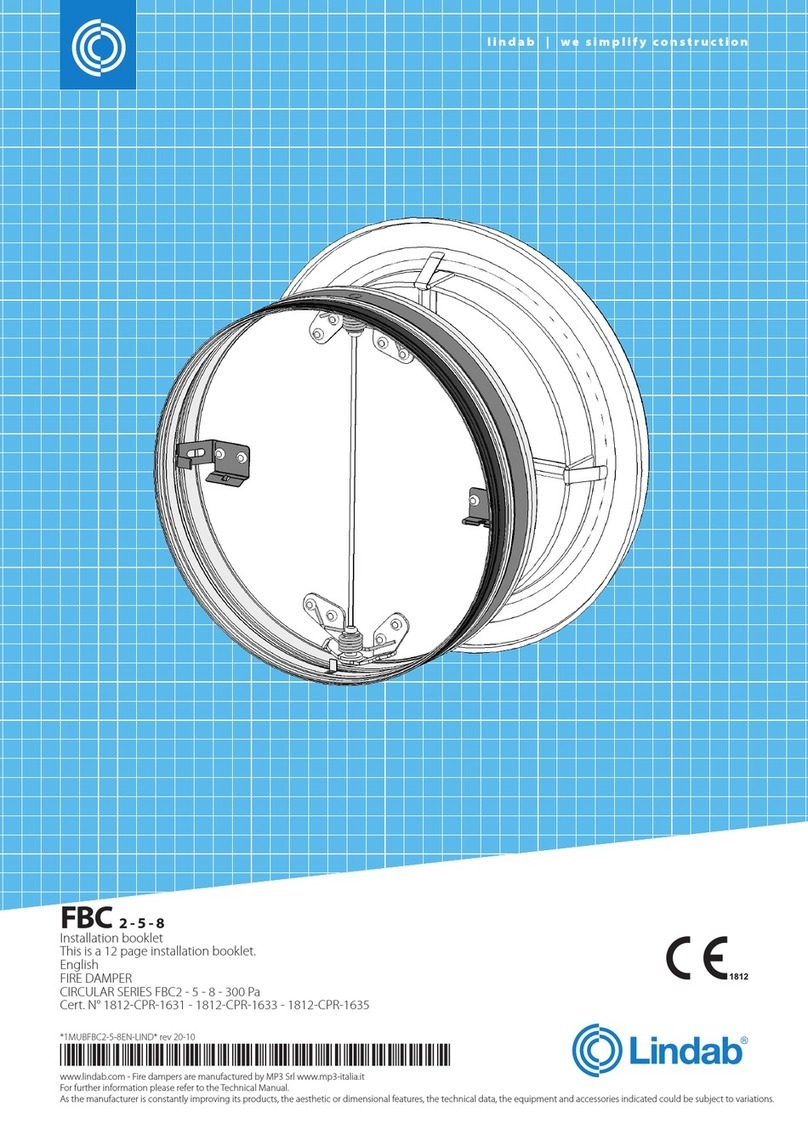
Lindab WH45P Installation booklet

Lindab

Lindab WH45P Installation booklet

Mandik FDMR Technical documentation

Mandik

Mandik FDMR Technical documentation

klimaoprema FDC Series product manual

klimaoprema

klimaoprema FDC Series product manual

BSB FD-C Installation, operating,  & maintenance instructions

BSB

BSB FD-C Installation, operating, & maintenance instructions

VPro WT Series instruction manual

VPro

VPro WT Series instruction manual

Tamco 7000 Series Installation guidelines

Tamco

Tamco 7000 Series Installation guidelines

ETS NORD NORDfire SEDM manual

ETS NORD

ETS NORD NORDfire SEDM manual

ETS NORD NORDfire SEDS-L manual

ETS NORD

ETS NORD NORDfire SEDS-L manual

manuals.online logo
manuals.online logoBrands
  • About & Mission
  • Contact us
  • Privacy Policy
  • Terms and Conditions

Copyright 2025 Manuals.Online. All Rights Reserved.