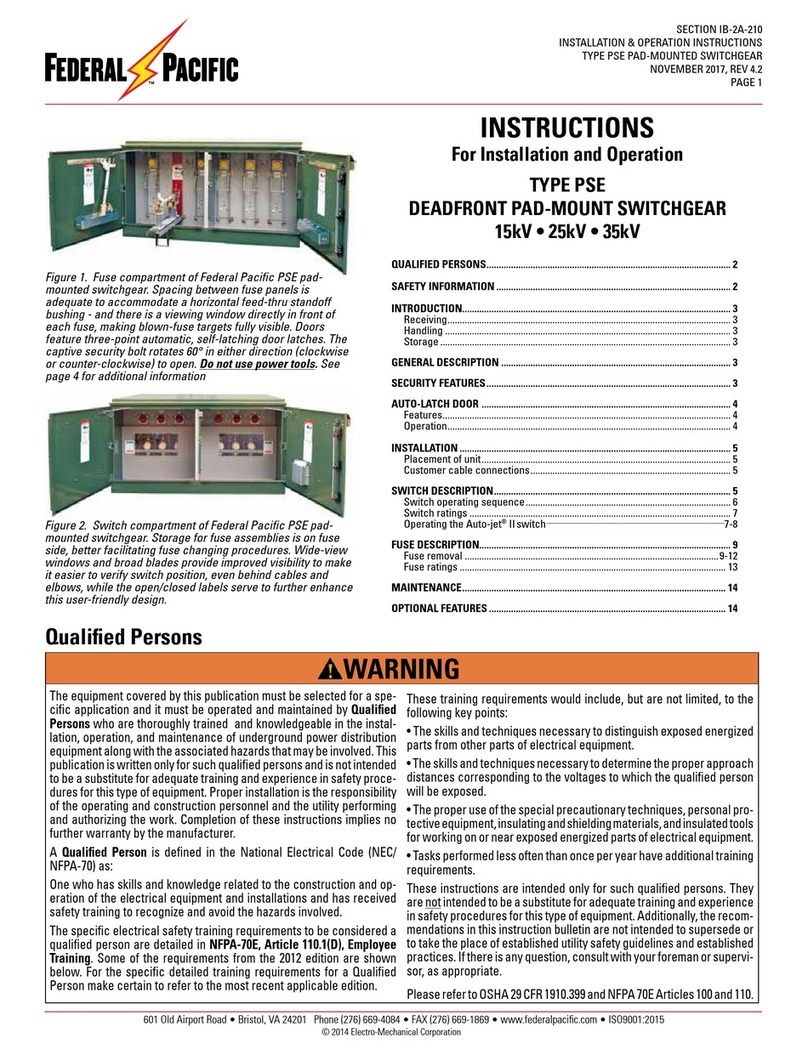
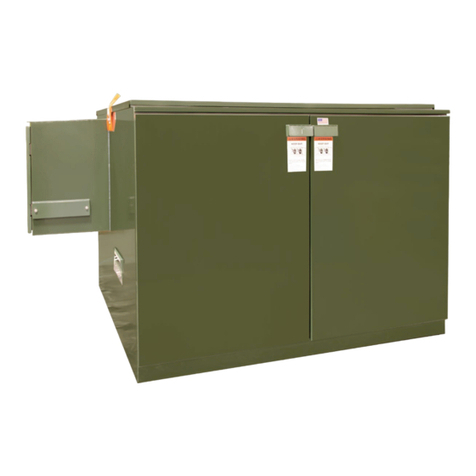
FEDERAL PACIFIC PSE 15 kV Operation and maintenance manual

1075 Old Airport Road • Bristol, VA 24201 Phone (276) 669-4084 • FAX (276) 645-8206 • www.federalpacific.com • ISO9001:2015
SECTION IB-2A-220
INSTRUCTIONS FOR OPERATION DEAD-FRONT FUSE PANEL
TYPE PSE PAD-MOUNTED SWITCHGEAR
SEPT 2022
PAGE 1
DEAD-FRONT FUSE PANEL
TYPE PSE PAD-MOUNTED SWITCHGEAR
15kV • 25kV
INSTRUCTIONS FOR OPERATION
1. Install and secure a feed-thru stand-off bushing on the parking stand. The feed-thru device
must be oriented so that it will not interfere with the operation of the hinged fuse-panel.
2. Ifswitching ofenergized elbows is permitted, proceed to Step 3 below. If switching of energized
elbows is NOT permitted, test the circuit in accordance with the user’s standard operating
practices and using equipment rated for the voltage involved to verify that the circuit is de-
energized.
3. After verifying the applicable de-energized/energized condition of the elbow to be
switched and following the elbow manufacturer’s operating instructions:
a. Pull the elbow off the loadbreak insert and properly re-position it onto the feed-thru
stand-off bushing. Make certain that the connected high-voltage cable is retained within
the cable guide and moves so it is clear of the fuse panel, which must be free to pivot 90°.
b. Using equipment rated for the voltage involved, test the re-positioned elbow for voltage
through the uncovered loadbreak insert of the feed-thru.
c. Afterverifyingthat voltage is not present, properly install the grounding elbow in accordance
with the grounding-elbow manufacturer’s instructions and the user’s standard operating
practices, first clamping the ground connector to the ground buss and then installing the
grounding elbow on the unoccupied loadbreak insert of the feed-thru.
d. Ensure that the cables, feed-thru devices, and elbows are not located where they would
interfere with the operation of the fuse panel. Reposition as needed.
4. With the hook of the shot-gun clamp stick secured to the interlock latch grip rod on the fuse-
panel (see Figure 1), raise the latch to the horizontal position and verify that the interlock latch
locking rod is free of the notched latch brackets at the sides. See Figure 2.
Figure 1. Interlock lever being raised
to unlocked position (or lowered to
locked position).
Figure 2. Fuse mounting being lowered
to access fuse (or raised to reinstall
fuse).
NOTICE
Load-break inserts and loadbreak elbows used in combination with the Federal Pacific Dead-
Front PSE Pad-Mounted Switchgear are rated for load switching of currents to 200 amperes
continuous. Consequently, the 200-amp elbow may be pulled, in accordance with the elbow
manufacturer’s instructions, to perform the load-switching function. Pulling the energized elbow
interrupts the load current connected to the associated circuit. The elbow is then parked on
a standoff bushing. Then, only after the elbow has been parked, the fuse panel can be rotated
(pivoted) to expose the fuse that is to be removed. With the elbow removed, rotation of the fuse
panel does not involve any load switching. The removal of the fuse from the fuse panel can be
accomplished using the shotgun stick or, since the fuse once exposed is completely and visibly
isolated from voltage at both ends, and if standard operating practices permit, the fuse can be
removed by hand when wearing gloves insulated for the voltage involved.
© 2021 Electro-Mechanical, LLC
WARNING
These instructions are provided as a quick reference and are not intended as a substitute for the detailed instructions contained in Instruc-
tion Bulletin IB-2A-210. These instructions are intended to be performed by thoroughly trained, qualified personnel that are familiar with
the equipment, the operation and maintenance of the equipment and the hazards involved in performing the functions described in this
document and Instruction Bulletin IB-2A-210.
DANGER
Before energizing the switchgear, remove all yellow and red shipping caps on bushings and bushing wells, and replace them with a suitable
system of insulated separable connectors (elbows), insulating protective covers, or plugs, as appropriate.
Failure to remove the shipping caps may result in flashover, equipment damage, serious personal injury, or death.

1075 Old Airport Road • Bristol, VA 24201 Phone (276) 669-4084 • FAX (276) 645-8206 • www.federalpacific.com • ISO9001:2015
SECTION IB-2A-220
INSTRUCTIONS FOR OPERATION DEAD-FRONT FUSE PANEL
TYPE PSE PAD-MOUNTED SWITCHGEAR
SEPT 2022
PAGE 2
5. Then, pull on the latch and pivot the fuse panel down so that it is
disengaged and rests on the ledge at the door opening stile and the
fuse assembly is horizontal. See Figure 2. Disengage the hook from
the interlock latch grip.
6. At the side of the fuse panel, use the hook on the shot-gun stick to
pivot the locking bracket so that it securesthe fuse panel tothe ledge
at the door-opening rail. See Figure 3. Disengage the hook from the
Figure 4. To release fuse latch, lower fuse-retainer bail. Secure
shotgun clamp stick on fuse pull ring. Push and pull up on the
fuse pull ring to release the fuse.
locking bracket.
7. Use the hook on the shot-gun clamp stick to move the fuse-retainer
bail so that it is clear of the upper end fitting of the fuse assembly.
See Figure 4.
8. The fuse assembly can be removed from the fuse panel as follows:
a. Secure the hook ofthe shot-gun clamp stick in the pull ring of the
upper end fitting (see Figure 4); push on the stick to unlatch the
fuse assembly from the fuse mounting; pivot the fuse assembly
up to an angle of approximately 60° from the horizontal; then,
with an easy pull and sliding motion remove the fuse assembly
free of the fuse mounting. See Figure 5.
b. Alternately,sincethe fusemounting isdisengaged andcontacts
are visible at both ends, the fuse assembly is isolated from all
sources of voltages and, if permitted by the user’s standard
operating practices and using all required personal protective
equipment appropriate for the voltage and purpose, the fuse
assembly can be removed with insulated-gloved hands. See
Figure 6.
c. Store theremovedfuse assemblyon theoptional Fuse-Storage
Hooks, if furnished, or in a clean dry place.
9. After performing the required service, to restore the equipment,
re-install the fuse assembly and re-position and secure the fuse-
mounting panel in the reverse sequence of the above instructions.
Figure 5. Shotgun clamp stick secured to fuse pull
ring and fuse assembly being lifted from the latched
position and being removed from fuse hinge.
Figure 6. Alternate method using insulating-gloved
hand, if user’s standard operating procedures permit,
to remove or install fuse assembly of fuse mounting.
Every effort is made to ensure that customers receive an up-to-date instruction manual on the use of Federal Pacific products; however,
from time to time, modifications to our products may without notice make the information contained herein subject to alteration.
Figure 3. Locking bracket being set in place to secure fuse mounting
against door rail.
Fuse-retainer bail
This manual suits for next models
1
Other FEDERAL PACIFIC Switch manuals
Popular Switch manuals by other brands
H3C
H3C S6550XE-HI Series troubleshooting guide

Arista
Arista 750 Series quick start guide
SMC Networks
SMC Networks SMC8612XL3 F 1.0.1.3 Technical specifications
Steren
Steren ALA-003 instruction manual
Fracarro
Fracarro GALAXIA user guide

Network Equipment Technologies
Network Equipment Technologies 100 user guide
Kathrein
Kathrein EXR 221 manual

Cabletron Systems
Cabletron Systems 7C04 Workgroup SmartSWITCH user guide

D-Link
D-Link DGS-1024D - Switch Quick installation guide

Vents
Vents SP3-1 quick start guide
Cisco
Cisco AJ732A - MDS 9134 Fabric Switch Command reference guide
ION Optix
ION Optix C-Pace Manual for installation
