Felder Hammer User manual

Machine Setup Guide
InstallVersion1.09

1. Foreword
This Machine Setup Guide is intended as an additional reference to the Operating
Manual that is provided with the machine, not as a substitute. Under no circumstance
should you use the machine without reading the Operation Manual first.
The correct operating procedures are described within the Operation Manual and
these must be rigidly adhered to, along with the guidelines described for safety. In
addition to this there is a significant amount of important information to be found in
the Operation Manual that is not covered by this Machine Setup Guide including
specific information for your particular machine. This Setup Guide is functional for a
variety of Hammer machines.
Safety First
Before every use of the machine, perform the safety checks that are detailed in the
Operation Manual for your particular machine. It is also important to understand that
even with all of the appropriate safety devices correctly installed, there are still risks
remaining. Any potential operators of the machine should be fully aware of these
risks and must also have read the Operation Manual before using the machine.
Never perform any adjustments to the machine with the tool running. Always switch
off the machine before making adjustments. Never work when you are tired and
always apply common sense to your working techniques in addition to those
techniques outlined in the Operation Manual.
©2005 HAMMER - Errors and modifications of technical data reserved at any time,
always use the safety devices provided with the machine.

2.Contents
Front Page
1. Start - Foreword
2. Contents
3. Introduction
4. An Overview of the Process
5. Delivery
a. How the Machine Will be Delivered
6. What You Will Need
a. Powering Up
b. For Basic Machine Checks
7. Removal From the Pallet
a. Pallet Fixings
b. Creating a Ramp
c. The Pallet jack
d. Pallet jack Dimensions
8. Positioning Your Machine
9.Extraction
10.Cleaning the Machine
a. Cleaner for Plastics / Tooling
b. Metall Glanz / Guideways and Spindle Fluid
c. Super Gleit
11.Assembly
a. Extension Tables
b. Rip Fence Guide Bar
c. Sliding Table
home

Contents (2)
13.Machine Alignments
a. Saws
b. Shapers
c. Joiners
d. Planers
e. Mortisers (for combination machines)
f. All
14.Machine Adjustments / Further Info.
12.Basic Machine Checks to Make
a. How to Make 5 Sided Cut
a. SS01 Freecut from the Sliding Table
b. SS02 Centre Locked Position
c. SS03 Sliding Table End Positions
d. SS05 Crosscut Fence on Outrigger, Position A
e. SS07 Crosscut Fence Scales
f. SS08 Angled Cut From Outrigger
g. SR04+SR05 Free Cut
h. SR07 Alignment of the Saw Blade at 90
i. SR08 Alignment of the Saw Blade at 45
j. SR09 Calibration of the Rip Fence Scale
k. SH02 Shaper Spindle at 90
l. SH03 Shaper Spindle at 45
m. JR06 Joiner Test Cuts
n. JR07 Snipe Check
o. PL01 Planer Test
p. PL02 Test for Snipe


Congratulations on your purchase and welcome to the world of HAMMER
woodworking machinery!
Through the co-operation of professional carpenters and specialists in research and
development, we have managed to create a unique range of woodworking machines
for the discerning craftsman.
The HAMMER series combines all the important characteristics of woodworking
machines in a number of forms: 4-in-1 combinations, 2-in-1 combinations or single
machines.In addition to this, an extensive range of accessories and tools leaves
nothing to be desired.
You can be sure that with your new HAMMER woodworking machine you can
achieve precise, outstanding results every time.
Please take the time to study this CD-ROM prior to the delivery of your machine, so
that once it arrives, no time will be wasted in getting you up and running with your
new HAMMER woodworking machine.
Enjoy your new machine,
From everyone at HAMMER!
This CD-ROM is aimed at helping you to achieve the highest standards possible in
woodworking, by furthering your understanding of the machinery that you will use to
do so.
Everything involved in the setup of your machine from delivery through assembly and
calibration, all of the equipment and materials you will need, to when you are ready to
produce the very first precision workpiece is covered in this CD-ROM.
You will also find this an invaluable asset in keeping your machine in top condition for
many years to come as it provides reference information that can be accessed at any
time.
3.Introduction
Where appropriate, there are direct links to relevant adjustments and alignment info.
and you can also return to the contents page by clicking the home icon in the top
right hand corner.

The Machine is manufactured, assembled and rigourously quality controlled at the
factory in Austria.
The machine is fully calibrated and test cuts are made before it is packed for
shipping.
The machine is then shipped out to you.
The machine is delivered
You unpack the machine from the container(s) and study the Operation Manual
You then remove the machine from the pallet
Only after reading the Operation Manual, clean all components of preserving oils
Assemble the machine, position it and connect it to the extraction system
Perform some basic checks to ensure accuracy and for peace of mind
Start enjoying your new Hammer!
Overview
4.Process

Before We Ship Anything…
Your machine has been manufactured, assembled and rigorously quality controlled at
our factory in Austria. The machine was fully assembled and fully calibrated,
including making test cuts. Once the quality controlling was completed (Homologation
to GS and CE - a guarantee for high quality and safe machines!), it was packed for
shipping, including treatment with preserving oils to protect the surfaces from
corrosion and to help ensure that the machine will arrive in perfect condition
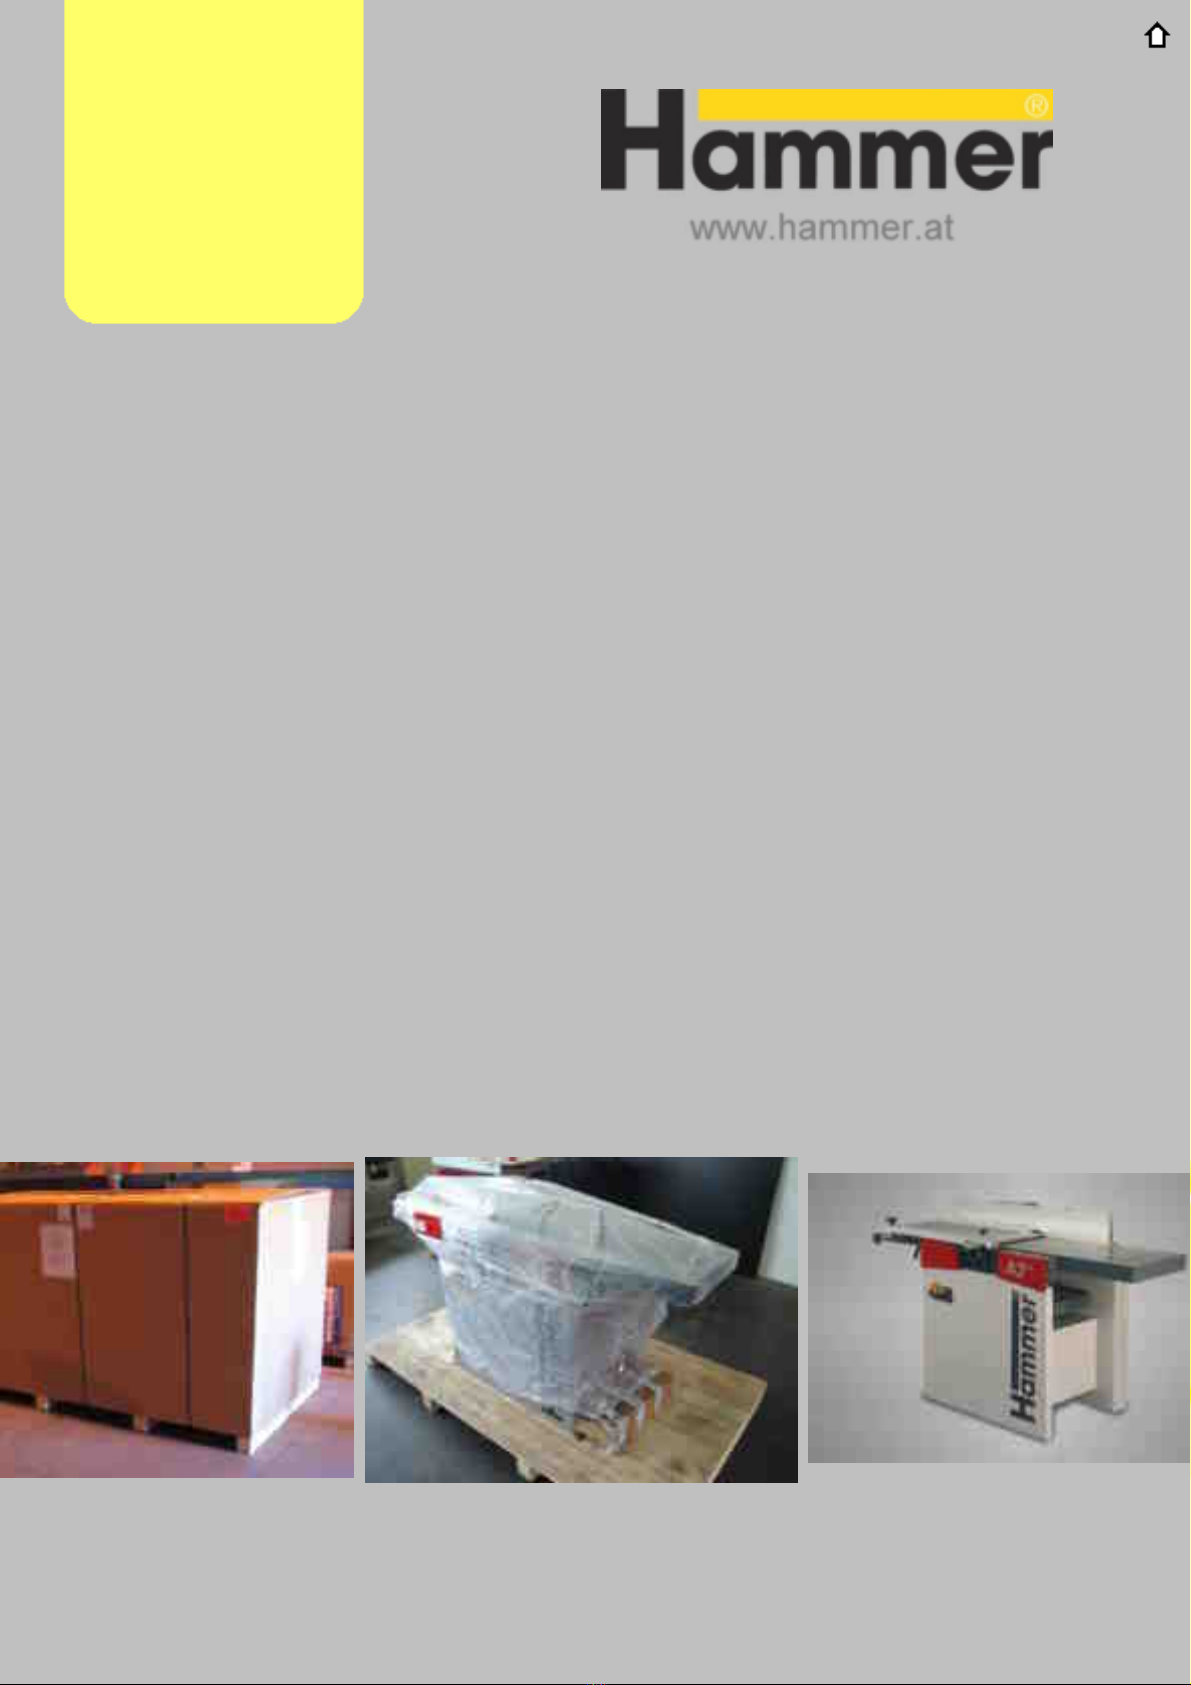
Delivery
The machine will be delivered in a protective cardboard enclosure. Check for any
signs of obvious damage to this enclosure, or for signs of tampering. Machines with
sliding tables of length in excess of 78"(2 meters) will have the sliding table shipped
in a separate container.
An agreement between the FELDER Group and the shipping companies in the U.S.
means that you, as a receiver, are allowed to inspect the shipment(s) for any kind of
damage for 30 minutes upon arrival. This agreement also stipulates that any claims
filed after this time will not be honored by the shipper.
In the unlikely instance that you believe there is or may be a damaged machine,
article or component, please contact FELDER without delay so that this may be
further clarified and if necessary, further action taken.
5.Delivery

What You Will Need to Get Going
Cutting knife
Torx head bits
Power drill
Wrenches
13mm, 17mm Sockets and ratchet drive
Screwdrivers, Flat and Crossheaded
Electrical provision*
Board, 2ft x 4ft x ½”
Board, 2” x 4” x 2ft
Pallet jack
An assistant (for sliding table assembly and to help bring the machine down
from it’s pallet)
*Powering Up
All new Hammer machines arrive with approximately 0,5 meters of cord and no
plug, due to the number of variations in plugs/sockets across the market.
These machines will therefore require a plug suitable for the electrical system
you already have installed.
Will Need
6.What You
Standard Breaker size is 30A. Please consult your electrican for details on
arranging this

For Making Basic Machine Checks:
Requirements listed by machine type:
For Saws;
Approx. 3ft x 3ft board (at least ½” thickness for ease)
Vernier calipers
Tape Measure
Precision square
45° Engineering Angle / MiterGauge / Angle gauge
For Shapers;
Precision square
45° Engineering Angle / Miter Gauge / Angle gauge
For Joiner / Planers;
Approx. 3ft x 2” x 4” boards; 2 of
Vernier calipers
Feeler gauge
6.What You
Will Need
1 Meter Straight edge
Removing the machine from the pallet
The cardboard enclosure can be removed by cutting through the plastic ties and
pulling the cardboard away from the pallet wherever it is secured.
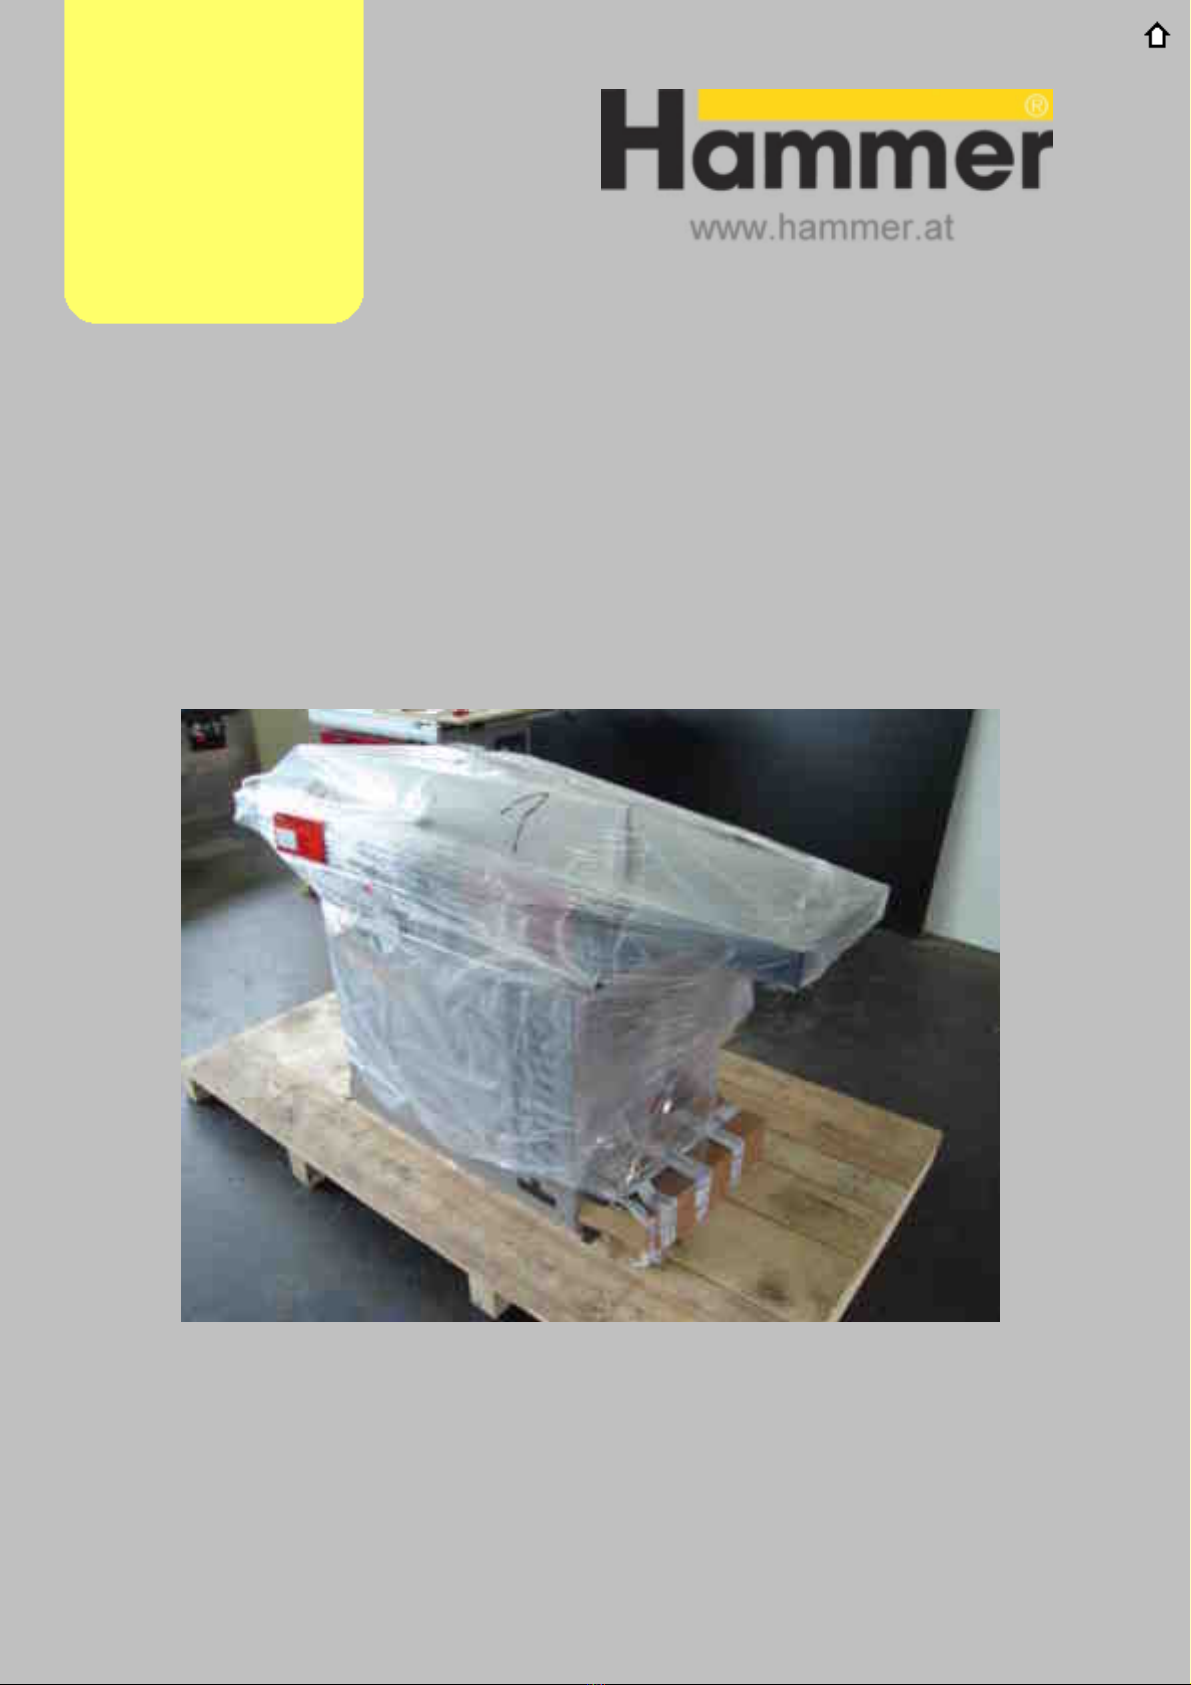
The machine comes wrapped in a preserving plastic film to protect the cast iron
tables and to secure some of the accessory boxes. Pull off the plastic film or carefully
cut through it, avoiding scratching the machine or cutting through any cables.
Cardboard boxes that sit on the pallet were stapled to the pallet whilst the box
was still open, so these should be emptied of their contents before pulling up the box,
this will avoid the contents falling through the bottom of the box when pulling the box
off full.
7.Taking Off
The Pallet

You will need a power drill and a torx head bit to remove the screws that secure the
machine to the pallet. Extension tables that do not come assembled and rip fence
guide bars will also be screwed down onto the pallet. Once these are removed and
the rest of the pallet is cleared- check underneath the machine as well - you can
remove the machine from the pallet.
7.Taking Off
The Pallet
Remove all torx screws before
moving or pulling up machine
and components

You may also wish to fix the ramp together with its supporting boards, especially
necessary if the ramp seems unsteady or if it does not quite match up to the same
height as the pallet. An example is shown with 6 fixing points.
Creating a Ramp
To remove the machine from the pallet you will need some boards, similar to those
pictured below, a pallet jack and ideally another person to help ensure the
machine comes down from the pallet smoothly and safely.
7.Taking Off
The Pallet

The Pallet Jack
The dimensions of the pallet jack are of obvious significance, because if the forks
are too wide or too tall (when fully lowered), they won’t fit underneath the machine.
NOTE: for Joiner planers, it is almost unavoidable having to use only one of the fork
legs. This will therefore require more care and definitely some assistance in bringng
the machine into place. Take extra care not to pull the machine by the tables
otherwise their alignment could be affected. Try where possible to use the chassis of
the machine to manouvre it.
7.Taking Off
The Pallet


Positioning Your New Machine
Once the machine is fully assembled and ready to go, you can position it where it
will be best suited to the tasks that you want to achieve. The layout of your shop
should have at least some form of direction. That is to say from loading stock
material to final finishing there should be a distinct process direction in order to
achieve maximum efficiency during busy periods. Reducing the number of times a
part or workpiece is handled will go a long way to improving build time and will also
contribute towards quality control. However, there are always space and shape
restrictions and not everyone is blessed with a purpose built woodworking shop, so a
compromise on efficiency may well be necessary.
To make certain that you get the most out of your machine, make sure that there is
easy access to the operating sides of the machine and that sliding tables or joiner
tables are not restricted in their travel. Where outrigger tables are included, make
sure this can be used without interference, including the use of the crosscut fence.
Check that the entire capacity of the machine can be used for the materials you will
be processing. In particular, make sure the infeed and outfeed sides of the machine
are suitably clear for the sizes of materials you intend to process. The machine
should ideally be placed on a flat surface and leveling it will also be beneficial. Check
that the position of the machine is also compatible with the extraction facility you
presently have or intend to install.
Also of great importance is that the working area has no hazards at floor level – or
even head level, as this will obviously make using the machine hazardous and
unsafe. Appropriate lighting should be considered, as should ventilation for when the
workload steps up a pace or two! All in all the environment should be conducive to
precision woodworking.
Machine
8.Positioning
Your New

Extraction
Hopefully by now you will already have an extraction system in place, or have
organised an appropriate extraction solution for when you are ready to begin
machining. It would be unwise to begin machining without suitable extraction already
in place as this would not only be a health hazard but will also impair the quality of
the workpieces you can produce on your new Hammer. Your Hammer representative
can offer further information about the extraction solutions that would be best suited
to your needs.
9.Extraction

Universal Cleaner
Once the machine is assembled and ready to be checked for calibration, it should be
cleaned thouroughly to remove the various preserving oils that are left on the
machine. This will also ensure maximum possible accuracy during the calibration
process and will allow test cuts to made under proper working conditions.
Once cleaned, surface protectants should be used to protect the machine against
corrosion and to aid various woodworking processes.
Disposable, strong paper towels are most appropriate for this job as they will end up
very dirty and greasy.
FELDER offer specialized cleaning fluids and treatments specifically for this purpose:
10.Cleaning
Ideal for cleaning new machines, the Universal Cleaner is a very strong cleaning
substance. It removes dirt, grease, and oil from treated surfaces in seconds. The
Universal Cleaner does not affect textiles, plastics, rubber or paint. It comes in a solid
spray container with an adjustable nozzle; contents: 0,5 liter. The spray bottle can
be refilled with a convenient 3 litercontainer.
The Machine
Cleaning and Protecting the Machine

Cleaner for Plastics
The all purpose detergent for workshop, car, house and office in a handy spray
bottle!
The FELDER Cleaner for plastics is an all purpose detergent for all kind of plastics.
Whatever you use it for – to clean decorative chipboards or boards with laminated
plastic, for machine components, inside or outside cleaning of the car, or to clean
plastics in the house or in the office – even very dirty plastics will appear new again
Harzlöser
Removes resin easily from saw blades, tools and machine-elements! Solid spray
container, adjustable nozzle; contents: 0,5 liter. The spray bottle can be refilled
with a convenient 3 liter container.
10.Cleaning
The Machine
Table of contents


