4© Ferno s.r.l.18092019
Eagle Nest 3
1 SAFETY INFORMATION
1.1 Warning
The danger symbols draw attention to potentially dangerous
situations that, if disregarded, may result in accidents,
damage and/or injury.
1.2 Important
Boxes labelled "Important" contain important
information on use and/or maintenance of the device.
Important
1.4 Load capacity
Observe the load capacity of the Eagle Nest device. Refer to
section 4.1 General specications, page 10.
1.3 Blood-borne diseases
To reduce the risk of exposure to infectious diseases that
may be transmitted by blood, such as HIV-1 or Hepatitis,
follow the instructions on disinfection and cleaning in this
manual carefully.
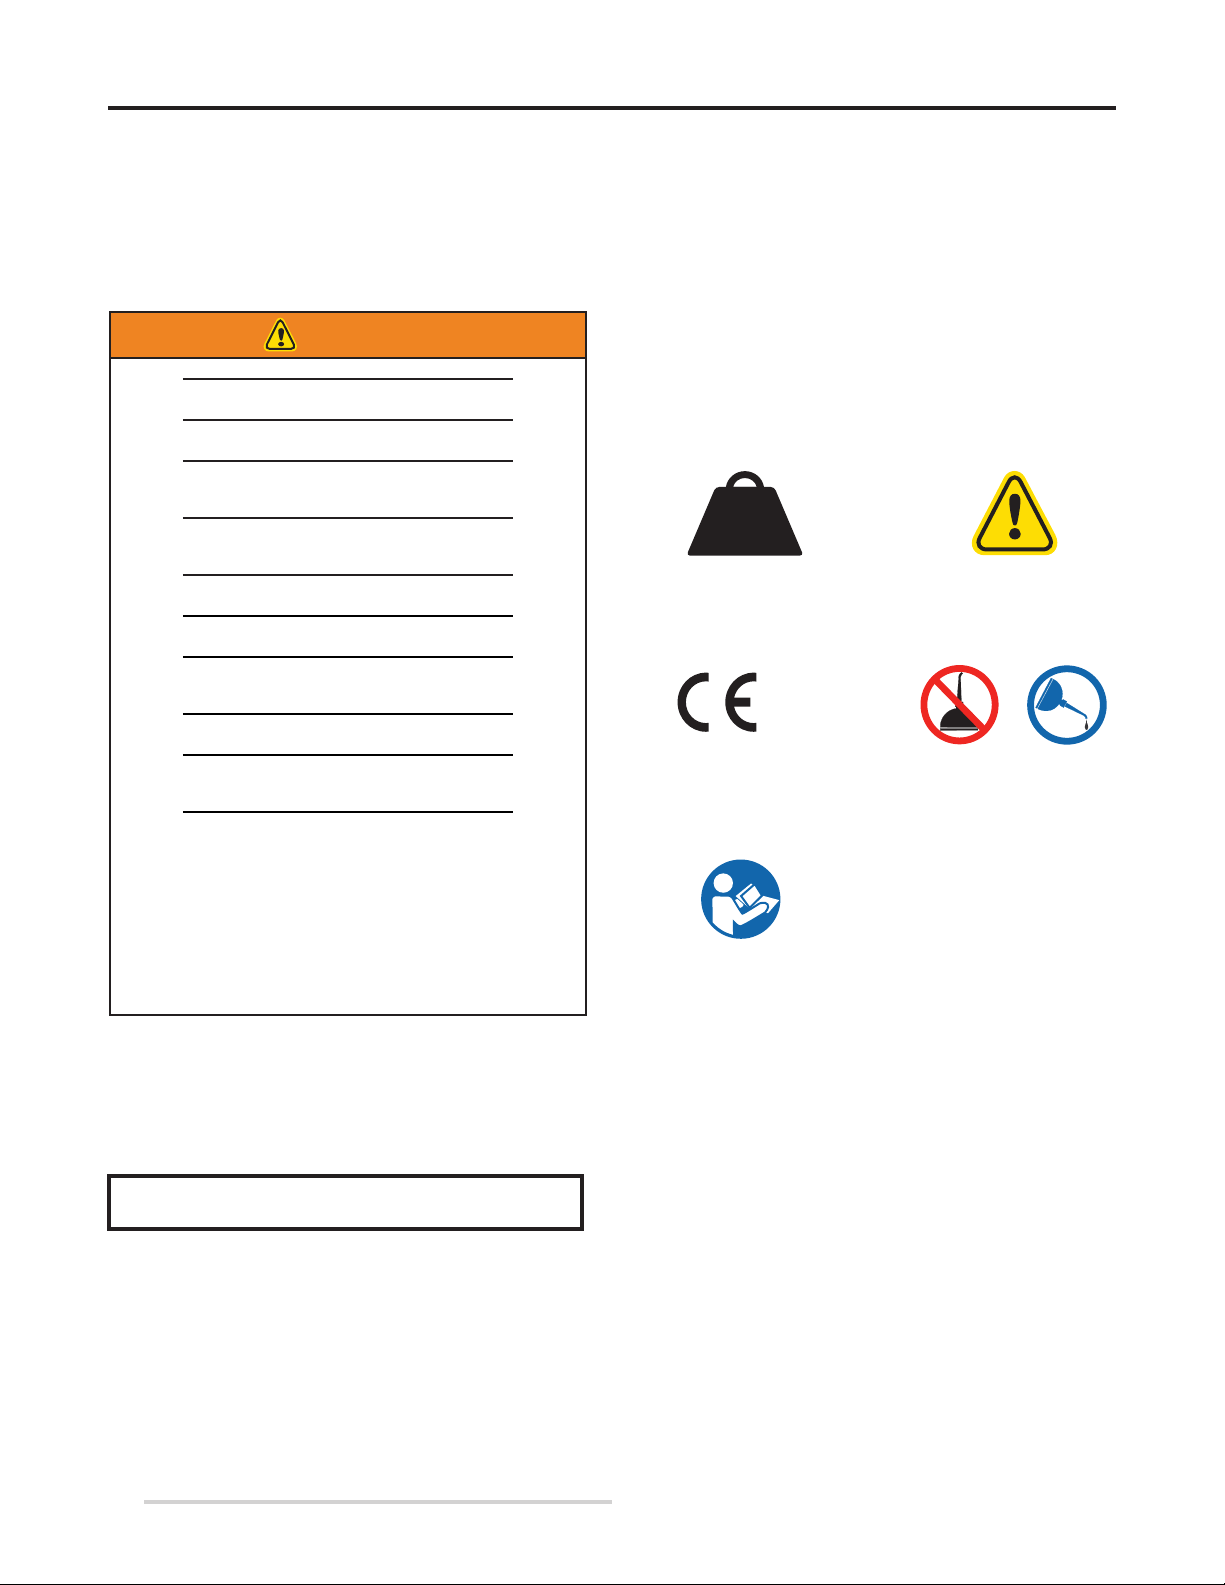
1.5 Glossary of symbols
The symbols used in this manual and/or on the device's
labels are dened below. The CE mark is present on the
device and in this manual.
2008 is the notied
body in charge of
monitoring the product
Do Not
Lubricate
Lubricate
Read the user manual
carefully
Danger: Risk of injury
Load capacity (in pounds, kilos
and stone)
––lb
--kg
--st
2008
1.6 Operator training
Operators who use the Eagle Nest must:
● Carefully read and understand all information in this
manual.
● Attend a suitable training course on the use of the
device.
● Have received specic training on the emergency
medical service and patient handling procedures in
case of emergency.
● Possess the physical skills required to assist the patient.
● Record the training sessions on the form on page 27.
● Not disregard the use limits of the Eagle Nest 3 nor
fail to comply with the intended use described in this
manual.
WARNING
Untrained users may injure themselves, cause damage and/or
physical harm. Allow only trained and qualied sta to use the device.
Improper preparation of the device may cause damage and / or
injury. Prepare and use the device as described in this manual.
Occasional assistants may cause damage and/or physical harm, or
injure themselves. Always keep the device under control, activate the
controls, and coordinate the assistants.
The operators must always be secured against the risk of falls from
height using adequate fall arresting devices compliant with relevant
regulations.
Improper maintenance may cause serious accidents, injuries and/or
damage. Perform maintenance as described in this user manual.
Improper maintenance may cause serious accidents, injuries and/or
damage. Perform maintenance as instructed in this user manual.
The use of improper and/or unauthorised devices may cause
accidents, damage, and/or injury. Use only devices that have been
approved and authorised by Ferno s.r.l..
Unauthorised modications can cause injury and / or damage. Use
the device only as approved by Ferno.
Unauthorised overhauls and repairs carried out by people not
approved by Ferno s.r.l., will render all warranties null and void and
may compromise the safety of the device.
Non-original spare parts and inadequate repairs may cause damage
and/or injury. Use only original Ferno parts and refer exclusively to
Ferno s.r.l. Customer Support.
A rescue plan must be prepared for any emergencies that could arise
during work.
The operators' health conditions may aect the safety of the device
user in normal and emergency conditions.
The user must inspect the device before and after each use.
The device must not be used in case of sharp edges on the head.