................................
.............................
................................
................................
................................
................................
................................
...............................
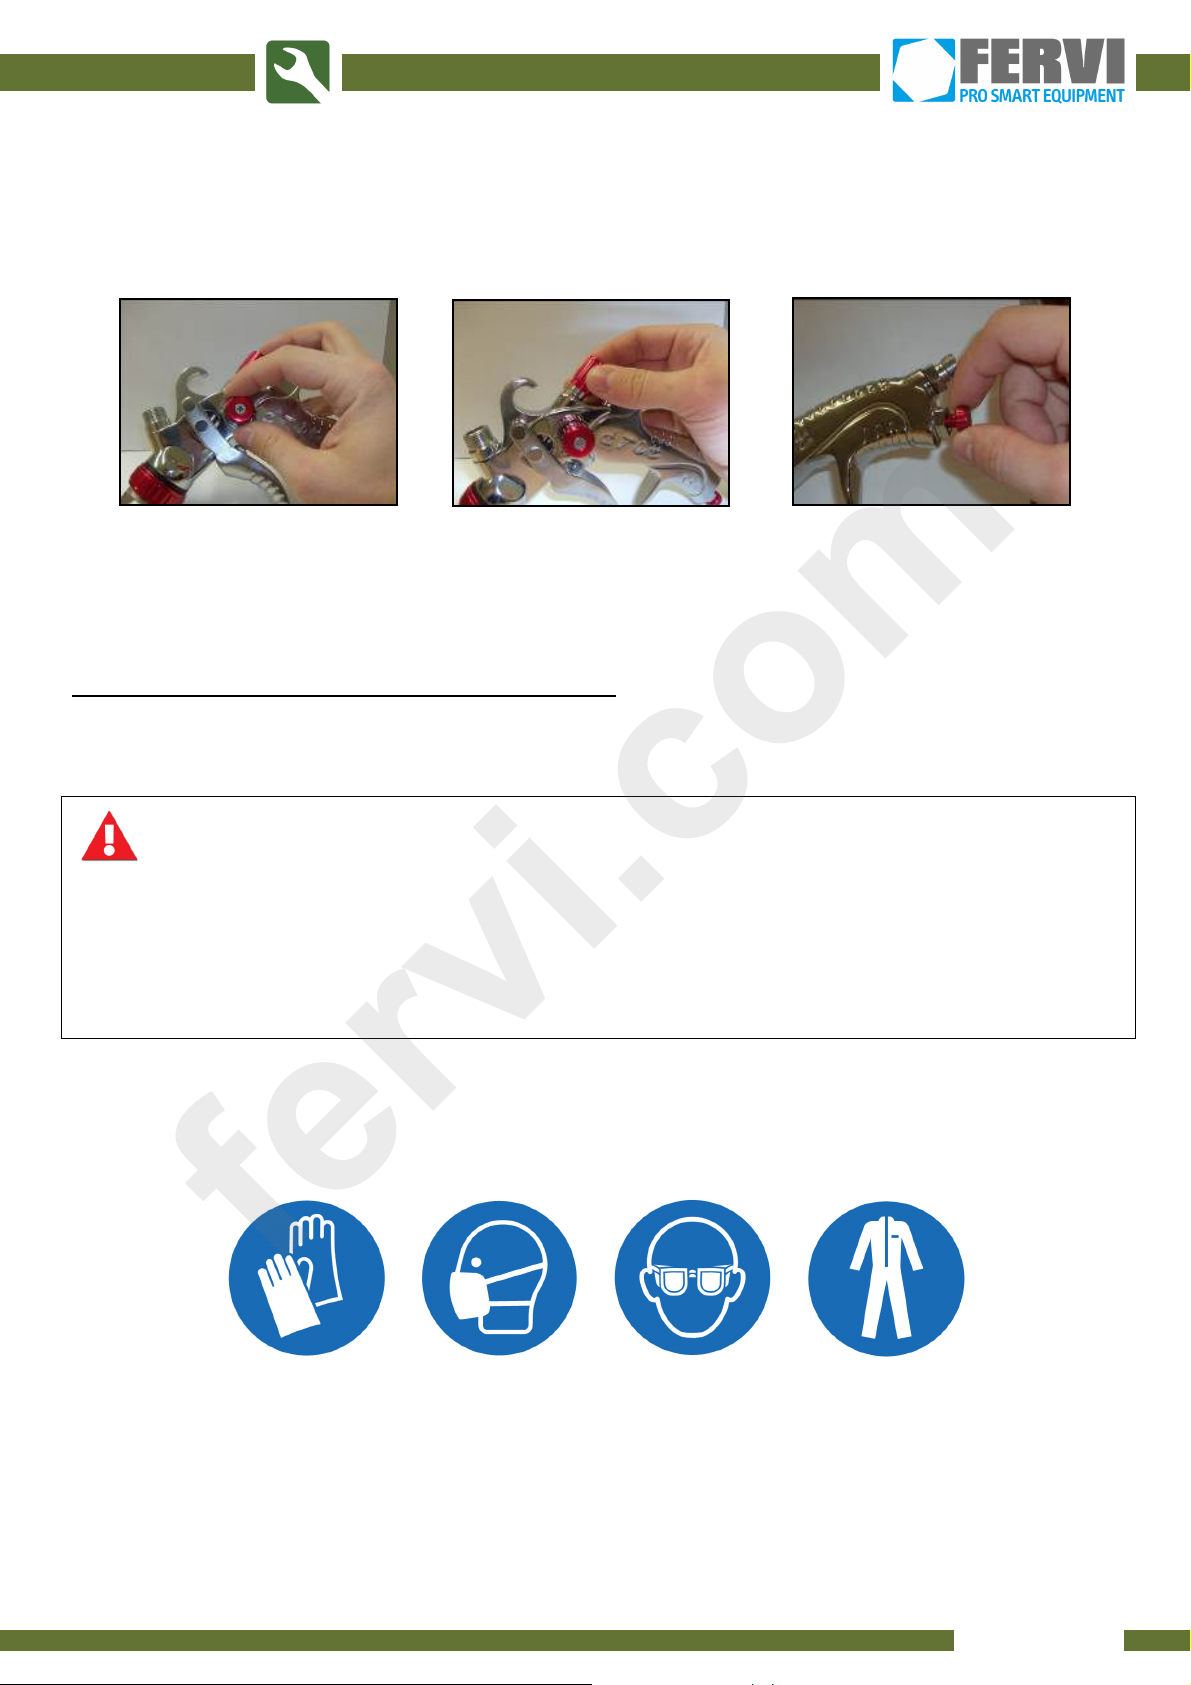
Personal Protective Equipment
................................
................................
................................
................................
................................
................................
...........................
................................
................................
................................
................................
................................
................................
................................
................................
................................
................................
................................
................................
.........................