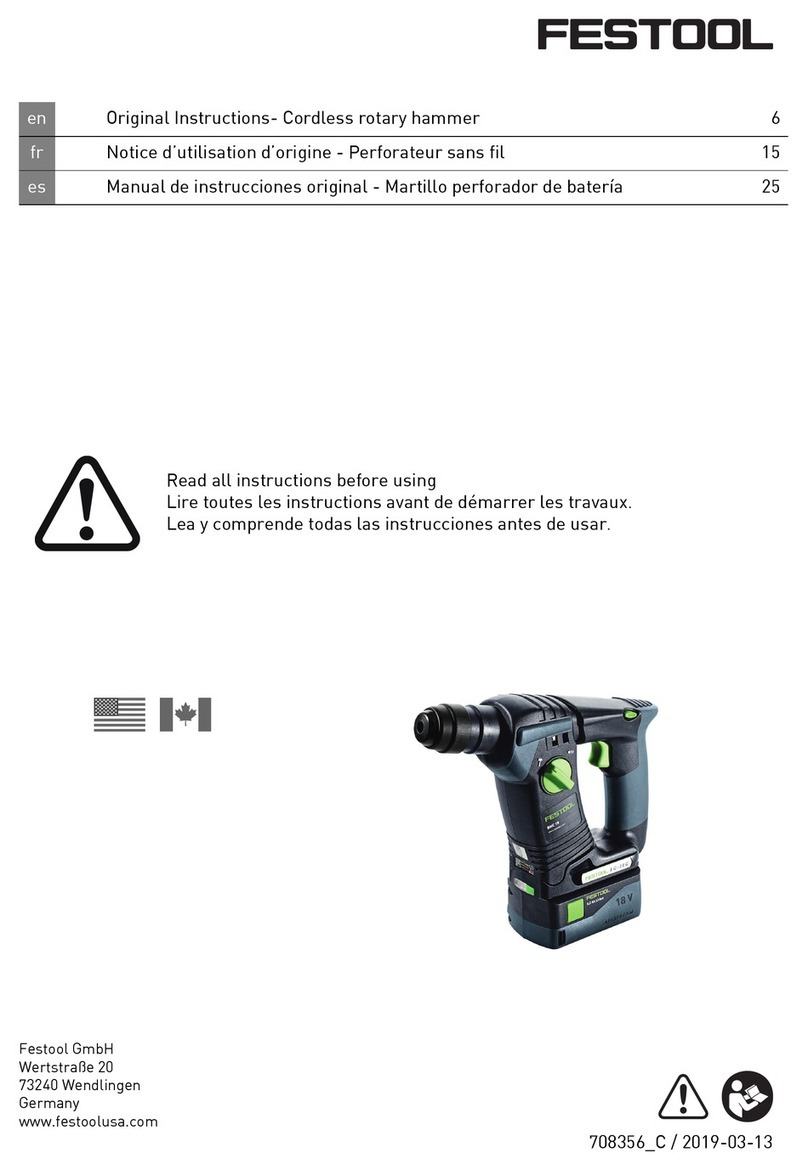
Festool BHC 18 Li Installation instructions

706612_001
Festool GmbH
Wertstraße 20
D-73240 Wendlingen
Tel.: +49 (0)7024/804-0
Telefax: +49 (0)7024/804-20608
www.festool.com
Originalbetriebsanleitung - Akku-Bohrhammer 7
Original operating manual - Cordless rotary hammer 13
Notice d’utilisation d’origine - Perforateur sans fil 18
Manual de instrucciones original - Martillo perforador de batería 24
Istruzioni per l'uso originali - Martello perforatore a batteria 30
Originele gebruiksaanwijzing - Accu-boorhamer 36
Originalbruksanvisning - Batteridriven borrhammare 42
Alkuperäiset käyttöohjeet - Akkuporavasara 47
Original brugsanvisning - Akku-borehammer 52
Originalbruksanvisning - Batteridrevet borhammer 57
Manual de instruções original - Martelo de perfuração de acumulador 62
Оригинал Руководства по эксплуатации - Аккумуляторный перфоратор 68
Originál návodu k obsluze - Akumulátorové vrtací kladivo 74
Oryginalna instrukcja eksploatacji - Młotowiertarka akumulatorowa 79
BHC 18 Li

2 A
1
1-1 1-2 1-3
1-4
1-5
1-6
1-7
1-8
1-9
1-10
1-11
1-13
1-12
klick
1
2
2 B

4
3
3-1
3-2
4 mm
Ø 5 mm
120 mm

6
5
1
4
5
2
3
klick
klick
2
klick
1

7
1
2

6
LiIon 4,2 Ah
LiIon 5,2 Ah
~
70
~
90
5.2
18
0.7
V=
Ah
kg
min.
min.
min.
BPC 18 Li
BPC 12, BPC 15, BPC 18
BPS 12, BPS 15, BPS 18
BP 12, BP 15, BP 18
V~
V=
A
°C
Hz
120
10.8 - 18
3
-5 - 45
II
60
TCL 3

BHC 18
13
GB
Original operating manual
1Symbols
2 Safety instructions
2.1 General safety instructions
WARNING! Read all safety warnings and all
instructions.
Failure to follow the warnings
and instructions may result in electric shock, fire
and/or serious injury.
Save all warnings and instructions for future ref-
erence.
The term "power tool" in the warnings refers to
your mains-operated (corded) power tool or bat-
tery-operated (cordless) power tool.
2.2 Safety instructions for specific drills
–
Hold power tool by insulated gripping surfaces,
when performing an operation where the cut-
ting accessory may contact hidden wiring.
Cut-
ting accessory contacting a "live" wire may make
exposed metal parts of the power tool "live" and
could give the operator an electric shock.
–
Use auxiliary handles supplied with the tool.
Loss of control can cause personal injury.
–
Wear ear protection.
Exposure to noise can re-
sult in loss of hearing.
–
Use suitable detectors to determine if utility
lines are hidden in the work area or call the lo-
cal utility company for assistance.
Contact with
electric lines can lead to fire and electric shock.
Damaging a gas line can lead to explosion. Pene-
trating a water line causes property damage or
may cause an electric shock.
–
Harmful/toxic dust may be produced during
your work (e.g. paint containing lead, certain
types of wood and metal).
Inhaling or coming
into contact with this dust may represent a haz-
ard for operating personnel or persons in the vi-
cinity. Comply with the safety regulations that
apply in your country.
Wear a P2 dust mask to protect your
health.
–
Wear suitable protection:
such as ear protection,
safety goggles, a dust mask for work which gener-
ates dust, and protective gloves when working with
raw materials and when changing tools.
CAUTION! Power tool can block and cause
sudden kickback!
Switch off immediately!
– If a tool becomes stuck in the material, it can be
removed simply by reversing the rotational direc-
tion of the machine.
–
Do not use the power tool in the rain or in damp
surroundings.
Moisture in the power tool may
cause a short circuit and burning.
– Do not lock the on/off switch permanently!
2.3 Battery pack and charger safety instructions
– This charger can be operated by persons with re-
Symbol Significance
Warning of general danger
Risk of electric shock
Read operating instructions and safety
notices!
Wear ear protection.
Wear protective gloves.
Wear a dust mask.
Wear protective goggles.
Do not dispose of with domestic waste.
Inserting the battery pack
Removing the battery pack
Hammer drilling
Screwdriving/drilling
Tip or advice
Handling instruction
Mains voltage (input) and frequency
Voltage (output)
Rapid charging max.
Permitted temperature range
Safety class II
Charging times
Capacity
Weight

14
BHC 18
GB
duced physical, sensory or mental capabilities or
a lack of practical experience and knowledge,
provided they are supervised or have been in-
structed to use the machine safely and under-
stand the dangers of machine operation.
Children
are not allowed use or play with the ma-
chine.
– Do not open the battery pack or the charger!
–Preventmetalparts(e.g. metal chips) or fluids
from entering the charger!
–
Risk of explosion!
Do not use battery packs or
chargers from other manufacturers!
– Protect the battery pack from excessive heat > 50
°C or constant heat sources such as sunlight or
naked flames!
– Never use water to extinguish burning li-ion bat-
tery packs! Use sand or a fire blanket.
– Check the plug and the cable regularly and
should either become damaged, in order to avoid
a hazard, have them replaced by an authorised
after-sales service workshop.
– Protect the machine from moisture.
– Protect the cable from heat, oil and sharp edges.
– Always pull the mains plug out of the socket
when the charger is not in use.
–
Only for AS/NZS:
The tool shall always be sup-
plied via residual current device with a rated re-
sidual current of 30 mA or less.
2.4 Emission levels
Levels determined in accordance with EN 60745 are
typically:
Vibration emission value a
h
(vector sum for three
directions) and uncertainty K measured in accor-
dance with EN 60745:
The specified emissions values (vibration, noise)
– are used to compare machines.
– They are also used for making preliminary esti-
mates regarding vibration and noise loads during
operation.
– They represent the primary applications of the
power tool.
Increase possible for other applications, with other
insertion tools or if not maintained adequately. Take
note of idling and downtimes of machine!
3 Intended use
Cordless rotary hammer suitable
– for hammer drilling in concrete, brick and stone,
– for drilling in wood, metal, ceramic and plastic
with no impact function,
– for inserting and tightening screws.
Charger TCL 3
suitable for
– charging Festool battery packs: BP, BPS and
BPC (NiMH, NiCd, li-ion are recognised automat-
ically.)
– indoor use only.
The user is liable for improper or non-in-
tended use.
4Technicaldata
Further technical data on the charger and bat-
tery packs can be found on page 6.
5 Machine features
Hammer drilling in concrete
Sound pressure level L
PA
= 88 dB(A)
Noise level L
WA
= 99 dB(A)
Uncertainty K = 3 dB
CAUTION
When working with noise
Damage to hearing
Always use ear protection.
ahK
Hammer drilling in concrete
13,8 m/s
2
3,4 m/s
2
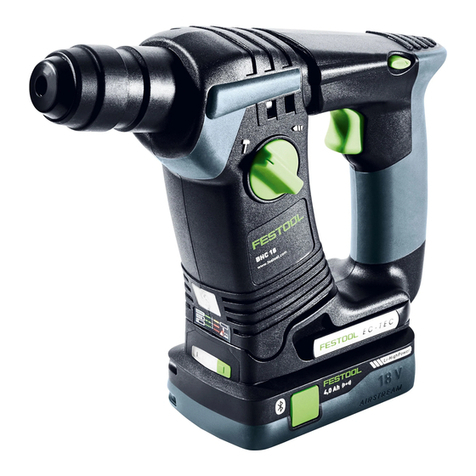
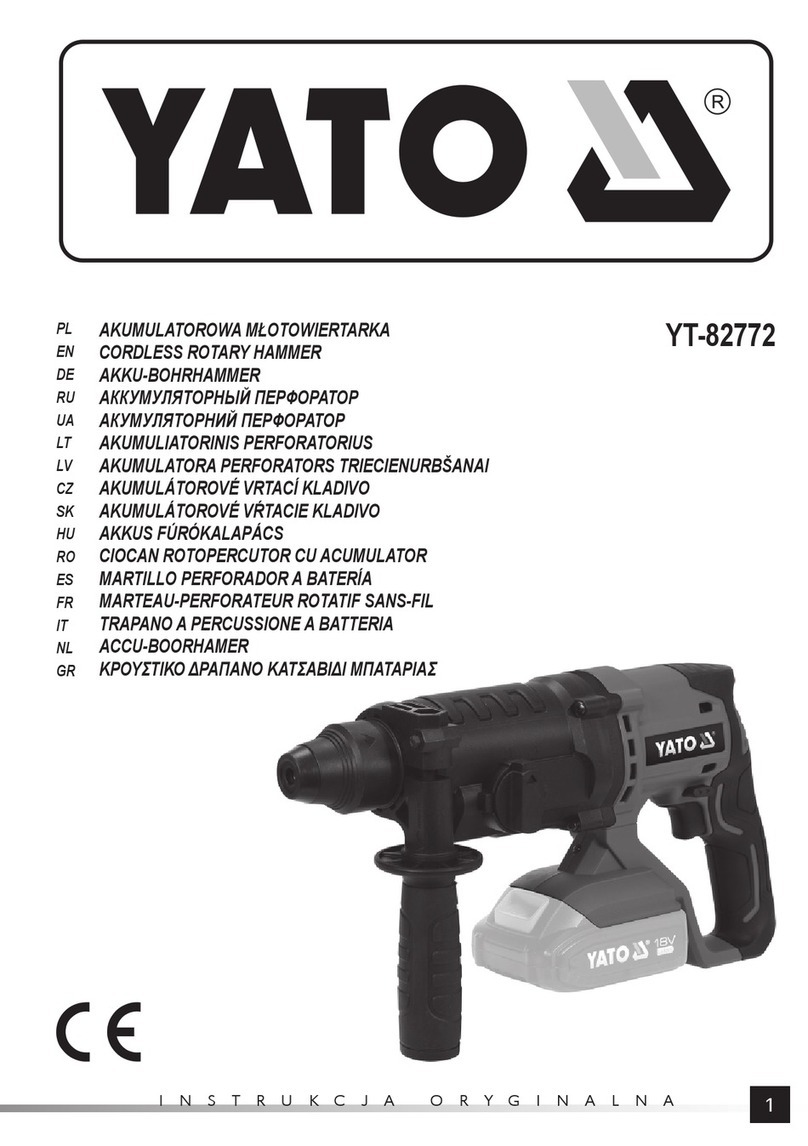
Cordless rotary hammer BHC 18
Motor voltage 18V
Idling speed 0 - 1100 rpm
Impact energy 1,8 J
Collar 43 mm
Tool adapter SDS-plus
Drill diameter max.
Steel 13 mm
Wood 25 mm
Hammer drilling in con-
crete 18 mm
Weight with auxiliary handle 2,6 kg
[1-1]
Tool adapter
[1-2]
Release sleeve
[1-3]
Right/left switch
[1-4]
On/Off switch
[1-5]
Drilling/hammer drilling selector switch

BHC 18
15
GB
The specified illustrations appear at the beginning
of the Operating Instructions.
6Operation
6.1 Charger cable holder [3-2]
Unwind the cable completely from the recess
before using the charger.
6.2 Changing the battery pack
Inserting the battery pack [2 A]
Removing the battery pack [2 B]
6.3 Charging the battery pack [3]
The battery pack is delivered partially charged.
Charge the battery pack completely before us-
ing for the first time.
The LED
[3-1]
on the charger indicates the respec-
tive operating status of the charger.
6.4 Light and battery capacity indicator
The LED on the lamp
[1-10]
is both a light
and a battery capacity indicator
[1-9]
.
The LED automatically indicates the charging
state of the battery pack (not NiCd and NiMH bat-
tery packs) when the on/off switch
[1-4]
is pressed.
7 Settings
7.1 Changing direction of rotation [1-3]
• Switch to the left = clockwise rotation
• Switch to the right = counterclockwise rotation
7.2 Selecting the operating mode
Hammer drilling
Set selector switch
[1-5]
to hammer sym-
bol.
Screwdriving/drilling
Set selector switch
[1-5]
to drill symbol.
[1-6]
Belt clip
[1-7]
Battery pack
[1-8]
Button for releasing the battery pack
[1-9]
Capacity display
[1-10]
LED lamp
[1-11]
Auxiliary handle
[1-12]
Depth stop
[1-13]
Insulated gripping surfaces (grey shaded area)
[3-1]
LED-Display
[3-2]
Cable holder
[4]
Wall mount for charger
WARNING
Unauthorised voltage or frequency!
Risk of accidents
Observe the specifications on the machine’s
name plate.
Observe country-specific regulations.
LED yellow - lit continuously
Charger is ready to use.
LED green - flashes quickly
Battery pack is charged to maxi-
mum capacity.
LED green - flashes slowly
Battery pack is charged with
reduced current. Li-ion is
charged to 80 %.
LED green - lit continuously
Charging is complete or is not
restarted as current charge sta-
tus is greater than 80%.
LED red - flashes
General fault indication, e.g.
incomplete contact, short circuit,
defective battery pack, etc.
LED red - lit continuously
Battery temperature is outside
the permitted range.
LED green – lit continuously:
charged > 60 %
LED green – flashing slowly:
charged 30 % – 60 %
LED green – flashing quickly:
charged 0 % – 30 %
LED yellow – lit continuously:
battery is empty
LED red – lit continuously:
bat-
tery, electronics or motor tem-
perature is outside the
permitted range.
LED red – flashing:
indicates a
general fault, e.g. incomplete
contact, short circuit, battery
pack faulty, etc.

16
BHC 18
GB
8 Tool holder, attachments
8.1 Changing tools [5]
The SDS-plus system clamps drilling tools in
position without requiring a tool wrench.
Inserting the tool
Clean the tool shank and apply a coating of mul-
tipurpose grease.
Do
[1-2]not
retract the release sleeve, but in-
sert the tool in the tool holder
[1-1]
and turn un-
til it engages.
Check that the tool is seated correctly.
Removing the tool
Pull back the release sleeve
[1-2]
and remove
the tool.
8.2 CENTROTEC tool chuck [6]
Quick change of tools with CENTROTEC shaft
Only clamp CENTROTEC tools in CENTRO-
TEC tool chucks.
Before working with the CENTROTEC tool
chuck, set the selector switch
[1-5]
to the drill
symbol.
8.3 Auxiliary handle [1-11]
We recommend working with an auxiliary
handle
[7-1]
to ensure a safe, non-tiring
working posture.
Attaching the auxiliary handle [7]
Attach the auxiliary handle
[7-1]
to the neck of
the gear housing.
Turn the grip anticlockwise until the auxiliary
handle
[7-1]
is secured in position.
8.4 Depth stop [1-12]
The drilling depth can be adjusted using the
depth stop
[7-2]
.
Attaching the depth stop [7-2]
Unscrew the auxiliary handle
[7-1]
by turning
the grip anticlockwise.
Insert the depth stop
[7-2]
in the auxiliary han-
dle
[7-1]
.
Pull out the depth stop
[7-2]
until the distance
between the tip of the drill and the tip of the depth
stop corresponds to the desired drilling depth.
Tighten the grip on the auxiliary handle
[7-1]
again.
8.5 Extraction
Please observe the safety regulations applicable in
your country for dust. The relevant limit values
must be observed at the workstation.
A dust ex-
tractor may be required for corresponding dust expo-
sure and depending on regulations. Festool offers a
drilling dust nozzle in the accessories system.
9 Working with the machine
9.1 On/Off switch [1-4]
Press = ON, release = OFF
The speed of the machine depends on how far
the on/off switch is pressed in.
9.2 Belt clip [1-6]
The belt clip (right/left) allows the user to attach
the machine briefly to work clothing.
9.3 Acoustic warning signal
Acoustic warning signals sound and the machine
switches off in the following operating states:
Change the battery
Reduce the machine load
WARNING
Risk of injury
Always disconnect the battery pack before per-
forming any type of work on the machine!
CAUTION
Hot and sharp tools
Risk of injury
Do not use insert tools that are blunt or defec-
tive.
Wear protective gloves.
WARNING
Risk of injury
Always secure the workpiece in such a manner
that it cannot move while being machined.
Battery flat or machine overloaded:
peep

BHC 18
17
GB
10 Service and maintenance
Customer service and repair
only
through manufacturer or service
workshops: Please find the nearest
address at: www.festool.com/service
Use only original Festool spare parts!
Order No. at: www.festool.com/service
Note the following information:
– Keep the ventilation slits on the machine free and
clean to ensure adequate cooling.
– Keep the contacts on the machine, charger and
battery pack clean.
Information on battery packs
– Store in a cool, dry place at a temperature be-
tween 5 °C and 25 °C.
– Protect battery packs from moisture, water and heat.
– Do not leave flat battery packs in a charger dis-
connected from the mains power supply for lon-
ger than one month. Danger of deep discharge!
– If you intend to store li-ion battery packs for lon-
ger periods without use, you should charge them
to 40 % capacity (approx. 15 min charging time).
11 Environment
Do not dispose of the device in house-
hold waste!
Recycle devices, accesso-
ries and packaging. Observe applica-
ble national regulations.
EU only:
In accordance with European
Directive on waste electrical and electronic equip-
ment and implementation in national law, used elec-
tric power tools must be collected separately and
handed in for environmentally friendly recycling.
Return used or faulty battery packs
to your local spe-
cialist retailer, Festool after-sales service or nearest
public waste management facility (observe applicable
regulations). Batteries must be discharged on return.
Battery packs will then be recycled.
EU only:
In accordance with the European Directive
on batteries and implementation in national law,
defective or used battery packs/batteries must be
collected separately and handed in for environmen-
tally friendly recycling.
Information on REACh:
www.festool.com/reach
12 Transport
The lithium-ion batteries are subject to the require-
ments of the legislation on hazardous goods. A li-ion
battery pack alone falls below the applicable limit val-
ue and certified as per UN manual ST/SG/ AC.10/11/
rev. 3 part III, subsection 38.3. However, dangerous
goods regulations may apply when several battery
packs are transported For shipping by third parties
(e.g. air transport or freight forwarding company) spe-
cial requirements with regard to packaging and label-
ling must be observed.For the preparation of the pack-
age an expert on hazardous goods must be consulted.
Please observe any further national regulations.
Only return the battery pack if the housing is undam-
aged. Tape over the exposed contacts and wrap the bat-
tery pack so that it cannot move inside the packaging.
13 EU Declaration of Conformity
We declare under sole responsibility that this product
complies with all the relevant requirements in the fol-
lowing Directives, standards and normative documents:
2006/42/EC, 2004/108/EC, 2011/65/EU, EN 60745-1, EN
60745-2-6, EN 55014-1, EN 55014-2.
We declare under sole responsibility that this product
complies with all the relevant requirements in the fol-
lowing Directives, standards and normative documents:
2004/108/EC, 2006/95/EC, 2011/65/EU, EN 60335-1, EN
60335-2-29, EN 61000-3-2, EN 61000-3-3, EN 61204-3.
Festool GmbH
Wertstr. 20, D-73240 Wendlingen, Germany
Dr. Johannes Steimel
Head of Research, Development and Technical
Documentation
2013-10-08
WARNING
Risk of injury, electric shock
Always disconnect the battery pack from the
machine before any maintenance or care work!
All maintenance and repair work which requires
the motor housing to be opened, must only be
carried out by an authorised service workshop.
EKAT
1
235
4
Cordless rotary hammer Serial no.
BHC 18 499818
Year of CE mark: 2013
Charger Serial no.
TCL 3 10002345, 10004911
Year of CE mark: 2012
Other manuals for BHC 18 Li
3
Table of contents
Other Festool Rotary Hammer manuals