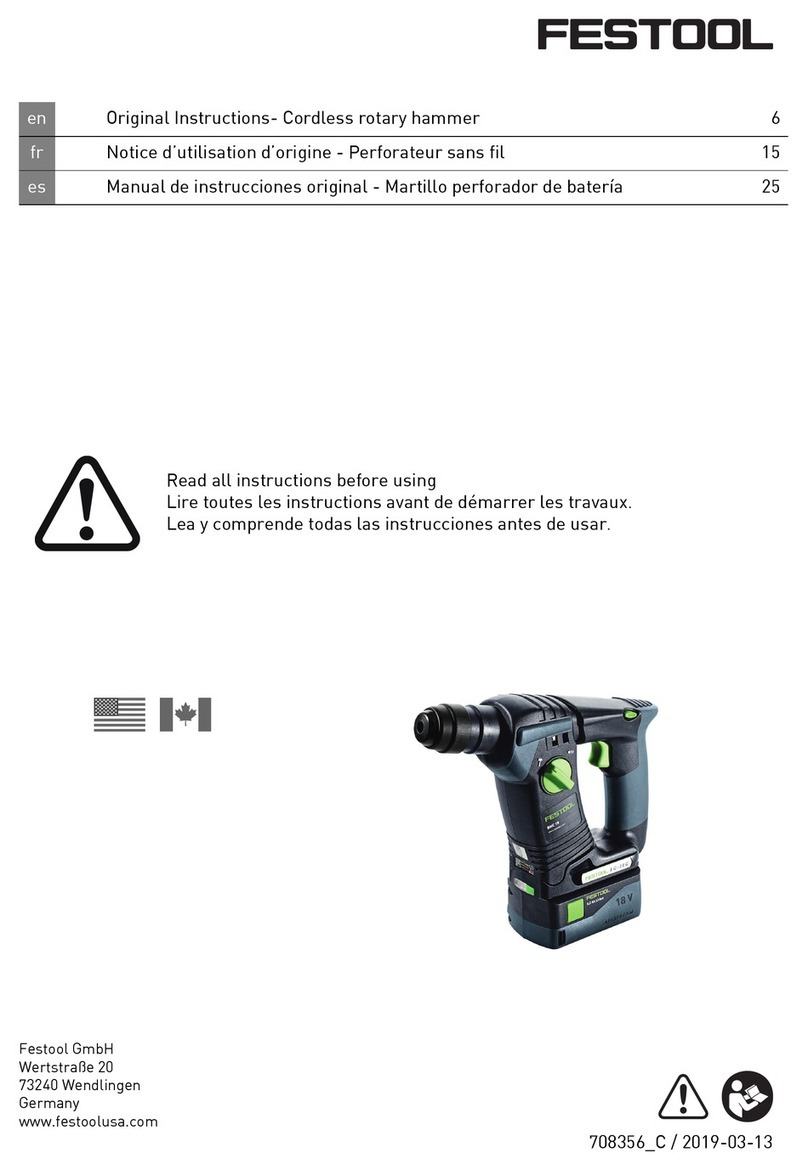
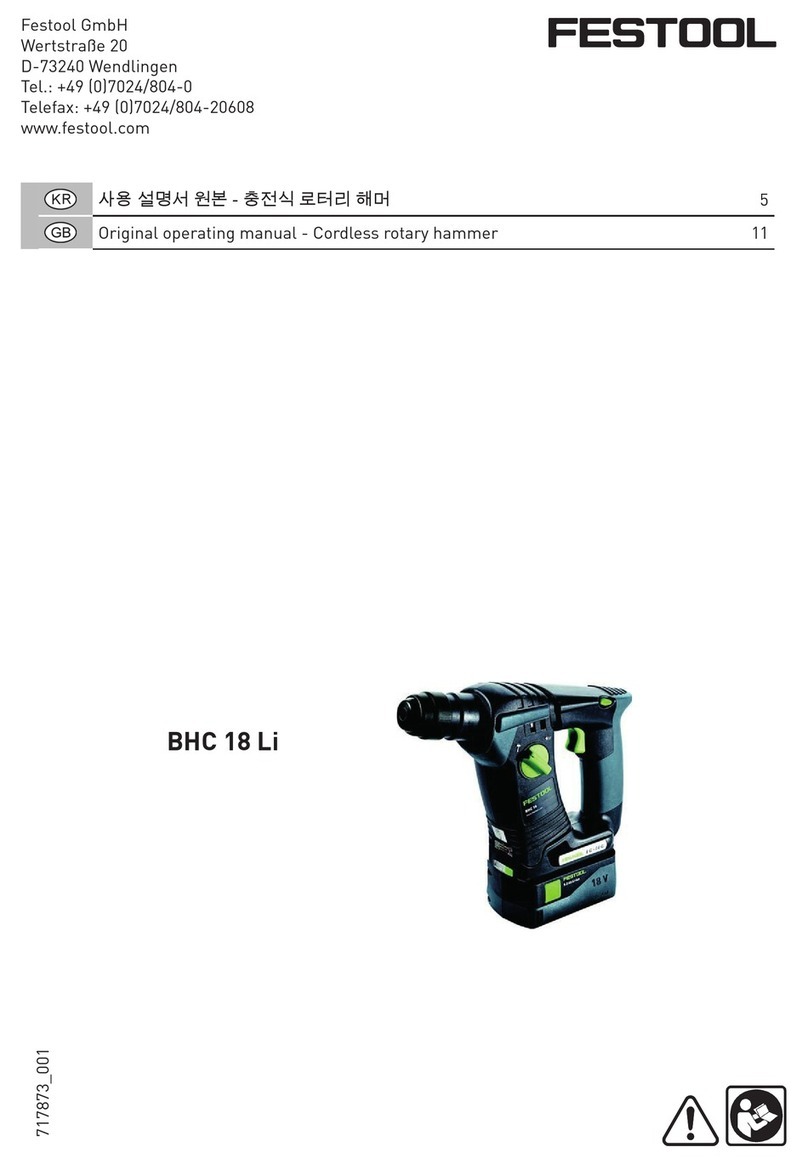
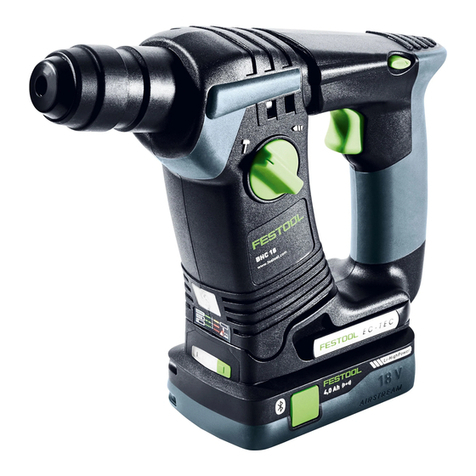
Festool BHC 18 User manual

705888_003
Festool Group GmbH & Co. KG
Wertstraße 20
D-73240 Wendlingen
Tel.: +49 (0)7024/804-0
Telefax: +49 (0)7024/804-20608
www.festool.com
Instruction manual
Page 6
IMPORTANT:
Read all instructions before using.
Guide d’utilisation
Page 19
IMPORTANT:
Lire toutes les instructions avant de démarrer les travaux.
Manual de instrucciones
Página 33
IMPORTANTE:
Lea todas las instrucciones antes de usar.
Instruction manual
Guide d’utilisation
Manual de instrucciones
BHC 18


1
1-1 1-2 1-3
1-4
1-5
1-6
1-7
1-8
1-9
1-10
1-11
1-12


6
Contents
About this manual
Save these instructions
It is important for you to read and understand this manual. The information it contains relates to protecting
your safety
and
preventing problems
. The symbols below are used to help you recognize this information.
Symbols
About this manual................................ 6
Symbols................................................ 6
Safety instructions............................... 7
General safety instructions ................. 7
Technical data ...................................... 9
Functional description......................... 10
Intended use ........................................ 11
Operation.............................................. 11
Settings................................................. 13
Tool holder, attachments...................... 13
Working with the machine.................... 15
Service and maintenance..................... 15
Accessories .......................................... 15
Environment ......................................... 17
Transport .............................................. 17
Warranty ............................................... 17
DANGER Description of imminent haz-
ard and failure to avoid hazard
will result in death.
WARNING Description of hazard and
possible resulting injures or
death.
CAUTION Description of hazard and
possible resulting injuries.
NOTICE Statement including nature of
hazard and possible result.
HINT Indicates information, notes,
or tips for improving your suc-
cess using the tool.
Vvolts
A amperes
Hz hertz
~
a.c.
alternating current
d.c.
direct current
n
0
no load speed
Class II construction
rpm
min
-1
revolutions per minute
’’ inch
lb. pound
diameter
hint, tipp
Warning of general danger
Risk of electric shock
Read the Operating Instructions/Notes!
°C degree Centigrade
°F degree Fahrenheit
Nm Newton metre
mm millimetre
Ah amps hour
Wh watt hour
delay fuse with 4 amps
Jjoule

7
Safety instructions
General safety instructions
WARNING! Read all safety warnings and all
instructions.
Failure to follow the warnings
and instructions may result in electric shock, fire
and/or serious injury.
Save all warnings and instructions for future ref-
erence.
The term “power tool” in the warnings refers to
your mains-operated (corded) power tool or bat-
tery-operated (cordless) power tool.
1 WORK AREA SAFETY
a.
Keep work area clean and well lit.
Cluttered and
dark areas invite accidents.
b.
Do not operate power tools in explosive atmo-
spheres, such as in the presence of flammable
liquids, gases or dust.
Power tools create sparks
which may ignite the dust or fumes.
c.
Keep children and bystanders away while oper-
ating a power tool.
Distractions can cause you to
lose control.
2 ELECTRICAL SAFETY
a.
Power tool plugs must match the outlet. Never
modify the plug in any way. Do not use any
adapter plugs with earthed (grounded) power
tools.
Unmodified plugs and matching outlets
will reduce risk of electric shock.
b.
Avoid body contact with earthed or grounded
surfaces, such as pipes, radiators, ranges and
refrigerators.
There is an increased risk of elec-
tric shock if your body is earthed or grounded.
c.
Do not expose power tools to rain or wet condi-
tions.
Water entering a power tool will increase
the risk of electric shock.
d.
Do not abuse the cord. Never use the cord for
carrying, pulling or unplugging the power tool.
Keep cord away from heat, oil, sharp edges or
moving parts.
Damaged or entangled cords in-
crease the risk of electric shock.
e.
When operating a power tool outdoors, use an
extension cord suitable for outdoor use.
Use of
a cord suitable for outdoor use reduces the risk of
electric shock.
f.
If operating a power tool in a damp location is
unavoidable, use a residual current device
(RCD) protected supply.
Use of an RCD reduces
the risk of electric shock.
3 PERSONAL SAFETY
a.
Stay alert, watch what you are doing and use
common sense when operating a power tool. Do
not use a power tool while you are tired or under
the influence of drugs, alcohol or medication.
A
moment of inattention while operating power
tools may result in serious personal injury.
b.
Use personal protective equipment. Always
wear eye protection.
Protective equipment such
as dust mask, non skid safety shoes, hard hat, or
hearing protection used for appropriate condi-
tions will reduce personal injuries.
c.
Prevent unintentional starting. Ensure the
switch is in the off-position before connecting to
power source and/or battery pack, picking up or
carrying the tool.
Carrying power tools with your
finger on the switch or energising power tools
that have the switch on invites accidents.
d.
Remove any adjusting key or wrench before
turning the power tool on.
A wrench or a key left
attached to a rotating part of the power tool may
result in personal injury.
e.
Do not overreach. Keep proper footing and bal-
ance at all times.
This enables better control of
Wear ear protection.
Wear protective gloves.
Wear protective goggles.
Wear a dust mask.
Inserting the battery pack
Removing the battery pack
Screwdriving/drilling
Hammer drilling
RBRC Seal - LiIon

8
the power tool in unexpected situations.
f.
Dress properly. Do not wear loose clothing or
jewellery. Keep your hair, clothing and gloves
away from moving parts.
Loose clothes, jewel-
lery or long hair can be caught in moving parts.
g.
If devices are provided for the connection of
dust extraction and collection facilities, ensure
these are connected and properly used.
Use of
dust collection can reduce dust-related hazards.
h.
Do not let familiarity gained from freuquent use
of tools allow you to become complacent and ig-
nore, tool safety principles.
A careless action
can cause severe injury within a fraction of a sec-
ond.
4 POWER TOOL USE AND CARE
a.
Do not force the power tool. Use the correct
power tool for your application.
The correct
power tool will do the job better and safer at the
rate for which it was designed.
b.
Do not use the power tool if the switch does not
turn it on and off.
Any power tool that cannot be
controlled with the switch is dangerous and must
be repaired.
c.
Disconnect the plug from the power source and/
or battery pack from the power tool before
making any adjustments, changing accessories,
or storing power tools.
Such preventive safety
measures reduce the risk of starting the power
tool accidentally.
d.
Store idle power tools out of the reach of chil-
dren and do not allow persons unfamiliar with
the power tool or these instructions to operate
the power tool.
Power tools are dangerous in the
hands of untrained users.
e.
Maintain power tools. Check for misalignment
or binding of moving parts, breakage of parts
and any other condition that may affect the pow-
er tool‘s operation. If damaged, have the power
tool repaired before use.
Many accidents are
caused by poorly maintained power tools.
f.
Keep cutting tools sharp and clean.
Properly
maintained cutting tools with sharp cutting edges
are less likely to bind and are easier to control.
g.
Use the power tool, accessories and tool bits
etc. in accordance with these instructions tak-
ing into account the working conditions and the
work to be performed.
Use of the power tool for
operations different from those intended could
result in a hazardous situation.
h.
Keep handles dry, clean and free from oil and
grease.
Slippery handles do not allow for safe
handling and control of the tool in unexpected
situations.
5 BATTERY TOOL USE AND CARE
a.
Recharge only with the charger specified by the
manufacturer.
A charger that is suitable for one
type of battery pack may create a risk of fire when
used with another battery pack.
b.
Use power tools only with specifically designat-
ed battery packs.
Use of any other battery packs
may create a risk of injury and fire.
c.
When battery pack is not in use, keep it away
from other metal objects like paper clips, coins,
keys, nails, screws, or other small metal ob-
jects that can make a connection from one ter-
minal to another.
Shorting the battery terminals
together may cause burns or a fire.
d.
Under abusive conditions, liquid may be ejected
from the battery; avoid contact. If contact acci-
dentally occurs, flush with water. If liquid con-
tacts eyes, additionally seek medical help.
Liquid ejected from the battery may cause irrita-
tion or burns.
e.
Do not use a battery pack or tool that is dam-
aged or modified.
Damaged or modified batter-
ies may exhibit unpredictable behaviour resulting
in fire, explosion or risk of injury.
f.
Do not expose a battery pack or tool to fire or
excessive temperature.
Exposure to fire or tem-
perature above 130 °C may cause explosion.
6 SERVICE
a.
Have your power tool serviced by a qualified re-
pair person using only identical replacement
parts.
This will ensure that the safety of the pow-
er tool is maintained.
b.
Never service damaged battery packs.
Service
of battery packs should only be performed by the
manufacturer or authorized service providers.
Machine-related safety instructions
–
Hold power tool by insulated gripping surfaces,
when performing an operation where the cut-
ting accessory may contact hidden wiring.
Cut-
ting accessory contacting a "live" wire may make
exposed metal parts of the power tool "live" and
could give the operator an electric shock.
–
Use auxiliary handles supplied with the tool.
Loss of control can cause personal injury.
–
Wear ear protection.
Exposure to noise can re-
sult in loss of hearing.
–
Use suitable detectors to determine if utility
lines are hidden in the work area or call the lo-
cal utility company for assistance.
Contact with
electric lines can lead to fire and electric shock.
Damaging a gas line can lead to explosion. Pene-

9
trating a water line causes property damage or
may cause an electric shock.
–
Harmful/toxic dust may be produced during
your work (e.g. paint containing lead, certain
types of wood and metal).
Inhaling or coming
into contact with this dust may represent a haz-
ard for operating personnel or persons in the vi-
cinity. Comply with the safety regulations that
apply in your country.
Wear a P2 dust mask to protect your
health.
CAUTION! Rebound!
Rotation: Switch off device immediately!
– If a tool becomes stuck in the material, it can be
removed simply by reversing the rotational direc-
tion of the machine.
–
The device is not intended for use by persons
(including children) with limited physical, sen-
sory or mental ability or without sufficient ex-
perience and/or knowledge, unless they are
supervised by a person responsible for their
safety or have been instructed on how to use the
device.
Children should always be supervised to
ensure that they do not play with the device.
– Do not open the battery pack or the charger!
– Prevent metal parts (e.g. metal chips) or fluids
from entering the charger!
– Do not use battery packs or chargers from other
manufacturers!
– Protect the battery pack from excessive heat > 50
°C or constant heat sources such as sunlight or
naked flames!
– Never use water to extinguish burning li-ion bat-
tery packs! Use sand or a fire blanket.
– Protect the machine from moisture.
– Protect the cable from heat, oil and sharp edges.
– Check the plug and the cable regularly and
should either become damaged, in order to avoid
a hazard, have them replaced by an authorised
after-sales service workshop.
Health hazard by dust
WARNING!
Various dust created by power
sanding, sawing, grinding, drilling and other
construction activities contains chemicals
known (to the State of California) to cause cancer,
birth defects or other reproductive harm. Some ex-
amples of these chemicals are:
• lead from lead-based paints,
• crystalline silica from bricks and cement and
other masonry products, and
• arsenic and chromium from chemicallytreated
lumber.
The risk from these exposures
varies, depending on how often
you do this type of work. To re-
duce your exposure to these
chemicals: work in a well ven-
tilated area, and work with ap-
proved safety equipment, such as dust masks that
are specially designed to filter out microscopic par-
ticles. Wash hands after handling.
Technical data
WARNING
TO REDUCE THE RISK OF INJURY, USER MUST
READ INSTRUCTION MANUAL.
Cordless rotary hammer BHC 18
Motor voltage 18V
Idling speed 0 - 1100 rpm
Impact energy 1,8 J
Collar 43 mm (1.7’’)
Tool adapter SDS-plus
Drill diameter max.
Steel 13 mm (0.5’’)
Wood 25 mm (1.0’’)
Hammer drilling in concrete 18 mm (0.7’’)
Weight with auxiliary handle 2.6 kg (5.7 lbs)

10
Functional description
The pictures for the functional description are on a
fold-out page at the beginning of the instruction
manual. When reading of the manual you can fold
out this page for having always an overview of the
machine.
Accessories shown or described are sometimes not
included in the scope of delivery.
Charger TCL 3
Mains voltage (input) 230 - 240 V ~
Mains frequency 60 Hz
Charging voltage (output) 10,8 - 18 V=
Rapid charging max. 3 A
Conservation charging, intermittent (NiCd, NiMH) approx. 0,06 A
Charging times for BP, BPS and BPC battery packs
Li-ion 1,5 Ah, 80 %/100 % approx. 25/35 min.
Li-ion 3,0 Ah, 80 %/100 % approx. 55/70 min.
Li-ion 4,2 Ah, 80 %/100 % approx. 70/90 min.
Permitted operating temperature range -5°Cto+45°C
Temperature monitoring via NTC resistor
Safety class /II
Battery pack BPC 18 4,2 Ah LiIon
Voltage 18 V
Capacity 4,2 Ah
Weight 0,68 kg (1.5 lbs)
[1-1]
Tool adapter
[1-2]
Release sleeve
[1-3]
Right/left switch
[1-4]
On/Off switch
[1-5]
Drilling/hammer drilling selector switch
[1-6]
Belt clip
[1-7]
Battery pack
[1-8]
Button for releasing the battery pack
[1-9]
Capacity display
[1-10]
LED lamp
[1-11]
Auxiliary handle
[1-12]
Depth stop

11
Intended use
Cordless rotary hammer suitable
– for hammer drilling in concrete, brick and stone,
– for drilling in wood, metal, ceramic and plastic
with no impact function,
– for inserting and tightening screws.
Charger TCL 3
suitable for
–chargingFestoolbattery packs: BP, BPS and
BPC (NiMH, NiCd, li-ion are recognised automat-
ically.)
– indoor use only.
Operation
Changing the battery pack
Festool charger
NOTE:
This equipment has been tested and found to
comply with the limits for a Class 8 digital device,
pursuant to Part 15 of the FCC Rules. These limits
are designed to provide reasonable protection
against harmful interference in a residential instal-
lation. This equipment generates, uses and can ra-
diate radio frequency energy and, if not installed
and used in accordance with the instructions, may
cause harmful interference to radio communica-
tions. However, there is no guarantee that interfer-
ence will not occur in a particular installation. If
this equipment does cause harmful interference to
radio or television reception, which can be deter-
mined by turning the equipment off and on, the
user is encouraged to try to correct the interference
by one or more of the following measures:
– Reorient or relocate the receiving antenna.
– Increase the separation between the equipment
and receiver.
WARNING
The user bears the responsibility for damage and
accidents caused by improper use; this also in-
cludes damage and wear caused by continuous
use in industry.
WARNING
Unauthorised voltage or frequency!
Risk of accidents
Observe the specifications on the machine’s
name plate.
Observe country-specific regulations.
2
Inserting battery pack
click
Removing battery pack
1
2

12
– Connect the equipment into an outlet on a circuit dif-
ferent from that to which the receiver is connected.
– Consult the dealer or an experienced radio/TV
technician for help.
Charging battery pack [3]
Charge Festool battery packs only using an
original Festool chargerTCL 3.
Unwind the cable completely from the recess
[3-2]
before using the charger.
The charger TCL 3 can be used to charge all Festool
battery packs of the BPS and BPC series. The char-
ger automatically detects the type of the inserted
battery (NiCd, NiMH or LiIon). A microprocessor
controls the charging process in line with the
charging state, temperature and voltage of the bat-
tery pack.
The LED
[3-1]
on the charger indicates the respec-
tive operating status of the charger.
Charger wall mount
The charger TCL 3 has two elongated holes on its
back. It can be mounted on a wall using two screws
(e.g. round head or flat head screw with shank di-
ameter of 5 mm) (see Fig.
[4]
).
Light and battery capacity indicator
The LED on the lamp
[1-10]
is both a light
and a battery capacity indicator
[1-9]
.
The LED automatically indicates the charging state
of the battery pack (not NiCd and NiMH battery
packs) when the on/off switch
[1-4]
is pressed.
LED yellow - lit continuously
Charger is ready to use.
LED green - flashes quickly
Battery pack is charged to maxi-
mum capacity.
LED green - flashes slowly
Battery pack is charged with
reduced current. Li-ion is
charged to 80 %.
LED green - lit continuously
Charging is complete or is not
restarted as current charge sta-
tus is greater than 80%.
LED red - flashes
General fault indication, e.g.
incomplete contact, short circuit,
defective battery pack, etc.
LED red - lit continuously
Battery temperature is outside
the permitted range.
3
3-1
3-2
LED green – lit continuously:
charged > 60 %
LED green – flashing slowly:
charged 30 % – 60 %
LED green – flashing quickly:
charged 0 % – 30 %
LED yellow – lit continuously:
battery is empty
LED red – lit continuously:
bat-
tery, electronics or motor tem-
perature is outside the
permitted range.
LED red – flashing:
indicates a
general fault, e.g. incomplete
contact, short circuit, battery
pack faulty, etc.
4 mm
Ø 5 mm
mm021

13
Settings
Changing direction of rotation
[1-3]
• Switch to the left = clockwise rotation
• Switch to the right = counterclockwise rotation
Selecting the operating mode
Hammer drilling
Set selector switch
[1-5]
to hammer sym-
bol.
Screwdriving/drilling
Set selector switch
[1-5]
to drill symbol.
Tool holder, attachments
Changing tools
[5]
The SDS-plus system clamps drilling tools in
position without requiring a tool wrench.
Inserting the tool
Clean the tool shaft and grease lightly.
Do
not
retract the release sleeve
[5-2]
, instead
turn the tool into the tool adapter
[5-1]
until it
clicks into position.
Check that the tool is seated securely.
Removing the tool
Pull back the release sleeve
[5-2]
and remove
the tool.
WARNING
Risk of injury
Always disconnect the battery pack before per-
forming any type of work on the machine!
CAUTION
Hot and sharp tools
Risk of injury
Wear protective gloves.
5
click 5-1
5-2
1
2

14
CENTROTEC tool chuck [6]
Quick change of tools with CENTROTEC shaft
Only clamp CENTROTEC tools in CENTRO-
TEC tool chucks.
Before working with the CENTROTEC tool
chuck, set the selector switch
[1-5]
to the drill
symbol.
Auxiliary handle [7-1]
We recommend working with an additional
handle
[7-1]
to ensure a safe, non-tiring
working posture.
Attaching the additional handle [7]
Attach the additional handle
[7-1]
to the neck of
the gear housing.
Turn the grip anticlockwise until the additional
handle
[7-1]
is secured in position.
Depth stop [7-2]
The drilling depth can be adjusted using the
depth stop
[7-2]
.
Attaching the depth stop [7-2]
Unscrew the additional handle
[7-1]
by turning
the grip anticlockwise.
Insert the depth stop
[7-2]
in the additional han-
dle
[7-1]
.
Pull out the depth stop
[7-2]
until the distance
between the tip of the drill and the tip of the
depth stop corresponds to the desired drilling
depth.
Tighten the grip on the additional handle
[7-1]
again.
Extraction
Please observe the safety regulations applicable
in your country for dust. The relevant limit values
must be observed at the workstation.
A dust ex-
tractor may be required for corresponding dust ex-
posure and depending on regulations. Festool of-
fers a drilling dust nozzle in the accessories sys-
tem.
6
12
3
5
4
click
click
7
1
7-1 7-2
2

15
Working with the machine
On/Off switch
[1-4]
Press = ON, release = OFF
The speed of the machine depends on how far
the on/off switch is pressed in.
Belt clip
[1-6]
The belt clip (right/left) allows the user to attach
the machine briefly to work clothing.
Acoustic warning signal
Acoustic warning signals sound and the machine
switches off in the following operating states:
Change the battery
Reduce the machine load
Service and maintenance
Customer service and repair
only
through manufacturer or service
workshops: Please find the nearest
address at: www.festoolusa.com/ser-
vice
Use only original Festool spare parts!
Order No. at: www.festoolusa.com/
service
Note the following information:
– Keep the ventilation slits on the machine free and
clean to ensure adequate cooling.
– Keep the contacts on the machine, charger and
battery pack clean.
Information on battery packs
– Store in a cool, dry place at a temperature be-
tween 5 °C and 25 °C.
– Protect battery packs from moisture, water and
heat.
– Do not leave flat battery packs in a charger dis-
connected from the mains power supply for lon-
ger than one month. Danger of deep discharge!
– If you intend to store li-ion battery packs for lon-
ger periods without use, you should charge them
to 40 % capacity (approx. 15 min charging time).
Accessories
Use only original Festool accessories and Festool
consumable material intended for this machine be-
cause these components are designed specifically
for the machine. Using accessories and consumable
material from other suppliers will most likely affect
the quality of your working results and limit any war-
ranty claims. Machine wear or your own personal
workload may increase depending on the application.
Protect yourself and your machine, and preserve
your warranty claims by always using original Fes-
tool accessories and Festool consumable material!
The order numbers of the accessories and tools can
be found in the Festool catalogue or on the Internet
under "www.festoolusa.com".
Battery flat or machine overloaded:
peep
WARNING
Risk of injury, electric shock
Always disconnect the battery pack from the
machine before any maintenance or care work!
All maintenance and repair work which requires
the motor housing to be opened, must only be
carried out by an authorised service workshop.
EKAT
1
235
4

16
Systainer
Many Festool products are shipped in a unique sys-
tem container, called "Systainer". This provides
protection and storage for the tool and accessories.
The Systainers are stackable and can be inter-
locked together. They also can be interlocked atop
Festool CT dust extractors.
To open the Systainer
To lock the Systainer
To connect two Systainers
Place one Systainer on the top of the other (Fig.
[8A]
).
The Systainers are connected and locked.
A new generation Systainer is connectable on
top of a previous generation Systainer by the
four latches of the previous Systainer.
Turn the T-loc
[8-1]
to this position.
Turn the T-loc
[8-1]
to this position.
Turn the T-loc
[8-1]
to one of this posi-
tions (Fig.
[8B]
).
open
lock
connect
connect
T-loc
8-1
A
8
B

17
Environment
Do not dispose of the device in house-
hold waste!
Recycle devices, accesso-
ries and packaging. Observe applica-
ble national regulations.
EU only:
In accordance with European
Directive on waste electrical and electronic equip-
ment and implementation in national law, used
electric power tools must be collected separately
and handed in for environmentally friendly recy-
cling.
Battery Disposal
The RBRC
TM
Seal
The RBRC
TM
(Rechargeable
Battery Recycling Corpora-
tion) Seal on nickel cadmium
(NiCd), nickel metal hydride (NiMH) or lithium-ion
(LiIon) batteries (or battery packs) indicates Festool
is voluntarily participating in an industry program
to collect and recycle these batteries at the end of
their useful life, when taken out of service in the
United States or Canada. In some areas, it is illegal
to place spent batteries in the trash or municipal
solid waste stream and RBRC Program provides an
environmentally conscious alternative.
Please call 1-800-822-8837 for information on bat-
tery recycling and disposal bans/restrictions in
your area, or return your batteries to the Festool
Service Center for recycling. Help protect our envi-
ronment and conserve natural resources!
Transport
The lithium-ion batteries are subject to the require-
ments of the legislation on hazardous goods. A li-
ion battery pack alone falls below the applicable
limit value and certified as per UN manual ST/SG/
AC.10/11/rev. 3 part III, subsection 38.3. However,
dangerous goods regulations may apply when sev-
eral battery packs are transported For shipping by
third parties (e.g. air transport or freight forward-
ing company) special requirements with regard to
packaging and labelling must be observed.For the
preparation of the package an expert on hazardous
goods must be consulted. Please observe any fur-
ther national regulations.
Only return the battery pack if the housing is un-
damaged. Tape over the exposed contacts and wrap
the battery pack so that it cannot move inside the
packaging.
Warranty
Garantie 1 + 2
Festool offers a 3 year limited warranty, one of the
strongest in the industry. This warranty is valid on
the pre-condition that the tool is used and operated
in compliance with the Festool operating instruc-
tions. Festool warrants that the specified tool will
be free from defects in materials and workmanship
for a term of 3 years from the date of purchase.
Conditions of 1 + 2 warranty
All customers receive a free extended limited war-
ranty (1 year + 2 years = 3 Years) on new Festool
power tools purchased from an authorized retailer.
Festool is responsible for all shipping costs during
the first year of the warranty. During the second
and third year of the warranty the customer is re-
sponsible for shipping the tool to Festool. Festool
will pay for return shipping to the customer using
UPS Ground Service. All warranty service is valid 3
years from the date of purchase on your receipt or
invoice. Proof of purchase may be required.
Excluded from the coverage under this warranty
are:
normal wear and tear, damages caused by
misuse, abuse, or neglect; damage caused by any-
WARNING
Risk of fire or injury
Do not attempt to disassemble the battery or re-
move any component projecting from the battery
terminals.
Prior to disposal, protect exposed terminals with
heavy insulating tape to prevent shorting.

18
thing other than defects in material and workman-
ship. This warranty does not apply to accessory
items such as circular saw blades, drill bits, router
bits, jigsaw blades, sanding belts, and grinding
wheels. Operating a tool at a voltage or frequency
different from the tool's rating will void the warran-
ty. This includes the usage of the tool in combina-
tion with a transformer. Festool does not condone
nor support the use of any non-Festool engineered,
designed, and manufactured accessories or con-
sumables with Festool products. Use of any non-
Festool products may affect performance or void
the warranty. Festool is not responsible for any
damages or losses incurred and user assumes all
risk and responsibility with non-Festool derived
products. Also excluded are "wearing parts," such
as carbon brushes, lamellas of air tools, rubber
collars and seals, sanding discs and pads, and Fes-
tool gear (hats and shirts).
The obligations of Festool in its sole discretion un-
der this warranty shall be limited to repair or re-
placement or a refund of the purchase price for any
Festool portable power tool that is found to have a
defect in materials or workmanship during the
warranty period. FESTOOL SHALL NOT BE LIABLE
FOR ANY CONSEQUENTIAL, INCIDENTAL OR SPE-
CIAL DAMAGES REGARDLESS OF THE THEORY OF
LAW ON WHICH THE CLAIM IS BASED. ALL WAR-
RANTIES IMPLIED BY STATE LAW, INCLUDING THE
IMPLIED WARRANTIES OR MERCHANTABILITY
AND FITNESS FOR A PARTICULAR PURPOSE ARE
HEREBY LIMITED TO THE DURATION OF THREE
YEARS.
Some states in the U.S. and some Canadian prov-
inces do not allow the limitations on how long an
implied warranty lasts, so the above limitation may
not apply to you. This warranty gives you specific le-
gal rights, and you may also have other rights that
vary from state to state in the U.S. and from prov-
ince to province in Canada.
With the exception of any warranties implied by
state or province law as limited above, the forego-
ing express limited warranty is exclusive and in lieu
of all other warranties, guarantees, agreements,
and similar obligations of Festool. Festool makes
no other warranty, express or implied, for Festool
portable power tools. This warranty policy is only
valid for tools that are purchased in the US and
Canada. Warranty policies of other countries may
vary when obtaining warranty service outside the
US and Canada. Some countries do exclude war-
ranty for products bought outside their territory.
Festool reserves the right to reject the repair of any
tool that is not part of the US/Canada product line.
No agent, representative, distributor, dealer, or em-
ployee of Festool has the authority to increase or
otherwise change the obligations or limitations of
this warranty.

19
Sommaire
À propos de ce manuel
Conservez ces instructions
Il est important pour vous de lire et de comprendre ce manuel. Les informations qu'il contient, se rapporte
à la protection
de votre sécurité
et
de prévention des problèmes
. Les symboles suivants sont utilisés pour
vous aider à reconnaître cette information.
Symboles
À propos de ce manuel ........................ 19
Symboles.............................................. 19
Consignes de sécurité.......................... 20
Caractéristiques techniques................ 23
Description fonctionnelle..................... 24
Utilisation en conformité avec les ins-
tructions ............................................... 24
Mise en service .................................... 25
Réglages .............................................. 27
Porte-outil, embouts ........................... 27
Travail avec l'outil................................ 29
Entretien et maintenance.................... 29
Accessoires.......................................... 29
Environnement .................................... 30
Transport ............................................. 31
Garantie ............................................... 31
DANGER Description du risque immi-
nent et l'incapacité à éviter
tout risque qui peut entraîner
la mort.
AVERTIS-
SEMENT
Description des dangers pos-
sibles et des blessures qui en
résultent ou la mort.
ATTEN-
TION
Description des dangers et
des éventuelles blessures qui
en résultent.
AVIS Déclaration incluant le type de
danger et conséquences pos-
sibles.
CONSEIL Indique des informations, des
notes ou des conseils pour
améliorer votre succès en uti-
lisant l'outil.
VVolt
AAmpère
Hz Hertz
~
a.c.
Tension alternative
d.c.
courant continu
n
0
Vitesse de rotation à vide
Classe II conception
.../min
min
-1
tours ou course par minute
’’ pouce
lb. livre
Diamètre
Information, astuce
Avertissement de danger général
Risque d'électrocution
Lire les instructions / les remarques !
°C centigrade
°F degrés Fahrenheit
Nm Newton mètre

20
Consignes de sécurité
Consignes de sécurité d'ordre général
ATTENTION ! Lire toutes les consignes de
sécurité et indications.
Le non-respect des
avertissements et instructions indiqués ci-après
peut entraîner un choc électrique, un incendie et/
ou de graves blessures.
Conserver tous les avertissements et toutes les
instructions pour pouvoir s'y reporter ultérieure-
ment.
Le terme " outil " dans les avertissements fait refe-
rence à votre outil électrique alimenté par le sec-
teur (avec cordon d'alimentation) ou votre outil
fonctionnant sur batterie (sans cordon d'alimenta-
tion).
1 PLACE DE TRAVAIL
a.
Maintenez l'endroit de travail propre et bien
éclairé.
Un lieu de travail en désordre ou mal
éclairé augmente le risque d'accidents.
b.
N'utilisez pas l'appareil dans un environnement
présentant des risques d'explosion et où se
trouvent des liquides, des gaz ou poussières in-
flammables.
Les outils électroportatifs génèrent
des étincelles risquant d'enflammer les pous-
sières ou les vapeurs.
c.
Tenez les enfants et autres personnes éloignés
durant l'utilisation de l'outil électroportatif.
En
cas d'inattention vous risquez de perdre le
contrôle sur l'appareil.
2 SECURITE RELATIVE AU SYSTEME ELECTRIQUE
a.
La fiche de secteur de l'outil électroportatif doit
être appropriée à la prise de courant. Ne modi-
fiez en aucun cas la fiche. N'utilisez pas de
fiches d'adaptateur avec des appareils avec
mise à la terre.
Les fiches non modifiées et les
prises de courant appropriées réduisent le risque
de choc électrique.
b.
Evitez le contact physique avec des surfaces
mises à la terre tels que tuyaux, radiateurs,
fours et réfrigérateurs.
Il y a un risque élevé de
choc électrique au cas où votre corps serait relié
à la terre.
c.
N'exposez pas l'outil électroportatif à la pluie
ou à l'humidité.
La pénétration d'eau dans un ou-
til électroportatif augmente le risque d'un choc
électrique.
d.
N'utilisez pas le câble à d'autres fins que celles
prévues, n'utilisez pas le câble pour porter l'ap-
pareil ou pour l'accrocher ou encore pour le dé-
brancher de la prise de courant. Maintenez le
câble éloigné des sources de chaleur, des par-
ties grasses, des bords tranchants ou des par-
ties de l'appareil en rotation.
Un câble
endommagé ou torsadé augmente le risque d'un
choc électrique.
e.
Au cas où vous utiliseriez l'outil électroportatif
à l'extérieur, utilisez une rallonge autorisée ho-
mologuée pour les applications extérieures.
L'utilisation d'une rallonge électrique homo-
loguée pour les applications extérieures réduit le
risque d'un choc électrique.
f.
Si l'usage d'un outil dans un emplacement hu-
mide est inévitable, utiliser une alimentation
protégée par un dispositif à courant différentiel
résiduel (RCD).
L'usage d'un RCD réduit le
risque de choc électrique.
mm millimètre
Ah heure d’ampère
Wh wattheure
fusible à action retardée avec 4 Ampère
Jjoule
Portez des protège-oreilles!
Porter des gants de protection !
Porter des lunettes de protection !
Porter une protection respiratoire !
Insérer la batterie
Retirer la batterie
Vissage/perçage
Perçage avec percussion
RBRC Sceau - LiIon
Other manuals for BHC 18
3
Table of contents
Languages:
Other Festool Rotary Hammer manuals
Popular Rotary Hammer manuals by other brands

Worx Professional
Worx Professional WU388 operating instructions

Hilti
Hilti TE 6-CL Original operating instructions

BAUKER
BAUKER PDH26G2 instruction manual

Hilti
Hilti TE1 Original operating instructions

Bosch
Bosch GBH 2-20 D Professional Original instructions

Far Tools
Far Tools HY 1500 Original manual translation