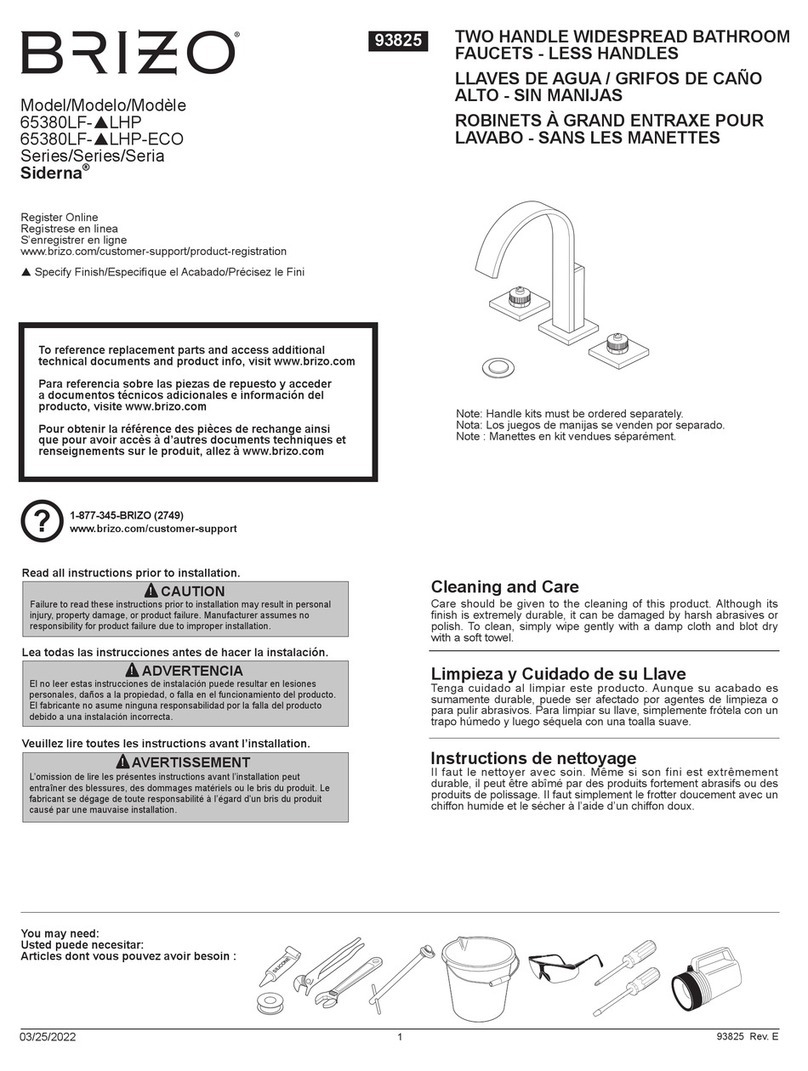
FHL SP4971 User manual

MEDICINE CABINET
User Manual
MODEL #SP4971
Keep this manual for future reference
Please carefully check the unit and make sure there is no damage when you open the carton.
QUESTIONS, PROBLEMS, OR MISSING PARTS?
Please Contact Customer Service Before Returning to Store
[email protected] (USA)
[email protected] (Canada)
+1-800-239-0689 (USA)
+1-844-455-4621 (Canada)

PACKAGE CONTENTS
PART DESCRIPTION QUANTITY
A Hinge (preassembled to Cabinet (C)) 2
B Side Mirror 2
C Cabinet 1
D Door (preassembled to Cabinet (C)) 1
E Shelf Glass 3
F Bottom Bracket 1
B
B
A
D
F
E
E
E
C
2

HARDWARE CONTENTS
K
Short Screw
Qty. 4
Shelf Clip
Qty. 12
Shelf Hole
Plug
Qty. 20
Snap Cap
Qty. 4
Washer
Qty. 4
Bumper
Qty. 2 Long Screw
Qty. 4
Side Mirror Bracket
Qty. 4
Wall Anchor
Qty. 4
Top Clip
Qty. 2
AA BB CC DD EE
FF GG HH II
JJ
3

SAFETY INFORMATION
WARNING
CAUTION
PREPARATION
MOUNTING OPTIONS
Please read and understand this entire manual before attempting to assemble or
install the product.
• Safety discard all packing material.
• Keep plastic bags and small parts away from children.
• Safety glasses should be worn at all times.
• Do not load this cabinet with more than 50 lbs.
• Do not load each shelf with more than 25 lbs.
Before beginning assembly of product, make sure all parts are present. Compare parts with
package contents list and hardware contents list. If any part is missing or damaged, do not
attempt to assemble the product.
Estimated Assembly Time: 30 minutes (with recommended two-person installation).
Tools Required for Assembly (not included): Measuring tape, Level, Phillips screwdriver, Stud
finder, Reciprocating saw and Wood shims.
This product can be installed in one of two mounting options: SURFACE MOUNT (continue to
page 5) or RECESS MOUNT (skip to page 7).
STUD WALL: Secure bottom bracket (F) and top clip (II) to wall using
long screws (GG) and a washer (not included) at marked stud locations.
DRYWALL: Drill holes at marked locations and secure the bottom
bracket (F) and top clip (II) to wall using long screws (GG) with toggle
bolts or drywall anchors (not included).
CONCRETE WALL: Drill 5/16-inch holes at marked locations, then
insert wall anchors (HH) into holes. Secure the bottom bracket (F) and
top clip (II) to wall using long screws (GG). bolts or drywall anchors (not
included).
•
•
The included plastic wall anchors are intended for use with solid wall
applications only (tile or concrete).
For recess mount, do not install side mirrors and brackets.
4

SURFACE-MOUNT INSTALLATION INSTRUCTIONS
Hardware Used
1. Using bottom bracket (F) as a guide, mark screw
locations with a pencil (not included) a minimum of 3
inches above your existing faucet/vanity. Use long screws
(GG) and hardware best suited for wall type to secure
the bottom bracket (F) to the wall. Refer to MOUNTING
OPTIONS on page 4.
Long Screw x 2
GG
1
F
GG
GG
1
F
GG
GG
2. Carefully position the cabinet (C) onto the bottom
bracket (F) and hold in place.
2
F
C
F
C
Side View
GG
Hardware Used
3. With the assistance of another person, install the
top clips (II) by inserting the rounded ends into the
rear top slot of cabinet (C). Slide one top clip (II) to the
left and one to the right, then use long screws (GG)
and hardware best suited for wall type to secure the
top clips (II). Refer to MOUNTING OPTIONS on page 4.
3
Top Clip
Long Screw
x 2
x 2
II
GG
II
C
5

SURFACE-MOUNT INSTALLATION INSTRUCTIONS
Hardware Used
4. Attach side mirror brackets (JJ) to cabinet (C)
where shown (on both sides) with short screws (AA)
and washers (EE), then snap caps (DD) to cover the
screw heads.
Short Screw
Snap Cap
Washer
Side Mirror Bracket
x 4
x 4
x 4
x 4
AA
DD
EE
JJ
5
B
C
JJ
4
JJ
EE
AA
DD
C
5. Remove the paper from the preassembled adhesive
tape on each side mirror bracket (JJ), then carefully
attach side mirrors (B) to each side of cabinet (C).
Proceed to ASSEMBLY INSTRUCTIONS on page 8 to
complete assembly.
6

RECESS-MOUNT INSTALLATION INSTRUCTIONS
1. Determine desired location for cabinet (C), making
sure to place it where the door can swing freely without
obstruction and where no electrical or plumbling
obstacles would be behind the wall. Note: The height
of the cabinet (C) should be a minimum of 3 in. above
the faucet/vanity.
Using a reciprocating saw (not included), cut away a
rough opening of 14-2/5 in. x 25-1/2 in. x 3-7/8 in. into
the drywall.
2. Mark the opening size of the framing. Once the
drywall is cut, remove any framing in the rough
opening for the item, then frame the cutout opening as
illustrated.
3. Insert cabinet (C) into rough opening and make
sure it is level and plumb; use wood shims (not
included) as required. Then, secure both sides of
cabinet (C) to the studs from the inside using long
screws (GG) and washers (EE). Cover screw heads
with snap caps (DD).
Proceed to ASSEMBLY INSTRUCTIONS on page 8 to
complete assembly.
CAUTION: This installation type is NOT applicable for
solid-wall applications.
DD
GG
EE
1
2
3
14-2/5 in.
25-1/2 in.
Hardware Used
Long Screw x 4
GG
Snap Cap
Washer
x 4
x 4
DD
EE
7

ASSEMBLY INSTRUCTIONS
1. Install the glass shelves (E) to the desired positions
with shelf clips (BB), making sure they are level.
2. Use the shelf hole plugs (CC) to seal the empty
holes.
3. Stick the bumpers (FF) at the two corners of the
door (D) opposite the door hinges (A).
Note: These steps are applicable to both surface-mount installations and recess-mount installations.
CC
FF
1
2
3
E
BB
Hardware Used
Hardware Used
Shelf Clip x 12
BB
Shelf Hole Plug x 20
CC
Hardware Used
Bumper x 2
FF
8

CARE AND MAINTENANCE
TROUBLESHOOTING
WARRANTY
• Use a household liquid glass cleaner to keep the mirror and glass surfaces clean.
• Do not use abrasive cleaners containing ammonia.
This item is warranted to be free of defects in material and workmanship for one year from date of
installation. This warranty is offered only to the original consumer purchaser and may not be transferred.
This warranty gives you specific legal rights, and you may also have other rights that vary from state to
state. This warranty does not cover defects or damage caused by normal wear and tear, alterations,
environmental conditions, humidity absorption, or mold. This warranty is considered void if the product fails
from accident, misuse, or modified, improper installation or by affixing accessories not produced by the
manufacturer. Some states do not allow the exclusion or limitation of incidental or consequential damages,
so the above limitation or exclusion may not apply to you. If you would like to make a warranty claim, please
contact customer service. All warranty claims must include the model number of the product, copy of the
original receipt and the nature of the problem. THE MANUFACTURER DISCLAIMS ANY IMPLIED
WARRANTY INCLUDING, WITHOUT LIMITATION, ANY IMPLIED WARRANTY OF MERCHANTABILITY,
AND THERE ARE NO WARRANTIES THAT EXTEND BEYOND THE DESCRIPTIONS ON THE FACE
HEREOF. TO THE EXTENT THAT SUCH DISCLAIMER IS NOT VALID UNDER APPLICABLE LAW, ANY
IMPLIED WARRANTY SHALL BE COEXTENSIVE IN DURATION WITH THIS WARRANTY.
PROBLEM POSSIBLE CAUSE CORRECTIVE ACTION
The doors are not
aligned.
The hinges are
misaligned.
To adjust the doors right or left, loosen/tighten the
screw as in (a). To adjust the doors in or out, loosen/
tighten the screw as in (b). To adjust the doors up or
down, loosen/tighten the screws as in (c).
c
b
a
9
IF WARRANTY SERVICE IS NEEDED
Please Contact Customer Service
Make sure you have the following information ready:
• Warranty
• Sales Receipt
• Product Model/Serial Number
• Date of Purchase
• Location of Purchase
[email protected] (USA)
[email protected] (Canada)
+1-800-239-0689 (USA)
+1-844-455-4621 (Canada)
Table of contents
Popular Bathroom Fixture manuals by other brands
Kohler
Kohler K-1122P-H Roughing-In Guide

WimTec
WimTec SanRec SMART Installation and operating instructions

Hans Grohe
Hans Grohe Raindance Select E 120 26520 Series Assembly instructions
Steamist
Steamist ChromaSense Installation and operating instructions

KEUCO
KEUCO FLEXX.BOXX 59970 000070 Mounting instruction
KUDOS
KUDOS original6 installation instructions
Franke
Franke SANW200 Installation and operating instructions
Hans Grohe
Hans Grohe Axor One 45711000 Instructions for use/assembly instructions
abi
abi SAMIRA 11946 quick start guide

Kohler
Kohler K-5724 Installation and user guide

BETTE
BETTE B637 Installation instruction
JAMES MARTIN VANITIES
JAMES MARTIN VANITIES 388-V48-CFO-A Assembly instructions

