P/N 780103500 02/19 Rev B
Technical Service and Support:
1.770.239.2130
WARRANTY
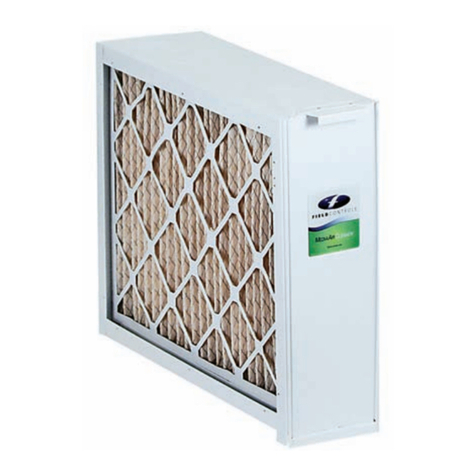
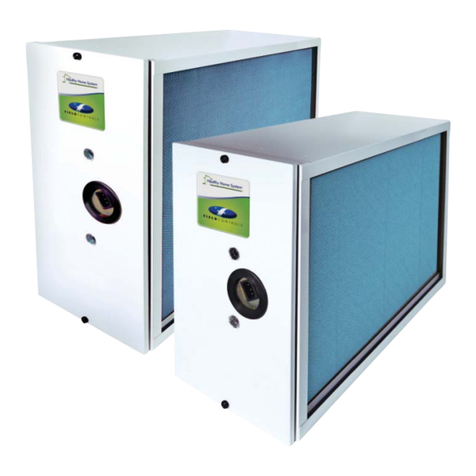
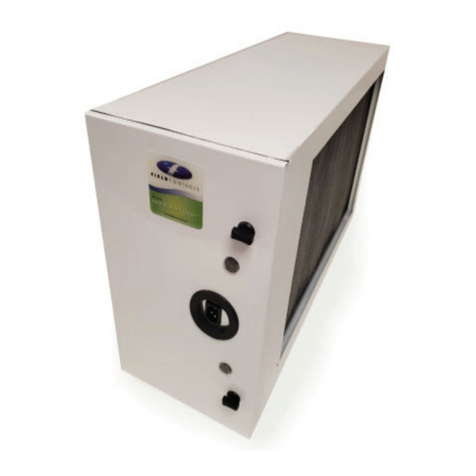
Captura warrants that the MEDIA AIR CLEANER shall be free from defects in material and workmanship under
normal use for 10 years from date of purchase.
In the event of a warranty claim, we suggest attaching the original purchase receipt to this installation manual
for your records. Thank you again for purchasing MEDIA AIR CLEANER.
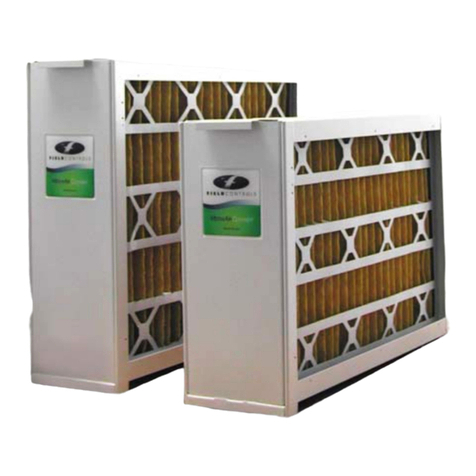
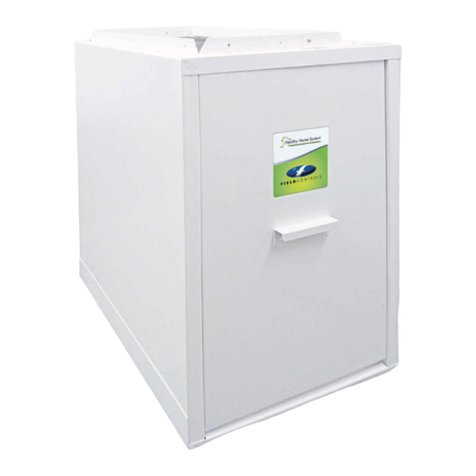
Model MC2025-11 MC1625-11 MC2020-11 MC1620-11 MC2520-11
Part Number 602612025 602611625 602612020 602611620 602612520
Filter Size 20x25x4 16X25X4 20x20x4 16X20X4 25X20X4
Air Flow CFM 600-2000 600-1400 600-2000 600-1400 600-1400
Merv 11 11 11 11 11
Repl Media CapFlex-4 CapFlex-4 CapFlex-3 CapFlex-3 CapFlex-4
Repl Media P/N 602601904 602601904 602601903 602601903 602601904
Model A B C D E
602612025 7-1/2” 25-13/32” 21” 23-3/32” 18-7/16”
602611625 7-1/2” 25-13/32” 17” 23-3/32” 14-7/16”
602612020 7-1/2” 20-1/8” 21” 17-27-32” 18-7/16”
602611620 7-1/2” 20-1/8” 17” 17-27/32” 14-7/16”
602612520 7-1/2” 21-1/4” 25-7/8” 18-15/16” 23-5/16”
6. Drill the marked mounting holes with a 1/8” diameter drill bit. Remove the marked filter opening with
6. Drill the marked mounting holes with a 1/8” diameter drill bit. Remove the marked filter opening with
metal cutting shears or equivalent.
metal cutting shears or equivalent.
7. Attach filter cabinet to the appliance or duct work using #8 X ½” long sheet metal screws or pop
7. Attach filter cabinet to the appliance or duct work using #8 X ½” long sheet metal screws or pop
rivets. Seal the housing and/or duct connections with aluminum duct tape or equivalent.
rivets. Seal the housing and/or duct connections with aluminum duct tape or equivalent.
8. Remove media filter from plastic bag and discard the plastic bag. TIP: Write the installation date on
8. Remove media filter from plastic bag and discard the plastic bag. TIP: Write the installation date on
filter next to directional arrow for future filter replacement reference. The media filter MUST be
filter next to directional arrow for future filter replacement reference. The media filter MUST be
installed
WITHOUT
the plastic bag.
9. Install media filter into the filter cabinet. Insure the air flow direction arrow points downstream, in the
9. Install media filter into the filter cabinet. Insure the air flow direction arrow points downstream, in the
direction of the appliance.
direction of the appliance.
10. To install door, place lower door lip into lower edge of filter housing at 30° outward angle. Push
10. To install door, place lower door lip into lower edge of filter housing at 30° outward angle. Push
downward on door handle and rotate to align door with filter housing. When door handle is
downward on door handle and rotate to align door with filter housing. When door handle is
released, door should raise up to latch with upper filter housing flange.
released, door should raise up to latch with upper filter housing flange.
11. Place appliance back into service. Appliance must operate within the appliance manufacturer’s
11. Place appliance back into service. Appliance must operate within the appliance manufacturer’s
recommended temperature and pressure drop requirements.
recommended temperature and pressure drop requirements.
