5
Table of contents
1. General information
1.1 .......................................................................................................Fields of use 5
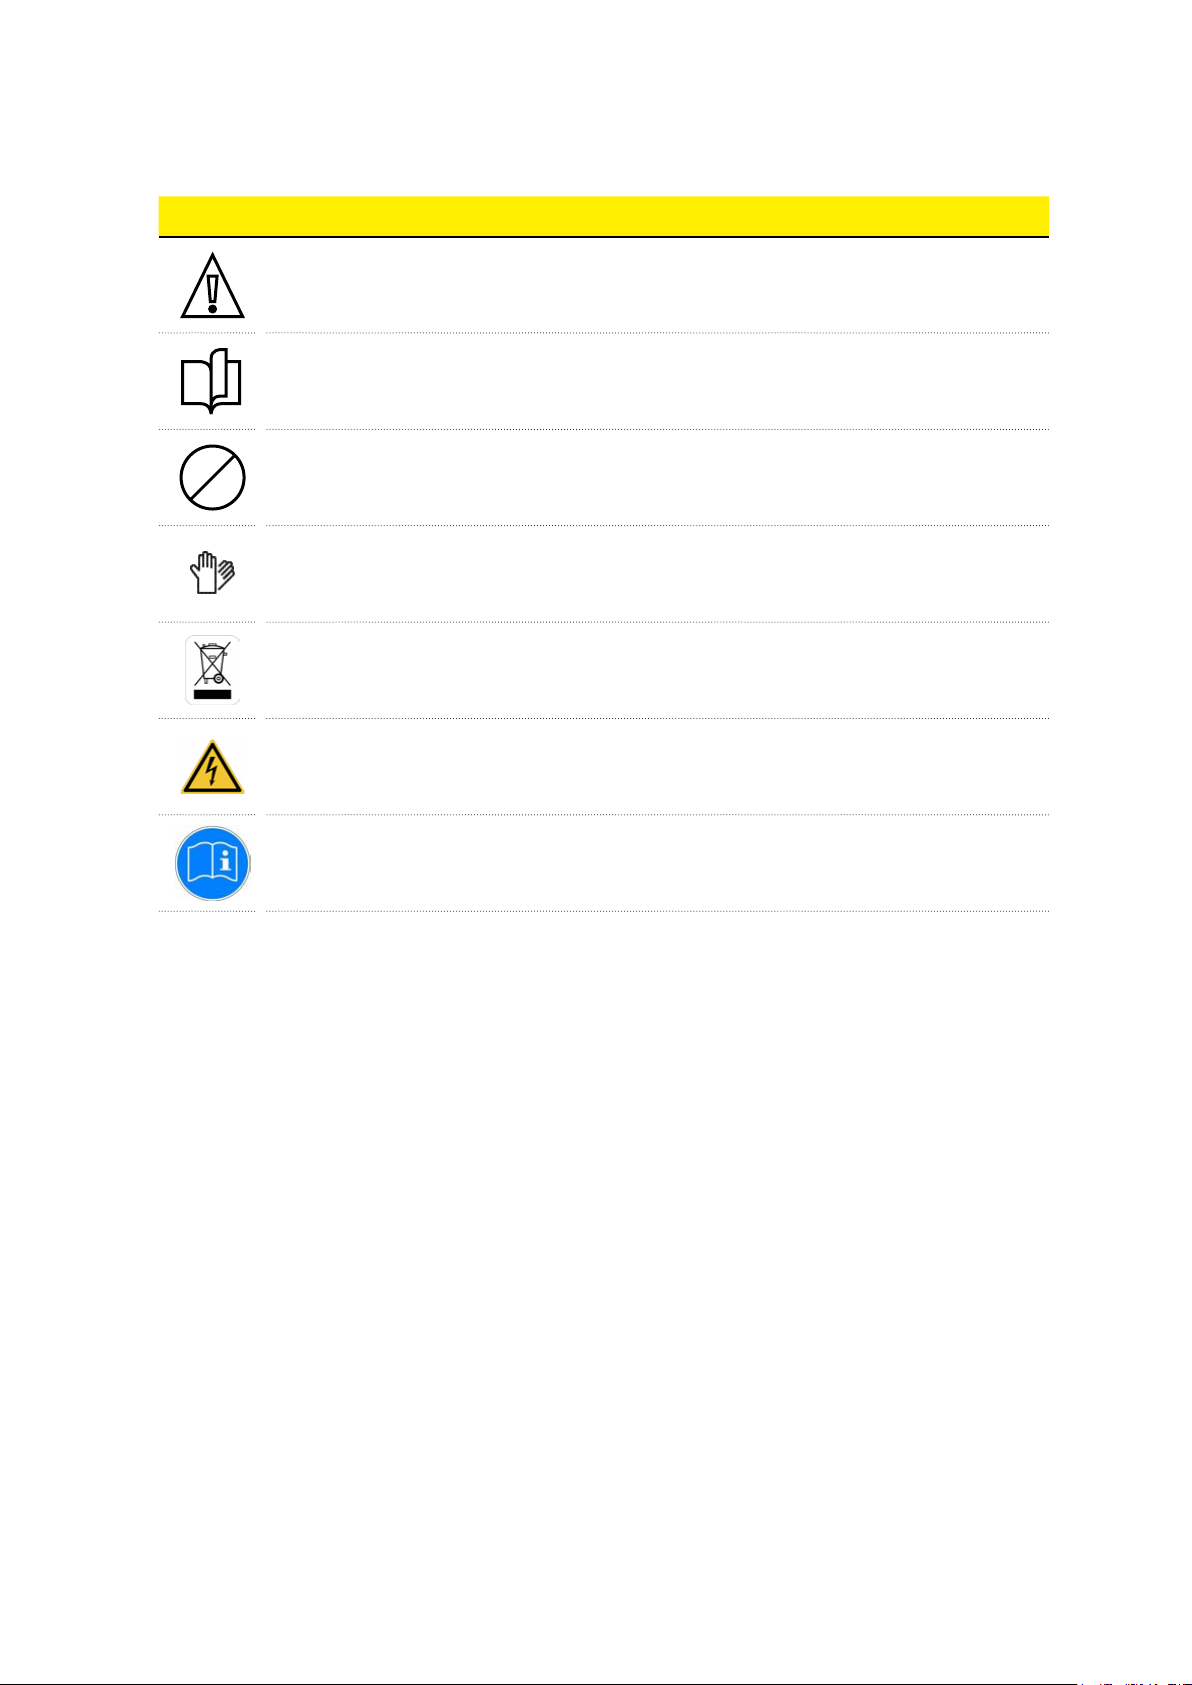
1.2...................................................................................Symbols and definitions 6
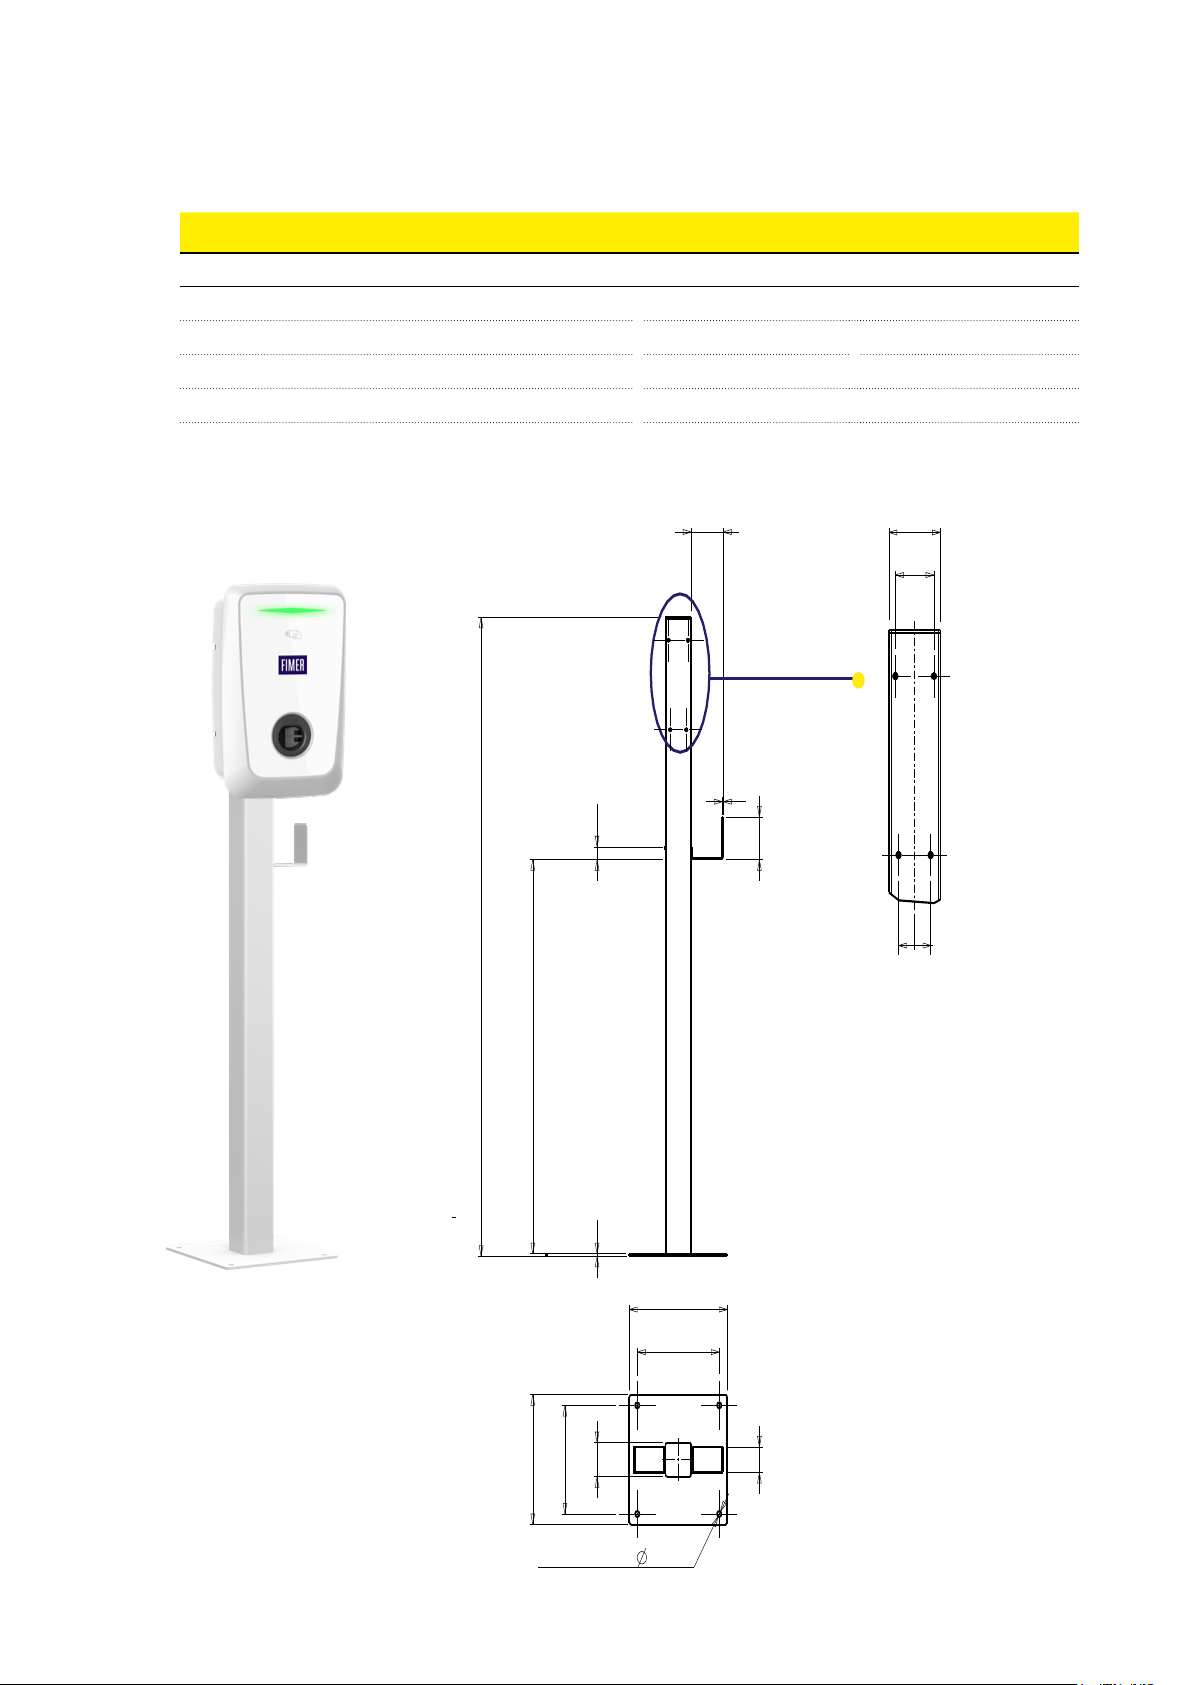
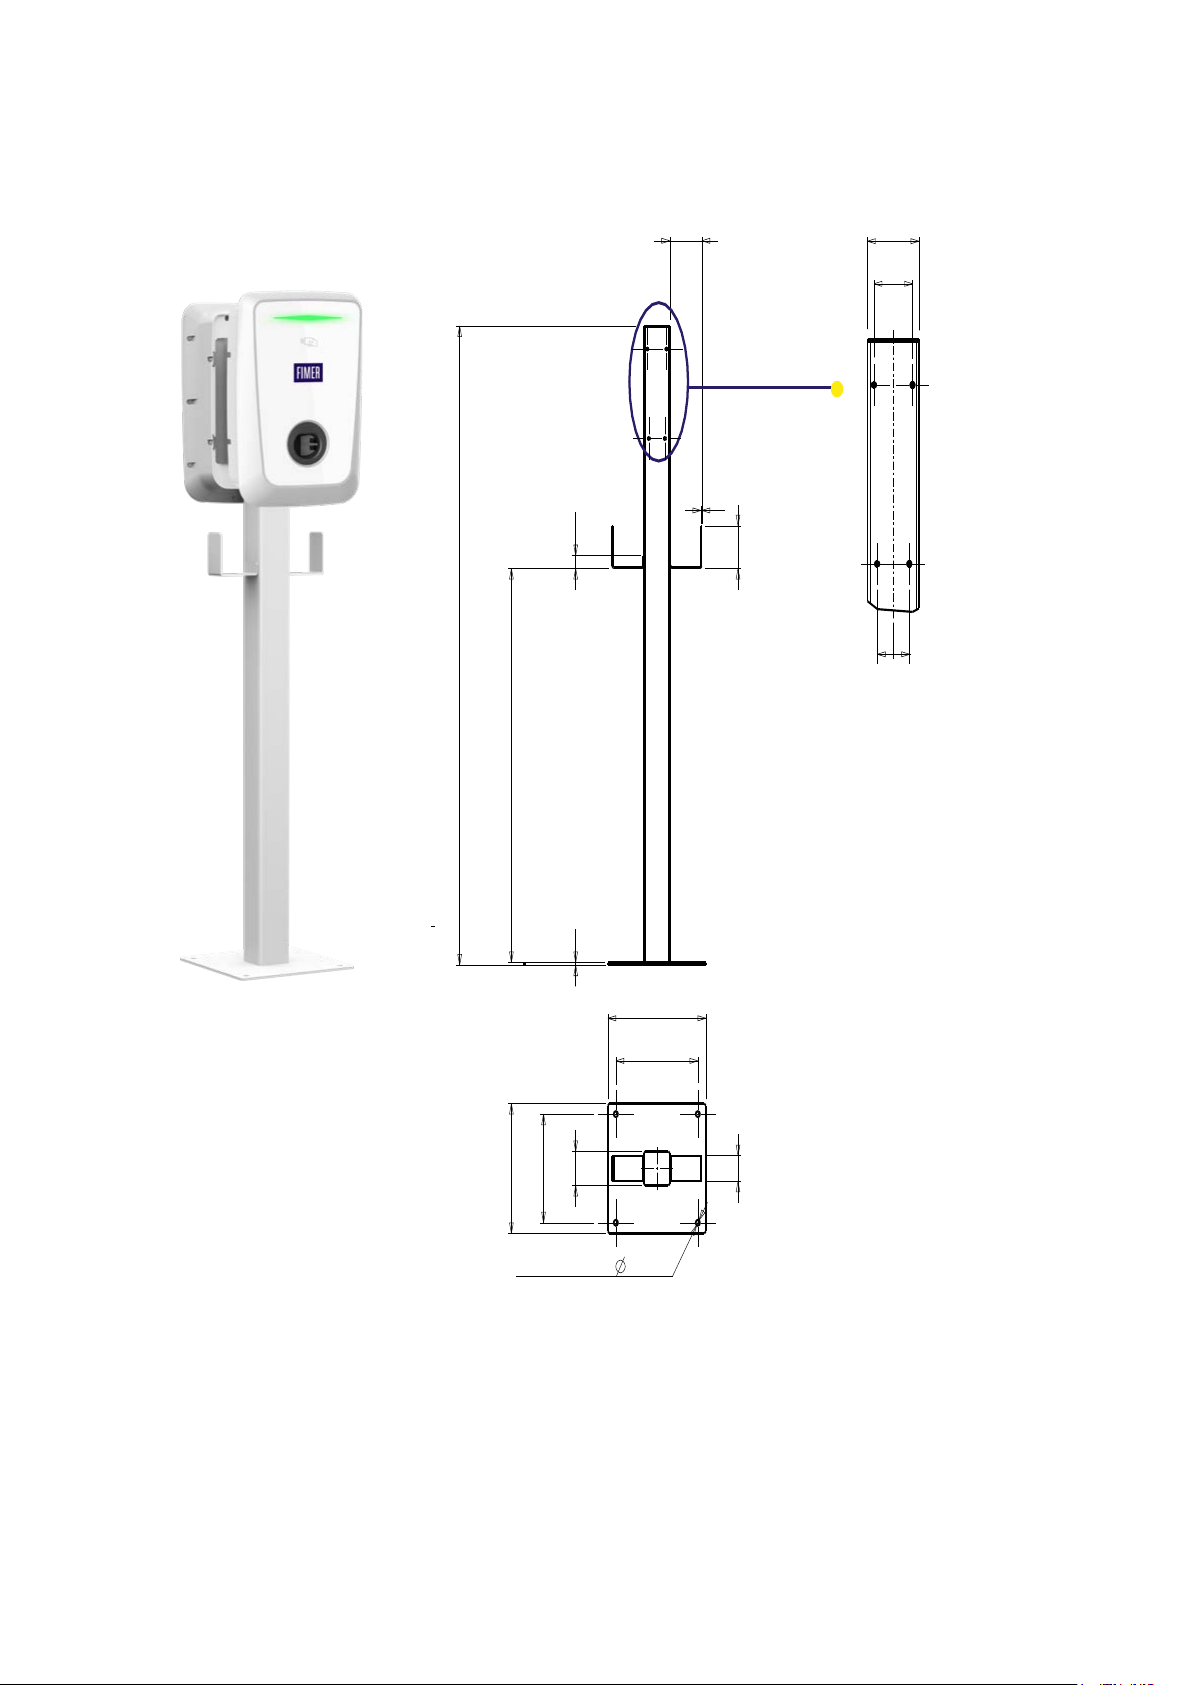
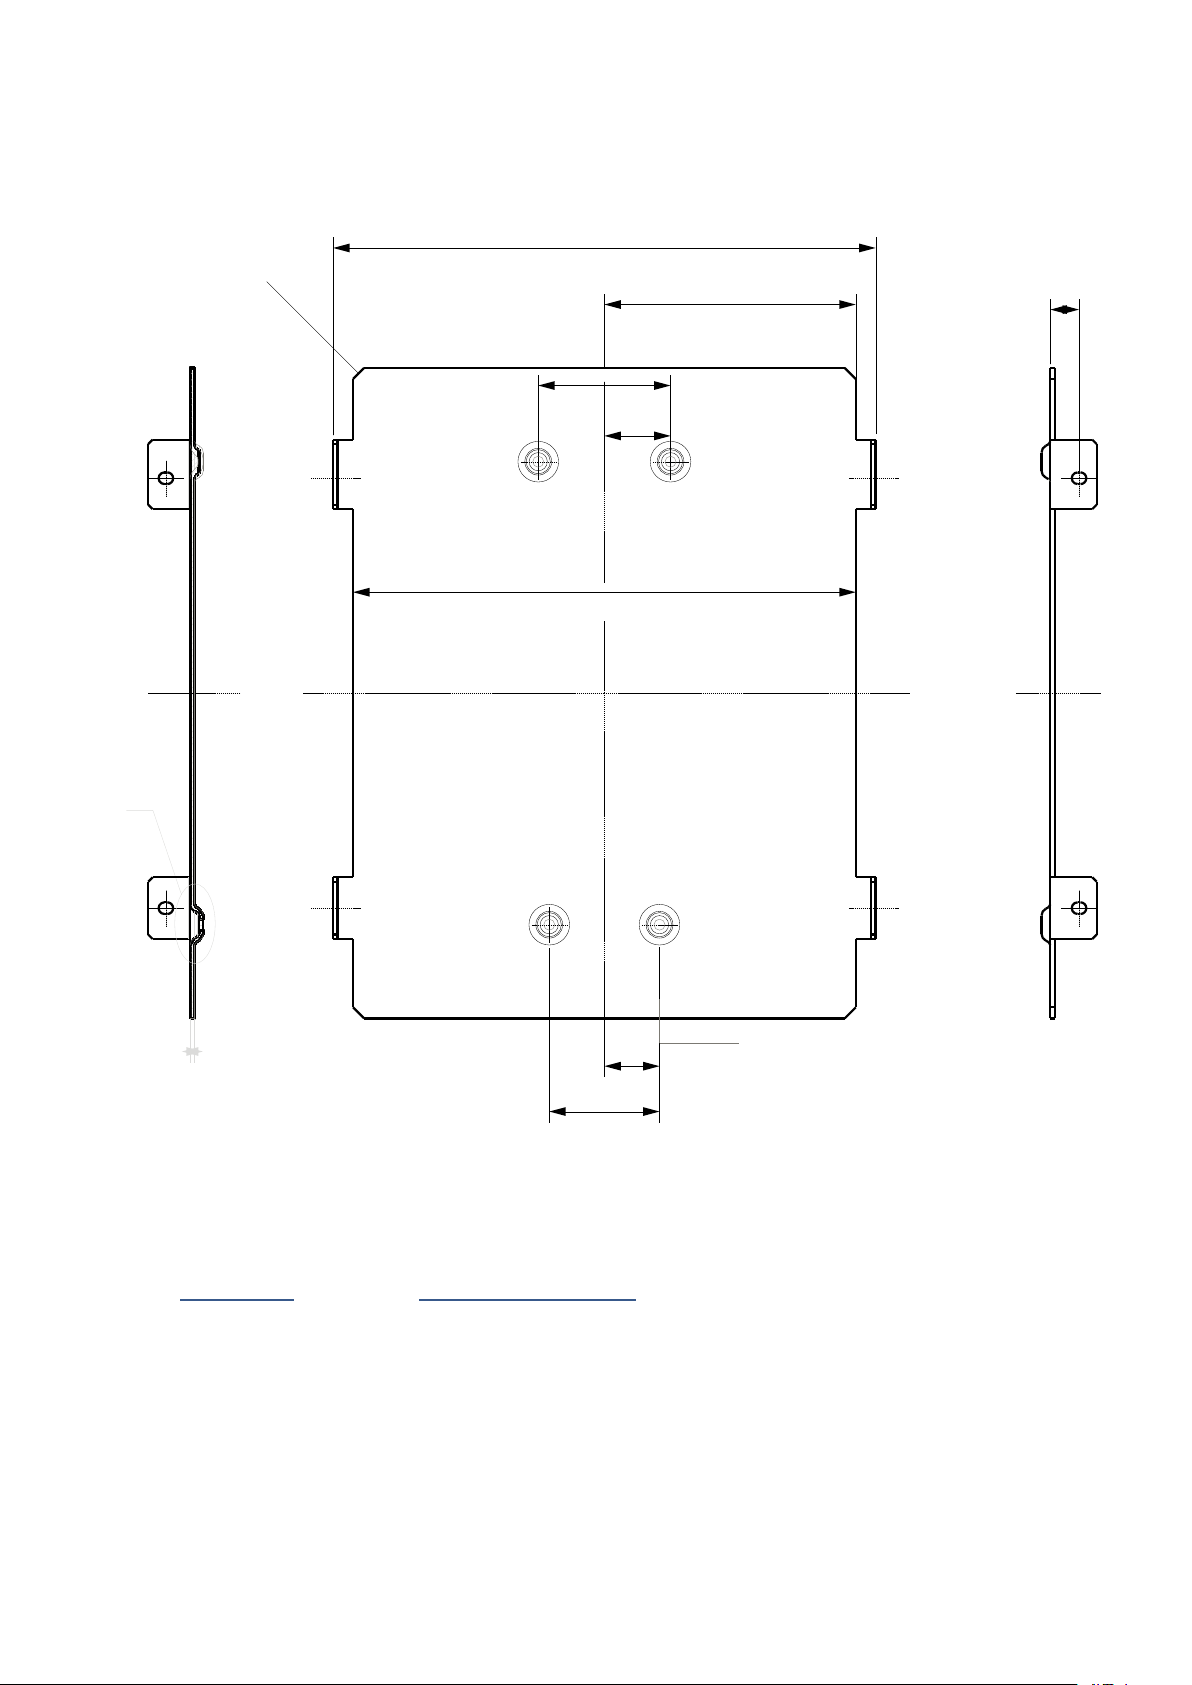
1.3....................................................................Product dimensions and features 7
1.4...............................................................................................................Support 9
2. Safety and equipment
2.1 .................................................................................................Safety warnings 10
2.2 .........................................................................................................Proper use 10
2.3............................................................................................... Product handling 10
3. Installation
3.1 ..................................................................................Preparing for installation 11
3.2....................................................................................................Tools required 11
3.3.............................................................................................. Package contents 11
3.4...................................................................................... Space and positioning 11
3.5.......................................................................................................... Unpacking 12
4. Installation
5. FLEXA AC Wallbox assembly
6. Maintenance
1. General information
FIMER FLEXA Stand-Basic, thanks to its compact design and its flexibility, is a support suitable for
the different versions of FIMER FLEXA AC Wallbox and for all positioning needs, both outdoor and
indoor installations. It is available for single and double charging modes.
Both configurations of FIMER FLEXA Stand-Basic are equipped with “L” support, designed to offer
a practical stand for the charging cable.
WARNING –BPrepare and size the entire installation site in compliance with the local and
international standards in force according to the product’s characteristics.
WARNING –BThis document describes how to install, configure, and maintain the product.
A description of the features of the equipment is provided to identify its major components and
specify the technical terminology used in the manual.
READ THE MANUAL –EThis chapter contains information on models, details on equipment,
features and technical data, overall dimensions and identification of the equipment.
1.1 Fields of use
FIMER shall not be liable for damage of any kind resulting from incorrect or careless operations.
The equipment may not be used for any purpose other than that intended in the field of use. The
equipment must not be installed by inexperienced personnel, or even by expert personnel if opera-
tions are carried out on the equipment that do not comply with this manual and the accompanying
documentation.
FORBIDDEN –HThe product has been designed as a support for all versions of FIMER FLEXA
AC Wallbox products.
ATTENTION –AIn case of installation in TN-type earthing systems, there may be additional
specific local regulations regarding system safety and protection against faults that the
installer must understand and implement.
It is strictly prohibited to:
FORBIDDEN –HInstall the equipment in environments subject to particular flammability
conditions or in adverse or unpermitted environmental conditions.
FORBIDDEN –HUse the equipment or parts of the equipment for the installations of products
different to FIMER FLEXA AC Wallbox.
FORBIDDEN –HClean the product with corrosive products that could damage parts of the
equipment or generate electrostatic charges.
FORBIDDEN –HUse or install the equipment or any associated parts thereof without having
read and properly understood the contents of the operation and maintenance manual.
1
1