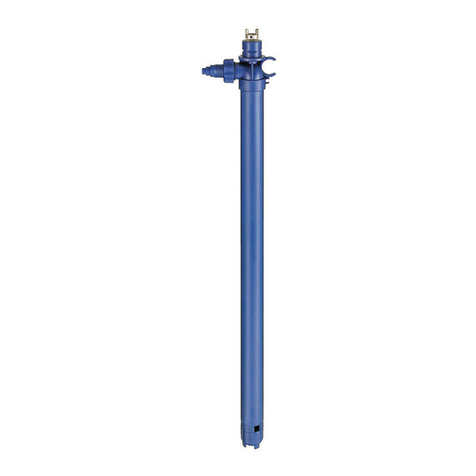
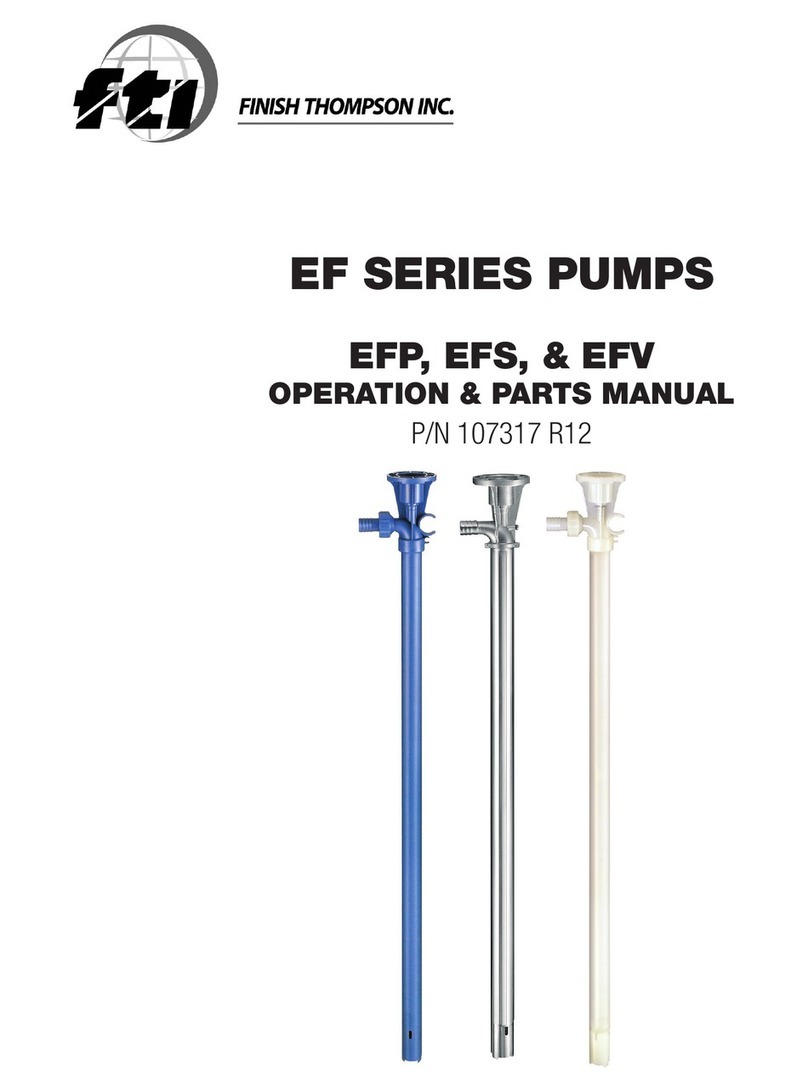
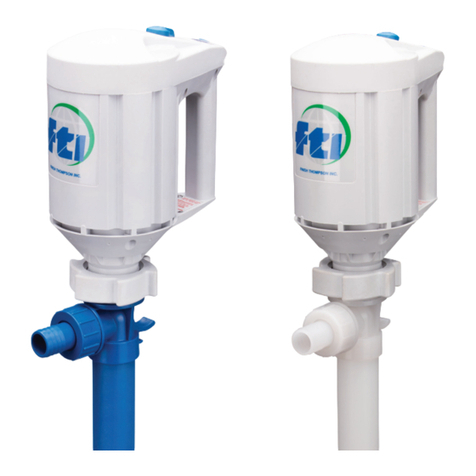
Finish Thompson EF Series Installation instructions

EF Series Disassembly and Reassembly Instructions
Disassembly
1. Prior to disassembly - remove the motor and discharge tubing.
2. Diffuser Removal - For EFP & EFV Models – When looking at the bottom of the
pump, loosen the diffuser (item 17) by turning it clockwise (left-hand thread) 2-3 turns
or until it touches the impeller (item 18). See figure 1.
3. Impeller Removal - Using a flat-head screwdriver, unthread the impeller (item 18)
by turning it counter clockwise (right-hand thread). Hold the coupling insert and
coupling (items 1 & 2) in one hand, and unthread with the other. Note: If the shaft
unthreads from the coupling, use a pliers to hold the top of the shaft. Care should be
taken to not damage the shaft threads. For longer 40” and 48” pump lengths, two
people may be required to hold the shaft and unthread the impeller. See figure 2.
Figure 1
4. Unthread the impeller roughly 10 turns or until loose.
5. Now finish unthreading the diffuser. If the impeller is loose, it will come off with the diffuser.
6. To remove the impeller from the diffuser, shake it until it engages the impeller guard inside the diffuser, and turn it
counter clockwise with a flat head screwdriver or your fingers.
7. Diffuser Removal - For EFS Models - Unthread the diffuser cover (item 19). Turn it clockwise (left-hand thread).
Unthread the impeller (item 18) turning it counter clockwise (right hand thread) using a flat-head screwdriver or hand
while holding the coupling insert and coupling (items 1 & 2) with the other hand. Note: If the shaft unthreads from the
coupling, use a pliers to hold the top of the shaft. Care should be taken to not damage the shaft threads. For longer
40” and 48” pump lengths, two people may be required to hold the shaft and unthread the impeller. Unthread the dif-
fuser (item 17) turning it clockwise (left-hand thread).
8. Shaft Removal - for all models - To remove the shaft (item 4), tap the bottom of the shaft on a piece of wood or plas-
tic and push the shaft up and out of the head (item 6). Grab the half coupling or bearing and pull the shaft assembly
straight out of the head. Note: Take care to not bend the shaft. Important - The shaft should only be removed if the
bearing is frozen and needs to be replaced.
9. Outer Tube Removal - For EFP & EFV Models - Remove the outer tube (item 16). Hold the head (item 6) in one hand
and with the other hand, turn the outer tube clockwise (left-hand thread). When completely unthreaded, pull the outer
tube away from the head exposing the inner tube and center support (items 13 & 14).
Figure 2

10. Inner Tube & Center Support Removal - To remove the inner tube and center sup-
port, turn the inner tube to unseat the o-rings (item 12) and then pull the inner tube
away from the head.
11. Shaft Sleeve Removal - The shaft sleeve (item 15) will drop out of the inner tube by
holding it in a vertical position and turning.
12. Center Support Removal - 40” and 48” lengths only - If the center support (item 14)
needs to be replaced, it can be removed by spreading open the fingers and disengag-
ing it from the inner tube. See figure 3.
13. Inner Tube & Shaft Sleeve Removal - The outer tube and head for EFS models are
welded together. To remove the inner tube and shaft sleeve (items 13 & 15), hold
the outer tube and head assembly in a vertical position, and the shaft sleeve will fall
out. To remove the inner tube, “pretend” to hit the bottom of the pump on the floor
but stop before it actually hits. This motion will allow the weight of the inner tube to
release the o-rings, and it will drop out of the bottom of the pump. It is recommended
to do this over a soft surface to prevent damaging the inner tube as it drops out of
the pump.
14. Seal Removal - To remove the seal (item 5) from the head (item 6 or item 16 for
EFS), use a hook tool, available at most hardware stores, to pull the seal out from the
top of the head. Take care not to damage the seal seat area. See figure 4. Note: The
seal should be replaced if worn or the bearing is failing or frozen.
Figure 3
Figure 4
Reassembly
1. Seal Installation for EFP & EFV models - Take the head (item 6), and for EFS models take the outer tube with head
(item 16), and install a new seal (item 5). Insert the open part of the seal into the lower bore of the head. See figure 5.
Use a 3/8” (9.5 mm) dowel to press and seat the seal into place. Seal sits slightly below the surface. See figure 6.
Figure 6
Figure 5
2. Reinstall the half coupling, bearing and shaft (items 2, 3 & 4) as an assembly into the head. If the bearing needs to be
replaced it is recommended to purchase a new shaft, bearing and half coupling assembly because the EF Series
shaft can be damaged when removing or installing the bearing. Use the chart below to select the shaft assembly that
is required.

4. Inner Tube, Center Support & Shaft Sleeve Installation - for all models - Reinstall the inner tube, center support (if
used) and shaft sleeve (items 13, 14 & 15). Slide the shaft sleeve onto the shaft. The shaft sleeve is self-positioning
so slide it up as far as it will go on the shaft. Reinstall the inner tube with center support (if used) over the shaft and
shaft sleeve. The double o-ring side seats up into the head with a slight twisting motion. Make sure the inner tube
is seated properly. The bottom of the inner tube will be flush with the bottom of the outer tube when properly seated.
5. Outer Tube Installation - for EFP & EFV models - Install the outer tube
(item 16). Make sure the center support (if used) is installed correctly on
the inner tube. The center support has a slight taper that allows the outer
tube to slide easily over it.
See figure 8. Slide the outer tube with external threads over the shaft, shaft
sleeve, inner tube and center support (if used) up into the head (item 6).
Turn the outer tube counter clockwise (left hand thread) to tighten it into the
head. Hand tighten.
3. Shaft Installation - Slide the shaft down through the seal until the bearing
engages the bearing bore in the head. Use any size dowel under 1”(25.4 mm) in
diameter and press the half coupling, bearing and shaft into place using an arbor
press or by lightly tapping with a soft mallet. Note: Do not use excessive force.
Unthread the half coupling counter clockwise (right hand thread) to verify that the
bearing is seated properly. See figure 7. Reinstall the half coupling.
QUANTITY SHAFT REPLACEMENT KITS PART NUMBER
DESCRIPTION MODELS EFP & EFS MODEL EFV
1 SHAFT - 16” - bearing & half coupling 107589-1 107590-1
1 SHAFT - 27” - bearing & half coupling 107589-2 107590-2
1 SHAFT - 40” - bearing & half coupling 107589-3 107590-3
1 SHAFT - 48” - bearing & half coupling 107589-4 107590-4
Figure 7
Figure 8
6. Diffuser Installation - for all models - Install the diffuser (item 17) onto the
bottom of the outer tube. Insert the shaft through the small support opening
on the diffuser. See figure 9. The small support opening will insert up inside
the inner tube (item 13). With a slight push and turn, thread the diffuser into
the outer tube (item 16) turning counter clockwise (left hand thread). EFP
and EFV models - only tighten the diffuser halfway or 3-4 turns. See figure
10. Insert the impeller (item 18) into the bottom of the diffuser. With a slight
push and turn the impeller should twist through the impeller guards and en-
gage the shaft threads. Use a flathead screwdriver to tighten the impeller to
the shaft turning clockwise (right hand thread). Hold the half coupling (item
2) in one hand while turning the impeller with the other. Hand tighten. Once
the impeller is tightened, finish tightening the diffuser turning counter clockwise (left hand thread). Hand tighten.
Figure 9

Figure 10 Figure 11
7. For EFS Models - Thread the diffuser (item 17) completely onto the bottom of the outer tube (item 16). Thread the
impeller onto the shaft by hand. While holding the half coupling with the other hand, turn the impeller clockwise
(right hand thread). See figure 12. Install the diffuser cover (item 19), EFS models only, onto the diffuser turning
counter clockwise (left hand thread). Hand Tighten.
Figure 12

EXPLODED VIEW
EFP & EFV

EXPLODED VIEW
EFS

PUMP SPARE PARTS LIST
ITEM QTY DESCRIPTION PART NUMBER
MODEL EFP MODEL EFV MODEL EFS
*1 1 COUPLING INSERT J103422 J103422 J103422
2 1 COUPLING HALF 107300 107300 107300
3 1 BEARING SEE NOTE BELOW.
*2,3,4 1 COUPLING HALF, BEARING & SHAFT - 316 SS - 16” 107589-1 107590-1 107589-1
*2,3,4 1 COUPLING HALF, BEARING & SHAFT - 316 SS - 27” 107589-2 107590-2 107589-2
*2,3,4 1 COUPLING HALF, BEARING & SHAFT - 316 SS - 40” 107589-3 107590-3 107589-3
*2,3,4 1 COUPLING HALF, BEARING & SHAFT - 316 SS - 48” 107589-4 107590-4 107589-4
*5 1 SEAL - FKM 107297 107297 107297
6 1 HEAD - PP 107071-1 N/A N/A
6 1 HEAD - PVDF N/A 107071-2 N/A
7 4 FLAT WASHER - SS J103601 J103601 N/A
8 4 HI-LOW SCREW - SS J101020 J101020 J101020
*9 1 SPOUT O-RING - FKM 106155 106155 N/A
10 1 SPOUT - PP 107072-1 N/A N/A
10 1 SPOUT - PVDF N/A 107072-2 N/A
11 1 NUT - PP 107069-1 N/A N/A
11 1 NUT - PVDF N/A 107069-2 N/A
*12 2 INNER TUBE O-RING -FKM 107299 107299 107299
13 1 INNER TUBE - PURE PP or 316SS - 16” 107294-1 107294-1 107578-1
13 1 INNER TUBE - PURE PP or 316SS - 27” 107294-2 107294-2 107578-2
13 1 INNER TUBE - PURE PP or 316SS - 40” 107294-3 107294-3 107578-3
13 1 INNER TUBE - PURE PP or 316SS - 48” 107294-4 107294-4 107578-4
*14 1 CENTER SUPPORT - Tefzel® (ETFE) - 40” & 48” LENGTHS ONLY 107068 107068 N/A
*15 1 SHAFT SLEEVE - PTFE - 16” 107293-1 107293-1 107293-1
*15 1 SHAFT SLEEVE - PTFE - 27” 107293-2 107293-2 107293-2
*15 1 SHAFT SLEEVE - PTFE - 40” 107293-3 107293-3 107293-3
*15 1 SHAFT SLEEVE - PTFE - 48” 107293-4 107293-4 107293-4
16 1 OUTER TUBE - EFP - 16” 107295-1 N/A N/A
16 1 OUTER TUBE - EFV - 16” N/A 107295-2 N/A
16 1 OUTER TUBE w / HEAD - EFS - 16” N/A N/A 107580-1
16 1 OUTER TUBE - EFP - 27” 107295-3 N/A N/A
16 1 OUTER TUBE - EFV - 27” N/A 107295-4 N/A
16 1 OUTER TUBE w / HEAD - EFS - 27” N/A N/A 107580-2
16 1 OUTER TUBE - EFP - 40” 107295-5 N/A N/A
16 1 OUTER TUBE - EFV - 40” N/A 107295-6 N/A
16 1 OUTER TUBE w / HEAD - EFS - 40” N/A N/A 107580-3
16 1 OUTER TUBE - EFP - 48” 107295-7 N/A N/A
16 1 OUTER TUBE - EFV - 48” N/A 107295-8 N/A
16 1 OUTER TUBE w / HEAD - EFS - 48” N/A N/A 107580-4
*17 1 DIFFUSER - PP 107070-1 N/A N/A
*17 1 DIFFUSER - PVDF N/A 107070-2 N/A
*17 1 DIFFUSER - 316SS N/A N/A 107583
*18 1 IMPELLER - PP 107067-1 N/A N/A
*18 1 IMPELLER - TEFZEL® (ETFE) N/A 107067-2 107067-2
19 1 DIFFUSER COVER - 316SS N/A N/A 107584
20 1 DIFFUSER BUSHING - PTFE N/A N/A 107585
*21 1 DIFFUSER O-RING - FKM N/A N/A 107586
22 1 GROUNDING SCREW - BRASS N/A N/A J100822
23 1 GROUNDING SCREW LOCKWASHER - BRASS N/A N/A J100823
* Recommended Spare Parts N/A = Not Applicable
Note: Items 3 and 4, Bearing and Shaft, are only available as kits.
Tech Service - 1-888-3843
Email - techservice@nishthompson.com
P/N 107671
Literature ID No. FT10-1124, R2
Other manuals for EF Series
1
This manual suits for next models
3
Table of contents
Other Finish Thompson Water Pump manuals

Finish Thompson
Finish Thompson VKC5.5 Series User manual

Finish Thompson
Finish Thompson DB11 series User manual

Finish Thompson
Finish Thompson GP11 Series User manual

Finish Thompson
Finish Thompson TBP Series Application guide

Finish Thompson
Finish Thompson AC6 User manual

Finish Thompson
Finish Thompson EF Series Application guide

Finish Thompson
Finish Thompson KC11 Series Installation and operating instructions

Finish Thompson
Finish Thompson HVDP Series User manual

Finish Thompson
Finish Thompson PF SERIES User manual

Finish Thompson
Finish Thompson VKC22 Series User manual