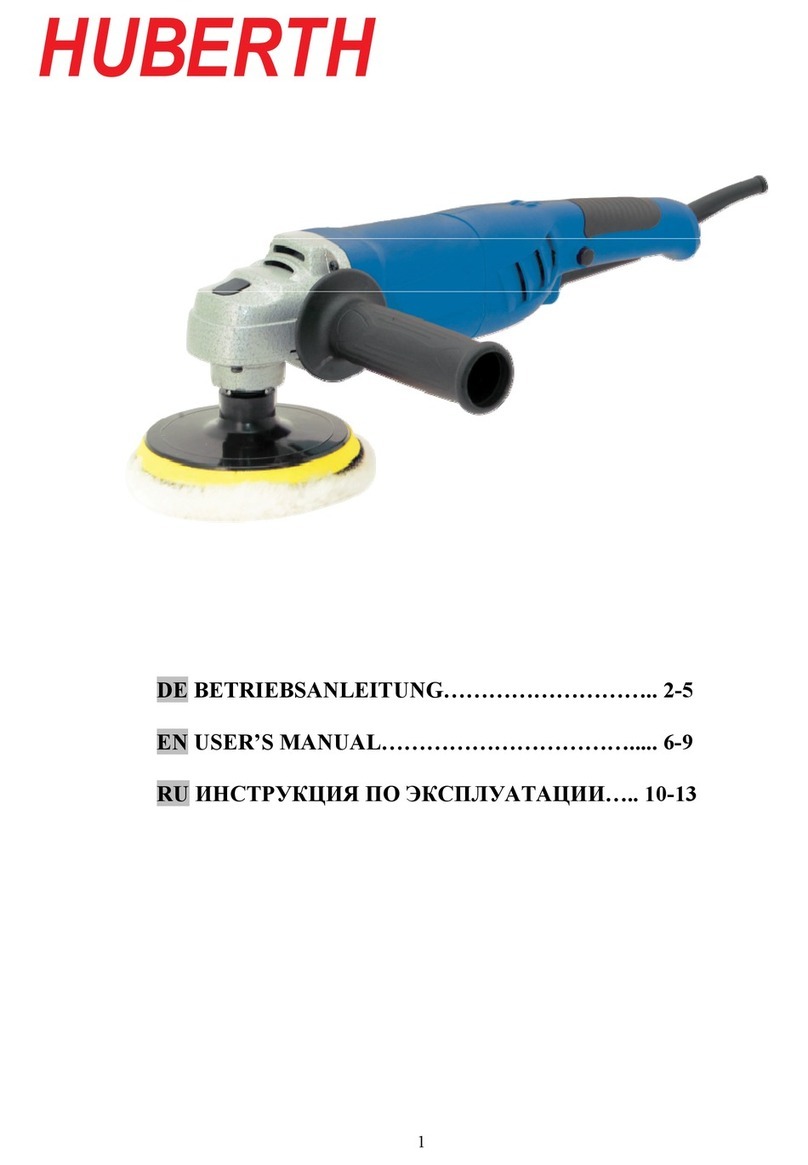
Finixa POL 55 Quick start guide

Chemicar Europe NV - Baarbeek 2 - 2070 Zwijndrecht - België/Belgium
1
The values shown are based on a nominal voltage of 230V/50Hz. In the case of
voltages and frequencies of different power, values may vary. Refer to the label
technical specications to the nominal values of the tool.
GENERAL WARNINGS
The safety and accident prevention instructions are reported in the “SAFETY INSTRUCTION” booklet
which forms an integral part of these documents. This OPERATING INSTRUCTIONS MANUAL indicates
the additional information required specically for use of the tool.
CORRECT USAGE
This tool is designed to be used as a polisher. Read all the warnings, instructions, indications provided
on drawings and specications supplied with this tool. Failure to comply with all the instructions provided
below may cause electrical shocks, re and/or serious injuries. This tool is not intended to be used for
smoothing, metal brushing and cutting operations. The use of this tool for unintended applications may
cause hazards and injuries to people.
The tool must be used with accessories that have been specically designed or recommended by the
manufacturer. The xing of the accessory to the tool does not guarantee a safe operation. The rated speed
of the accessories must be at least equivalent to the maximum speed specied on the tool. Using the
accessories at speeds above the rated maximum, may cause them to break or be projected into the air.
The external diameter and thickness of the accessories must match the specications of the tool.
Accessories with incorrect dimensions cannot be adequately protected or controlled. The conguration of
accessories must match the tool. The use of accessories that cannot be perfectly tted on the tool may
result in imbalance, excessive vibrations and in the impossibility of controlling the tool.
Do not use damaged accessories. Before use, inspect all the accessories. Inspect the supporting pads and
verify there are no cracks, tears or excessive wear. If the tool or accessory has been dropped, verify that
it is not damaged or install a new accessory. After inspecting or installing an accessory, test the operation
of the tool at maximum speed and without load for one minute, keeping at a safety distance. If the
accessories are damaged, they will break during this test.
SAFETY WARNING APPLICABLE TO
POLISHING OPERATIONS
Verify that no loosened part of the polishing tool shroud or the locking ties can rotate freely. Safely
position or cut all the loosened xing wires. Loosened or revolving xing wires may twist around the
operator’s ngers or get caught by the work piece being machined.
POL 55
SAFETY & OPERATING
INSTRUCTION MANUAL
Electric polishing machine
220V-900W 700-2500RPM
Chemicar Europe NV - Baarbeek 2 - 2070 Zwijndrecht - België/Belgium

Chemicar Europe NV - Baarbeek 2 - 2070 Zwijndrecht - België/Belgium
2
1- Identication plate
2- ON/OFF switch
3- Electrical speed control
4- Backing plate xing screw
5- Backing Plate Allen wrench
6- Auxiliary handle (not supplied)
7- Handle
8- Bufng pad (not supplied)
9- Handle xing screws
10- Velcro faced backing plate
11- Motor ventilation slots
12- Auxiliary protection (optional)
13- Switch locking button
11 3
2
13
1
7
10
8
4
4
5
5
5
9
6
1 2 3 4

Chemicar Europe NV - Baarbeek 2 - 2070 Zwijndrecht - België/Belgium
3
Part.no Description QTY
1 Polishing pad 1
2 Axis cover 1
3 Axis 1
4 Half round key 2
5 Screw 4
6 Washer 4
7 Washer 4
8 Front cover 1
9 Bearing 1
10 Retaining ring 1
11 Gap 1
12 Big Gear 1
13 Gasket 1
14 Retaining ring 1
Part.no Description QTY
15 bearing 2
16 Side handle 1
17 Screw 2
18 Head case 1
19 Screw 4
20 Head cover 1
21 Gasket 1
22 O Ring 1
23 Nut 1
24 Gear 1
25 Bearing 1
26 Axis 1
27 Gear 1
28 Gasket 1
Part.no Description QTY
29 Middle cover 1
30 O Ring 1
31 Bearing 1
32 Armature 1
33 Windshield 1
34 Screw 2
35 Stator 1
36 Bearing 1
37 Magnetic ring 1
38 Bearing sleeve 1
39 Housing 1
40 Up Handle 1
41 Carbon brush 2
42 Carbon brush holder 2
Part.no Description QTY
43 Inductance 2
44 Screw 4
45 Spring 2
46 Speed governor 1
47 Cable sleeve 1
48 Cable 1
49 Capacitance 1
50 Switch 1
51 Plate 1
52 Screw 2
53 Switch 1
54 Screw 4
55 Under handle 1
56 Wrench 1

Chemicar Europe NV - Baarbeek 2 - 2070 Zwijndrecht - België/Belgium
4
STARTING UP
Before starting-up the tool ensure that
• The packaging is complete and does not show signs of having been damaged during storage or
transport;
• The tool is complete; check that the number and type of components comply with that reported in
this instruction booklet;
• The power supply and socket outlet can support the load reported in the table and that indicated
on the tool identication plate reproduced.
ASSEMBLING THE TOOL
• Position the handle (7) on the gearbox such that the holes foe mounting the screws(9) are aligned
with those on the gearbox.
MOUNTING THE BACKING PLATE
• Pace the backing plate (10) with the screw (4) in the centre (g.1);
• Slightly turn the backing plate (10) until it is xed to the screw as in g 2;
• Tighten the screw using the supplied Allen wrench (5) (g.4).
• Do not tighten the backing plate screw if it is in the wrong position;
• To remove, follow the same procedure in reverse order; assemble the buffer pad on the Velcro
surface of the pad.
ASSEMBLING THE BUFFING PAD
• Press the bufng pad to attach it to the disc pad.
BEFORE STARTING THE TOOL
Ensure that:
• The power supply conforms with the characteristics of the tool;
• The power supply cable and plug are in perfect condition;
• The ON/OFF switch works properly though with the power supply disconnected;
• All the parts of the tool have been assembled in the proper manner and that there are no signs of
damage;
• The ventilation slots are not obstructed.
STARTING AND STOPPING
• Starting: push the lever of the switch (2) towards the body of the tool; if the tool is to be locked
in the ON position, press button (13) at the same time and keep it pressed while releasing lever
(2), thus locking the switch.
• Stopping: release the lever of the switch or, if locked in position. Push the lever to release the
lock button.
TEST RUN
Start the tool and check that there are no unusual vibrations, or no mismatching of the bufng pad.
Otherwise switch-off the tool immediately and eliminate the fault.
ELECTRONIC RPM REGULATION
The rpm can be adjusted by rotating the wheel (3). The choice of speed depends on the characteristics of
the buffers and the material to be worked.
REPLACING THE BUFFING PAD
Pull the used pad off and apply the new one, pressing it onto the disc pad.
MAINTENANCE
All maintenance operations are carried out with the power supply disconnected.
At the end of each work session, or when required, remove any dust from the body of the tool using a
jet of compressed air, paying particular attention to the motor ventilations slots. No other maintenance
operations must be undertaken by the user.
Maintenance and cleaning of the inner parts, like brushes, ball bearings, gears etc. or others, must be
carried out only by an authorised customer service workshop.

Chemicar Europe NV - Baarbeek 2 - 2070 Zwijndrecht - België/Belgium
5
TOOL IDENTIFICATION PLATE
POSITION AND MAENING OF INFORMATION
1. Type of tool.
2. Nominal working voltage in volts(V).
3. Working frequency in hertz(HZ).
4. Absorbed current in Amperes (A). Ensure that the power supply to which the tool is connected
can easily tolerate the indicated current as a minimum.
5. Absorbed power expressed in Watts(W).
6. Tool code or serial number.
7. Technical data of the tool.
8. Maximum rpm
9. The double square indicates that the tool is doubly insulated and therefore does not require
earthing through the power supply cable.
10. Read all these instructions before operating this product and save these instructions.
11. Personal safety devices.
GENERAL SAFETY INSTRUCTIONS
NON-OBSERVANCE OF THE SAFEY RULES CAN LEAD TO ELECTRIC SHOCK, FIRE AND/OR INJURIES.
SAVE THESE INSTRUCTIONS
WARNING! When using electric or pneumatic tools, basic safety precautions including the following,
should always be followed to reduce the risk of the re, electric shock and personal inquiry.
WORK AND SAFETY
• Keep work area clean and well lit. Cluttered or dark areas invite accidents.
• Do not operate power tools in explosive atmospheres , such as in the presence of ammable
liquids, gases or dust. Power tools create sparks which may ignite the dust or fumes.
• Keep children and bystanders away while operating a power tool. Distractions can cause you to
lose control.
ELECTRICAL SAFETY
• Power tool plugs must match the outlet. Never modify the plug in any way. Do not use any adapter
plugs with earthed (grounded) power tools. Unmodied plugs and matching outlets will reduce risk
of electrical shock.
• Avoid body contract with earthed or grounded surfaces, such as pipes, radiators, ranges and
refrigerators. There is an increased risk of electrical shock if your body is earthed or grounded.
• Do not expose power tools to rain or wet conditions Water entering a power tool will increase the
risk of electrical shock.
• Do not abuse the cord. Never use the cord for carrying, pulling or unplugging the power tool. Keep
cord away from heat , oil, sharp edges or moving parts. Damaged or entangled cords increase the
risk of electrical shock.
• When operating a power tools outdoors, use an extension cord suitable for outdoor use. Use of a
cord suitable for outdoor use reduces the risk of electrical shock.
• If operating a power tool in a damp location unavoidable, use a residual current device (RCD)
protected supply. Use of an RCD reduces the risk of electrical shock.
PERSONAL SAFETY
Stay alert, watch what you are doing and use common sense when operating a tool. Do not use a tool
while you are tired or under the inuences of drugs, alcohol or medication. A moment of inattention, while
operation tools may result in serious personal injury.
• Use personal protective equipment. Always wear eye protection. Protective equipment. Such as a
mask, non-skid safety shoes, hard hat, or hearing protection used for appropriate conditions will
reduce personal injuries.
• Prevent unintentional starting. Ensure the switch is in the off position before connecting to power
source and/or battery pack, picking up or carrying the tool. Carrying tools with nger on the switch
or emerging power tools that have the switch on invites accidents.
• Remove any adjusting key or wrench before turning the tool on. A wrench or a key left attached to
a rotating part of the tool may result in personal injury.
• Do not overreach. Keep proper footing and balance at all times. This enable better control of the
tool in unexpected situation.
• Dress properly. Do not wear loose clothing or jewellery . Keep your hair, clothing and gloves away
from moving parts. Loose clothes, jewellery or long hair can be caught in moving parts.
• If devices are provided for the connection of dust extraction and collection facilities, ensure these
are connected and properly used. Use of dust can reduce dust-related hazards.

Chemicar Europe NV - Baarbeek 2 - 2070 Zwijndrecht - België/Belgium
6
TOOL USE AND CARE
• Do not force the power tool. Use the correct tool for your application. The correct power tool will do
the job better and safer at the rate for which it was designed.
• Do not use the tool if the switch does not turn it on or off. Any power tool that cannot be controlled
with the switch is dangerous and must be repaired.
• Disconnect from the power source and/or the battery pack from the power tool before making any
adjusting, changing accessories, or storing power tools. Such preventive safety measures reduce
the risk of starting the power tool accidentally.
• Store idle tools out of the reach of children and do not allow persons unfamiliar with the tool or
these instructions to operate the power tool. Tools are dangerous in the hands of untrained users.
• Maintain tools. Check for misalignment binding of moving parts, breakage of parts and any other
conditions that may affect the tool’s operation. If damaged, have the power tool repaired before
use. Many accidents are caused by poorly maintained tools.
• Keep cutting tools sharp and clean. Properly maintained cutting tools with sharp cutting edges are
less likely to bind and are easier to control.
• Use the tool, accessories and tool bits etc. In accordance with these instructions, taking into
account the working conditions and the work to be performed. Use of the tool for operations
different from those intended could result in a hazardous situation.
SERVICE
• Have your tool serviced by a qualied repair person using only identical replacement parts. This will
ensure that the safety of the power tool is maintained.
ADDITIONAL SAFETY INSTRUCTIONS FOR ALL OPERATIONS.
• Maintain a rm grip on the tool and position your body and arm to allow you to resist torque forces.
• Always use auxiliary handle, if provided, for maximum control over torque reaction during start-up.
The operator can control torque reactions, if proper precautions taken.
• Never place your hand near the rotating accessory.
• Use special care when working corners, sharp edges etc. Avoid bouncing and snagging the
accessory. Corners, sharp edges or bouncing have a tendency to snag the rotating accessory and
cause loss of control.

Chemicar Europe NV - Baarbeek 2 - 2070 Zwijndrecht - België/Belgium
7
WARRANTY
When purchasing a new machine Chemicar Europe provides a 1-year manufacturer warranty, beginning on
the day of the sale of the machine to the end user. The warranty covers only damages that can be traced
back to material and/or manufacturing faults as well as the non-compliance of promised features. In case
of assertion of claims from this warranty the original sales receipt that shows the purchase date has to be
submitted. The customer is responsible for the delivery of the tool to Chemicar Europe and any expenses
associated with delivery. Warranty repairs may be made only by shops or service stations authorised by
Chemicar Europe. An assertion of claims exists only when used appropriately. Excluded from this warranty
are in particular regular operational wear, improper use, partially or completely disassembled power tools,
as well as damage due to overload of the machine, the use of non-permitted, defective, or improperly
applied tools and accessories. Damages caused by the machine on the application tool or work piece,
use of force, consequential damages, that can be traced to improper or insufcient maintenance by the
customer or third parties, damaging due to external inuence such as sand or stones as well as damages
due to non observance of the instructions such as connection to wrong voltages or type of electricity.
Other manuals for POL 55
1
Table of contents
Other Finixa Sander manuals
Popular Sander manuals by other brands

Black & Decker
Black & Decker QS800 instruction manual

Rikon Power Tools
Rikon Power Tools 51200 owner's manual

ITC
ITC 5" Variable Speed Random Orbit Sander Operator's manual

Ryobi
Ryobi R18 Original instructions

Villager
Villager VDS 1220 Original instruction manual

Craftsman
Craftsman 315.268190 Repair sheet

