9
Once the Strobe and Pad is wirelessly interlinked
to the detectors, all products can be installed. We
recommend you install smoke, heat and CO alarms
before installing the Strobe and Pad.
Network Reset
We recommend you carry out a network reset once
the Strobe is located in its final location. Make sure
the Strobe is unplugged from the mains and remove
the battery, unclipping it from the Strobe. Wait 10
seconds, and then replace the battery, connect the
wires and plug the strobe back into the mains.
The Strobe should beep twice once connected to the
battery, and when connected to the mains should
show the green (power) LED. Test the network by
pressing the test button on the front of the Strobe.
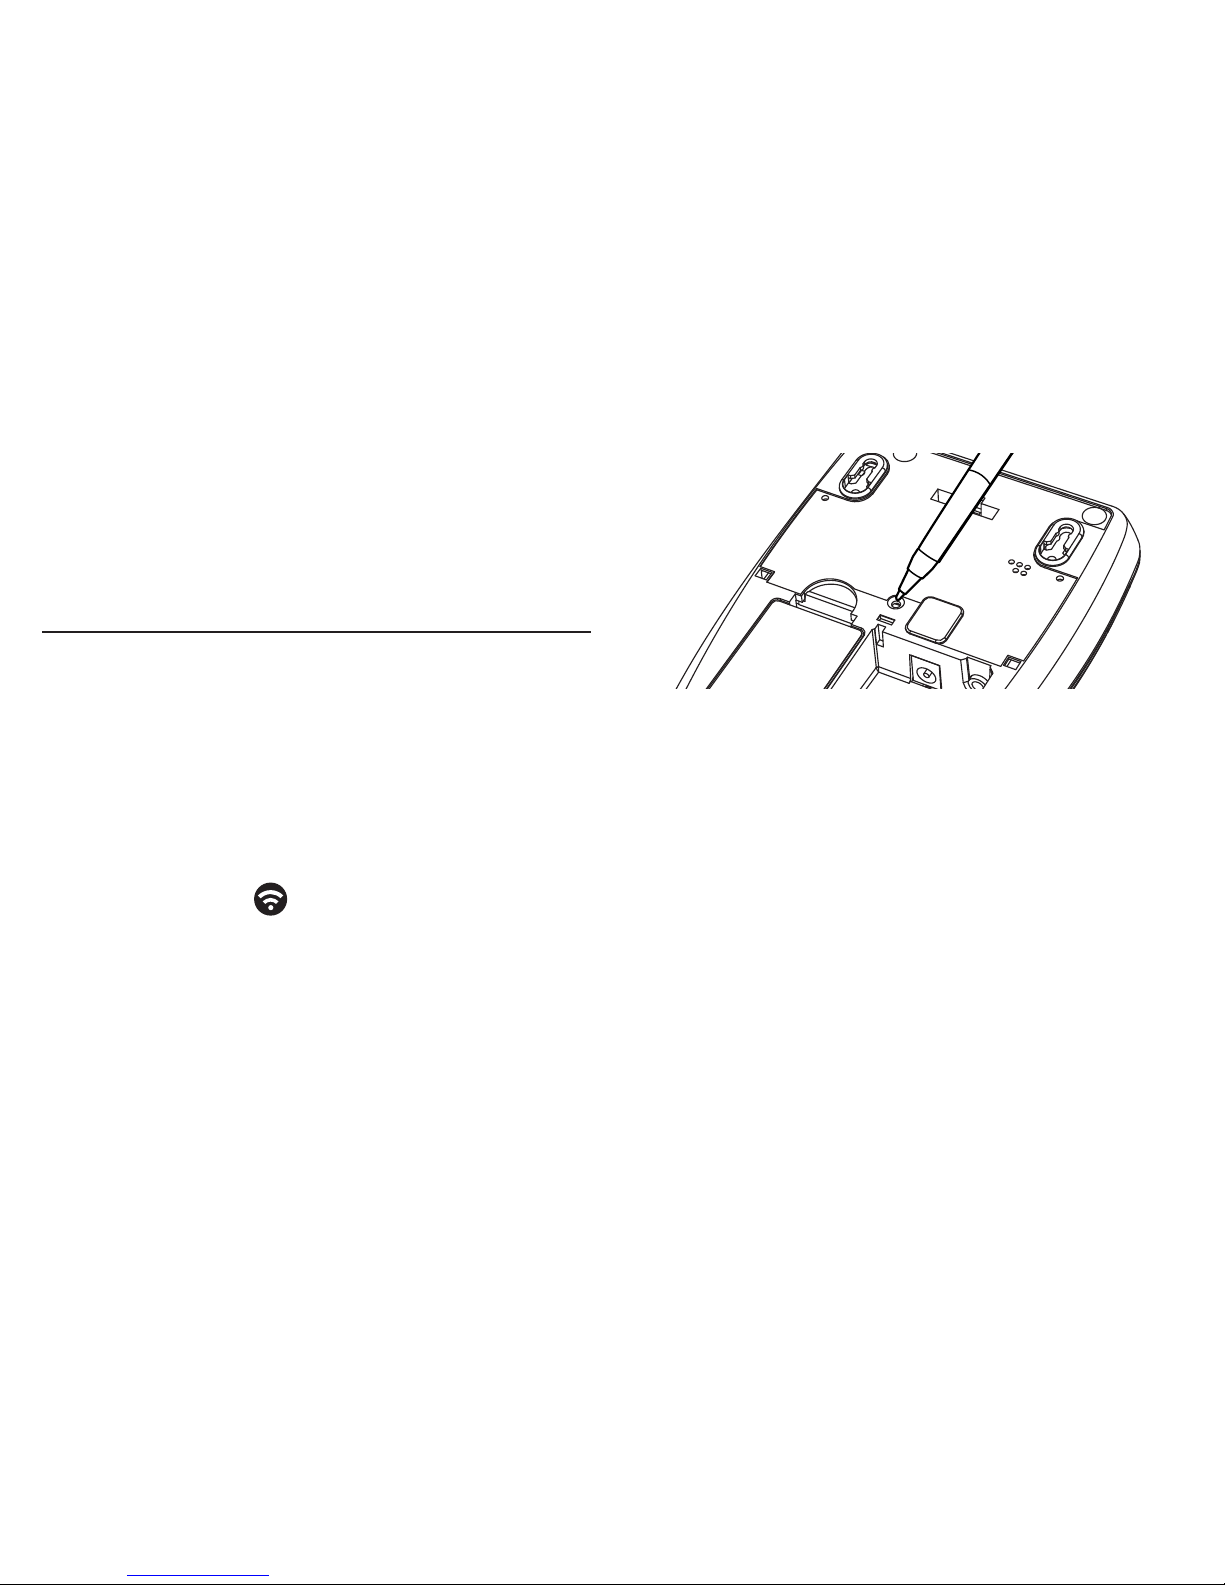
Removing (“unlearning”) the Strobe from the
wireless network
In the event that you need to remove the Strobe
from a network (e.g. if moving house) you will need
to ‘unlearn’ it from the network using the following
procedure:
Learning a strobe into an existing Wi-Safe 2
system:
1. Locate a smoke or CO alarm that is already part
of the existing Wi-Safe 2 system.You will use this
product when adding the strobe into the network.
2. Follow steps from point 2 above.To add any
further alarms to the network, press the learn
button on the new alarm then the test button on
the Strobe, or on any alarm already learned in to
the network.
NOTE: The battery is supplied in a discharged or
partially discharged state and will require up to 24
hours of charging (continuous connection to the
mains supply) to ensure that it is fully charged.
During this period the amber fault LED may flash
once every five seconds to indicate that the battery
is low. The following tests however may be carried
out before the charging is complete.
NOTE: The amber fault LED will also flash (once per
second) if the Vibrating Pad is not correctly installed.
After learning the Strobe and Vibrating Pad into the
alarms, test the units individually to ensure they are
wirelessly interlinked.