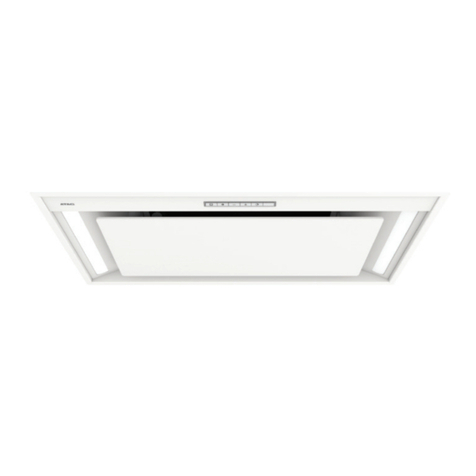
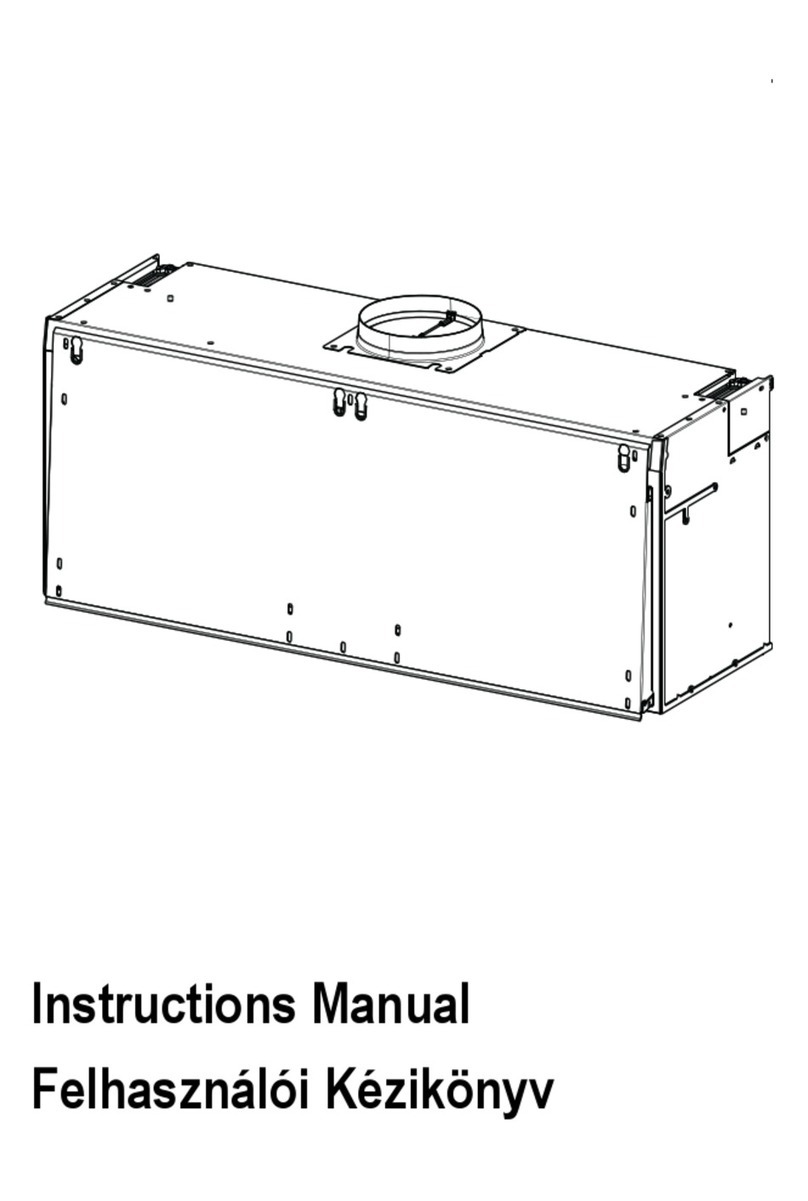
FIREGAS FGS-UWF39A575AC User manual

FGS-UWF39A575AC
FGS-USF39A575AC
FGS-UBF39A575AC

21
Introduction
Thank you for choosing this range hood.
This instruction manual is designed to provide you with all required
instructions related to the installation, use and maintenance of the
appliance.
In order to operate the unit correctly and safely, please read this
instruction manual carefully before installation and usage.
Accessible parts may become hot when used with cooking appliance.
CAUTION:
Never let the children operate the machine.
Clean the range hood according to the instruction manual and keep the
unit from danger of burning. There is a fire risk if cleaning is not carried
out in accordance with the instructions.
Please keep the kitchen room a good convection before connecting this
appliance; Please check that the power supply cord is undamaged. A
damaged supply cord must be replaced by qualified service personnel only.
Regulations concerning the discharge of air have to be fulfilled.
This appliance can be used by children aged from 8 years and above
also the persons with reduced physical, sensory or mental capabilities
or lack of experience and knowledge if they have been given supervision
or instruction concerning use of the appliance in a safe way and
understand the hazards involved. Children shall not play with the
appliance. Cleaning and user maintenance shall not be made by
children without supervision.
The range hood is for home use only, not suitable for barbecue,
roast shop and other commercial purpose.
If the supply cord is damaged, it must be replaced by the manufacturer,
its service agent or similarly qualified persons in order to avoid a hazard.
Electrical Shock Hazard
Only plug this unit into a properly earthed outlet.
If you have doubts, seek advice from a suitably qualified engineer.
................................................ ........ 2
................................... 2
...................................................
...........................................................
............................. 6-8
...........................................................
Installation .........
.............. 8
...........................................................
Operation
....................................................
Introduction
Safety Precaution
................ 4-5
Installation Instructions
....
CONTENT
Safety Precaution
.................................................................... 3-4
.
.
.
.
.
.
.
.
.
.
.
.
.
.
.
.
.
.
.
.
.
.
.
.
.
.
.
.
9-10
11
.
.
.
.
.
.
.
.
.
.
.
.
.
.
.
.
.
.
.
.
.
.
.
.
.
.
.
.
.
.
.
.
.
.
.
.
.
.
.
.
.
.
.
.
.
.
.
.
.
.
.
.
.
.
.
.
.
.
.
.
.
.
.
.
.
.
.
.
.
.
.
.
.
.
.
.
.
.
.
.
.
.
.
.
.
.
.
.
.
.
.
.
.
.
.
.
.
.
.
.
.
.
.
.
.
.
.
.
.
.
.
.
.
.
.
.
.
.
Maintenance
Trouble-Shooting
.............. 11
...........................................................
Environmental Protection
...........
............
...................
......................
.................................................
..........................................
.................................
.................
Parts Diagram
........................................

St4×30
×6
φ8×35
×6
Measuring tape
Screwdriver
Pencil Hammer
Electric drill Level
43
Air Outlet
Parts Diagram
Parts Supplied
Duct Tape
ToolsRequired
Core Unit
Prepare for installation:
RECIRCULATION OPTION
If you have an outlet to the outside, your range hood can be connected
as above picture by means of a pipe (with an interior diameter of 120mm).
If you don’t have an outlet to the outside, you can go with recirculation
mode .
Installation Instructions
×8
St4×6
×6
St4×16
Recirculation Sheet :
1. If you choose ventilation mode
must need to install this sheet.
2. If you choose recirculation mode,
please make sure to NOT install
this sheet into the body.
VEBTILATION OPTION
(2 screws extra)

65
Installation Requirements
Note No open flames directly approach to the range hood.
The range hood should be placed at a distance of 25.6"~30"
above the cooktop for the best effect.
25.6"-30"
Installation
Note
Please connect the power supply to test and confirm that the
power is on before installing this under cabinet range hood.
Ventilation:
Black wire
White wire
Green wire
1. Disassemble the corner bead.
2. Disassemble the round outlet.
3. Use screwdriver and plier to
peel off the outlet cover and wire
outlet cover. Then let the cable
accross the hole.
(PS: No necessary to peel
the outlet off if you use
recirculation mode)
According to the actual use
to choose one wire outlet.
outlet cover
wire outlet cover

87
Operation
LED
Two ways for installation (A & B) Ventilation
and Recirculation available.
Please remove the white/blue protective
film on the range hood (for SS surface).
BEFORE USE
CAUTION:
27.8"
9"
27.8"
0.81"
4. Install the outlet with
ST4*6 screws.
5. Insert the recirculation
sheet in the gap between
the housing and body.
A: Drill the holes according to the graphic distance, plug the expand tube
and screwed with 2pcs ST4*30 screws.
B: Drill the holes according to the graphic distance, plug the expand tube
and screwed with 4pcs ST4*30 screws.
Light button
On the left side of hood.
Speed button
On the right side of hood.
“ ”: high speed level.
“ ”: Low speed level.
“ ”: Off
2 Speed Rocker

Before cleaning switch the unit off and pull out the plug.
I. Regular Cleaning
Use a soft cloth moistened with hand-warm mildly soapy water
or household cleaning detergent. Never use metal pads, chemical,
abrasive material or stiff brush to clean the unit.
II. LED Light Replacement
Switch the unit off and unplug the appliance.
Maintenance
III. Filter and charcoal filters replacement
In order to install the carbon filter, the grease filter should
be detached first. Press the lock and pull it downward.
CAUTION: LAMP UNIT MAY BE HOT!
WAIT UNTIL THE UNIT IS COOL. BEFORE attempting to replace
the LED lamps make sure the unit is powered off and UNPLUGGED.
9 10
Locks Disassemble the filter:
Pull out the plastic handle
and the filter from
the left and right locks.
Locks
Bottom locks
Install the filter:
Install the filter firstly into
the bottom lock and then
stick the filters into the
upper locks.
Pull out the LED wires
and replace a new one
1.Unscrew the PCB box
2. Pull out the plug from
PCB
3. Peel the LED out

Fault Cause Solution
Waste electrical products should not be disposed of with household waste.
Please recycle where facilities exist.
Check with your Local Authority or retailer for recycling advice.
The fan blade is jammed.
The motor is damaged.
Light is burnt out.
Power cord is loose.
Light on,but fan
does not work
Both light and fan
do not work
Serious Vibration
of the unit
Suction
performance not
good
Too far distance
between the unit
and the cooktop.
The unit is not hung
properly on the bracket.
The fan motor is not
fixed tightly.
The fan blade is
damaged.
Switch off the unit and
repair by qualified
service personnel only.
Replace the LED light
with correct rating.
Plug into the power
supply again.
Switch off the unit and
repair by qualified
service personnel only.
Take down the unit and
check whether the bracket
is in proper location.
Readjust the distance
between 25.6"-30"
Environmental Protection
Trouble-Shooting
11
range
range
This manual suits for next models
2
Table of contents
Other FIREGAS Ventilation Hood manuals
Popular Ventilation Hood manuals by other brands

Beko
Beko CWB 6441 WN user manual
WT Knowles & Sons
WT Knowles & Sons KBWT Fitting instructions
Bosch
Bosch DII31RU60 Instructions for installation and use

KitchenAid
KitchenAid 9763388 Installation instructions and use and care guide
Frigidaire
Frigidaire F30WC19ES installation instructions

Beko
Beko Elektra Bregenz DB 6043 user manual
