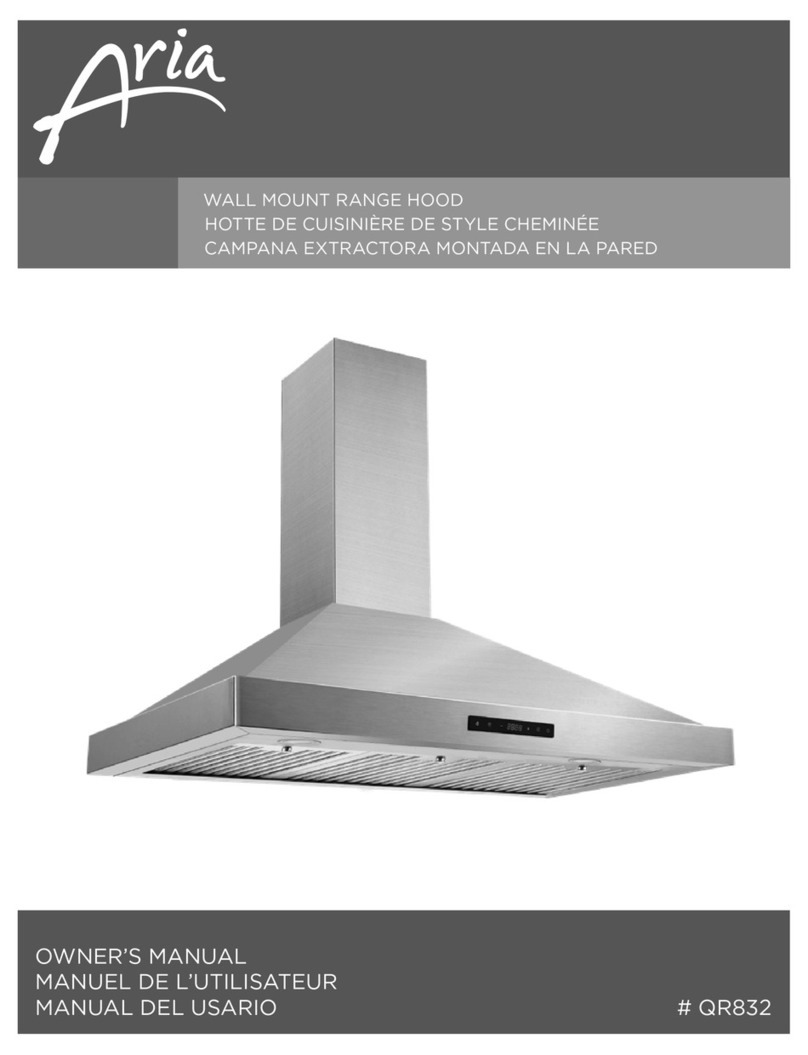
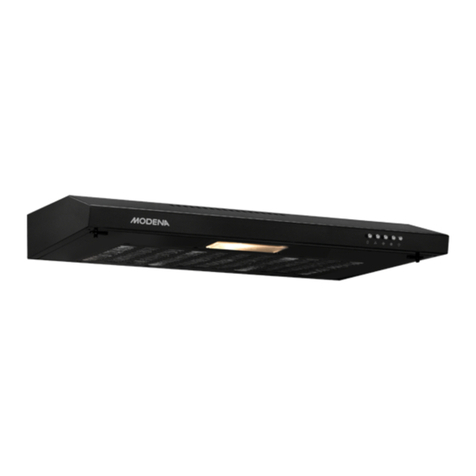
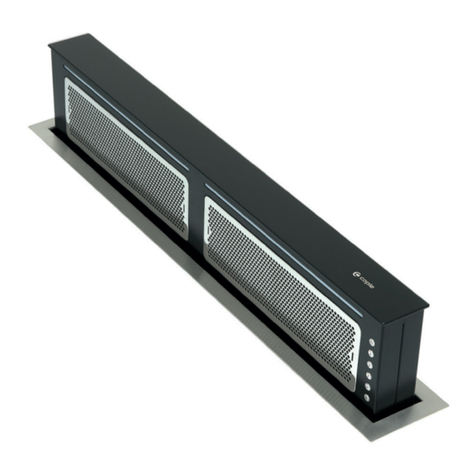
FIREGAS FGS-EBL11AR1160CC User manual

FGS-EBL11AR1160CC
FGS-EBL11CR1160CC

21
Introduction
Thank you for choosing this cooker hood.
This instruction manual is designed to provide you with all required
instructions related to the installation, use and maintenance of the
appliance.
In order to operate the unit correctly and safely, please read this
instruction manual carefully before installation and usage.
Accessible parts may become hot when used with cooking appliance.
CAUTION:
Never let the children operate the machine.
Clean the cooker hood according to the instruction manual and keep the
unit from danger of burning. There is a fire risk if cleaning is not carried
out in accordance with the instructions.
Please keep the kitchen room with good ventilation before connecting
this appliance; please check that the power supply cord is undamaged.
A damaged supply cord must be replaced by qualified service personnel
only.
Regulations concerning the discharge of air have to be fulfilled.
This appliance can be used by children aged from 8 years and above
also the persons with reduced physical, sensory or mental capabilities
or lack of experience and knowledge if they have been given supervision
or instruction concerning use of the appliance in a safe way and
understand the hazards involved. Children shall not play with the
appliance. Cleaning and user maintenance shall not be made by
children without supervision.
The cooker hood is for home use only, not suitable for barbecue,
roast shop and other commercial purpose.
If the supply cord is damaged, it must be replaced by the manufacturer,
its service agent or similarly qualified persons in order to avoid a hazard.
Electrical Shock Hazard
Only plug this unit into a properly earthed outlet.
If you have doubts, seek advice from a suitably qualified engineer.
Safety Precaution
................................................ ........ 2
................................... 2
...........
...................................................
...........................................................
........................................................... 5
............................. 5-7
...........................................................
Installation .........
.............. 7-8
...........................................................
Operation
....................................................
Introduction
Safety Precaution
Air Outlet Installation Method
................ 4
Installation Instructions
....
CONTENT
.................................................................... 3
.
.
.
.
.
.
.
.
.
.
.
.
.
.
.
.
.
.
.
.
.
.
.
.
.
.
.
.
8-10
10
.
.
.
.
.
.
.
.
.
.
.
.
.
.
.
.
.
.
.
.
.
.
.
.
.
.
.
.
.
.
.
.
.
.
.
.
.
.
.
.
.
.
.
.
.
.
.
.
.
.
.
.
.
.
.
.
.
.
.
.
.
.
.
.
.
.
.
.
.
.
.
.
.
.
.
.
.
.
.
.
.
.
.
.
.
.
.
.
.
.
.
.
.
.
.
.
.
.
.
.
.
.
.
.
.
.
.
.
.
.
.
.
.
.
.
.
.
.
Maintenance
Trouble-Shooting .............. 11
...........................................................
Environmental Protection
...........
............
...................
...........
......................
.................................................
..........................................
.................................
.................
Parts Diagram
........................................
.............. ............................................................................. 11
Specification
..................
......
..
....
....
...
.
..

Note: The power cord is 1.3 meters . It is not recommended
that user replace the power cord or cut the power cord.
charcoal filters.
Charcoal Filters
(Please refer to the model
list on the last page)
Cooker hood hook
Cooker hood hook

65
To avoid the pipe sticking
way-valve, please stretch the pipe
before installing it.

87
II. LED Light Replacement
Turn the unit off and unplug the appliance.
Maintenance
Before cleaning , turn the unit off and pull out the plug.
I. Regular Cleaning
Use a soft cloth moistened with hand-warm mildly soapy water
or household cleaning detergent. Never use metal pads, chemical,
abrasive material or stiff brush to clean the unit.
Digital display key
Power down key
Power up key
Delay key
On stand-by and working condition, press the Delay key for 3
seconds, the digital display blinks and you can set the delay
power off time from 1 minute to 9 minutes; press the key again
to save the setting. If you don't press any key, after setting time,
for 10 seconds, then the setting would be saved automatically.
When the motor is on and the delay setting is saved, you can still
adjust the setting, and the display will show the countdown time.
When the motor is not working, you can just set the delay time,
there is no countdown function. The delay time would turn to
countdown time when the motor is working.
Light key
(3*10mm screw)

Fault Cause Solution
The fan blade is jammed.
The motor is damaged.
Light is burnt out.
Power cord is loose.
Light on,but fan
does not work
Both light and fan
do not work
Serious Vibration
of the unit
Suction
performance not
good
Too far distance
between the unit
and the cooktop.
The unit is not hung
properly on the bracket.
The fan motor is not
fixed tightly.
The fan blade is
damaged.
Switch off the unit and
repair by qualified
service personnel only.
Replace the LED light
with correct rating.
Plug into the power
supply again.
Switch off the unit and
repair by qualified
service personnel only.
Take down the unit and
check whether the bracket
is in proper location.
Readjust the distance
between 600-700mm.
Trouble-Shooting
charcoal filters
Charcoal Filters
charcoal filters
charcoal filters
Charcoal filters
84
535*216*460
9.8
FGS-EBL11AR1160CC
FGS-EBL11CR1160CC

11
Environmental Protection
1. While unpacking, the packaging materials (polythene bags, polystyrene
pieces,etc.) should be kept away from children. CHOKING HAZARD!
2. Old and unused appliances must be sent for disposal to the responsible
recyclingcentre. Never expose to open flames.
3. Before you dispose of an old appliance, render it inoperative. Unplug
the appliance and cut off the entire power cord. Dispose of the power
cord and the plug immediately,
4. Dispose of any paper and cardboard into the corresponding containers.
5. Dispose of any plastics into the corresponding containers.
6. If suitable containers are not available at your residential area, dispose
of these materials at a suitable municipal collection point for
waste-recycling.
7. Receive more detailed information from your retailer or your municipal
facilities.
Materials marked with this symbol are recyclable.
Please contact your local authorities toreceive further information.
Statement
Thank you for purchasing this product. FIREGAS is committed to providing
our customers with professional quality kitchen ventilation. FIREGAS cannot
assume responsibility for any consequences resulting from the use thereof.
Note
This document is designed to act as a quick reference guide for common
scenarios and questions when installing a FIREGAS Range Hood. for more
instructions and details please refer to Installation Guide from www.
firegas kitchen.com
Website: www.firegaskitchen.com Email: support01@firegaskitchen.com
Tech Support
Warranty
For full warranty details on this product please visit: www.firegaskitchen.com
Support > Warranty Registration

FGS-EBL11AR1160CC
FGS-EBL11CR1160CC

Vorstellung
SICHERHEITSHINWEISE
INHALT
4
8-10
11
11
10
7-8
21

43
Teileübersicht
Vorlage
St3×10
×4
St4×30
×11
φ5×φ8
×11
(2 screws extra)

65
φ8mm
Die längere Halterung ist die
obere Kaminhalterung.
Hinweis
Um zu vermeiden, dass das Rohr klebt
Wegeventil, dehnen Sie bitte das Rohr,
bevor Sie es installieren

87
Betrieb
Wartung
MAX.65 C

109
84
535*216*460
9.8
2
FGS-EBL11AR1160CC
FGS-EBL11CR1160CC

11
Stellungnahme
Vielen Dank für den Kauf dieses Produkts. FIREGAS ist bestrebt, unseren
Kunden eine professionelle Küchenlüftung in professioneller Qualität zu
bieten. FIREGAS kann keine Verantwortung für Folgen übernehmen,
die sich aus deren Verwendung ergeben.
Notiz
Dieses Dokument dient als Kurzanleitung für allgemeine Szenarien und
Fragen bei der Installation einer FIREGAS-Dunstabzugshaube.
Weitere Anweisungen und Details finden Sie in der Installationsanleitung
von www.firegaskitchen.com
Technischer Support
Website: www.firegaskitchen.com E-Mail: support01@firegaskitchen.com
Garantie
Für vollständige Garantiedetails zu diesem Produkt besuchen Sie bitte:
www.firegaskitchen.com Support > Garantieregistrierung

FGS-EBL11AR1160CC
FGS-EBL11CR1160CC

21
TABLE DES MATIÈRES Introduction
PRÉCAUTIONS DE SÉCURITÉ
4
8-10
10
11
11
5-7
7-8

43
St3×10
×4
St4×30
×11
φ5×φ8
×11
Schéma des pièces

65
φ8mm
Pour éviter que le clapet de contrôle
ne se coince, étirez le tuyau avant
l'installation.

87
Fonctionnement
Entretien

109
3 MOIS
Dépannage
84
535*216*460
9.8
2
FGS-EBL11AR1160CC
FGS-EBL11CR1160CC
This manual suits for next models
1
Table of contents
Other FIREGAS Ventilation Hood manuals
Popular Ventilation Hood manuals by other brands

Miele
Miele DA 3160 Operating and installation instructions

Schweigen
Schweigen SCC1000B-S installation guide
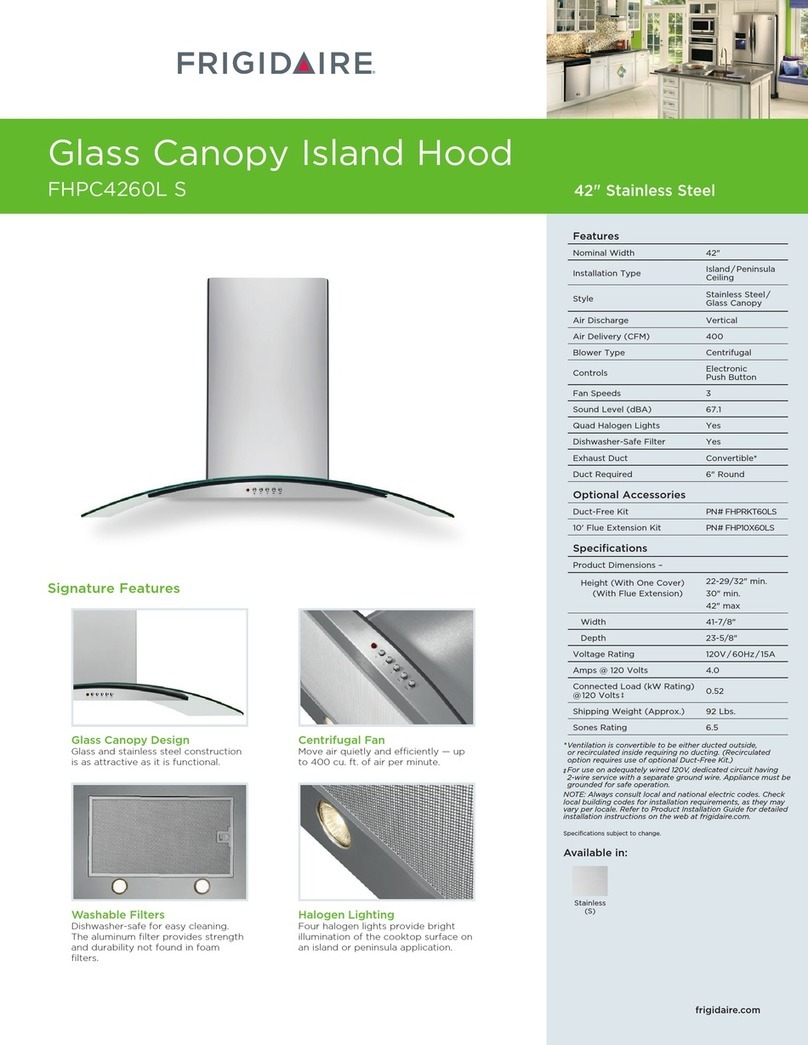
Frigidaire
Frigidaire FHPC4260LS Product specifications

Smeg
Smeg KSMI960X1 Instruction on mounting and use
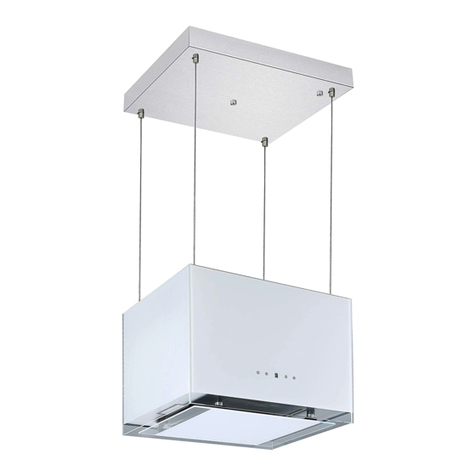
Respekta
Respekta Island CH 11050 ISB Installation instruction

Klarstein
Klarstein 10031992 manual
