manuals.online logo
Brands
  1. Home
  2. •
  3. Brands
  4. •
  5. Firegear
  6. •
  7. Indoor Fireplace
  8. •
  9. Firegear KALEA BAY User manual

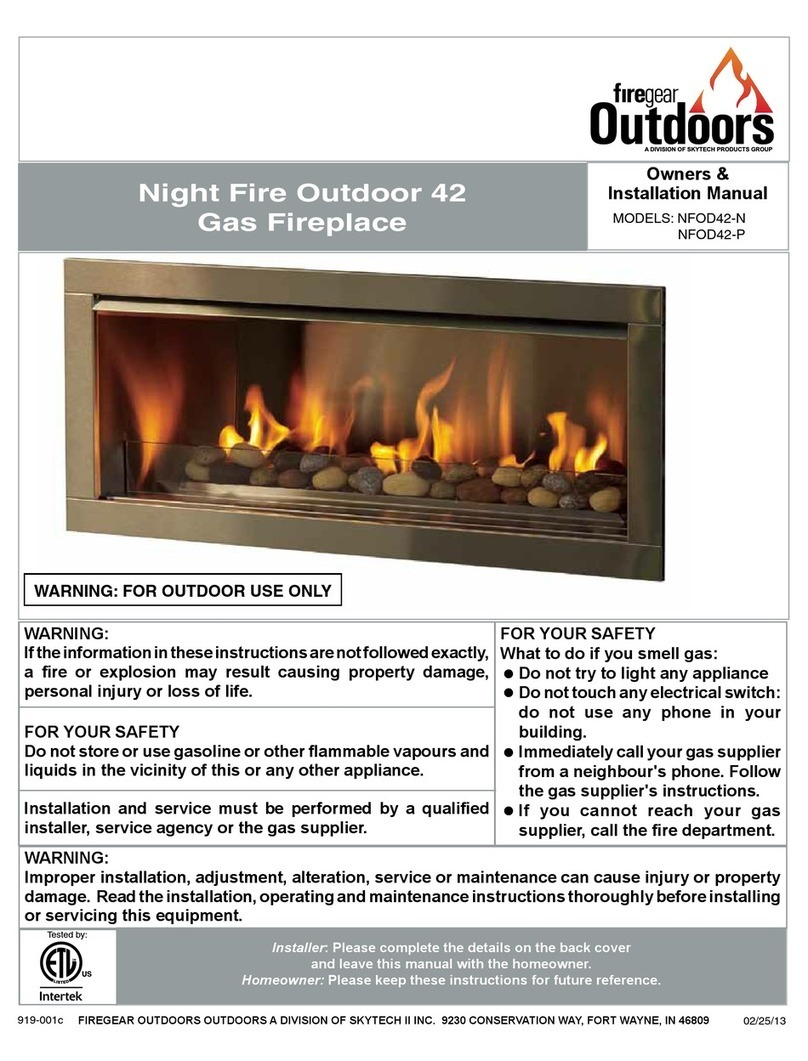
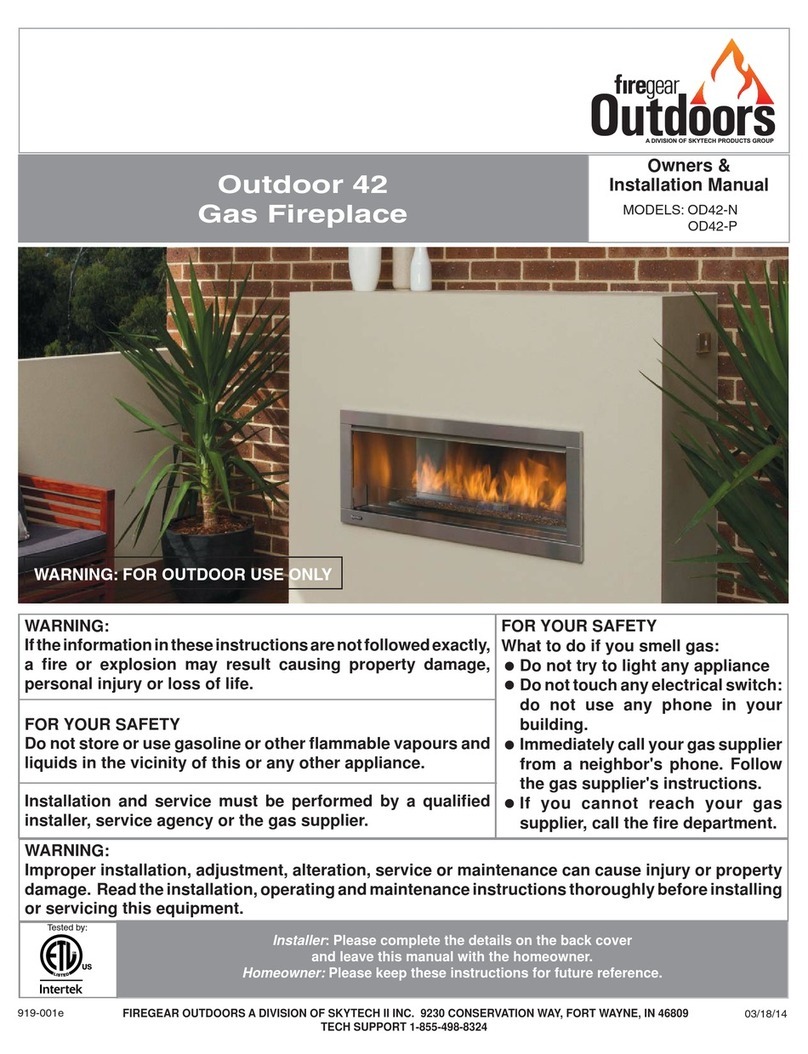
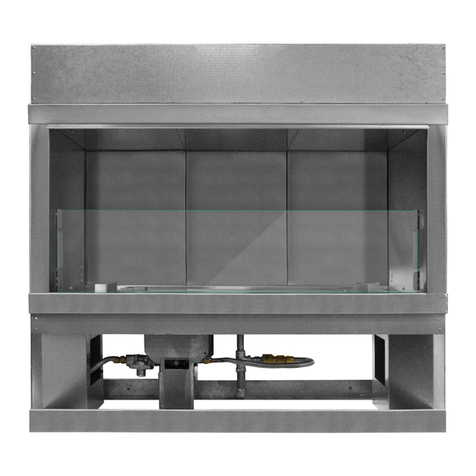
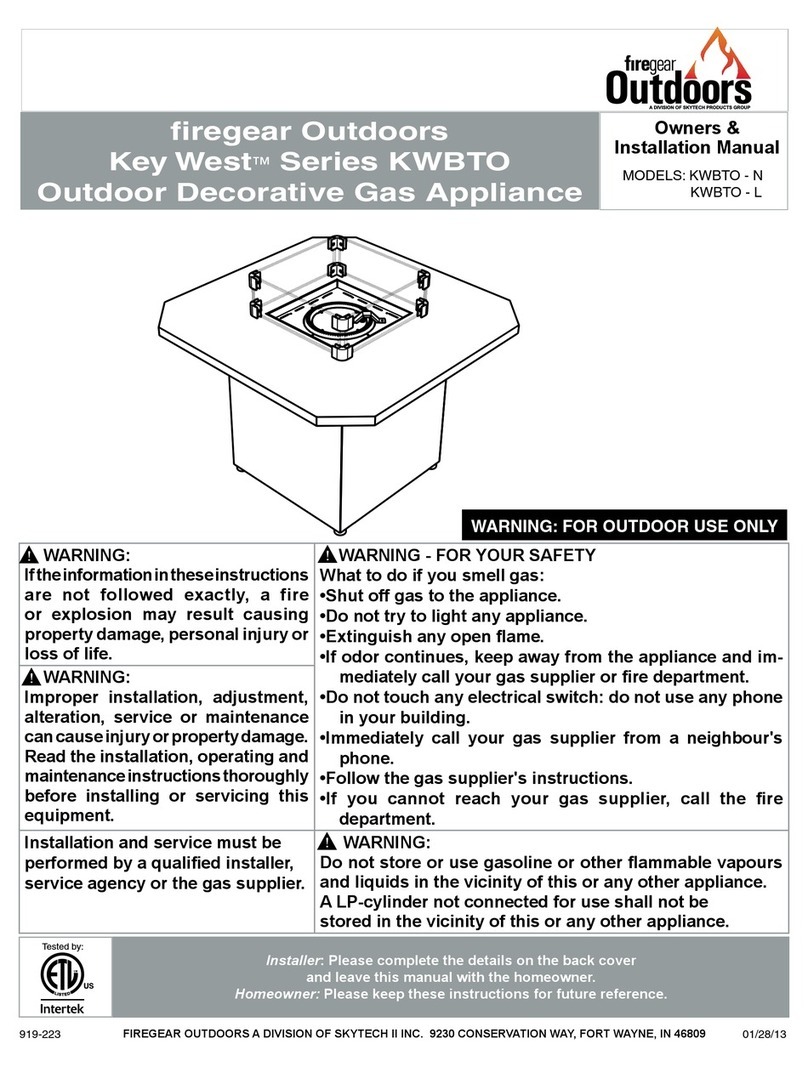
Firegear KALEA BAY User manual

REV. A Page 1
KALEA BAY FIREPLACE
See-Through Conversion Kits
IF YOU CANNOT READ OR UNDERSTAND THESE INSTALLATION INSTRUCTIONS
DO NOT ATTEMPT TO INSTALL OR OPERATE THIS PRODUCT
PLEASE RETAIN THIS MANUAL FOR FUTURE REFERENCE
Installation Instructions
PN#90060
Kits: 78009 (36” Fireplace)
78010 (48” Fireplace)
78011 (60” Fireplace)
78012 (72” Fireplace)
Kalea Bay LED See-Thru Conversion Kit REV. A Page 2
OFP-36LECO-N OFP-48LECO-N OFP-60LECO-N OFP-72LECO-N
Kit Model # 78009 Kit Model # 78010 Kit Model # 78011 Kit Model # 78012
(2) KB-36-73120 Glass Windshield (2) KB-49-74120 Glass Windshield (2) KB-60-75120 Glass Windshield (2) KB-72-76120 Glass Windshield
(1) 73131 Hood (1) 74131 Hood (1) 75131 Hood (1) 76131 Hood
(1) 77156 Glass Clip Rt. Back (1) 77156 Glass Clip Rt. Back (1) 77156 Glass Clip Rt. Back (1) 77156 Glass Clip Rt. Back
(1) 77157 Glass Clip Lt. Back (1) 77157 Glass Clip Lt. Back (1) 77157 Glass Clip Lt. Back (1) 77157 Glass Clip Lt. Back
(1) 77154 Glass Clip Rt. Front (1) 77154 Glass Clip Rt. Front (1) 77154 Glass Clip Rt. Front (1) 77154 Glass Clip Rt. Front
(1) 77155 Glass Clip Lt. Front (1) 77155 Glass Clip Lt. Front (1) 77155 Glass Clip Lt. Front (1) 77155 Glass Clip Lt. Front
(7) 77129 8-32x½” Pan Screws (7) 77129 8-32x½” Pan Screws (7) 77129 8-32x½” Pan Screws (7) 77129 8-32x½” Pan Screws
(1) 73237 Windshield Support (1) 74237 Windshield Support (1) 75237 Windshield Support (1) 76237 Windshield Support
Windshield Support
G
l
a
s
s
W
i
n
d
shi
e
l
d
Screws
The table below list the replace and the conversion kit model for each replace. Carefully open the conversion kit and
ensure all parts are inside as shown in Fig. 1. Note: In some applications not all screws will be used.
Fig. 1 Conversion kit contents (drawings not to scale).
CAUTION: Before removing the rear back panel be sure to remove any loose materials out of the rebox area. To remove
the rear back panel and convert replace into a see-through, perform the following steps beginning on page 3.
NOTE: Some installers may prefer installing the hood(s) before the glass clips, if so, proceed to Step #13 rst, then begin
at Step #1.
Tools Needed: Phillips screwdriver or power screwdriver (to install glass holders and hood); 1/4” hex head tip or 1/4” nut
driver (to remove rear panel from replace); pair of gloves to protect hands from any sharp metal edges
Hood
Notice:
This manual is only a guide to assist with installation of this kit. Ensure you use the Kalea Bay LED
Fireplace installation manual for nal preparations and wiring diagrams.
Lt. Rt.
Lt. Rt.
Back
Front
G
l
a
s
s
W
i
n
d
shi
e
l
d
Kalea Bay LED See-Thru Conversion Kit REV. A Page 3
Step 1: REMOVING BACK REAR PANEL: The outer perimeter area of the back wall has several 1/4” hex head screws
that must be removed from top and bottom of replace (See the shaded area in Fig. 2). Only remove the top and bottom
screws on the rear panel. The nailing ange will remain in place at the bottom however the nailing ange on top must be
re-installed. The back wall panel will remain in one piece. CAUTION: Watch for sharp edges. Carefully remove the back
wall. Note: The numbers of screws to remove will vary with each replace model. The back panel will not be used again.
Discard back panel and replace the screws previously removed.
Fig. 2 Removing back wall to convert to see-through model.
Bottom Fin
Valve
Box
B
a
c
k
W
a
l
l
Nailing Flange
N
a
i
l
i
n
g

a
n
g
e
d
e
t
a
i
l
BACK VIEW REAR PANEL INSTALLED
Side View Detail for Removal Rear Panel Screws
Nailing Flange
Kalea Bay LED See-Thru Conversion Kit REV. A Page 4
Step 2: Locate Wire Grommets Inside Firebox: Locate
the wire grommets inside the rebox. See Fig. 3. Directly
above them will be a two metal bridges to install the glass
panel clips. Remove the glass panel clips from the
packaging.
CAUTION: The metal glass clips may have sharp edges,
handle with care. Note: A see-through replace use (2) on
each left and right side.
Fig. 4 Shows clips installed on left side of replace
Fig. 3 Locating wire grommets
Step 3: Peel the plastic coating from each glass
panel clip before installing. The two front glass clips are
installed before the back glass clips Note: There are two
right side and two left side clips supplied.
Step 4: Install the front glass clips (77155 & 77154) into the
metal bridges by sliding the tab of the clip through the
metal bridges as shown in Fig. 4. One clip on each side.
Step 5: Install the back glass clips (77156 & 77157) over
top of the front clips and into the bridges. One clip on each
side.
After each both clips are installed, use a at blade screw
and carefully bend the bottom tab out and upward to lock
the clips into position. Use a ngertip or pliers to carefully
press the tab at against the metal bridge. See Fig. 5.
Fig. 5 Installing windshield clips (right side shown)
Wire Grommets
Metal Bridges
Step 1 Step 2
L
eft
F
ron
t
Glass
Cli
p
L
e
f
t
Bac
k
Gl
a
s
s
Clip
LED
Bend Lower Tabs Upward
to Lock Clip into Position
Locked
Tab
Loose
Tab
D
e
t
a
i
l
Right Side Panel
Kalea Bay LED See-Thru Conversion Kit REV. A Page 5
Fig. 8 Installing windshield support.
Step 6: Remove the windshield from the carton.
See Fig. 6.
Fig. 6 Shows left LED tray channel
Windshield
Support
Sits Here
Step 8: Insert the windshield support into the back glass clip. Install in same manner on the right side. See Figs. 8 & 9.
Fig. 9 Windshield supported installed.
Windshield support
installed in glass clip
B
o
t
t
om
E
n
d
Kalea Bay LED See-Thru Conversion Kit REV. A Page 6
Step 1
Step 2
Front of Fireplace
LED
HOT GLASS WILL
CAUSE BURNS
DO NOT TOUCH
GLASS UNTIL COOLED
NEVER ALLOW CHILDREN
TO TOUCH GLASS
A barrier designed to reduce the risk of burns from the
hot viewing glass is provided with this appliance and
MUST be installed for the protection of children and other
at-risk individuals.
DANGER
Step 9:
• Carefully unpack the glass panels.
• Using gloves carefully lift one glass panel, into the
replace opening, over top of the glass clips, and slide
it down into the metal retainer clip, supporting the glass
at the top and bottom as you handle it. See Fig. 10
• As the glass enters the clip the bottom edge of the
glass will rest in place on the bottom of the clip.
• Install the second glass pane in the same manner as
described in Fig. 10.
• Both glass panels should be level when installed.
• Center glass between clips after installation.
Fig. 10 Installing glass panels.
GLASS PANEL/WINDSHIELD INSTALLATION
WARNING
ALL FOUR (4) GLASS PANELS MUST BE INSTALLED
WHILE OPERATING A SEE-THROUGH FIREPLACE.
CAUTION: THIS IS TEMPERED GLASS. DO NOT CHIP
GLASS. CHIPPED TEMPERED GLASS CAN BREAK
WITHOUT WARNING.
Step 10: INSTALLING HOOD: The replace requires a hood to be installed into each side of the rebox. One hood
would have come with the single sided replace, the other hood is supplied with this kit. All models require ve (5) screws
(#77129) to secure the hood to the replace except the 72-inch model, which uses seven (7) screws to secure the hood.
The hood protrudes outward 1-inch from the top opening of the replace. Fig. 11 shows hole location and installation
process for hood installation. The protruding area of the hood angles downward to deect heat, see Hood Detail below.
Fig. 11 Installing hood(s) on the replace.
Hood Screw Locations
FRONT VIEW SIDE VIEW
Hood
(Deector Facing Downward)
Hood Detail
End View
Kalea Bay LED See-Thru Conversion Kit REV. A Page 7
FOR TECHNICAL SERVICE, CALL:
Firegear Outdoors
17322 Gothard Street
Huntington Beach, CA 92647
WEB SITE: www.regearoutdoors.com
(800) 966-8126
See Kalea Bay installation manual for any warranty questions.

Other manuals for KALEA BAY

1

This manual suits for next models

4

Other Firegear Indoor Fireplace manuals
Firegear L-MY1/FF User manual

Firegear

Firegear L-MY1/FF User manual

Firegear FPB-16RBSMT-N User manual

Firegear

Firegear FPB-16RBSMT-N User manual

Firegear Key West Series Quick start guide

Firegear

Firegear Key West Series Quick start guide

Firegear KALEA BAY User manual

Firegear

Firegear KALEA BAY User manual

Firegear Kalea Bay OFP-36LECO-NLED User manual

Firegear

Firegear Kalea Bay OFP-36LECO-NLED User manual

Firegear KWB-NG1 Quick start guide

Firegear

Firegear KWB-NG1 Quick start guide

Firegear BCOL-18NG User manual

Firegear

Firegear BCOL-18NG User manual

Firegear Nightfire NFOD42-N Quick start guide

Firegear

Firegear Nightfire NFOD42-N Quick start guide

Firegear OD42-N Quick start guide

Firegear

Firegear OD42-N Quick start guide

Firegear Linear Outdoor Fire User manual
Firegear

Firegear Linear Outdoor Fire User manual

Firegear LOF-30MSI/N User manual

Firegear

Firegear LOF-30MSI/N User manual

Firegear FPB-25RBSTFS-N User manual

Firegear

Firegear FPB-25RBSTFS-N User manual
Firegear OFP-L36TFS-P User manual

Firegear

Firegear OFP-L36TFS-P User manual
Firegear KWCH-2 Quick start guide

Firegear

Firegear KWCH-2 Quick start guide

Firegear NFOD42 Series Quick start guide

Firegear

Firegear NFOD42 Series Quick start guide

Popular Indoor Fireplace manuals by other brands

Desa CGEFP33NRC OWNER'S OPERATION AND INSTALLATION MANUAL

Desa

Desa CGEFP33NRC OWNER'S OPERATION AND INSTALLATION MANUAL

Majestic RUBY SERIES owner's manual

Majestic

Majestic RUBY SERIES owner's manual

Heatiator CD4236IR-C owner's manual

Heatiator

Heatiator CD4236IR-C owner's manual

Quadra-Fire QV26E-B owner's manual

Quadra-Fire

Quadra-Fire QV26E-B owner's manual

Hearth and Home Technologies GO35MTCH installation instructions

Hearth and Home Technologies

Hearth and Home Technologies GO35MTCH installation instructions

Vermont Castings WinterWarm Small Insert 2080 Installation and operating manual

Vermont Castings

Vermont Castings WinterWarm Small Insert 2080 Installation and operating manual

Dimplex RWF-DG owner's manual

Dimplex

Dimplex RWF-DG owner's manual

HOMCOM 820-339V90 instruction manual

HOMCOM

HOMCOM 820-339V90 instruction manual

Kingsford CG2065401-KF owner's manual

Kingsford

Kingsford CG2065401-KF owner's manual

Empire Comfort Systems VFD20MS30N-1 Installation instructions and owner's manual

Empire Comfort Systems

Empire Comfort Systems VFD20MS30N-1 Installation instructions and owner's manual

Superior DRI3030TENC Installation and operation guide

Superior

Superior DRI3030TENC Installation and operation guide

Amantii BI-X190030-1 Installation & owner's manual

Amantii

Amantii BI-X190030-1 Installation & owner's manual

HearthPro SP6557 user manual

HearthPro

HearthPro SP6557 user manual

Amantii BS2000026-1 Installation & operation instructions

Amantii

Amantii BS2000026-1 Installation & operation instructions

Heatmaster SBS-18NG installation instructions

Heatmaster

Heatmaster SBS-18NG installation instructions

European Home Compton 2 Instruction guide

European Home

European Home Compton 2 Instruction guide

Desa VSGF36NRB OWNER'S OPERATION AND INSTALLATION MANUAL

Desa

Desa VSGF36NRB OWNER'S OPERATION AND INSTALLATION MANUAL

barbas 90-70 PF2 Preparation manual

barbas

barbas 90-70 PF2 Preparation manual

manuals.online logo
manuals.online logoBrands
  • About & Mission
  • Contact us
  • Privacy Policy
  • Terms and Conditions

Copyright 2025 Manuals.Online. All Rights Reserved.