manuals.online logo
Brands
  1. Home
  2. •
  3. Brands
  4. •
  5. Firex
  6. •
  7. Smoke Alarm
  8. •
  9. Firex PAT User manual

Firex PAT User manual

Other Firex Smoke Alarm manuals

Firex FADCQ User manual

Firex

Firex FADCQ User manual

Firex H230CT User manual

Firex

Firex H230CT User manual

Firex 243 User manual

Firex

Firex 243 User manual

Firex ADHB User manual

Firex

Firex ADHB User manual

Firex G-6 User manual

Firex

Firex G-6 User manual

Firex FADC User manual

Firex

Firex FADC User manual

Firex AD User manual

Firex

Firex AD User manual

Firex 110-1011E User manual

Firex

Firex 110-1011E User manual

Firex KF30 User manual

Firex

Firex KF30 User manual

Firex i4618AC Series User manual

Firex

Firex i4618AC Series User manual

Firex i4618 Series User manual

Firex

Firex i4618 Series User manual

Firex GC240 User manual

Firex

Firex GC240 User manual

Firex 2650-760 User manual

Firex

Firex 2650-760 User manual

Firex 4480 User manual

Firex

Firex 4480 User manual

Firex ADC 45189 User manual

Firex

Firex ADC 45189 User manual

Firex 5700 User manual

Firex

Firex 5700 User manual

Firex ADC User manual

Firex

Firex ADC User manual

Firex CCPB User manual

Firex

Firex CCPB User manual

Firex FADCP User manual

Firex

Firex FADCP User manual

Firex FXW-R User manual

Firex

Firex FXW-R User manual

Firex FADC User manual

Firex

Firex FADC User manual

Firex KN-COPE-I User manual

Firex

Firex KN-COPE-I User manual

Firex I240C User manual

Firex

Firex I240C User manual

Firex G-6GC User manual

Firex

Firex G-6GC User manual

Popular Smoke Alarm manuals by other brands

Dyna-Glo DGY784BDP installation instructions

Dyna-Glo

Dyna-Glo DGY784BDP installation instructions

NOXE LUMENS Installation and user guide

NOXE

NOXE LUMENS Installation and user guide

Develco SMAZB-141 installation manual

Develco

Develco SMAZB-141 installation manual

Kidde PI2010CA user guide

Kidde

Kidde PI2010CA user guide

Honeywell 5800COMBO Installation and setup guide

Honeywell

Honeywell 5800COMBO Installation and setup guide

Gentex 7109CS installation instructions

Gentex

Gentex 7109CS installation instructions

FireAngel Thermoptek ST-622 user manual

FireAngel

FireAngel Thermoptek ST-622 user manual

teko Astra-42A user guide

teko

teko Astra-42A user guide

ELRO FS8110 instruction manual

ELRO

ELRO FS8110 instruction manual

Heiman SMOKI NS-626PHS user manual

Heiman

Heiman SMOKI NS-626PHS user manual

Siemens PE-11C installation instructions

Siemens

Siemens PE-11C installation instructions

Resolution Products RE612 CryptiX quick start guide

Resolution Products

Resolution Products RE612 CryptiX quick start guide

First Alert PC900V user manual

First Alert

First Alert PC900V user manual

Eminent EM6590 E-Domotica user manual

Eminent

Eminent EM6590 E-Domotica user manual

Ei Electronics Ei Ei168RC user manual

Ei Electronics

Ei Electronics Ei Ei168RC user manual

Carrier Kidde Quell Q301 user manual

Carrier

Carrier Kidde Quell Q301 user manual

Family Gard FG225 user manual

Family Gard

Family Gard FG225 user manual

Regin SDD-S65 instruction manual

Regin

Regin SDD-S65 instruction manual

manuals.online logo
manuals.online logoBrands
  • About & Mission
  • Contact us
  • Privacy Policy
  • Terms and Conditions

Copyright 2025 Manuals.Online. All Rights Reserved.

The Firex low-profile Surface Mount Pattress Model PAT is
required for surface mount installation of Firex smoke alarm
models GC240, I240C, PG240, PAD240. DO NOT use the
PAT with any other smoke alarm models except as
specified above. Disconnect mains power prior to
starting installation.
1. Locate the most appropriate site for mounting the pat-
tress and smoke alarm. See the User's Manual sup-
plied with your Firex smoke alarm for detailed siting
information.
NOTE: Model PAT has several mounting plate holes to fit
many applications. These include holes for attaching to
standard electrical boxes or direct to a ceiling or wall.
2. Determine the closest electrical cable knock-out for the
site.
a. If your application requires surface mounting elec-
trical cable, mark the best raceway knock-out for
your application.
b. If mounting directly to wallboard, mark the mount-
ing hole locations and drill one (1) hole at each
mark.
3. Using a sharp knife, remove appropriate cable knock-
out. For surface mounting, use pliers to remove appro-
priate raceway knock-out(s).
4. Route mains power supply wires through cable knock-
out or through raceway knock-out.
5. For wall or ceiling siting, insert screw plugs (furnished
with smoke alarm) into the drilled holes. Attach pattress
to the wall or electrical box at mounting holes with two
screws (furnished).
6. Fix green Earth wire from mains supply to EARTH "I"
screw terminal on pattress board.
7. Fix line (or brown)
wire from mains sup-
ply to AC MAINS "L"
screw terminal on
pattress board.
8. Fix neutral (or blue)
wire from mains sup-
ply to AC MAINS "N"
screw terminal on
pattress board.
9. Connect cable for
interconnect to AC
MAINS "I" terminal on pattress board.
10. Fix smoke alarm connector wires to appropriate screw
terminals on the alarm terminal block of the pattress
board. Follow directions outlined in the smoke
alarm User's Manual.
11. Attach mounting plate to pattress by threading two
screws (supplied with pattress) into smoke alarm
mounting receptors.
12. Fix smoke alarm to mounting plate according to the
Smoke Alarm User's Manual.
13. Restore mains power supply.
14. Test unit as outlined in the Smoke Alarm User's Manual
to be sure it is functioning properly.
Sales and Technical Enquiries to:
Sensotec Europe Limited
Technical Services Department
Unit Seven
Bala Industrial Estate
Gwynedd
LL23 7NL
U.K. 110-516
Installation Manual
Surface Mount Pattress
Model PAT
CAUTION
!
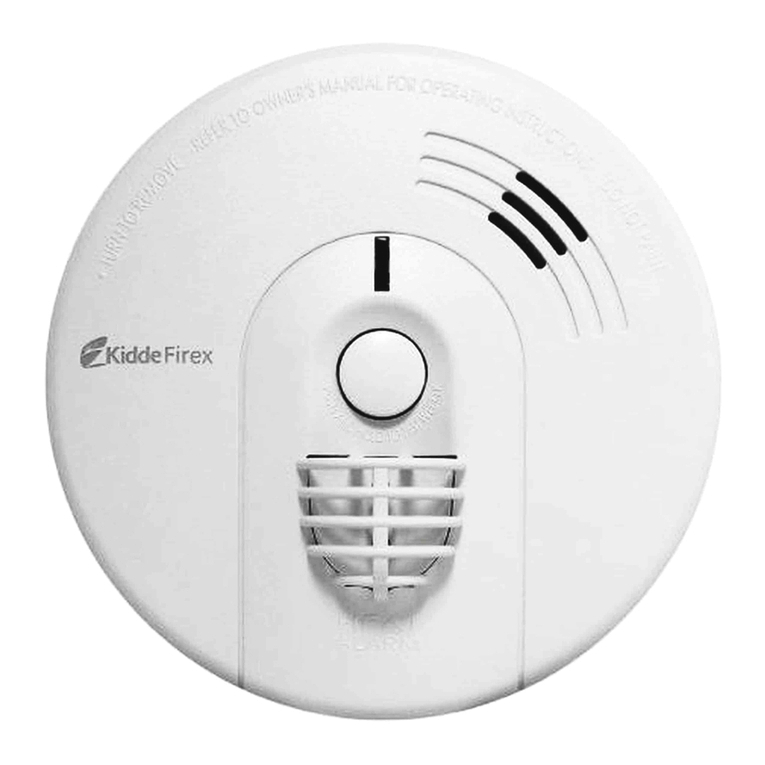
The Firex low-profile Surface Mount Pattress with Relay
Model PATR is required for surface mount installation of
Firex smoke alarm models GC240, I240C, PG240,
PAD240. DO NOT use the PATR with any other smoke
alarm models except as specified above. The pattress
also allows connection to an auxiliary device (horn, door
closer, light, etc.) through a relay control.
Disconnect mains power prior to
starting installation.
1. Locate the most appropriate site for mounting the pat-
tress and smoke alarm. See the User's Manual supplied
with your Firex smoke alarm for detailed siting informa-
tion.
NOTE: Model PATR has several mounting plate holes to fit
many applications. These include holes for attaching to stan-
dard electrical boxes or direct to a ceiling or wall.
2. Determine the closest electrical cable knock-out for the site.
a. If your application requires surface mounting electri-
cal cable, mark the best raceway knock-out for your
application.
b. If mounting directly to wallboard, mark the mounting
hole locations and drill one (1) hole at each mark.
3. Using a sharp knife, remove appropriate cable knock-out.
For surface mounting, use pliers to remove appropriate
raceway knock-out(s).
4. Route mains power supply wires through cable knock-out
or through raceway knock-out.
5. For wall or ceiling siting, insert screw plugs (furnished
with smoke alarm) into the drilled holes. Attach pattress
to the wall or electrical box at mounting holes with two
screws (furnished).
6. Fix green Earth wire from mains supply to AC MAINS "E"
screw terminal on pattress board.
7. Fix line (or brown) wire from mains supply to AC MAINS
"L" screw terminal on pattress board.
8. Fix neutral (or blue)
wire from mains sup-
ply to AC MAINS "N"
screw terminal on pat-
tress board.
9. Fix auxiliary device
wires to appropriate
screw terminals on
RELAY screw termi-
nals. Follow manu-
facturer’s directions
for wiring auxiliary device to pattress.
NOTE: The relay contacts are non-latching. The relay can be
modified to pulse the output. To do so, cut the “JUMPER”
wire on the pattress board. (See diagram above.)
10. Fix smoke alarm connector wires to appropriate screw ter-
minals on the alarm terminal block of the pattress board.
Follow directions outlined in the smoke alarm User's
Manual (enclosed).
11. Attach mounting plate to pattress by threading two screws
(supplied with pattress) into smoke alarm mounting bracket
receptors. The smoke alarm can be mounted only one way.
Be sure tamper-resist tab points over pattress board
as shown above.
12. Fix smoke alarm to mounting plate according to the Smoke
Alarm User's Manual.
13. Restore mains power supply.
14. Test unit as outlined in the Smoke Alarm User's Manual to
be sure it is functioning properly.
Sales and Technical Enquiries to:
Sensotec Europe Limited
Technical Services Department
Unit Seven
Bala Industrial Estate
Gwynedd
LL23 7NL
U.K. 110-516
Installation Manual
Surface Mount Pattress
with Relay
Model PATR
CAUTION
!