FITOK HPT-DF User manual

Hydraulic Presetting Tools
(Medium & High Pressure)
Instruction Manual
info@fitokgroup.com
www.fitokgroup.com
info@fitokgroup.com
www.fitokgroup.com
FITOK Group
FITOK GmbH
Sprendlinger Landstr. 115, 63069 Offenbach am Main, Germany
Tel.: +49 69 8900 4498 Fax: +49 69 8900 4495
FITOK, Inc.
13843 North Promenade Blvd., Suite 750, Stafford, Texas 77477,
USA
Tel.: +1 281 888 0077 Fax: +1 281 582 4051
FITOK (Wuhan) Incorporated
Zhongbai Yangluo Industrial Park, Hanshi Road, Xinzhou District,
Wuhan, Hubei Province, 430415, China
Tel.: +86 27 8983 8988 Fax: +86 27 8983 8980
FITOK (Shenzhen) Incorporated
No.164 Xinqu Village, Tiantou Community, Shijing Street,
Pingshan District, Shenzhen 518118, China
Tel.: +86 755 2803 2500 Fax: +86 755 2803 2619
FITOK (Suzhou) Metal Products Co., Ltd.
No. 29 Changsheng Road, Yangyuan Industrial Park, Xinzhuang
Town, Changshu, Jiangsu 215562, China
Tel.: +86 512 5247 9001 Fax: +86 512 5247 9002
FITOK Corporation
1F, B1, 119, Gyeonggi-daero 632beon-gil, Osan-si, Gyeonggi-do,
Republic of Korea
Tel: +82 31 831 9811 Fax: +82 31 831 9812
FITOK Middle East Oil Equipment Trading LLC
Makateb Building, P.O. Box 185412, Airport Road, Deira,
Dubai, UAE
Tel.: +971 4 2959 853 Fax: +971 4 2959 854

1
Introduction
This instruction manual specifies FITOK Hydraulic
Presetting Tool that is used to preset 20D Series double
ferrules onto the tubing.
Please read and understand this instruction manual before
using FITOK Hydraulic Presetting Tool.
Model Specification
HPT-N
HPT-DF
Model
Hydraulic Presetting Tools
Description
Without die heads
The die heads can be ordered
individually
With full set of die heads
CAUTION - It states the correct operation, maintenance
procedure and how to avoid damaging the equipment
or other property.
WARNING - Proper personal protection equipment must
be used when operating the Hydraulic Presetting Tool.
CAUTION - Do not tamper with or alter any components.
CAUTION - Please contact FITOK Group or authorized
distributors if any signs of hydraulic fluid leakage or
malfunction occur.
CAUTION - Keep away from flame or heat source. Do
not expose the tool to the temperature of 65 °C or
higher, and protect the cylinder from welding sparks.
WARNING - It states a potential danger existed to
require correct procedure and convention to avoid
personal injury.
Definitions
Safety Precautions
Symbols are used in this document to identify safety
concerns. Read the definitions below before installing
and operating the Hydraulic Presetting Tool.
HPT-DFF9
HPT-DFF12
HPT-DFF8
Model
Die Heads
Tube O.D., in.
1/2
9/16
3/4
HPT-DFF16 1

Caution
32
Components
(Unit with Die Heads and Base)
Installation
Operation
When disassembling the die head, loosen the locking
handle first, and disassemble the die head.
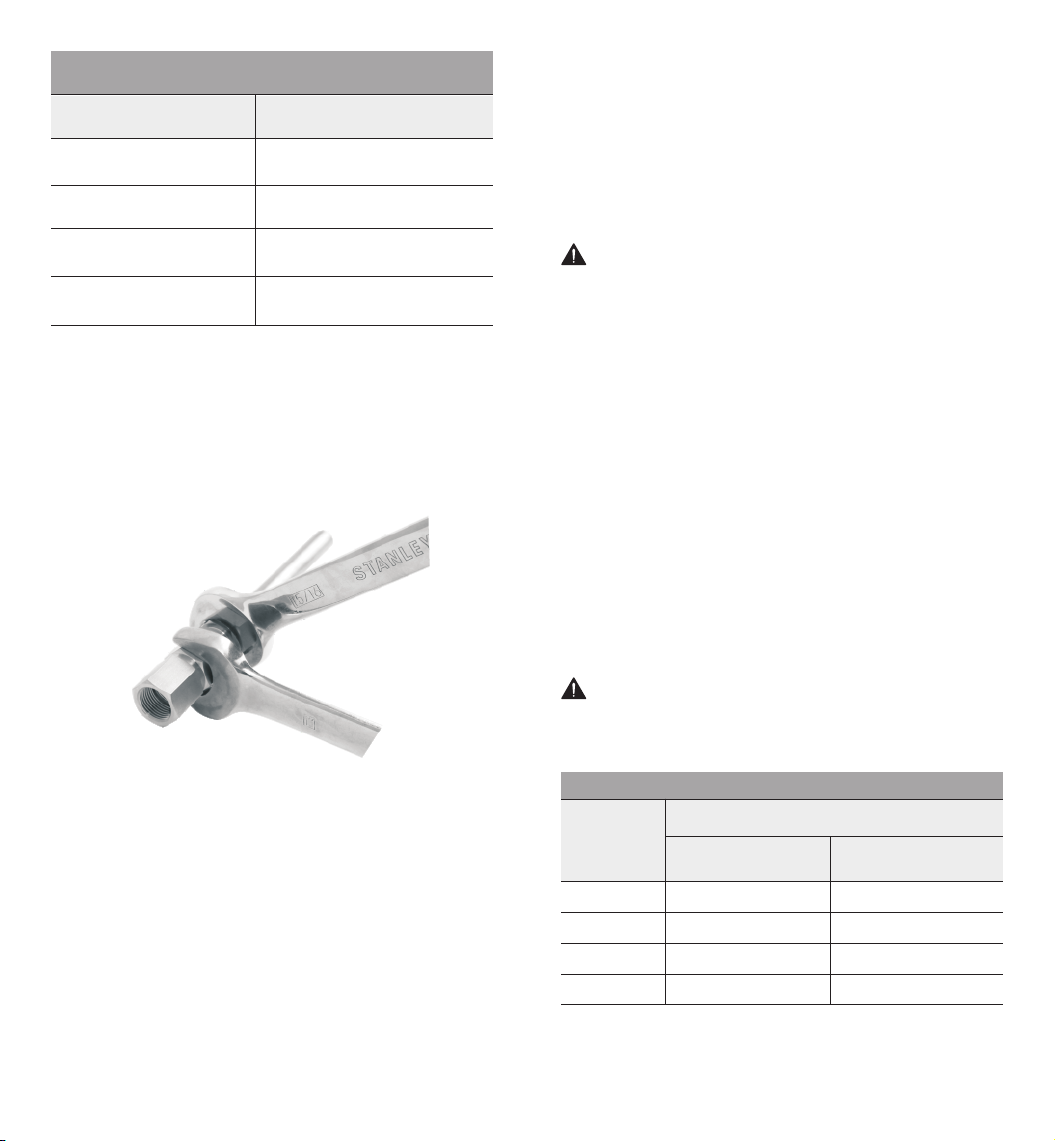
1. Select an appropriate die head.
2. Install the selected die head into the hydraulic housing
clockwise until the end face of the die head is aligned
with that of the hydraulic housing. Then use a wrench to
tighten it. See Fig. 1.
1. Prepare tube ends by deburring.
Note: Remove any burrs. Use of FITOK Tube Deburring
Tool is recommended.
2. Put a nut, a rear ferrule and a front ferrule onto the
tubing in proper sequence and orientation. See Fig. 2.
3. Insert the tubing into the die head until it rests firmly
against the piston shoulder. Tighten the nut until finger-
tight. See Fig. 3.
4. Make sure that the bleed valve is in the closed position.
While holding the tubing against the piston shoulder,
press the pump handle gently till the gauge shows the
corresponding pressure value. Hold for more than 30s.
See Fig.3 and Table 1.
3. Turn the locking handle clockwise to the finger-tight
position to ensure the die head is firmed. See Fig.1.
Fig. 1 Die Head Installation
Fig. 2. Nut and Ferrules Orientation
Wrench
Hydraulic hand pump
Bleed valve
Pressure gauge
Hydraulic housing
Base
Die heads
Locking handle
step 3
step 2
Fig.3 Tubing Presetting
4
1. If it is difficult to remove the tubing from the hydraulic
presetting tool after presetting, rock the tubing back
and forth.
Refer to the Recommended Minimum Wall Thickness
table - presetting tubing below the recommended
minimum wall thickness may result in tube sticking.
Troubleshooting
5. Open the bleed valve. Loosen the nut and remove the
tubing from the hydraulic presetting tool.
6. Install the preset assembly into the fitting body and turn
the nut onto the fitting body until it is -tight.
While holding the fitting body steady, tighten the nut
1/4 turn with a wrench for tube O.D. 1/2", 9/16", 3/4",
and 1/2 turn for tube O.D. 1". See Fig. 4.
finger
Do not rotate the tubing.
Use of tubing below the recommended minimum wall
thickness may result in the tube sticking in the die head.
2. If the die head piston is binding, contact FITOK Group or
authorized distributors.
3. If the pump fails to build pressure, check the oil level in
the pump by removing the dipstick and checking for a
proper amount of oil. Too much or too little oil will
prevent the pump from operating properly.
4. The pump manufacturer specifies using 10W, AW-46
grade hydraulic oil or equivalent with an antifoaming
additive.
CAUTION
WARNING
Table 1
Fig. 4 Tighten Nut with Wrench
Presetting Pressure, Mpa
Tube O.D., in.
Recommended Minimum Wall
Thickness of Tubing for Use with
the Hydraulic Presetting Tool
Tubing Wall Thickness, in.
Tube O.D.,
in. Annealed Stainless
Steel tubing
9/16
9/16 20 22~
3/4
3/4 33 36~
1/2
1/2 13 15~
0.134
0.188
0.188
1/8-hard Stainless
Steel tubing
0.109
0.125
0.165
5
1 45 47~
10.22 0.17
Reinstallation Instructions
1. Insert the tubing into the fitting body or the valve,
finger tight the nut.
2. While holding the fitting body or the valve steady, for
tubing O.D. 1'', tighten the nut to the previous assembly
position and further tighten it with a wrench; for other
dimension tubing, tighten the nut 1/4 turn with a
wrench for the initial reinstallation, and for reinstallations
thereafter, tighten the nut to the previous assembly
position and further tighten it with a wrench.
This manual suits for next models
5
Popular Tools manuals by other brands


Cleco
Cleco LiveWire 47BC Series manual

Weber Rescue Systems
Weber Rescue Systems IP-BAG SMALL quick start guide

Schneider Airsystems
Schneider Airsystems SLA 8-9 Original operating manual

Piper Aircraft Corporation
Piper Aircraft Corporation Cherokee PA-28-180 Airplane Flight Manual

Kreg
Kreg KHI-CDIJ owner's manual

Glomar
Glomar EPG-ULTRA-ID instruction manual

Atlas Copco
Atlas Copco LTV39-2 R48-10-ATEX Product instructions

Hilti
Hilti TE 6-CL Original operating instructions

Summit
Summit SME-906006 instructions

MSW Motor Technics
MSW Motor Technics MSW-SG-125 user manual

Matco Tools
Matco Tools MWD2 Operating instructions and warnings

Sealey
Sealey GH80.V2 instructions