INSTALLATION GUIDE
8
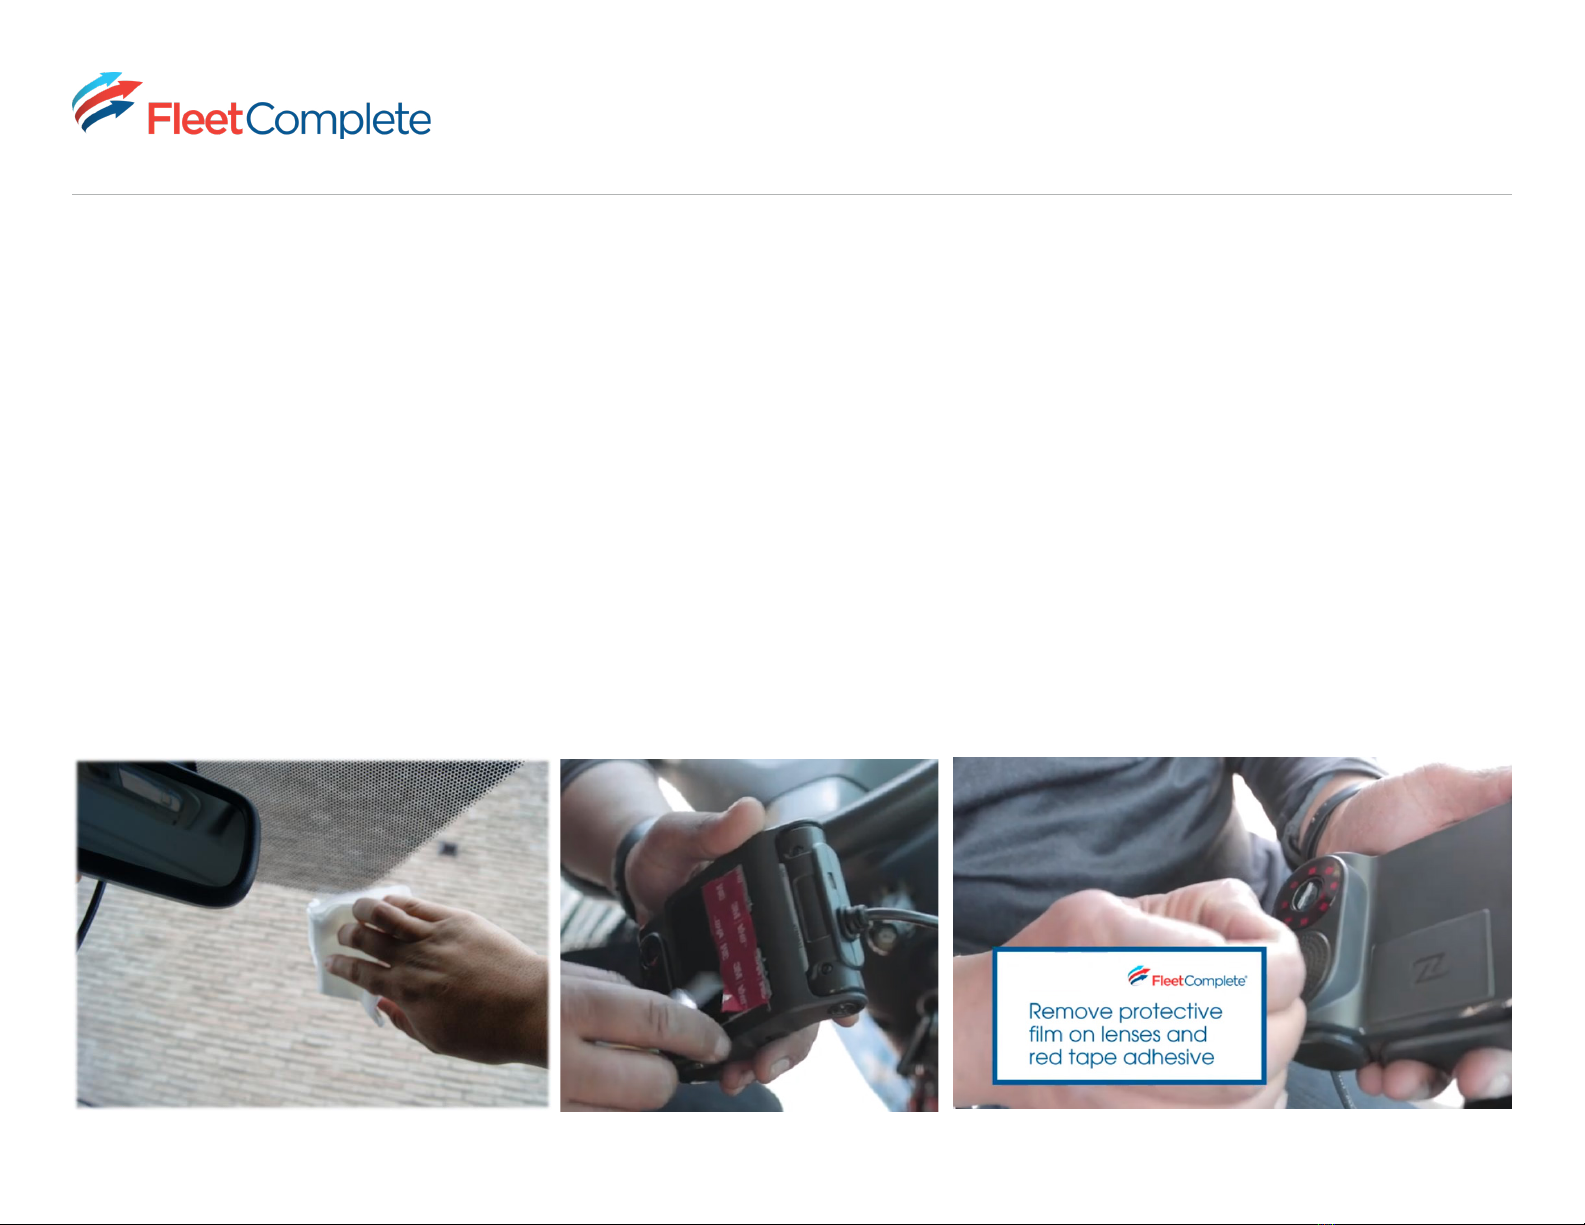
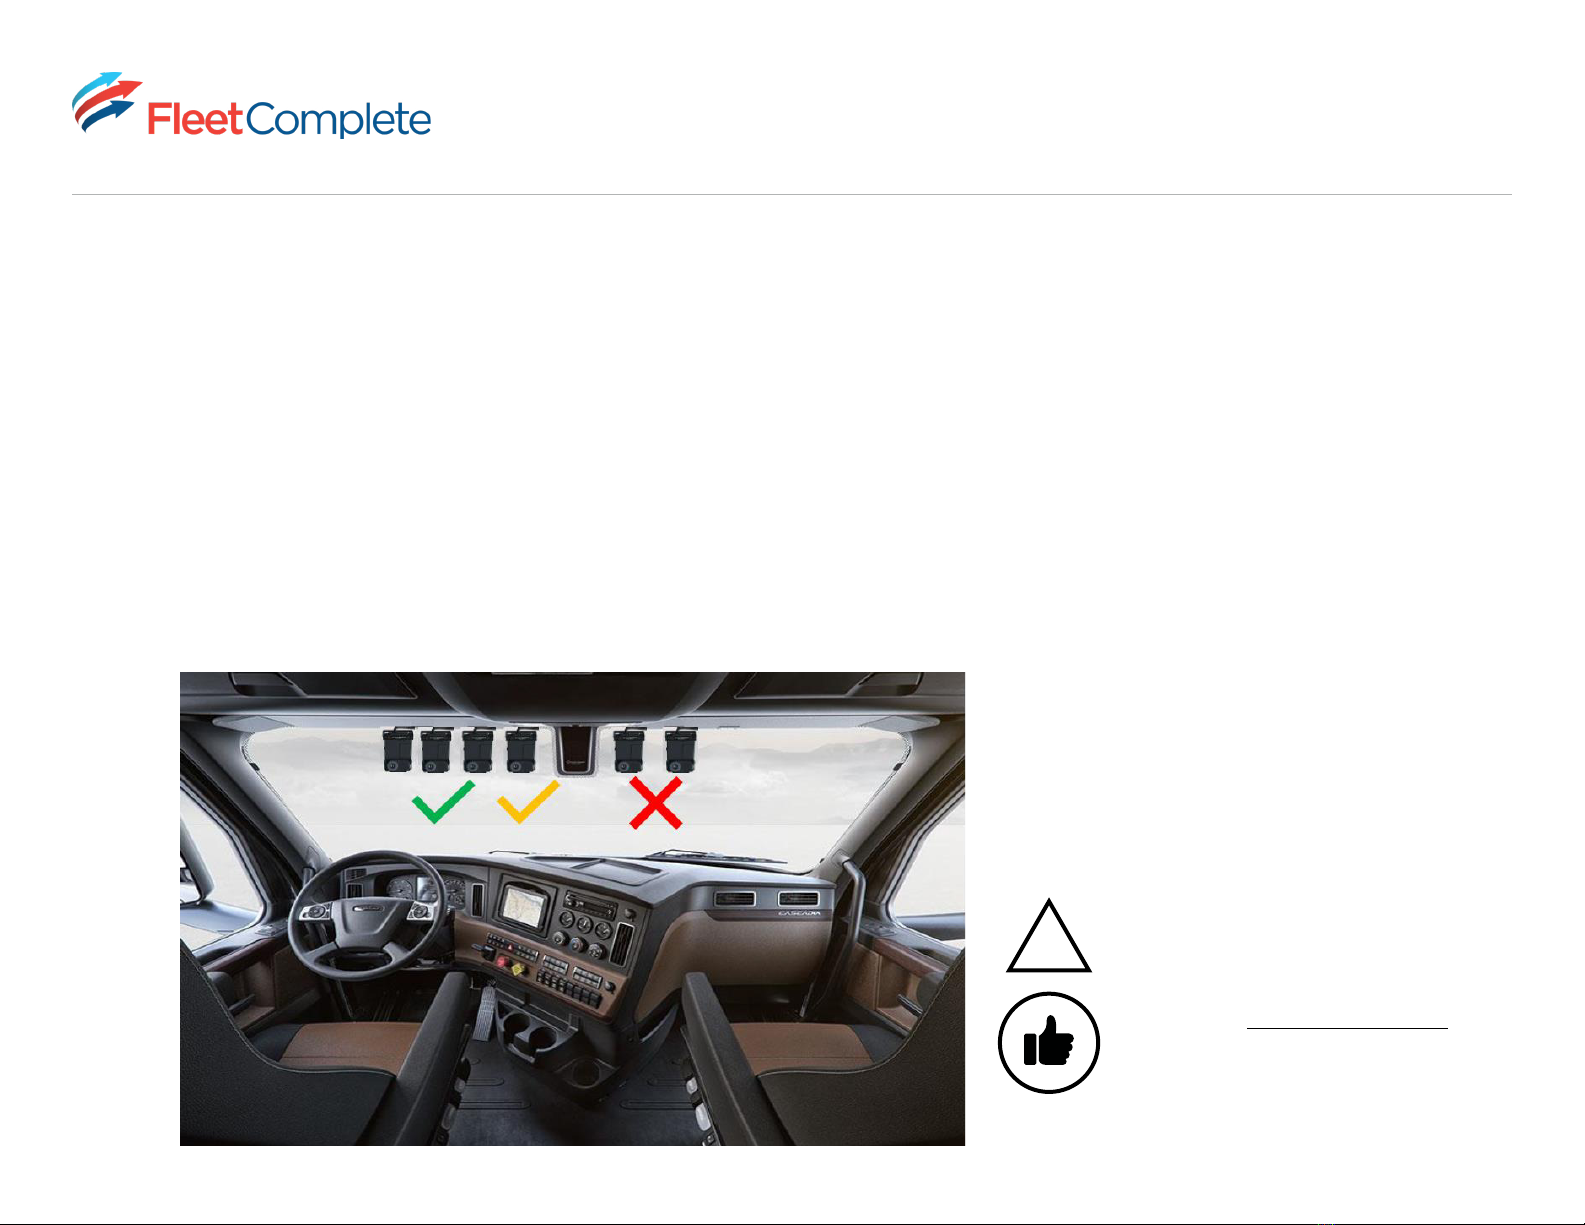
Camera Positioning
• Mounting the camera towards the driver side is recommended. Driver monitoring functionality is compromised if the
camera is mounted closer to the passenger seat than the driver’s seat.
• For optimal view, ensure the camera is positioned vertically. Vertical positioning is dependent on the vehicle’s
windshield angle.
• Ensure the sun visor in your vehicle’s driver side is not obstructing your cabin view lens. A good practice is to drop
your sun visor before mounting your camera to ensure the lens is just underneath the visor.
Green - Optimal
Yellow - Good
Red - Bad
!The correct camera positioning and alignment is
critical to ensure optimal product performance.
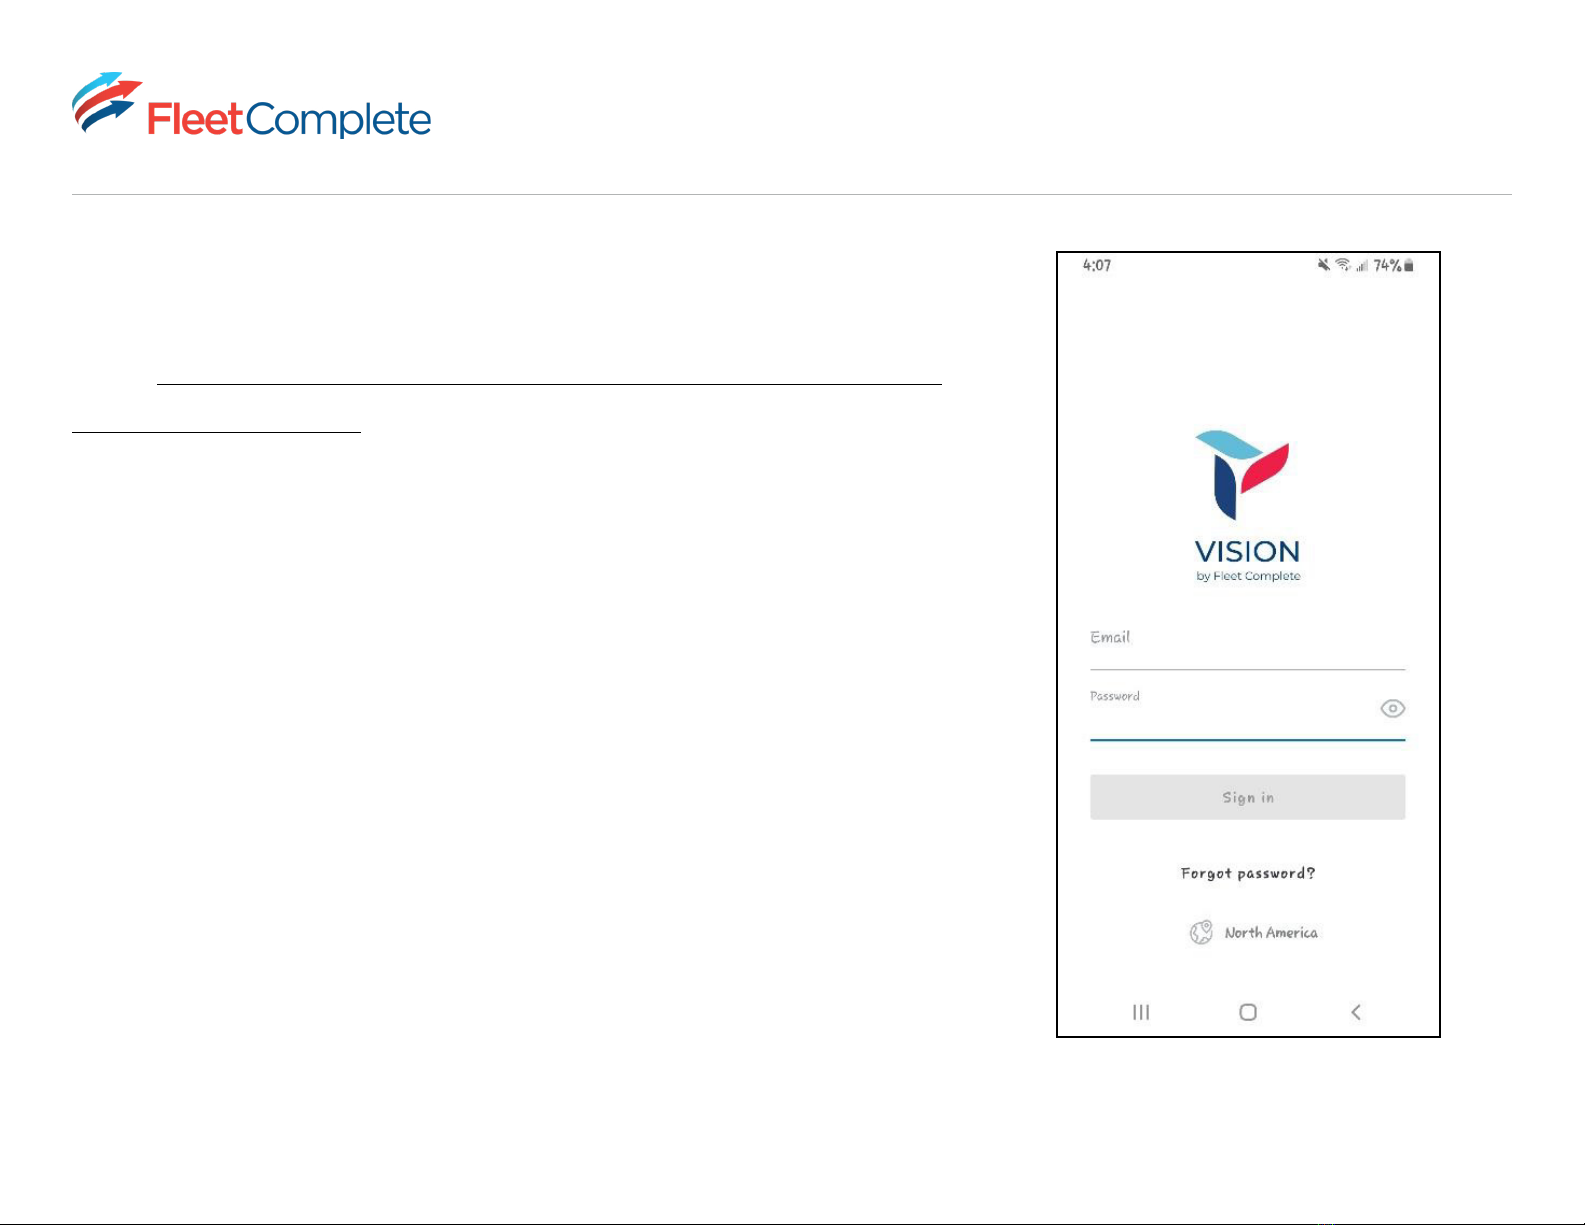
Pro tip: Use the Vision app installer mode to
preview the camera positioning.