HOW TO POWER ON
1
2
① Insert the car charger into your car’s cigarette lighter socket.
② Insert the USB port of the car charger into the dash cam’s USB port (Charger is DC
12-24V, Out DC 5V 2A).
Note:
① After powering on dash cam through the car charger, the dash cam will automatically
turn on and start recording (if the card has been inserted). If wanting to do some
settings, please firstly stop recording.
② Please charge for 30 minutes before using this dash cam powered by the built-in
battery.
③ When the battery is charging, the indicator light on the left of the screen will be stayed
blue; When it charged fully, the light goes off.
④ The built-in battery is only used to power the "parking monitor" function.
In normal use, please plug the car charger into the cigarette lighter of the car to power
the dash cam. The built-in battery is not recommended as a normal use of power
supply to the dash cam, in order to avoid the battery no power when parking, and
cause the parking monitoring function to fail.
⑤The camera can be powered by connecting the phone adapter 5VDC with the USB
Cable to plug into a power outlet.
When charging, please shut down the camera by long press the power button.
Tips
① Blue indicator light flash means the camera is recording.
② Blue indicator light means the camera is charging.
③ Support recording when you read the data into computer from this dash cam.
FORMAT MICRO SD CARD
When using 32GB micro SD card above, the card has to be formatted on the camera, then
the camera can record normally, If not format, the camera will show "insert SD card" on
screen.
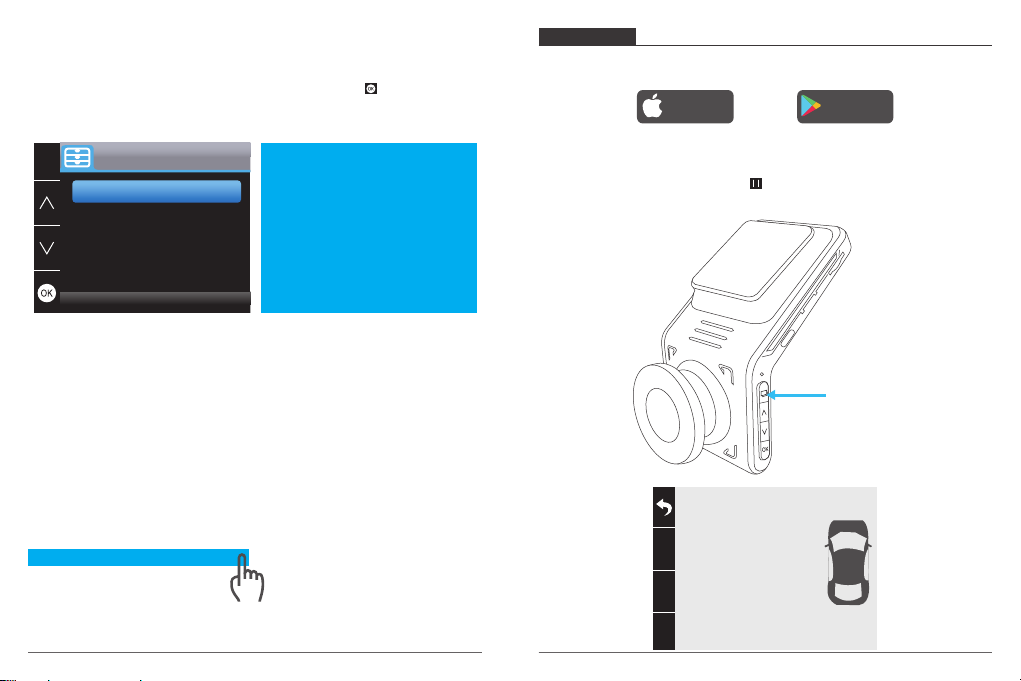
Enter into the setup setting, press to choose “Format”, press and then press again
to confirm micro SD card option, press or to choose “Cancel or OK”, press to
confirm and exit.
Setup
Parking Monitor
Gps Speed
Format
Default Setting
Frequency
HZ
Format
Parking Monitor
Gps Speed
Format
Default Setting
Frequency
HZ
SD Card
Format
Parking Monitor
Frequency
HZ
Gps Speed
Format
Default Setting
All data will be
deketed
Cancel
OK
03 04