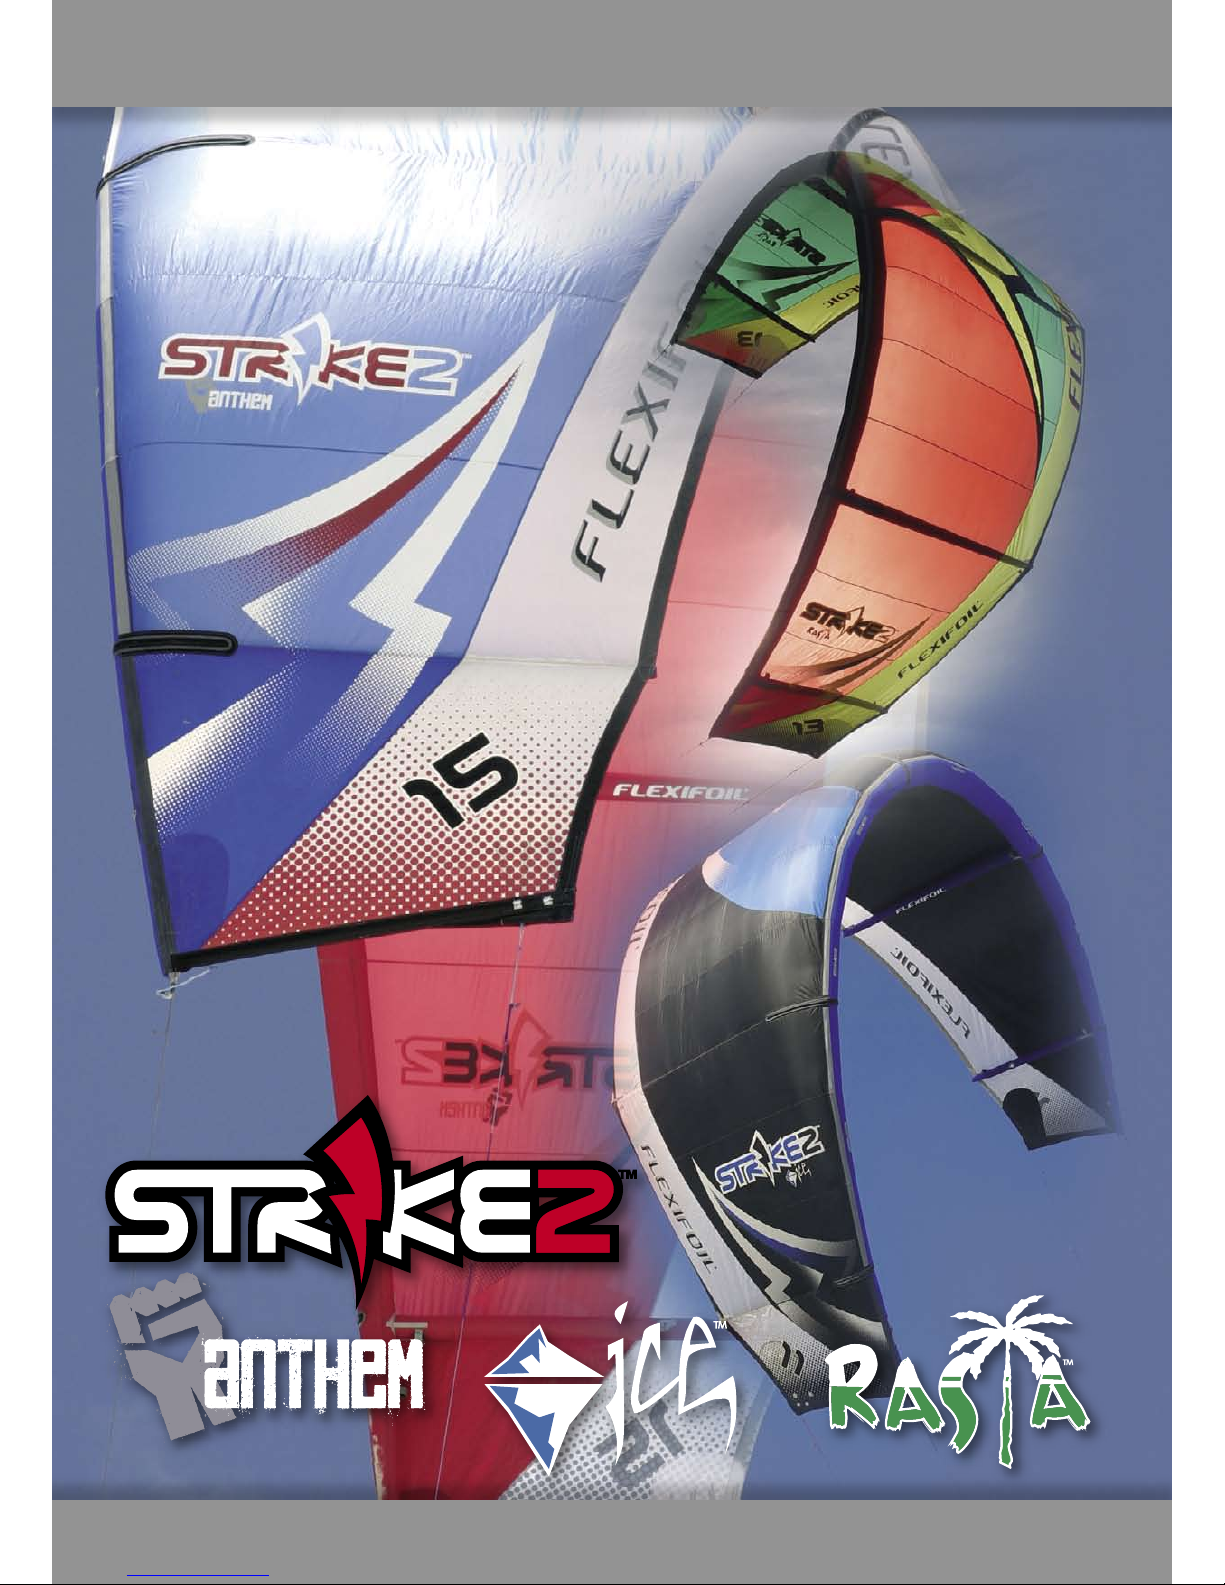
2.1 Contents
IMPORTANT INFORMATION
The Strike series kites have been designed for
kiteboarding and other water use only. They are not
recommended for land-based activities.
Kiteboarding is an extreme sport that can be
both exhilarating and dangerous. You must read
and abide by the following instructions and
safety warnings to ensure that you have a great
kiteboarding experience.
This information is for your own safety and
protection. If you do not agree with these
instructions and warnings, do not use this
product. Please return this product in perfect
condition to the point of purchase and you will
receive a full refund.
ESSENTIAL DO’S AND DON’TS
If operated and looked after properly, your new Strike
will serve you well. To ensure that your kite lives a
long and happy life, you must follow this advice.
NEVER kiteboard in conditions that are too extreme
or winds that are too strong for your skill level or your
equipment.
DO NOT over inflate your kite.
DO NOT push the valves into your kite after inflating
the bladders.
NEVER store your kite wet.
ALWAYS dry your kite before storing for long
periods.
When packing away your Strike kite, DO NOT
scrunch up, fold or crease the kite. ALWAYS roll it up
carefully from one end to the other.
DO NOT leave your kite fully inflated for long periods,
especially in hot conditions.
If in doubt about which size of kite to take on to the
water, ALWAYS start with a smaller kite and work up,
as necessary. NEVER start with a larger kite.
Flexifoil strongly recommend that you take lessons
from a fully qualified instructor before kiteboarding
with your Strike kite.
Flexifoil strongly recommend that you take out
third party civil liability insurance before you start
kiteboarding and abide by all safety guidelines and
conduct yourself in a safe manner.
•
•
•
•
•
•
•
•
•
•
•
•
•
•
2.2 Safety First
Flexifoil strongly recommend that you abide by ALL safety guidelines and conduct yourself in a safe manner at all times
2.1 Contents
2.2 Safety First
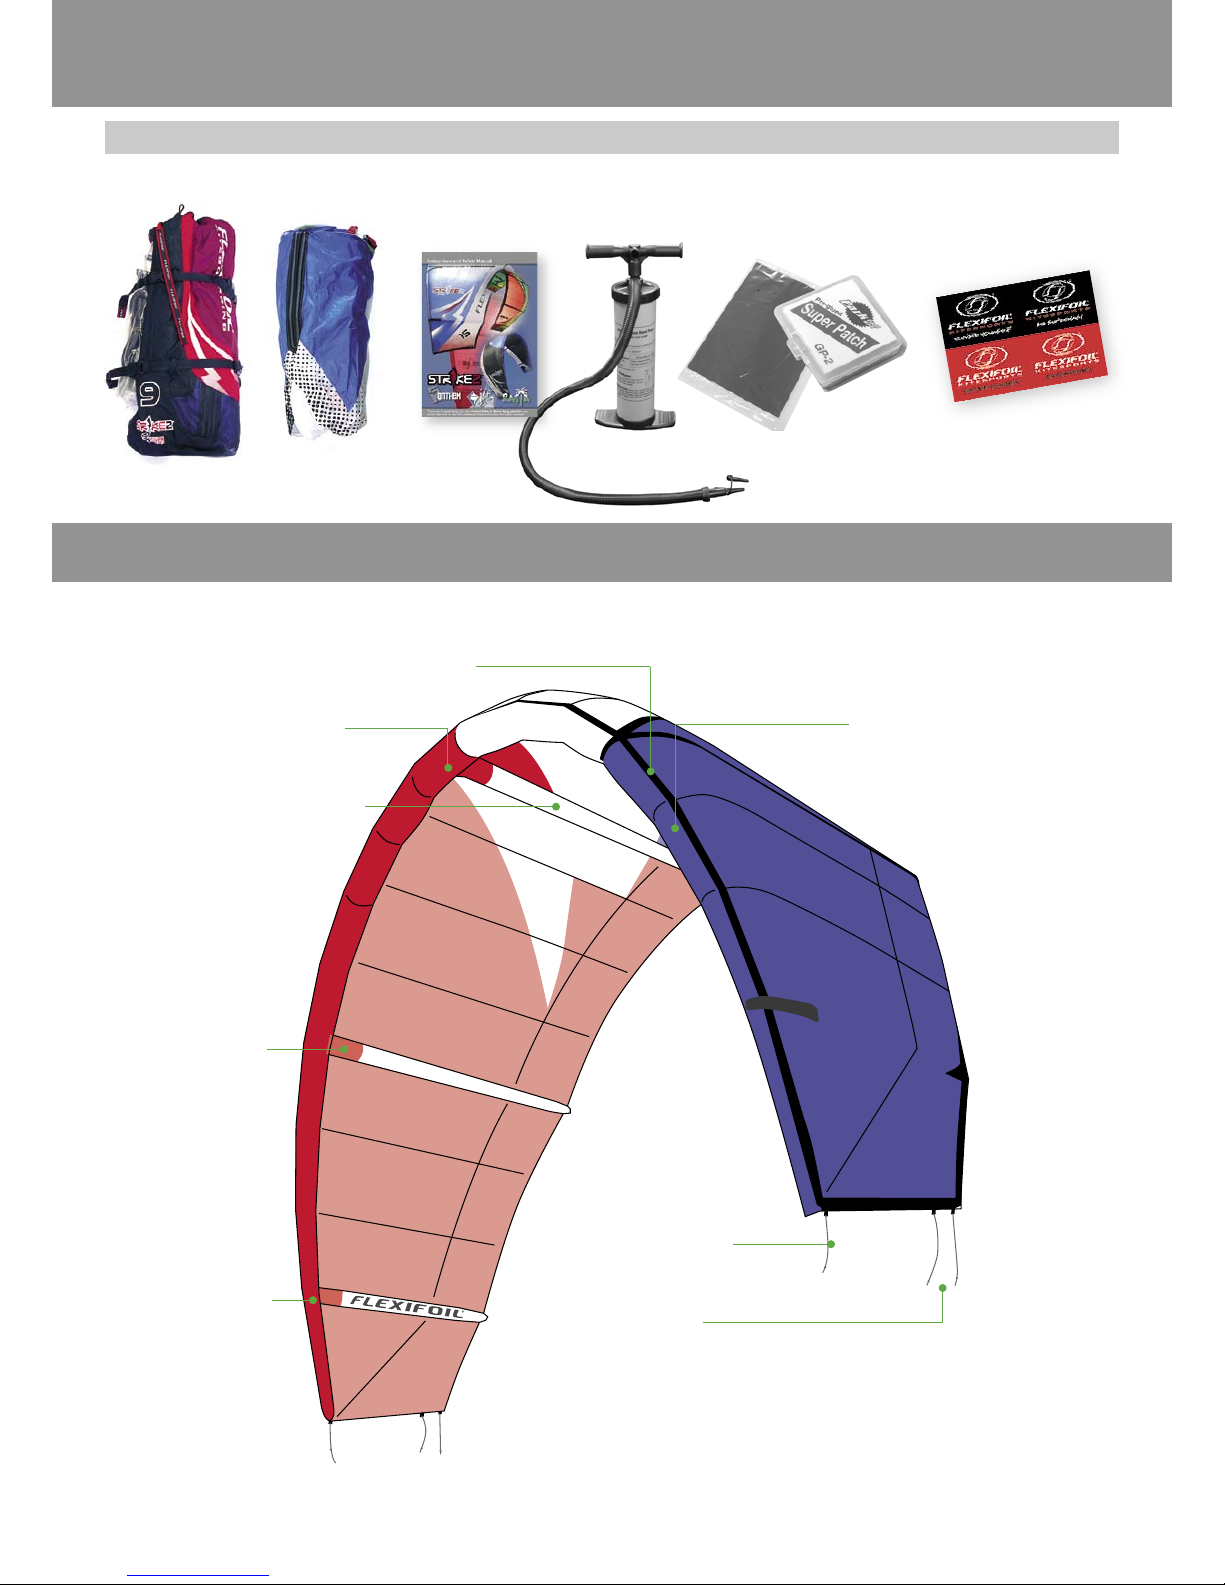
3.1 Bag Contents
3.2 Strike 2 Overview
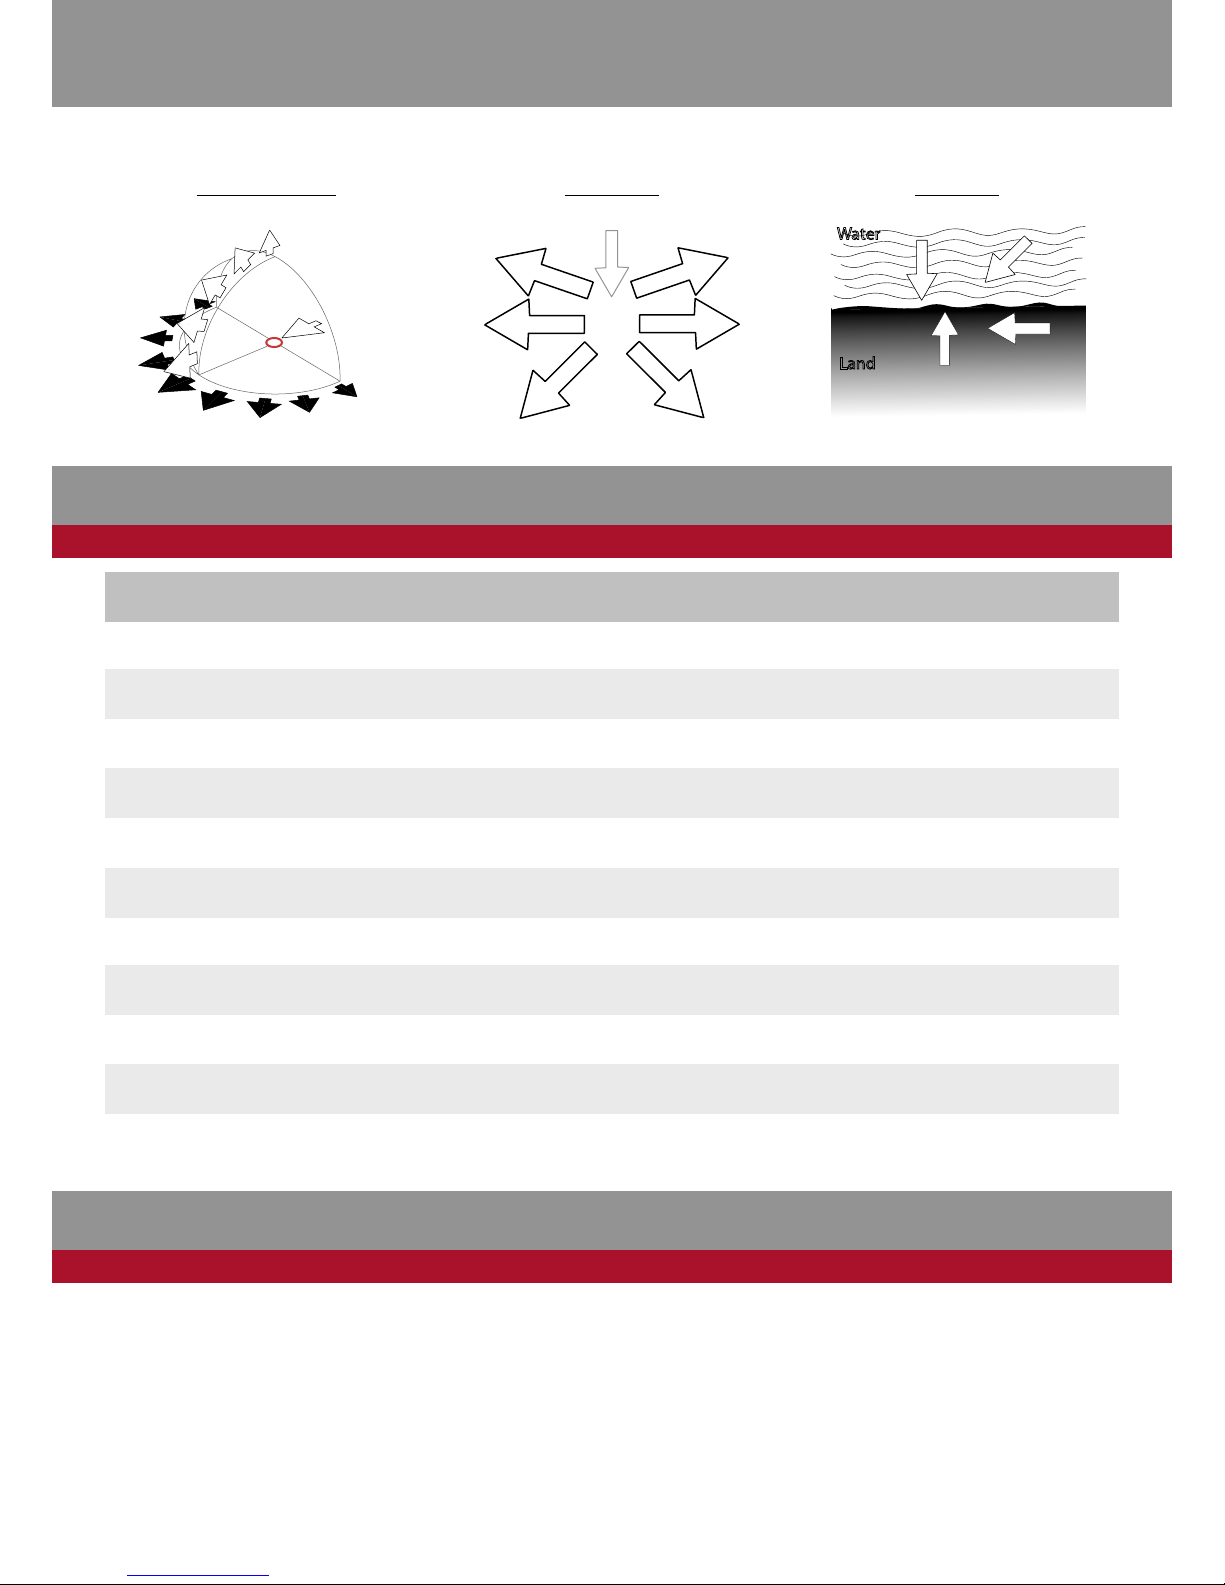
4.1 Wind Window
4.2 Wind Speed Table
4.3 Kite Size Information
5.1 The Lark’s-Head Knot
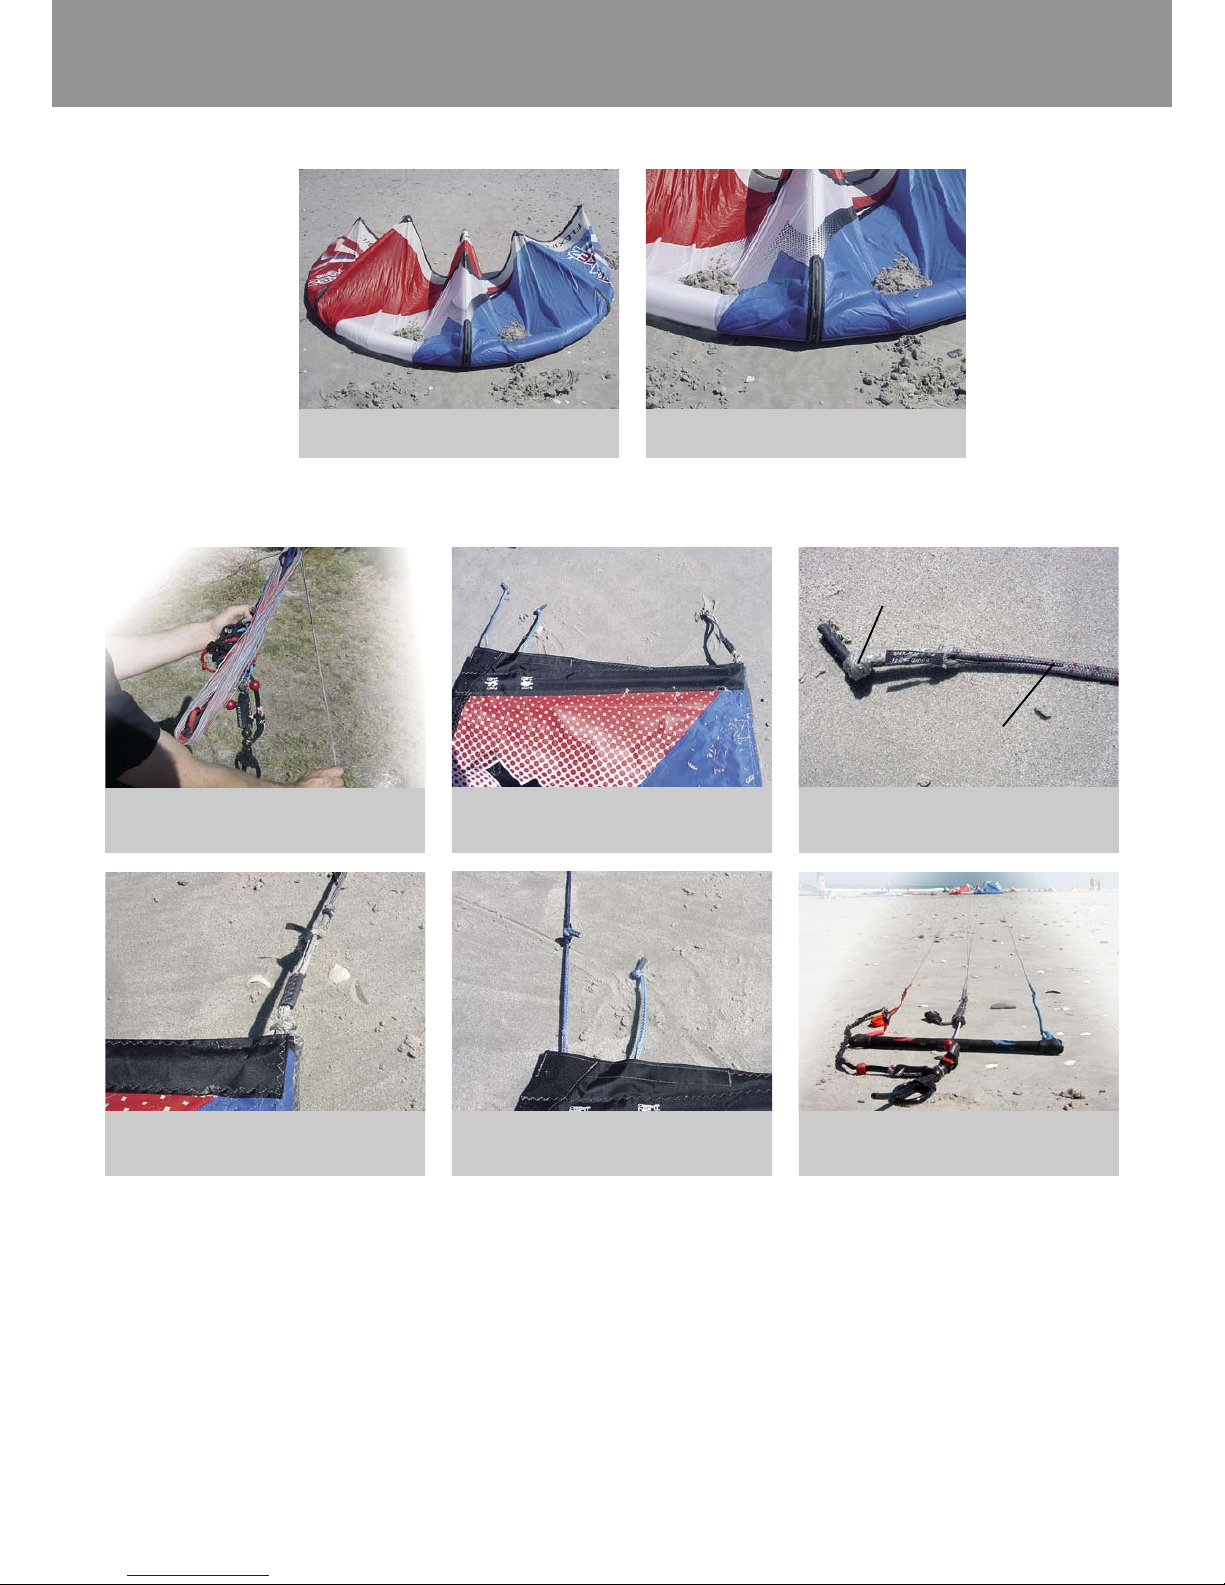
5.2 Strike 2 Setup
6 Strike 2 Setup (Continued)
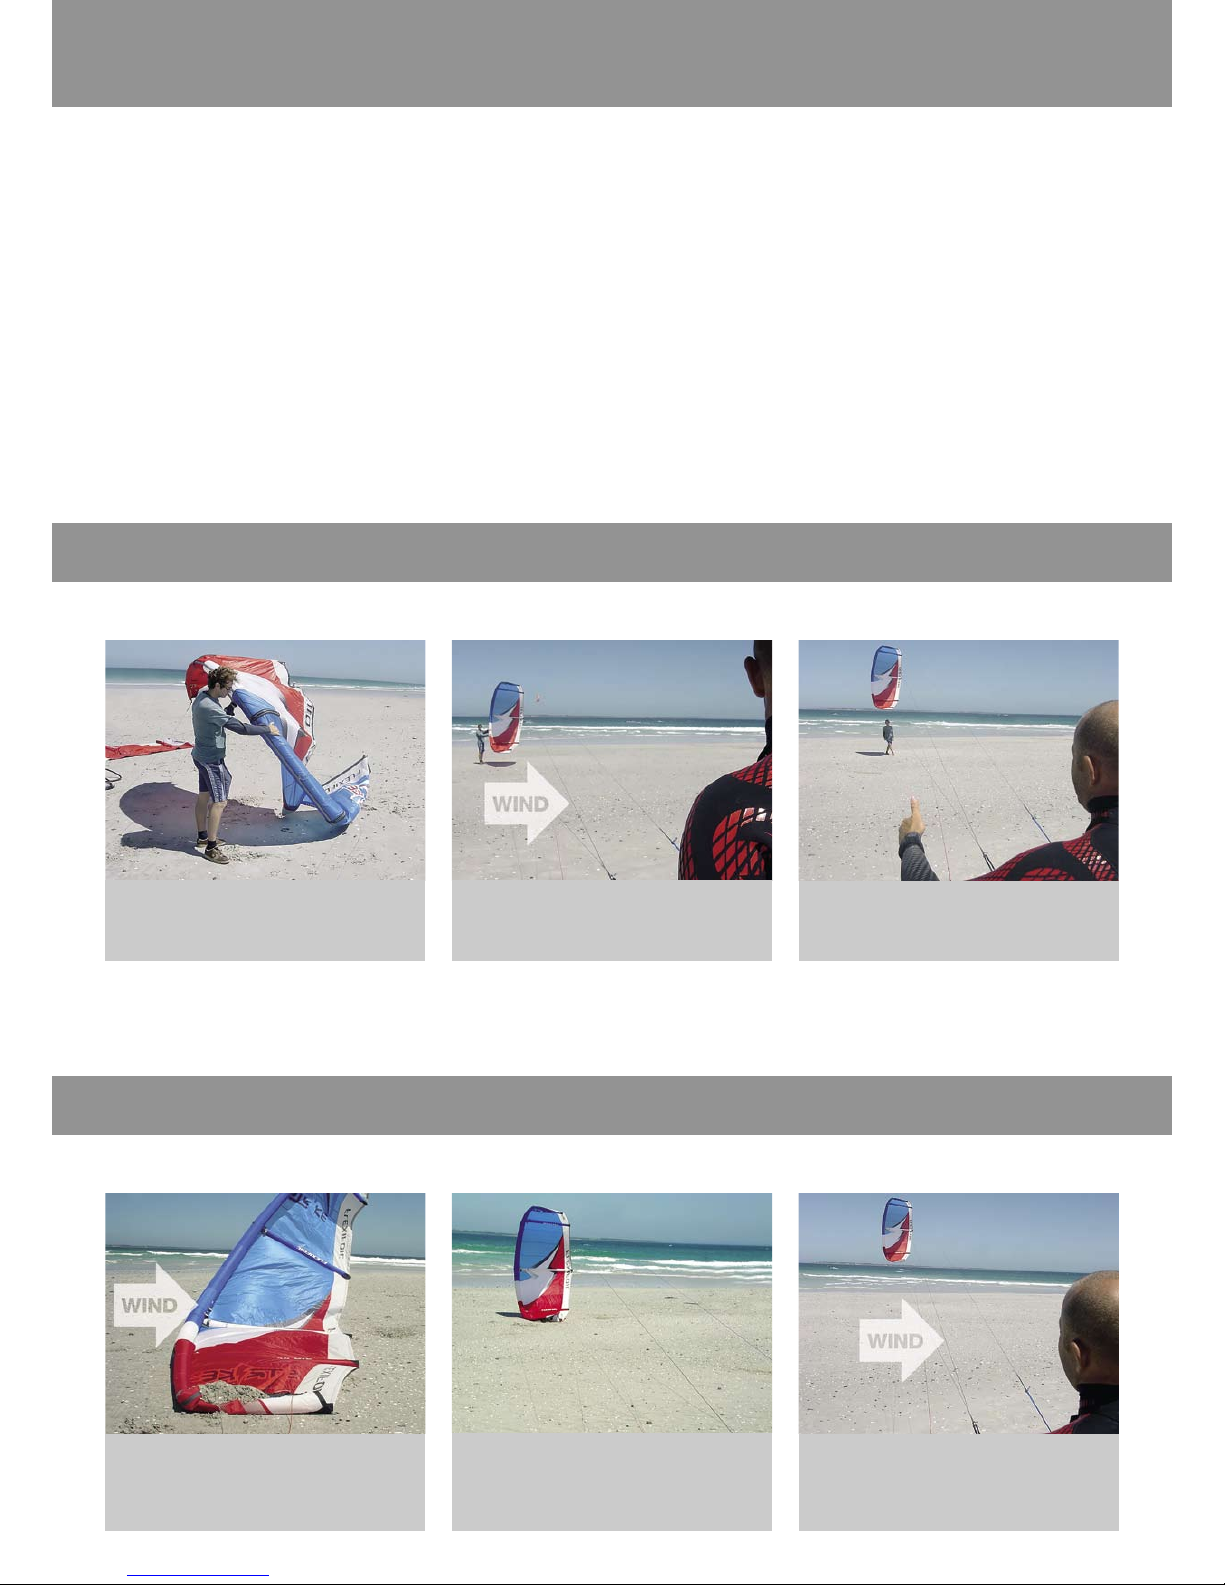
7.1 Pre-Launch Preparations
7.2 Launching the Kite (Assisted)
7.3 Launching the Kite (Solo)
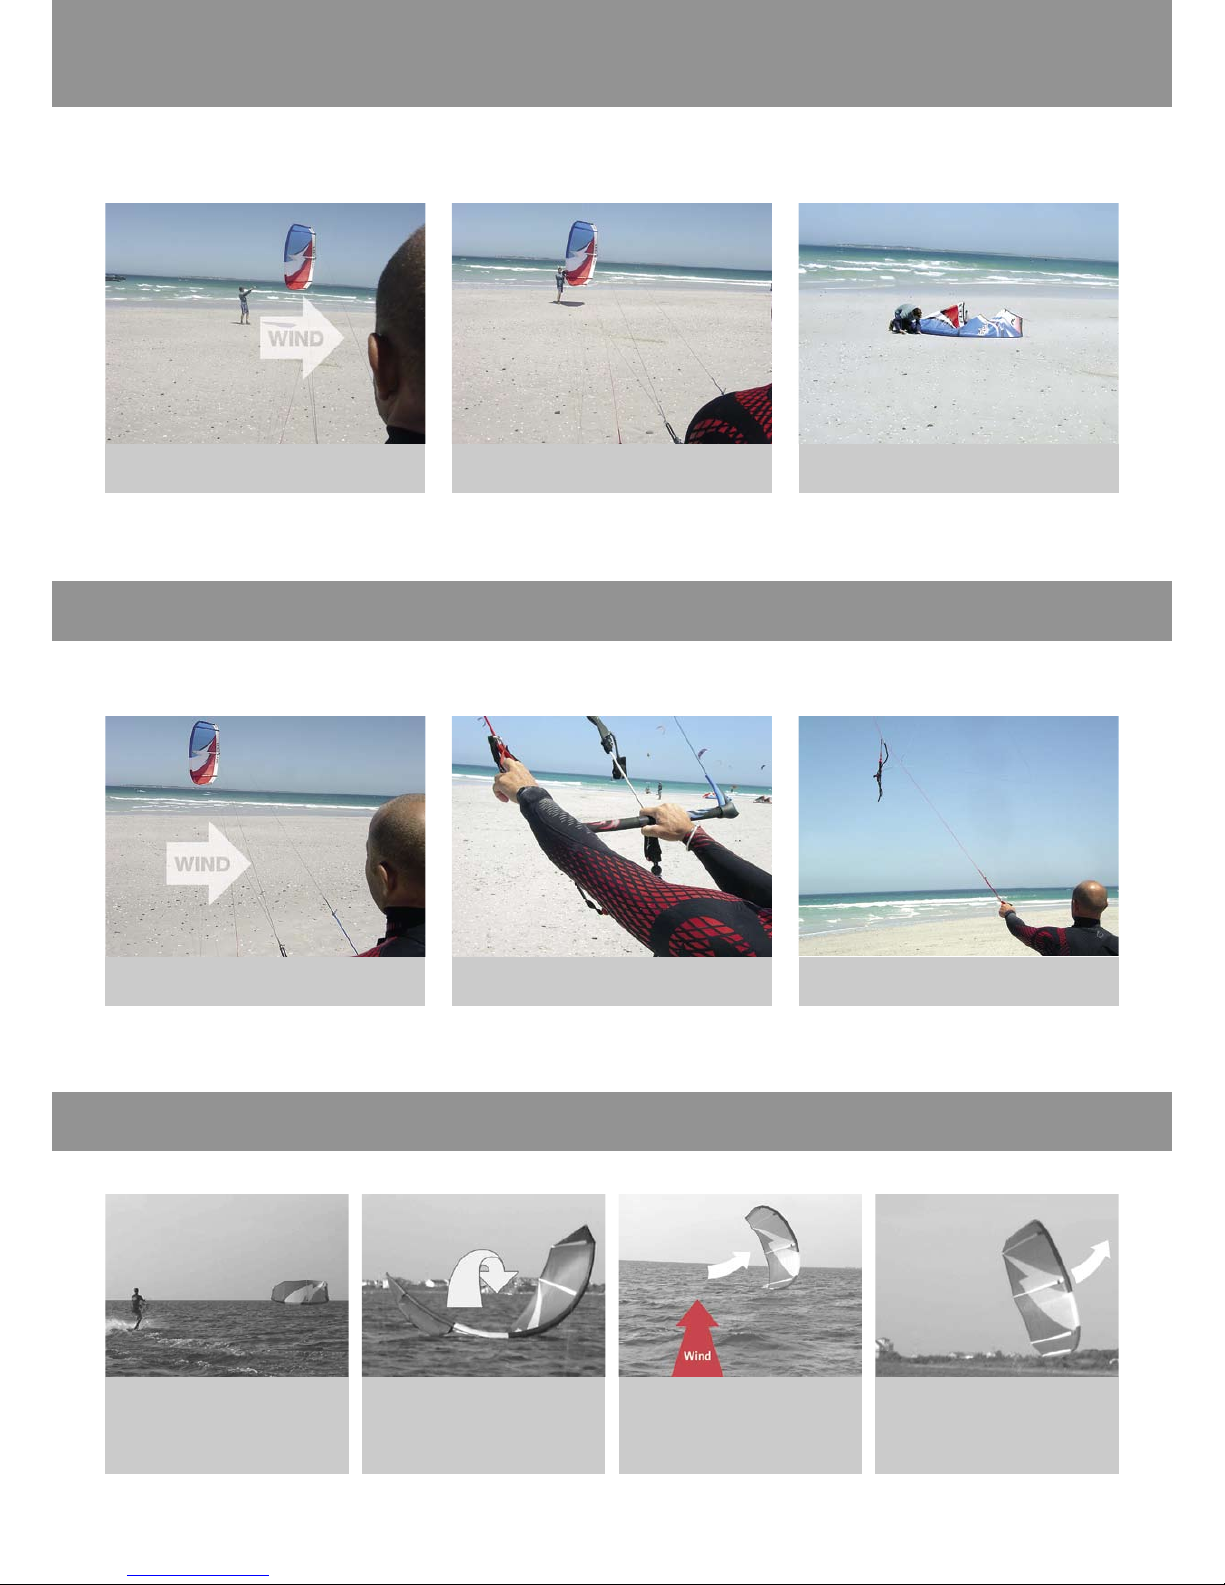
8.1 Landing the Kite (Assisted)
8.2 Landing the Kite (Solo)
8.3 Water Re-launching
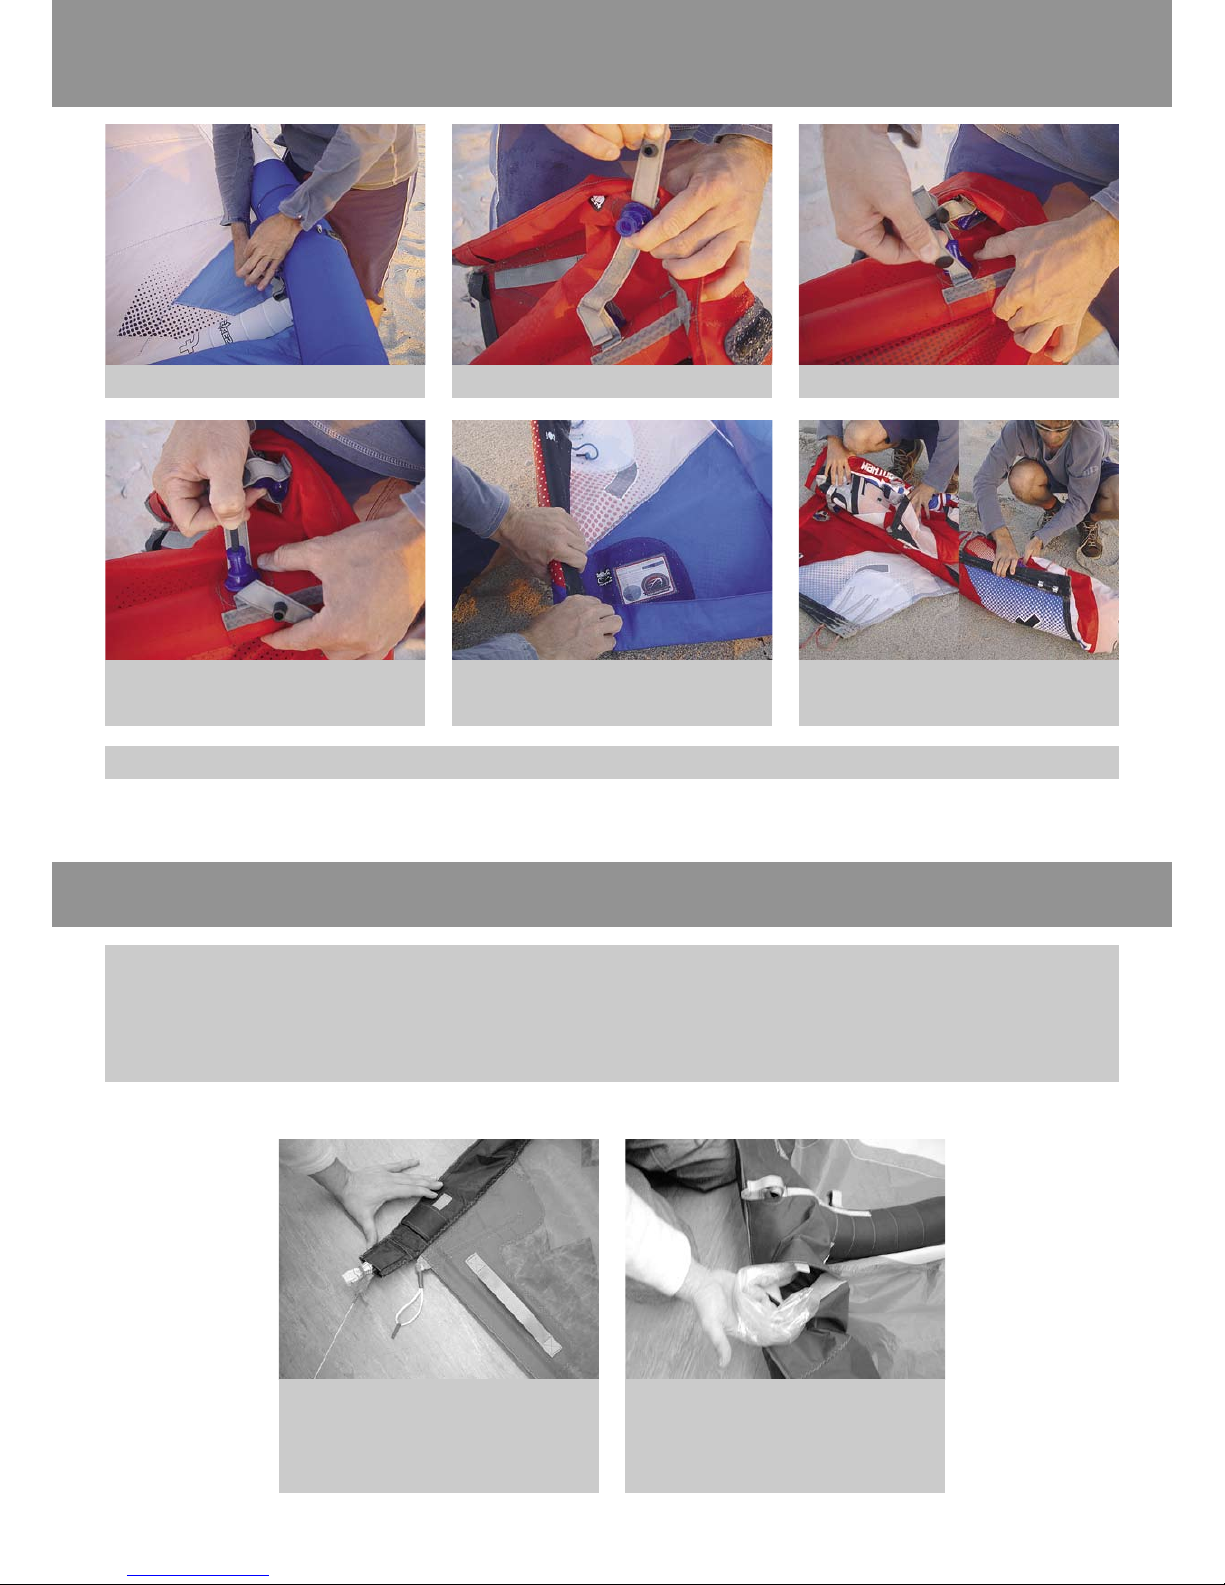
9.1 Packing and Storing the Kite
9.2 Bladder Repair
10 Bladder Repair (Continued)
11 Bladder Repair (Continued)
12.1 Care and Maintenance
12.2 Repairs Service
12.3 Warranty
GENERAL
Use extreme caution when using kiteboarding
equipment. Improper, incorrect or careless use of this
equipment can cause serious injury or death.
Strike kites are not parachutes, paragliders or
personal flotation devices and are not to be used as
such.
A kiteboarder must be fit, healthy, be able to swim
and be over 18 years of age (under 18’s should have
parental permission and adult supervision).
A kiteboarder should know and abide by the rules of
the sea, navigation laws, Coast Guard requirements
and local rules and regulations.
Do not fly under the influence of alcohol or mind
altering drugs.
LEARNING
Always learn to fly with a smaller traction kite, such
as a Flexifoil Bullet, before attempting to fly a kite
intended for kiteboarding.
Do not attempt to kiteboard until you have
completely mastered control of the Strike kite on
land.
Instruction should be taken from an officially
recognised kiteboarding instructor when going out
onto the water for the first time.
Beginners should learn to kiteboard in lighter winds.
Practise water launching/ landing procedures and
self-rescue techniques before going out onto the
water for the first time.
WEATHER CONDITIONS
NEVER kiteboard in an offshore wind.
NEVER kiteboard in conditions that are too extreme
or winds that are too strong for your skill level or your
equipment.
NEVER kiteboard if you cannot safely handle the
power of the kite (you are overpowered). Use a
smaller kite or wait for a lighter wind.
DO NOT fly in thunderstorms, electrical storms or at
night.
LOCATION
DO NOT fly your kite near overhead power cables,
roads, airports, cars, railways, people or animals.
ALWAYS select safe launching and landing areas free
of people and obstacles. Stay away from unsecured
kites and lines on the ground as a kite can re-launch
itself at any time. Disable kite and lines on the
ground when not in use.
NEVER kiteboard so far away from the shore, that
you cannot swim back in an emergency.
ALWAYS maintain plenty of clear space around you
in all directions when flying on land and in the water,
especially downwind. A kite can pull you downwind
for a considerable distance.
NEVER kiteboard in congested areas with swimmers,
boats, watercraft, solid obstacles or other water
users.
NEVER kiteboard alone or without a rescue craft on
hand. Always have someone watching out for you.
EQUIPMENT
YOU MUST always check all your equipment for
wear and tear before going out onto the water.
Do not fly with damaged or worn flying lines or
equipment. Repair or replace equipment accordingly.
ALWAYS kiteboard with appropriate safety
equipment - helmet, knife to cut flying lines, officially
approved buoyancy aid, waterproof flares, protective
eyewear, gloves and kite retaining leash. Never
attach yourself permanently to the kite.
Kite lines and bridles under tension can cut like a
knife and can cause serious injury or death. Always
keep your kite lines away from people, animals and
crafts, both on the water and on land.
NEVER allow inexperienced kiteboarders to use your
equipment.
REMEMBER, you are always responsible for the safe
operation of your kite, boards and equipment. Use
common sense.
•
•
•
•
•
•
•
•
•
•
•
•
•
•
•
•
•
•
•
•
•
•
•
•
•