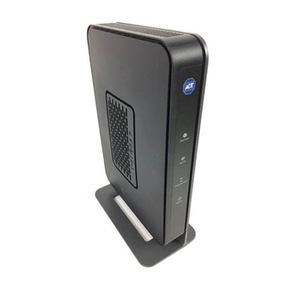
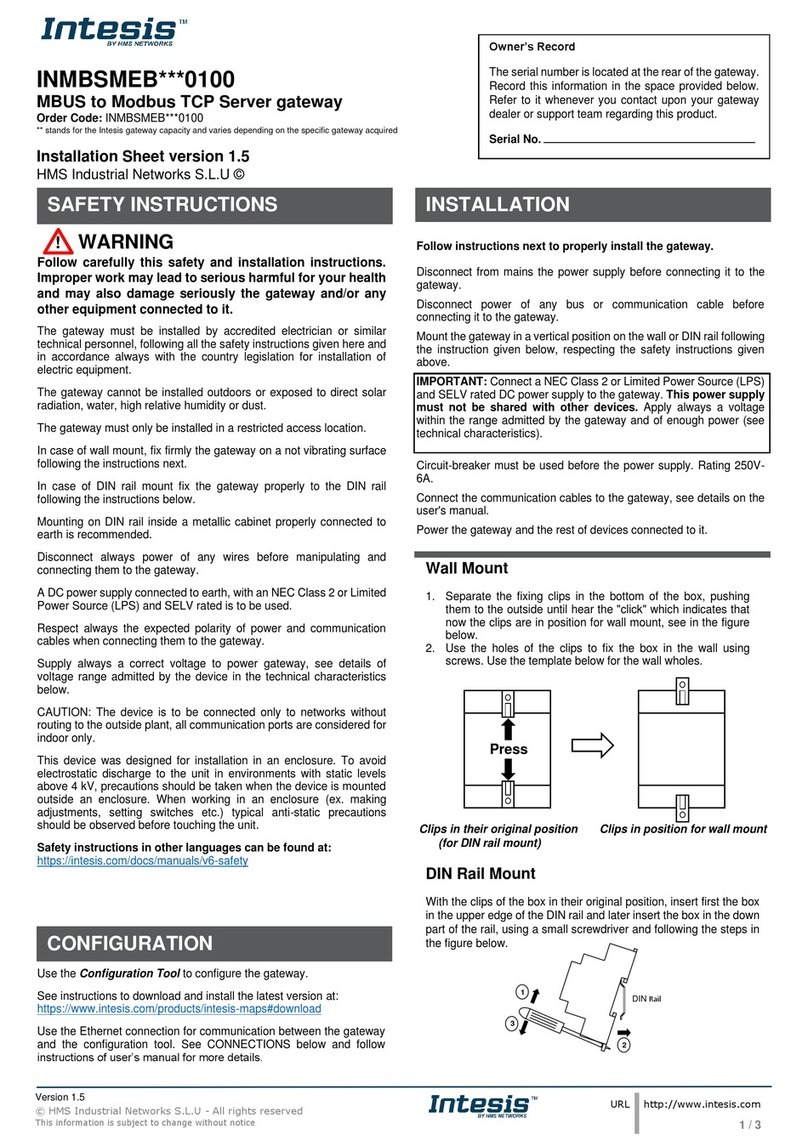
Flint & Walling Z Control User manual

Precautions
Do not use a power adapter for the Gateway other than one
provided or rated for 9v 500mA.
This equipment has been tested and found to comply with
the limits for a Class B digital device, pursuant to part 15
of the FCC Rules. These limits are designed to provide
reasonable protection against harmful interference in a
residential installation. This equipment generates, uses and
can radiate radio frequency energy, and if not installed and
used in accordance with the instructions, may cause harmful
interference to radio communications. However, there is
no guarantee that interference will not occur in a particular
installation. If this equipment does cause harmful interference
to radio or television reception, which can be determined by
turning the equipment off and on, the user is encouraged to
try to correct the interference by one or more of the following
measures:
• Reorient or relocate the receiving antenna.
• Increase the separation between the equipment and
receiver.
• Connect the equipment into an outlet on a circuit
different from that to which the receiver is connected.
• Consult the dealer or an experienced radio/TV
technician for help.
To satisfy FCC RF Exposure requirements for mobile and
base station transmission devices, a separation distance of 20
cm or more should be maintained between the antenna of this
device and persons during operation. To ensure compliance,
operation at closer than this distance is not recommended.
The antenna(s) used for this transmitter must not be co-
located or operating in conjunction with any other antenna or
transmitter.
Denitions
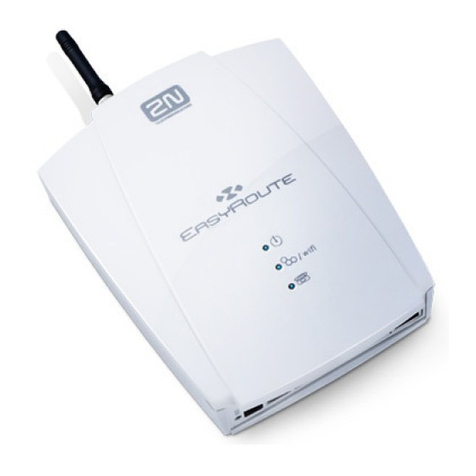
Z Control®Gateway: The Gateway creates and facilitates a
local wired network between End Point Devices and a wired
or WiFi network with the local Router.
Z Control®Cloud: This is Flint & Walling’s custom cloud
service to which Z Control®Enabled devices send and
receive information. The user creates a Z Control®Cloud
account which can be congured for custom device settings,
notication, and remote access functionality, such as silencing
alarms and equipment testing.
Denitions, continued
Z Control®Enabled End Point Devices: These devices are
Z Control®Enabled and are able to connect to the Z Control®
Cloud. Z Control®Enabled means that they communicate to
the Cloud and are able to receive commands sent from the
Cloud.
Existing Controls: These devices are not specically
Z Control®Enabled, but they have a pair of auxiliary outputs
(Dry Contracts, Aux Out, etc.) that can be connected to
the Gateway for alerting purposes. The user can receive
notications from the Cloud when the Control encounters
a status that triggers its auxiliary output. Controls cannot
receive commands from the Cloud.
Router: This is an existing device in the user’s home that
handles local network trafc and internet access.
FAQ
1. I purchased a new router. How do I change my WiFi
settings on my Gateway?
The easiest method is to simply reset your Gateway’s WiFi
settings by holding down the Link Button during power up
for 10 seconds. This will erase your WiFi settings and revert
the Gateway back to Access Point mode. Then repeat the
steps in the “WiFi Provisioning” section.
2. How do I reset my Gateway back to factory defaults?
Hold down the Link Button during power up. While holding
the Link Button, press and release the Reset button. This
will remove all Paired Devices and revert settings (including
WiFi) back to factory defaults.
INSTALLATION INSTRUCTIONS
024599 B
Overview
The Gateway enables the VS Drive in your home to
communicate with the Z Control®Cloud. This document will
help you:
1. Create a Local Device Network. This includes physical
wiring, and “pairing” your Gateway with the End Point
Device(s).
2. Connect the Gateway to your existing Router with a
wired or WiFi connection.
3. Create an account on the Z Control® Cloud and “claim”
your device(s).
Once these 3 steps are complete you will be able to remotely
access your device(s), change conguration settings, and
dene how the Z Control®Cloud should notify you of alerts.
Existing
router
VS or
TVS
Drive
FLINT & WALLING• KENDALLVILLE, IN • WWW.FLINTANDWALLING.COM
DEVICE CONNECTED
Flashing: Connection
Problem
INTERNET & ZCONTROL CLOUD
Flash: Connection Problem
Fast Flash: Activity
POWER AUXILIARY INPUT
Flash:Alarm
LINK
Z Control®
Cloud
11:29AM 61%AT&T
Status Device
Matthews
San Antonio, TX
OK
FAULT
OK
Commander
®
PRO
Douglas
Santa Fe, NM
Commander
®
PRO
Fisher
Denver,CO
Commander
®
PRO

1. Local Device Network
Physical Wiring
While the drive is powered down, remove an unused knockout
on the drive, and install the provided strain relief.
Feed the stripped end of the
network cable through the strain
relief and connect the wires as
follows to the terminal strip on
the lower left-hand side of the
drive display board:
Brown → RTN
White w/Green stripe → A
Green → B
Connect the other end of the
network cable to the black RJ45
jack on the left side of the
Gateway. Do not use the
Gateway’s silver colored RJ45
jack on the right side of the drive
for this step. Tighten the strain
relief until it is snug on the
network cable.
NOTE: The Gateway will need to be placed where an
Ethernet wire can be extended to the location of the router OR
where the router’s WiFi signal is sufcient.
Pairing the Gateway with the VS Drive.
1. With the drive and Gateway both powered, press the Link
button on the Gateway. The “DEVICE CONNECTED” LED
on the Gateway will ash.
2. Press the Enter button on the VS Drive. If the pairing
is successful, the “DEVICE CONNECTED” LED on the
Gateway will turn solid.
3. Repeat this process for each End Point Device connected.
2. Connect Gateway to Your
Existing Router
The Gateway can be connected to the building’s existing
internet Router either by Wired Ethernet or WiFi.
Wired Ethernet
1. Plug one end of the cable into the silver Ethernet jack on
the Gateway and the other end into an available network
port on the router.
2. Once the “INTERNET & Z CONTROL CLOUD” LED on the
Gateway turns solid blue, proceed to Step 3 “Z Control®
Cloud Setup”.
2. Connect Gateway, continued
WiFi Provisioning
Note: Skip this section if your Gateway is connected to
the router via wired Ethernet. You must provide your WiFi
credentials to the Gateway in order for it to access your WiFi
Router. You need your Router’s password/passphrase.
1. Open your computer (or mobile device) WiFi settings to
search for available WiFi.
2. Select “Z Control-xxxx”, where “xxxx” is the last 4 digits of
your Gateway’s Device ID.
3. Once you are connected to the Gateway, which looks the
same as connecting to an available WiFi, open an internet
browser such as Explorer, Safari, Firefox, etc. In the
address bar, type “192.168.100.1” (Windows users may
alternately type “Z Control-xxxx”). The Gateway’s local
conguration page will load.
4. In the left hand navigation, click “Congure WiFi”. Select
the WiFi that you want the Gateway to use from now
on. When prompted, CAREFULLY type the password/
passphrase required to connect to your WiFi (if your WiFi is
unsecured, you won’t need to type a passphrase).
5. After 1 minute or so, verify that the ashing blue “Internet
and Z Control®Cloud Light” on the Gateway has turned
to solid blue. If it doesn’t, then the connection was
unsuccessful and the Gateway will require a reset by
holding the Link button during Power Up for 10 seconds.
This will force the Gateway to return to Wireless Access
Point mode, as described above. The most common
reason the Gateway didn’t connect successfully is that
the passphrase was entered incorrectly. Try the above
steps again, including Reset, being very careful that the
passphrase is entered correctly. If your router settings ever
change or the router is replaced, you will need to reset the
Gateway as described to force it back into Wireless Access
Point mode to provide the new WiFi setting information.
6. Once the Gateway connects to the router, close the
Gateway interface and reconnect your computer or mobile
device to the internet.
3. Z Control® Cloud Setup
1. From any internet connected computer or mobile device, go
to www.zcontrolcloud.com.
2. Log into your account or click “Register Now” create a new
account.
3. Follow the instructions to verify your email address. Once
your email address is veried you can add Z Control
devices to your account. Click Edit on the Location you
want to add the device to, and then select Add New Device.
4. There are two ways to add Devices to your Account.
a. Click Auto if you’re on the same LAN connection as your
device. This method will attempt to locate your device on
your local network and automatically add them to your
account.
OR
b. Click Manual to manually enter the Device ID or your
internet enabled Z Control Device such as the Z Control
Gateway or APak Indoor WiFi.
Note: Devices such as the F & W Commander Pro are
automatically registered in conjunction with registering the
Z Control Gateway. You do not need to enter the Device ID
for the these devices.
5. Depending on the device, you will have various notication,
conguration, and remote access capabilities. You can set
up multiple locations, claim additional devices, silence an
alarm, test equipment, etc.
Assumptions:
• Your router is using DHCP. If this isn’t true, the network
administrator will need to manually congure the
Gateway to connect to the router.
• Your router is broadcasting its SSID. If this isn’t
true, you will either need to turn this feature on, or
the network administrator will need to complete the
conguration. An experienced user may be able
to select “Other networks” and enter the required
information to successfully connect to a router not
broadcasting the SSID.
• Your router’s WiFi signal is sufcient where the
Gateway is placed. If this isn’t true, either reposition the
Gateway, or a range extender may be required.
QUICK START
