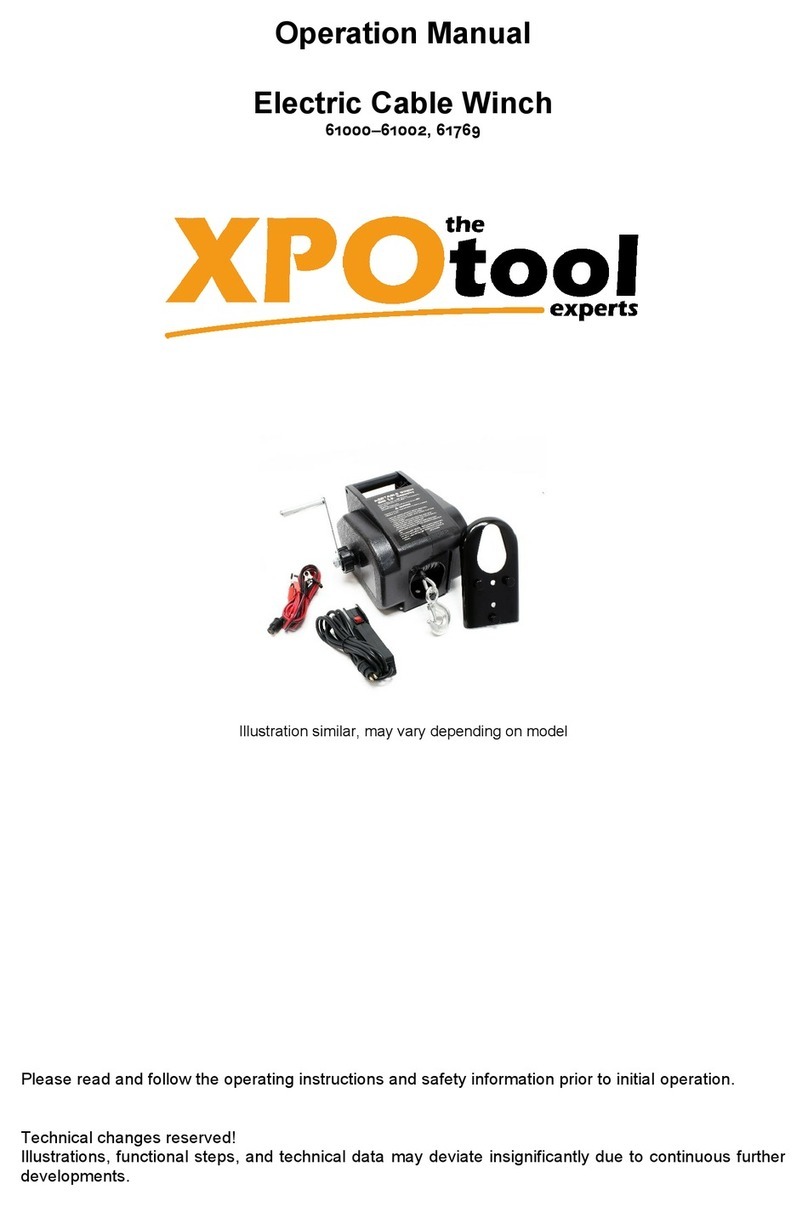
FLINT HILL FHG47ZR Instruction Manual

FHG47ZR
Winch
with Strap
Instruction Manual
& Parts Catalog
Copyright © 2022 by Flint Hill Goods. All rights reserved. No portion of this manual or any artwork
contained herein may be reproduced in any shape or form without the express written consent of Flint
Hill Goods. Due to continuing improvements, actual product may differ slightly from the product
described herein. Tools required for assembly and maintenance may not be included.
READ AND UNDERSTAND THIS ENTIRE MANUAL BEFORE
INSTALLING AND USING THIS PRODUCT. SAVE THIS MANUAL.
LIT-00398, Rev -

IMPORTANT SAFETY
INSTRUCTIONS
WARNING concerning Risk of
Eye Injury. Wear ANSI approved
eye protection.
WARNING concerning Risk of
Hearing Loss. Wear hearing
protection.
INSTRUCTION
MANUAL
1. Read and understand all
safety warnings and
instructions. Failure to follow the
warnings and instructions may
result in serious injury or death.
Save all warnings and instructions
for future reference.
A. Always wear ANSI approved
safety goggles.
B. Always wear hearing
protection when working in
noisy environments. Prolonged
exposure to high intensity noise
can cause hearing loss.
C. Use safety equipment. Safety
shoes, hard hat, and work gloves
must be used for applicable
conditions.
2 .Personal and Work Area Safety
D. Dress appropriately. Never wear loose
fitting clothing or jewelry when working.
Contain long hair, and keep hair, clothing
and gloves away from moving parts.
E. Use common sense when working.
Stay alert and concentrate when setting up
and using this Winch. Never work while
under the influence of alcohol, drugs or
medications.
SAVE THIS MANUAL
Keep this manual for the safety warnings and
precautions. The manual offers important
information on how to assemble, use and
maintain this product. Write the product’s model
number and purchase date on the cover page
of this manual. Keep this manual (and your
purchase receipt) in a safe place.
UNPACKING
The shipment should be thoroughly inspected
as soon as it is received. The signed “bill of
lading” is acknowledgement by the carrier of
receipt in good condition or shipment covered
by our invoice. For your own protection, if any
of the goods called for on the bill of lading are
shorted or damaged, do not accept them until
the carrier makes a notation on the freight bill
of the shorted or damaged goods. Notify Flint
Hill Goods immediately if any hidden loss
or damage is discovered after receipt.
IMPORTANT SAFETY INFORMATION
DANGER
NOTICE
DANGER indicates a hazardous
situation which, if not avoided,
will result in death or injury.
WARNING indicates a hazardous
situation which, if not avoided,
could result in death or injury.
CAUTION indicates a hazardous
situation which, if not avoided,
could result in minor or moderate
injury.
NOTICE indicates important
information which, if not followed,
may cause damage to equipment.
This is a SAFETY ALERT symbol.
It is used to alert you to potential
personal injury hazards. Obey all
safety messages that follow this
symbol to avoid possible injury
or death.
WARNING
CAUTION
Model FHG47ZR
Page 2
LIT-00398, Rev -

Personal and Work Area Safety (continued)
F. While setting up and using the Winch, keep
work area clean and well lighted. Keep
spectators and children out of the work area.
3. Use of the Winch
A. Do not exceed the
1,200 lbs. maximum load capacity.
B. This Winch is designed for horizontal pulling
only. Never attempt vertical pulling. Never use
to pull people or animals. Do not modify the
Winch and do not use this product for
purposes that it was not designed for.
C. Be sure the Winch is bolted to a solid
surface or vehicle that can support the weight
of the load and the Winch. Check vehicle’s
owner’s manual for proper attachment location.
If you are not experienced in this type of
set-up, it should be done by a qualified service
technician. Vehicle must have emergency
brake activated, and wheel chocks in place
before pulling a load. Do not put vehicle in
PARK, or in gear while operating the Winch.
D. Be aware of the danger of “dynamic
loading”. Suddenly starting or jerking against
the load, may result in a short term excessive
load. Dynamic loading can result in damage
and failure of the Winch, and/or the coupler
attached to the load, and personal injury to the
person using the Winch.
E. Never stand between the Winch and the
load while Winch is in operation. Stay clear of
the Strap (29) while using the Winch. Keep
hands and fingers away from the Gear Pinion
(9) and Drum (4) while using the Winch.
F. When attaching the load to the Hook (30),
use a coupling that is rated for the load being
pulled. Make sure the coupling fits on the
Hook (30) properly, with the Hook’s safety]
clasp completely closed. Model FHG47ZR
Page 3
G. Do not attach Hook (30) to a load when
Strap (29) is fully extended. Keep at least
five full turns of Strap on Drum (4).
H. Before drilling holes or driving screws for
installation of Winch, make sure that there
are no hidden utility lines or electrical wires
in the drilling path.
I. After moving a load with the Winch, secure
the load. Apply the Lock Lever (20). Never
use the Winch to hold the load for an
extended period of time.
J. If the Winch is mounted on a vehicle,
never move the vehicle if the Strap (29) is
extended and attached to a load.
K. If using the Winch to load a boat into a
boat trailer, make sure boat is submerged
in water while loading. Attempting to drag a
boat while boat is on land can lead to Winch
failure and possible personal injury and
property damage.
L. Do not grease or lubricate the Lock Lever
(20) or any part of the gear assembly.
M. When re-spooling the Strap (29) roll up
the Strap in a smooth even pattern.
N. The Winch is not a toy. Children should
never play with, or have any access to this
Winch. When not in use, store the Winch in
a safe location that is out of reach of children.
O. The Winch is not designed for aircraft
applications.
P. Industrial applications must follow OSHA
requirements.
LIT-00398, Rev -

1. Refer to photos on this page and the
Assembly Diagram at end of this manual.
2. Always wear ANSI
approved safety goggles and heavy duty
work gloves when setting up and using
the Winch.
3. Plan for the location of the Winch.
Assemble Crank Handle (10) before drilling
holes, making sure that there is space in
the work area for the full 360 degree rotation
of the Crank Handle.
Q. Do not use a recovery strap while using
the Winch. They are designed to stretch and
can suddenly whip back towards the operator.
R. Maintain product labels and nameplates.
Save this instruction manual. Instruction
manual should be read by each individual
who uses this product. If product labels or
manual are lost or damaged, contact Flint Hill
Goods for replacements.
Keep in mind that the warnings previously
discussed cannot cover all possible
conditions or situations that could occur.
It is important that the person loading/
unloading and using this product
understand that common sense and
caution are factors which cannot be built
into this product, and must be supplied by
the person(s) using this product.
Flint Hill Goods is not responsible for the
attachment or the installation of this
product. The attachment of this product is
critical and beyond the control of Flint Hill
Goods. It neither guarantees, nor will it be
liable for any damage resulting from the
attachment or improper use of the Winch.
Assembling and Setting Up Winch
3. Use of the Winch (Continued)
4. Crank Handle: Fits over end of Gear
Pinion (9) on side of Winch. Secure in place
using Screw (11) and Nut (3). Hex wrench is
not included. See photo above.
5. The Winch should be aligned and secured
to a solid and flat part of the vehicle’s
mounting frame (not included), or other type
of mounting surface, that is able to withstand
the weight of the Winch and the 1,200 Lbs.
maximum load capacity.
Note photo above showing the underside of
the Winch.
Use a template to mark the location of the
mounting holes. Drilled hole sizes are to be
5/16” in diameter.
Before drilling holes
or driving screws for installation of Winch,
make sure that there are no hidden utility
lines or electrical wires in the drilling path.
Secure the Winch to the mounting frame
using quality grade hardware (not included).
Crank Handle (10)
Hex Wrench
(not included)
Screw (11)
Nut (3)
Mounting
Holes
Mounting
Slot
Model FHG47ZR
Page 4
LIT-00398, Rev -

E. After making sure that load is stable and
ready to be moved, turn the Crank Handle
clockwise to begin pulling the load.
Do not exceed the
1,200 Lbs. maximum load capacity.
F. When pull is complete and load is in a
safe, stable location, disconnect the Hook
(30). Roll the Strap (29) tight in a smooth
even pattern.
G. When not is use, store the Winch in a
safe location that is out of reach of children.
Maintaining the Winch
Frequently check the condition of the Winch.
Make sure all components are in good
condition. Check for loose hardware. If the
Winch becomes damaged through accident,
or if parts become misaligned, the product
should be replaced.
Frequently check the condition of the Strap
(29) and replace it if it becomes damaged.
Keep the Winch clean and free of grease.
Using the Winch
A. To wind the Strap (29) around the Drum (4),
or unwind Strap without load, pull Lock Lever
(20) OUT and TOWARDS the FRONT of the
Winch. With Lock Lever in this position,
the Drum is free to turn. See photo below.
B. Turn Crank Handle (10) clockwise to
wind Strap (without load) around the Drum.
C. When Strap is pulled out to the desired
length, attach the Hook (30) to the load.
D. To lock the Winch in place for moving a
load, pull Lock Lever OUT and TOWARDS
the BACK of the Winch. This sets the Lock
Lever into the Gear Pinion (9).
See photo below.
The Gear Pinion (9)
must be locked into place with the Pawl on
the Lock Lever (20) before pulling, or serious
kickback could occur, resulting in potential
property damage and/or personal injury.
Pull Lock Lever OUT and
TOWARDS FRONT
Pull Lock Lever OUT and
TOWARDS BACK
Gear Pinion must engage with Pawl of Lock Lever
Model FHG47ZR
Page 5
LIT-00398, Rev -

Note: The Parts List and Assembly Diagram is provided as a reference tool only. Some parts are listed and shown for illustration
purposes only,and are not available as replacement parts. All repairs to this tool (including replacing parts) should only be done
by a qualified service technician.
Parts List
SPECIFICATIONS
Maximum Load
Capacity
1,200 Lbs.
Strap 2” Wide Poly Material
25’ Long
Ratchet Type Positive Lock
Gear Ratio 4.25:1
NO DESCRIPTION QTY NO DESCRIPTION QTY
3 Nut (M5) 1 17 Circlip (Ø10) 1
4 Drum 1 18 Circlip (Ø20) 1
5 Retaining Sleeve 1 19 Small Bushing 1
6 Base 1 20 Lock Lever 1
7 Circlip ( Ø12) 1 21 Washer (Ø10) 1
8 Bolt (M10 x 105) 1 22 Lever Cap 1
9 Gear Pinion 1 23 Torsion Spring 1
10 Crank Handle 1 24 Lock Nut (M10) 1
11 Screw (M5 x 30) 1 25 Washer 1
12 Large Bushing 1 26 Spring Washer 1
13 Circlip (Ø26) 1 27 Screw (M6 x 12) 1
14 Screw (M6 x 12) 2 28 Strap Pin 1
15 Spring Washer (Ø6) 2 29 Strap 1
16 Retaining Pinion 1 30 Hook 1
3
4
5
6
8
7
9
29
30
16
13 12
11
10
28
20
14
15
19 18
23
24 21
27
26
25
17
22
Model FHG47ZR
Page 6
LIT-00398, Rev -
Table of contents
