manuals.online logo
Brands
  1. Home
  2. •
  3. Brands
  4. •
  5. FLIR
  6. •
  7. Switch
  8. •
  9. FLIR TruWITNESS User manual

FLIR TruWITNESS User manual

TruWITNESS Assignment Station
and Charging Hub Quick Guide
What's in the Box
1. Charging Hub
2. Assignment Pad
3. PoE+ Power Supply and cables
4. Assignment Station and Charging Hub Quick Guide (this document)
A. TruWITNESS Assignment Station and Assignment Pad
The Assignment Station is used to associate specific Sensories with individual Users
Note: The installation of the Assignment Tool is fully described in the Release Notes and in the Latitude Help System.
The information below is a summary.
Summary setup steps for setting up the
Assignment Station:
1. Download the Assignment Tool program to the target
workstation
2. Connect the Assignment Pad
3. Log in to the System
4. Check that the required Users are listed
Once these steps are complete, you are ready to use the
Assignment Station
1. Download the Program to the Target
Workstation
The TruWitness Assignment Tool Application can be
installed:by installing the Latitude Client Applications
from the Client Portal, by doing a Custom Installation
of Latitude software or, if running on a workstation that
has the Admin Center application installed, it can be
accessed from the Applications drop-down in the
SideBar.
Custom Installation (Clients)
Admin Center Drop-down
2. Connect the Assignment Pad
Connect the Assignment Pad to one of the workstation's
USB ports, using the supplied cable.
3. Log in to the System
Open the Assignment Tool program by clicking on the program
icon.
Use your United VMS credentials and the address of the
system to connect the application to the system.
(As a user of the Assignment Tool, you need the appropriate
permissions in the system - check with your Latitude
Administrator.)
If you have not already connected your Assignment Pad, you
will be prompted to do so now.
"Assignment Pad disconnected. Please try reconnecting the
USB cable of the device"
4. Assigning Sensories to Users
Once the login is complete and the Pad connected, you will
see the list of available users, and the Assignment Tool shows
a message indicating that a Sensory must be placed on the
Pad.
The Assignment Pad has an NFC sensor which the
Assignment Station uses to read the current settings of a
Sensory, and re-assign it to a selected user if required.
Note: When using the Assignment Pad, always place the
Sensory with its Logo facing down, touching the Assignment
Pad Logo
B. TruWITNESS Charging Hub
The Charging Hub stores PCS's, recharges their batteries, and uploads their internal recordings to the VMS.
Note: The installation of the Charging Hub is fully described in the Release Notes and in the Latitude Help System.
Summary Setup Steps:
1. Connect the Charging Hub to power and to the network, using
the supplied PoE+ Injector.
2. In the Latitude Admin Center:
a. Use DNA Application to find/set IP Address
b. Discover Charging Hub
c. Enter the GIS location on the Device page
d. Attach Hub to an Archiver
Once these steps are complete, you are ready to use the Charging
Hub.
1. Connect the Charging Hub to Power and to the network
Connect the PoE Injector (Data IN) connector to the network, and the (Data OUT) connector to the IP port at the back of the
Charging Hub, using regular RJ45/Cat4 cable..
Connect the mains electric supply (110/220VAC) to the PoE+ Injector using the supplied Power cord.
2a. Use DNA to check IP Address
Use the DNA
Application (version
2.2.0.23 or above) to
set an appropriate
IP address for the
Charging hub.
The Charging Hub
model name is
TW-CH EVK.
2b. Discover the Charging Hub in Latitude
In the Admin Center,
open the Discovery
tab in the Sidebar,
and manually
Discover the
Charging Hub using
the IP address set
above.
2c. Enter GIS Location for the Charging Hub
Check the
Set Location
checkbox.
Enter the GIS
Location coordinates
for this Charging
Hub.
(This will be used as 'Last Known Location" for PCSs
issued from this Charging Hub that have not yet acquired
a GPS location.)
2d. Attach the Charging Hub to an Archiver
In the list of
Discovered entities,
select the Charging
Hub to be attached
to the Archiver, and
Save.
The Charging Hub
will now appear in
the Admin Center
Physical View.
Hints when using the Charging Hub
Each user must ensure that they take the specific Sensory that is assigned to them. Any PCS that is ready may be used.
The user name is displayed once the Sensory is plugged into a PCS. Alternatively, current assignment can be checked at
the Assignment station.
Each PCS socket has an
associated indicator light.
This indicates the current
status of the PCS in that
socket.
Indicator Lights for PCS status.
Green Steady
Ready for use. Fully charged, Recordings have been offloaded,
Green Blinking
Charging. Recordings have been offloaded,
Orange Steady
Do not disturb/remove. Waiting in queue.
Orange Blinking
Do not disturb/remove. Offload in progress/Device is being updated.
Green, Amber
Blinking
Error Condition - Move the PCS to a different slot.
If the problem persists, refer to Support.
product.enterprise.support@flir.com
w w w .flir.com /security
TW_Assigner_ChHub_QG V01a
FLIR System s, Inc.
Tel: +1 888.388-3577
6769 Hollister Ave.
Goleta, CA 93117

Other FLIR Switch manuals

FLIR LNB3373SB User manual

FLIR

FLIR LNB3373SB User manual

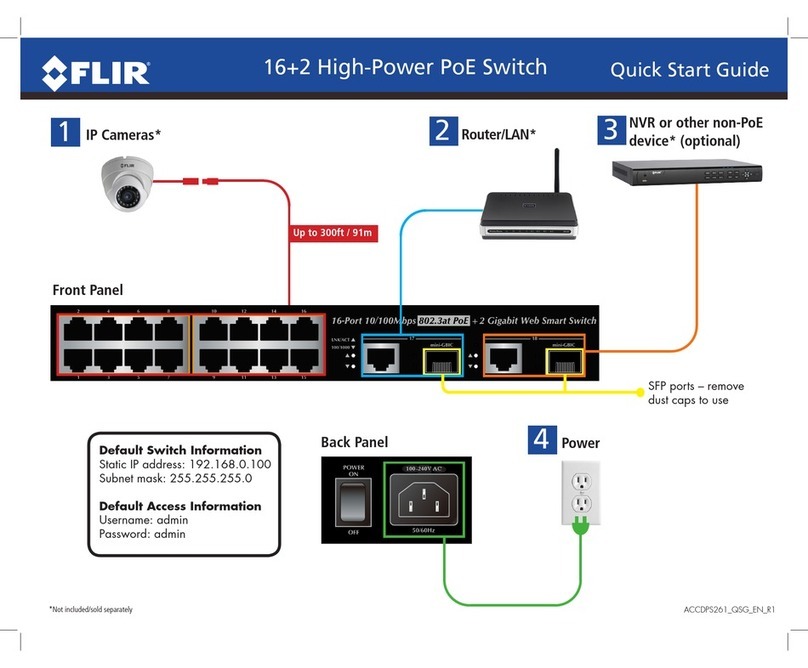
FLIR ACCDPS261 User manual

FLIR

FLIR ACCDPS261 User manual

FLIR ACC60WPMS1 User manual

FLIR

FLIR ACC60WPMS1 User manual

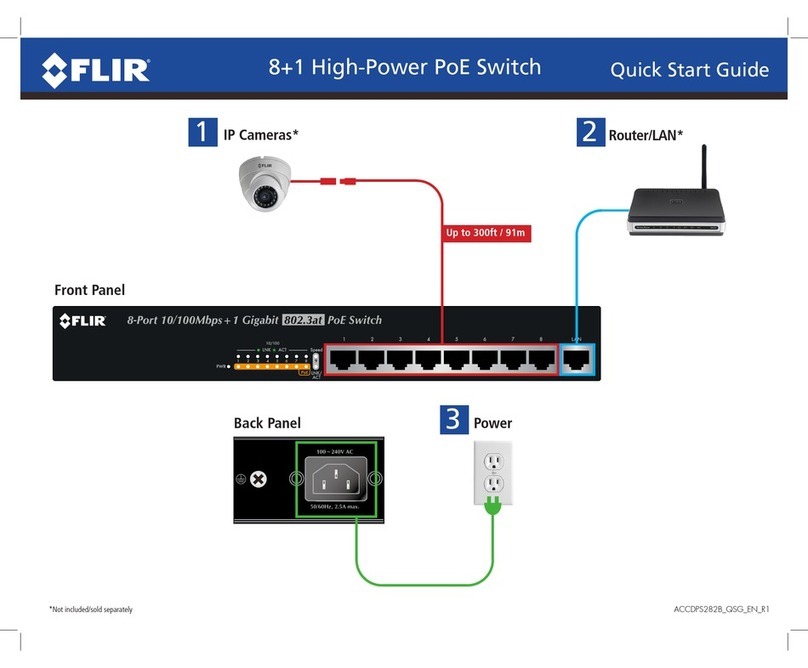
FLIR ACCDPS282B User manual

FLIR

FLIR ACCDPS282B User manual

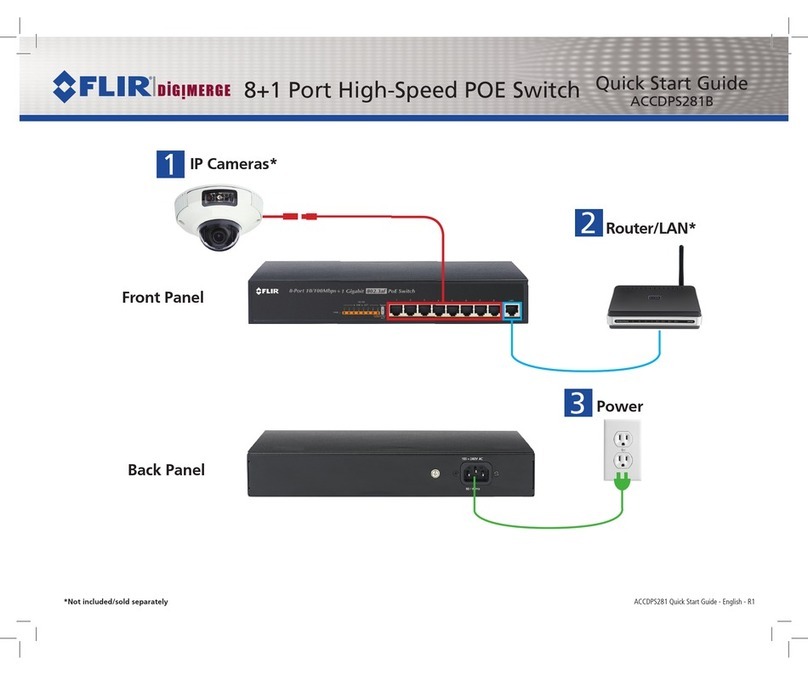
FLIR ACCDPS281B User manual

FLIR

FLIR ACCDPS281B User manual

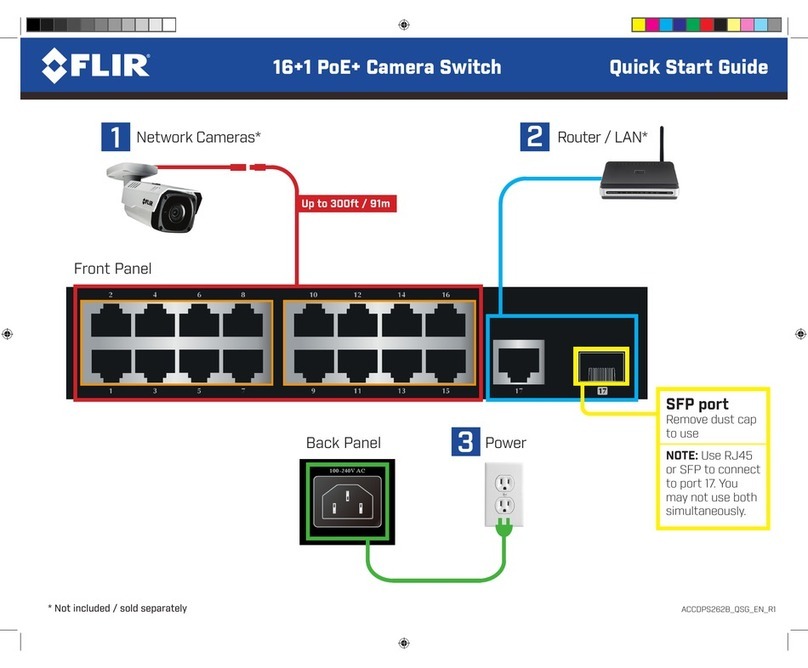
FLIR ACCDPS262B User manual

FLIR

FLIR ACCDPS262B User manual

Popular Switch manuals by other brands

TRENDnet TEG-240WS Specifications

TRENDnet

TRENDnet TEG-240WS Specifications

Cisco SLM224G4S Administration guide

Cisco

Cisco SLM224G4S Administration guide

Eaton XNH00-1-S160 Instruction leaflet

Eaton

Eaton XNH00-1-S160 Instruction leaflet

APT LW39-16A Series instructions

APT

APT LW39-16A Series instructions

Stealth Products IC12F-1 owner's manual

Stealth Products

Stealth Products IC12F-1 owner's manual

TIS TER-4G Manual Installation

TIS

TIS TER-4G Manual Installation

Advanced Control HomePro ZDW100 quick start guide

Advanced Control

Advanced Control HomePro ZDW100 quick start guide

Symbol WS 2000 Configuration and deployment guide

Symbol

Symbol WS 2000 Configuration and deployment guide

EVS XHub3 Technical reference manual

EVS

EVS XHub3 Technical reference manual

TMB ProPlex EZ-LAN Unity 20 user manual

TMB

TMB ProPlex EZ-LAN Unity 20 user manual

steute Ex ZS 92 S Mounting and wiring instructions

steute

steute Ex ZS 92 S Mounting and wiring instructions

EUCHNER NZ H/P Series operating instructions

EUCHNER

EUCHNER NZ H/P Series operating instructions

AMX RDM-SWM Wiring diagram

AMX

AMX RDM-SWM Wiring diagram

Comelit IPSWP050A manual

Comelit

Comelit IPSWP050A manual

EnGenius EWS7928P Product setup

EnGenius

EnGenius EWS7928P Product setup

DANLERS CESFPIRSV Installation notes

DANLERS

DANLERS CESFPIRSV Installation notes

DANLERS CEFLA PIR DALIP Installation notes

DANLERS

DANLERS CEFLA PIR DALIP Installation notes

Vixen Horns VXA7115-3 installation guide

Vixen Horns

Vixen Horns VXA7115-3 installation guide

manuals.online logo
manuals.online logoBrands
  • About & Mission
  • Contact us
  • Privacy Policy
  • Terms and Conditions

Copyright 2025 Manuals.Online. All Rights Reserved.