Fluke 716 User manual
Other Fluke Test Equipment manuals

Fluke
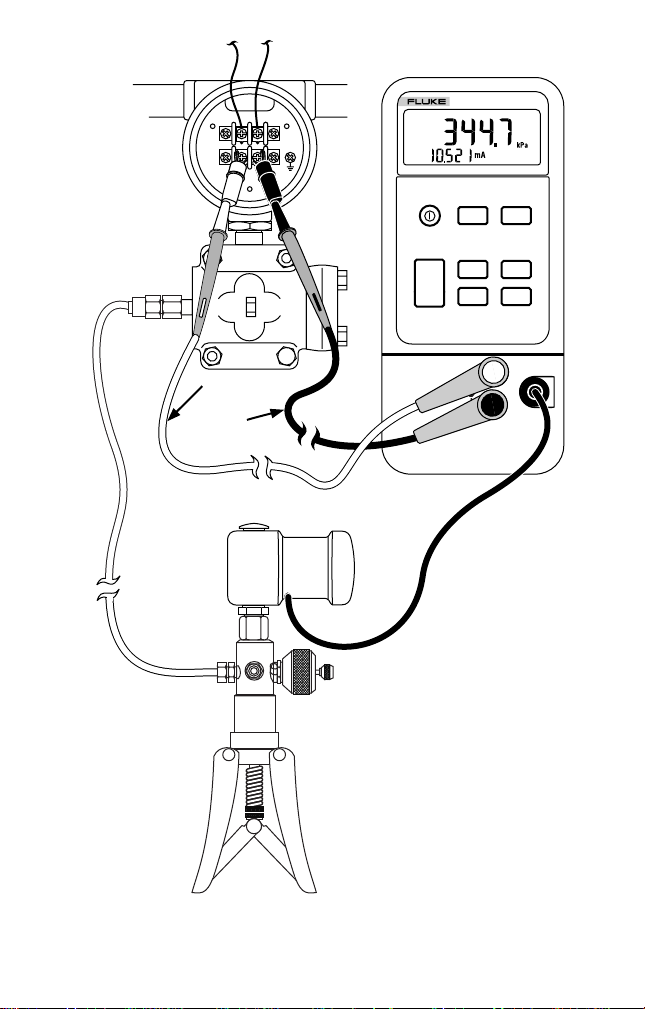
Fluke 718Ex 300G User manual

Fluke
Fluke NETWORK SERVICE MODULE DTX-NSM User manual

Fluke
Fluke 1623 User manual

Fluke
Fluke Hart Scientific 9101 User manual

Fluke
Fluke P3800C User manual

Fluke
Fluke TS 120 User manual

Fluke
Fluke 154 User manual

Fluke
Fluke 9103 User manual

Fluke
Fluke TS 30 User manual

Fluke
Fluke CertiFiber Pro User manual

Fluke
Fluke FiberInspector Versiv Series Use and care manual

Fluke
Fluke TP1000 Original instructions

Fluke
Fluke 5730A User manual

Fluke
Fluke 341A User manual

Fluke
Fluke VisiFault Visual Fault Locator User manual

Fluke
Fluke FiberInspector Pro FI-3000 User manual

Fluke
Fluke 719-100G Instruction manual

Fluke
Fluke TS 1200 User manual

Fluke
Fluke 4180 Quick start guide

Fluke
Fluke 709 Use and care manual


Popular Test Equipment manuals by other brands

SMART
SMART KANAAD SBT XTREME 3G Series user manual

Agilent Technologies
Agilent Technologies BERT Serial Getting started

Agilent Technologies
Agilent Technologies N3280A user guide

Lifeloc
Lifeloc R.A.D.A.R. quick start guide

Mercury
Mercury TSL01 user manual

MAHA
MAHA MBT Series Original operating instructions