2. Leak testing should be done once per year or whenever the
LP gas cylinder or any other gas system part is taken apart,
serviced or replaced, whichever is more frequent.
3. Ensure all gas system coupling joints are tight
and properly attached.
4. Prepare a leak testing solution of half liquid detergent
and half water.
5. Apply the solution to the LP gas delivery system at points
as shown in illustration indicated on page 3.
6. If parts of the fitting begin to produce bubbles, spray liquid, or
if you smell liquid propane gas, immediately close the valve on
the tank.
7. Wait 5 minutes for any gas to dissipate.
8. After waiting for 5 minutes, the leak(s) must be stopped by
tightening the loose joints, if possible, or by replacing the
faulty parts(s) with the part(s) recommended by the appliance
manufacturer.
THE APPLIANCE IS NOT TO BE USED UNTIL ANY LEAK IS
CORRECTED.
A gas appliance repairman or LP gas dealer should be called if
attempts to stop the leak(s) are unsuccessful and, in such case, the
LP gas supply must be shut off at the cylinder valve or the cylinder
must be removed from the appliance until the leak(s) is corrected.
Inspect hose prior to each use of the unit. The hose assembly
must be replaced prior to the appliance being put into operation
if there is evidence of excessive abrasion or wear, or if the hose
is damaged. Contact FMI Brands Inc. should you require a
replacement hose.
Inspect burner prior to each use. Burner must be replaced prior
to the appliance being put into operation if there is evidence of
damage. Replacement burners are available from FMI Brands Inc.
Should any part of this appliance (including the burner) become
soiled or dirty, wipe lightly with a damp cloth. Do not use
flammable or corrosive cleaning products on or near this unit.
Keep the appliance area clear and free from combustible
materials, gasoline and other flammable vapors and liquids.
Solid fuels shall not be burned in this appliance.
Installation must conform with local codes or, in the absence of
local codes, with either the National Fuel Gas Code, ANSI Z223.1/
NFPA 54, Natural Gas and Propane Installation Code, CSA B149.1 or
Propane Storage and Handling Code, B149.2, or the Standard
for Recreational Vehicles, ANSI A 119.2/NFPA 1192, and CSA Z240
RV Series, Recreational Vehicle Code, as applicable.
En-4
1-888-514-1663 | WWW.OUTLANDLIVING.COM
SECTION 1: ASSEMBLY
STEP 1 Enclosed are five bags of rocks, one factory installed 10’
propane-rated hose with attached regulator, one propane tank
stabilizer ring and one soft cover.
STEP 2 Remove the plastic bags containing the rocks and the
propane stabilizer ring. Set aside the soft cover.
STEP 3 Open the two bags containing mid-sized rocks, labelled
conveniently for you “M” and arrange in burner area.
STEP 4 Open the bag containing larger sized rocks, labelled
conveniently for you “L” and arrange on top of the medium sized
rocks.
Our preferred configuration is
pictured here.
Never handle rocks which have
not been allowed to cool from
exposure to flame. Never attempt
to rearrange rocks while unit is
ignited.
STEP 5 Two bags of rocks are included as spares and labelled
“Spare Rocks”. These can be stored and used as replacements.
Note:
• Rocks are not to exceed a maximum weight of 4.8 kg or 10.6lbs.
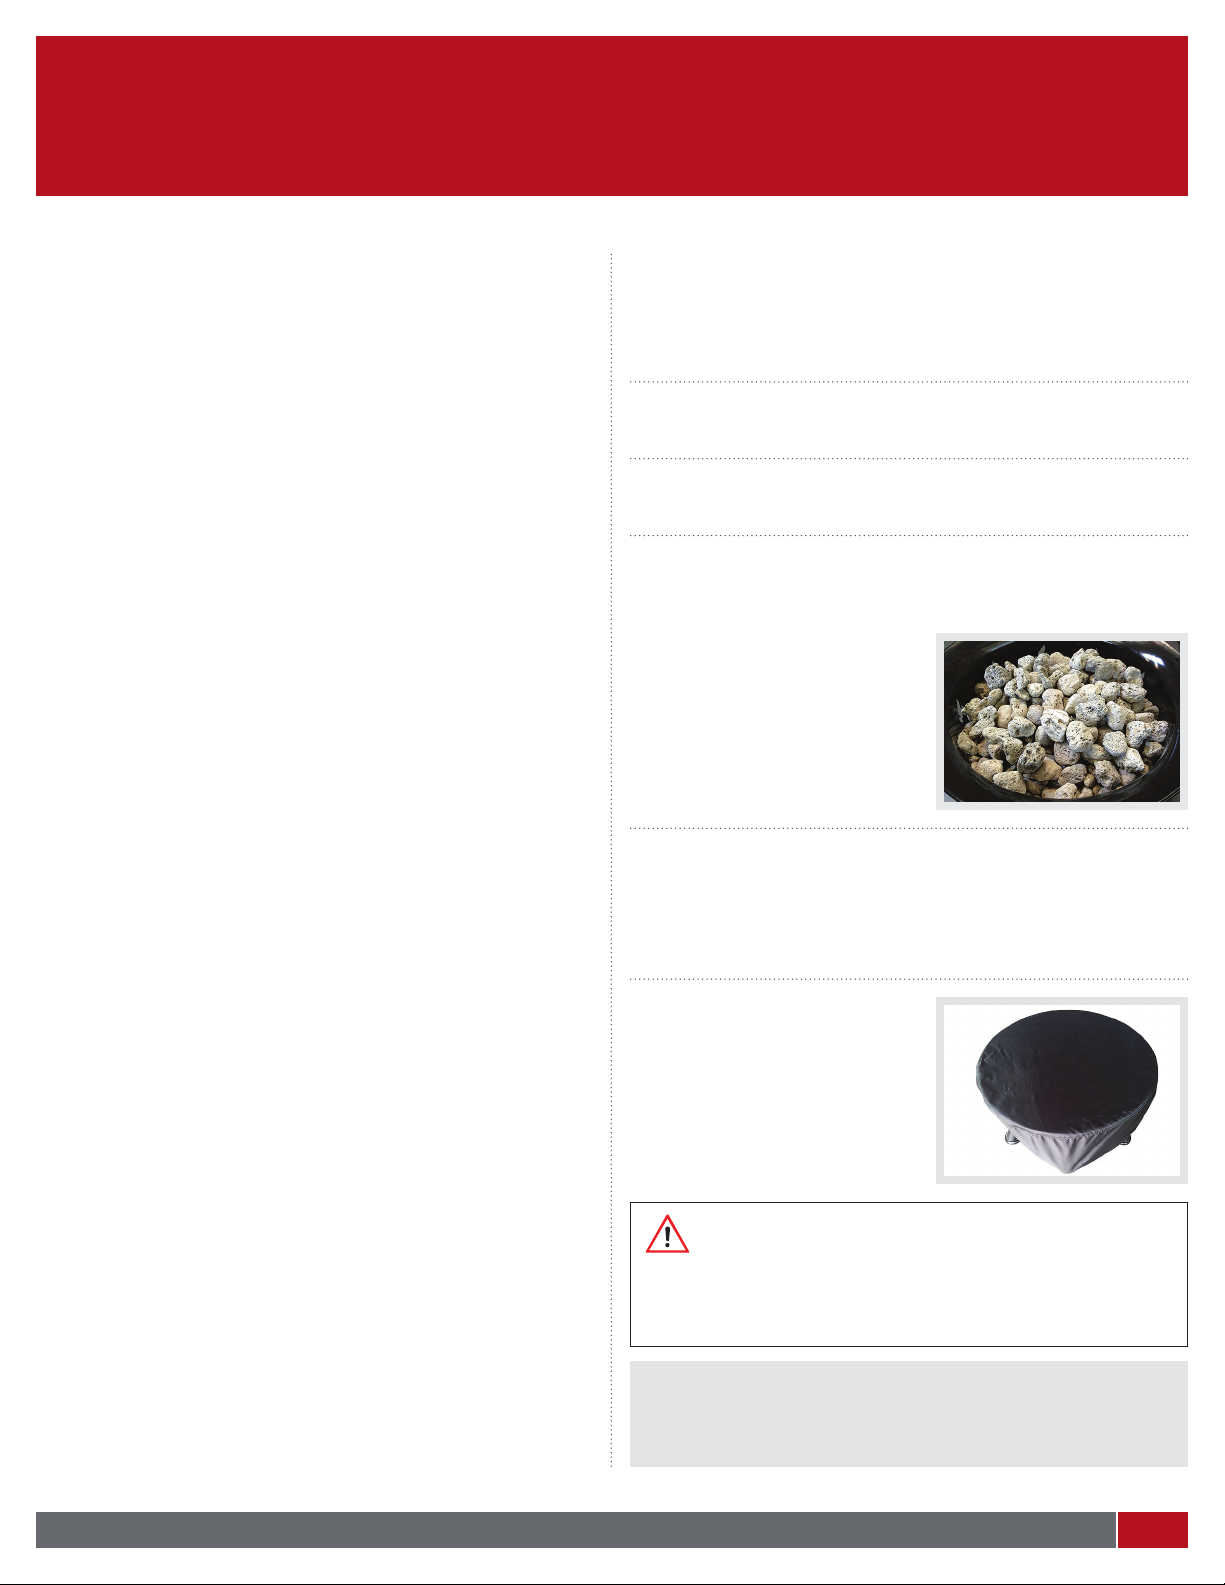
STEP 6 Your included Soft Cover
is to be used for storage and
transportation as shown.
• Never use the cover to
extinguish the flame on your
Outland Firebowl®.
NOTE TO USER:
Before igniting the unit for the first time, follow steps one
through 5 in the below Ignition section.
WARNING:
Never use the cover on your Outland Firebowl MEGA while the
Firebowl burner is in operation. After use, allow the Firebowl to
cool for at least 30 minutes prior to deploying the cover.