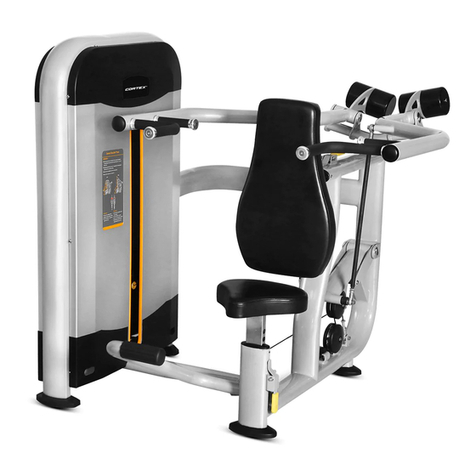
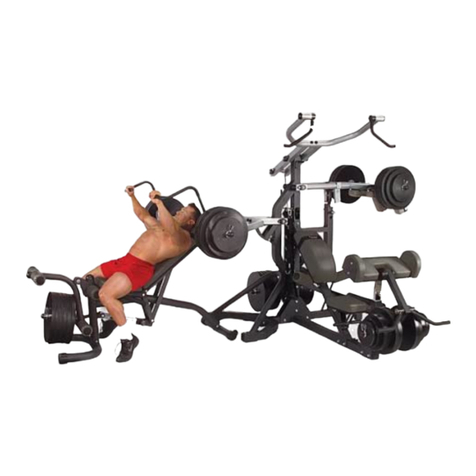
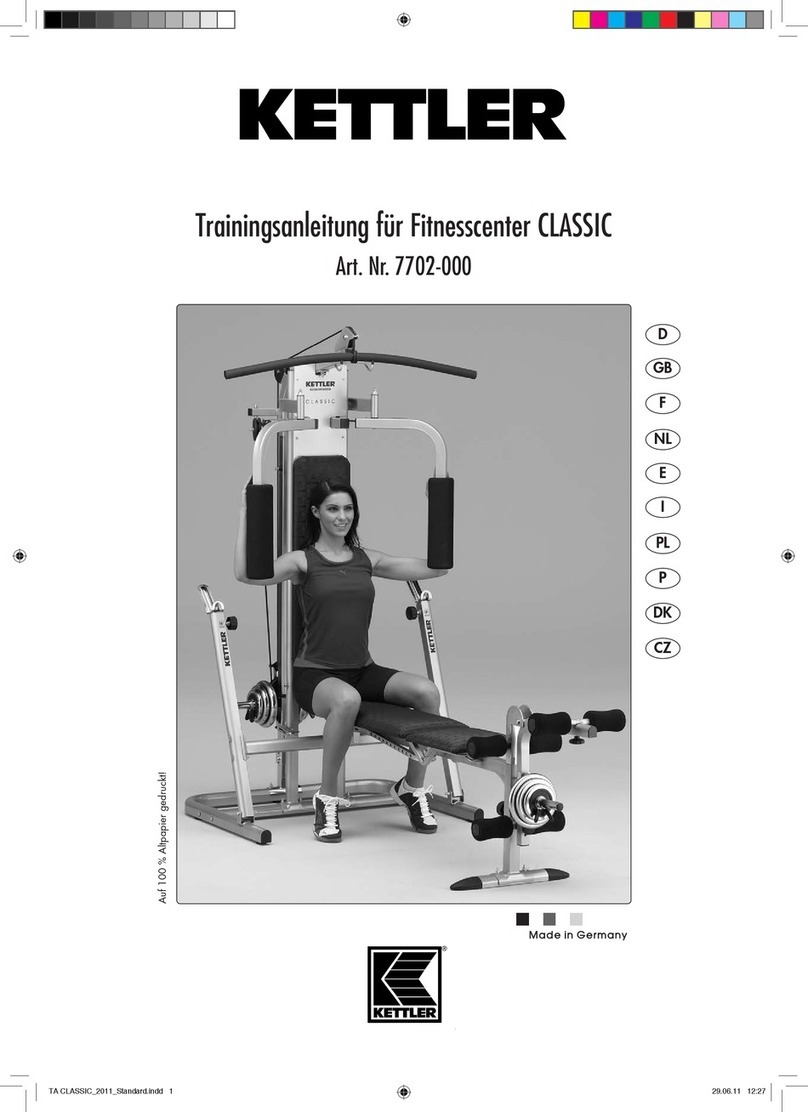
Foaus HM-320 Home Gym User manual

HM-320
HOME GYM

ImportantSafetyInformation
Pleasekeepthismanual inasafeplace forreference.
1.It isimportanttoread thisentiremanualbeforeassemblingand usingthe equipment.
Safeandefficientusecanonlybe achieved iftheequipmentisassembled,
maintainedandusedproperly. It isyourresponsibilitytoensurethat all usersofthe
equipment areinformed ofall warningsand precautions.
2.Beforestartinganyexerciseprogramyou shouldconsultyourdoctortodetermine if
youhaveanyphysicalorhealthconditionsthatcouldcreatearisk toyourhealth
and safety,orpreventyou fromusingthe equipmentproperly.Yourdoctor'sadviceis
essentialifyouaretakingmedication thataffectsyourheartrate,blood pressureor
cholesterollevel.
3. Beawareofyourbody'ssignals.Incorrectorexcessiveexercisecandamageyour
health.Stopexercisingifyou experienceanyofthe followingsymptoms:Pain,
tightness inyourchest,irregularheartbeat, extremeshortness ofbreath,feeling
lightheaded,dizzy ornauseous.Ifyoudoexperienceanyoftheseconditions
youshouldconsultyourdoctorbeforecontinuingwithyourexerciseprogram.
4. Keepchildren and petsawayfromthe equipment. The equipmentisdesigned for
adult useonly.
5.Usethe equipmenton asolid,flatleveisurfacewithaprotectivecoverforyourflooror
carpet. Forsafety,the equipmentshouldhaveatleast0.5metreoffree spaceall
around it.
6. Beforeusingthe equipment, check thenutsand boltsaresecurelytightened.
7. The safetylevelofthe equipmentcan onlybemaintained ifitisregularly
examined fordamageand/orwearand tear.
8. Alwaysusethe equipmentasindicated.Ifyoufind anydefectivecomponents
whilstassemblingorcheckingthe equipment, orifyou hearanyunusualnoise
comingfromthe equipmentduringuse,stop.Donotusetheequipmentuntil the
problemhasbeen rectified.
9. Wearsuitableclothingwhilstusingthe equipment.Avoidwearinglooseclothing
whichmayget caught inthe equipment orthat mayrestrict orpreventmovement.
10.Theequipment isnot suitablefortherapeuticuse.
11.Caremust betaken when liftingormovingthe equipment soasnot toinjureyour
back.Alwaysuseproperliftingtechniquesand/oruseassistance
1

FITNESS HOMEGYMPARTSLIST
2
NAME
Uppersupport
Stabilizerbase
Mainbase
Rightarm
Leftarm
Verticalsupport
Pulleyholdersupport
Propsupport
Leftpulleysupport
Rightpulleysupport
Chromebars
Chestpress
Ovalshapedrubberfeet
Seat support
Upperweight
Weight selector
CylinderholdershaftL=350mm
Weights
Tensionbar
Barforupperpulley
Screwplatesforpulleys
Extensionlever
Paddedback
Doublecrutchforpulleys
FoamcylindersL=150mm
FoamprotectorL=250mm
Seat
Bushingdiam.12.2x25x10mm
Bushingdiam.12.2x29x8.5mm
Pulleydiam.11x90x27mm
Pulleydiam.8x16x21mm
Ball pin8.5x75mm
Pinforweight selector
L-shapedblocklever
Handlescrewforblocklever
Ovalplasticstopper
PVCprotecto
Rubberprotector
Cylindricalrubberstop
Pinforupperweight socket
Harness clip
QTY
1
2
1
1
1
1
1
1
1
1
2
1
5
1
1
1
1
11
1
1
2
1
1
1
4
2
1
10
2
12
2
2
1
1
2
5
3
1
2
1
4
No.
1
2
3
4
5
6
7
8
9
10
11
12
13
14
15
16
17
18
19
20
21
22
23
24
25
26
27
28
29
30
31
32
33
34
35
36
37
38
39
40
41
QTY
1
1
1
1
1
1
1
16
4
1
1
2
1
1
1
1
1
2
2
4
2
2
2
14
14
1
1
2
1
1
4
1
2
1
1
1
1
2
2
No.
42
43
44
45
46
47
48
49
50
51
52
53
54
55
56
57
58
59
60
61
62
63
64
65
66
67
68
69
70
71
72
73
74
75
76
77
78
79
80
NAME
Chain
Selectionbarcable
Butterflyarmscable
Lowerpulleycable
Upperweight socket
Plasticstopperdiam.25mm
Upperweightwasher
Foamsleeveforgrips
Metalgrip
Cushionforbicepspad
Metalsupportforbicepspad
Handleknobtofixrest
Threadedbartofixrest
Paddedanklestrap
Roundplasticguide
Saddlesupportplate
Frontplatform
WeightCoverSupport
ProtectorHolder
WeightCoverPlate
Bushingdiam8.5x22x15.5mm
CylinderholdershaftL=390mm
Saddlesupportplate
PlasticBush
Plasticguide
Pushupbar(Right)
Pushupbar(Left)
CushionHolder
Back Cashion
CrossTubeL=515
CircularFoamGrip
Back CushionBoard
Dumbbells
CushionSupportFrame
Stabilizerbase
LockingKnob
RearSupportTube
CylinderholdershaftL=315mm
Handback

LISTOFBOLTS,NUTSWASHERS
NO. DESCRIPTION Q`TY NO.
DESCRIPTION Q`TY
1a ScrewM8x50mm 8 1f ScrewM12x155mm 1
2a Washer816 2f Washer12 10
3a NutM8 21 3f NutM12 5
4a NutM10 25 1g ScrewM12x85mm 4
1b ScrewM8x45mm 8 1h ScrewM8x65mm 8
2b Washer10 40 2h Curvewasher 812
1c ScrewM6x16mm 6 1i ScrewM10x85mm 4
2c Washer66 1j ScrewM10x25mm 2
1d ScrewM10x45mm 10 1L ScrewM10x55mm 7
2d Washer8x16x1.5t 2 1m ScrewM10x60mm7
2e Curvewasher 10 8 1n ScrewM8x90mm 1
3

4

1) Placethe rubberfeet (13)ontheendsofthecentral,back andfront stabilisingbases
(2).
2) Attachthefrontand back stabilisingbases(2)tothemainbase(3),Frontplatform
58)and the Stabilizerbase(76)usingscrews(1a)or(1b),washers(2a)and nuts(3a).
ThenAttachthe stabilizerbase(76)tothe mainbase(3)usingscrews(1b)washers
(2a)and nuts(3a), Note:and thistimescrews(1b)must beattached fromuptodown.
3) Attachthepushupbar(right)(67)and thepushupbar(left)(68)tothe stabilizerbase
(76)usingscrews(la)washers(2a)and nuts(3a)
4) Attachtheverticalsupport(6)and theplate(64)tothe mainbase(3)usingscrews
(1a), washers(2a)and nuts(3a).AttachthecushingsupportFrame(75)and the plate
(64)tothestabilizerbase(76)usingscrews(la)washers(2a)and nuts(3a)
5)Insertthechromebars(11)puttingpreviouslyoneoftheweightcoversupport(59)
togetherwiththe cylindricalrubberstops(39)on themainbase(3)asshowninthe
drawing, and screwthe barstothe base(3)usingscrews(1i),washers(2e)and nuts
(4a).Slide eachweight(18)alongthe bars(11)(stickingon the weightlabels).
IMPORTAND NOTE:Thegrooveforthe weightselectorpin(33)shouldbefacing
downwards. Ifnot, the pinwillnot slide across.
6) Slide the weight selector(16)throughtheholeinthe centerofthe weights(18).
7)Pass thesocket(46)through theweightselector(16)andjoinblthpartstothepin(40).
Pass theupperweight(15)throughthebarsandposition thesocket(46)insucha
waythat it fitsinthe baseofthe upperweight (15). Placethe upperweightwasher(48)
overthe holeinthe centeroftheupperweight (15).
5

1) Placethe seat support (14)inthe verticalsupport (6), and attachusingthe plate(57),
screws(1L),washers(2b)and nuts(4a).
2) Mounttheextension lever(22)on the seatsupport(14)and attachusingthe threaded
bar(54), the twosockets(29)(62)and the twohandlescrews(53).
3) Jointhe metalsupportforthe bicepsrest(52)toitscushion (51),usingscrews(1c)
andwashers(2c).Insertthe round plasticguide (56)inthe extension lever(22).If
youwishtoexercisewiththe bicepspad : Insert thepad intheextension lever(22),
afterpreviously removingthe threadedbar(54)whichshouldbereplaced oncethe
bicepspad hasbeen mounted.
4) Insert thecylinderholdershafts(17)(63)andthefoamcylinders(25).
5) Attachthepadded back (23)tothe verticalsupport(6)and the seat (27)totheseat
support (14)usingscrews(1d)and washers(2b).
6

1) Fitthe fourweightcoverplates(61)ontotheweightcoversupport(59)whichhas
previouslybeen fitted tothebottom. Fit the othersupport (59)on the topofthe plates
(61),securingtheunit withthe holders(60). Insertthe RearsupportTube(78)inthe
holesinthecushionsupport Fame(75).
2) Insertthechromebars(11)inthe holesintheRearsupportTube(78)and joinusing
screws(1i),washers(2e)and nuts(4a).Placethe uppersupport(1)overthe vertical
support (6)and attachthe uppersupport(1)tothe Rearsupporttube(78)using
screws(1b), washers(2a)and nuts(3a).then tothe verticalsupport(6)usingscrews
(1b),washers(2a)and nuts(3a).ATTHISTIME, DONOTSCREWONTOO TIGHT.
3) Attachthe ovalplasticstoppers(36)tothe uppersupport(1).joinboththe Rear
support tube(78)and thecushion support fame(75)usingscrews(1d),washers(2b)
and nuts(4a)
4) Usingthe bushings(28),one screw(1f),washers(2f)and one nut(3f),attachthe
chest press (12)tothe uppersupport (1).
7

5) Joinboththeleft (5)andrightarms(4)tothe chestpress (12)usingball pins(32)and
attachusingbushings(28),screws(1g),washers(2f)and nuts(3f).NOTE:2
WASHERS, 2BUSHINGS, 1SCREWAND1NUTFOREACH ARM.
6) AttachthePVCprotectors(37)tobothsidesofthechestpress (12),insuchaway
that the chest press(12)isprotected fromdamagebythe arms(4&5).
7)Attachthe foamcylinders(26)tobotharms(4&5),and fitthe foamsleeves(49)on
the grips(50)and thegripssoldered tothe arms(4&5).Moisten the inside ofthe
foamwithalittlesoapwatertomakethisstepeasier.
8)Attachthemetalgrips(50)tobotharms(4&5),facingoutwardsorinwards(asyou
prefer), usingone screw(1h),washers(2h)and nuts(3a).
9) Mount the propsupport (8)on the front ofthe verticalsupport(6)and placethe pulley
holdersupport(7)ontheback of theverticalsupport(6)usingscrews(1L),washers
(2b)and nuts(4a).
10)Attachthe righthand pulleysupport(10)and the left hand pulleysupport(9)tothe
pulleyholdersupport (7)usingscrews(1g),washers(2f)and nuts(3f).
11)Placetherubberprotector(38)on theendofthe prop support (8).
12)Insertthe block lever(34)throughthe holeinthe chestpress (12),and attachonthe
othersideusingthehandlescrew(35),insertingthe curved end ofthe leverinthe
holeinthepropsupport (8). Dependingon theexerciseyou wishtodo,youwill need
toinsert theleverinthe holeornot.
8

1) Attachtheback cushion(70)assembletothecushionsupportframe(75)usingscrew
(1L), handleknob(35)andwasher(2b).
2) AttachtheCross Bar(71)usingonelockingknob(77).Moisten theinside oftheFoam
Grip(49)&CircularFoamGrip(72)withhouseholdfurniturepolish(liquid)sprayand
slidesontobothendsofthe tube.
3) Insertthefoamcylinder(79)totheholeonthesupportframe(75),and thenmoisten
the inside ofthe foamgrip(49)and (72)tothe tubebothoftwoside.The dumbbells
(74)alwaysput on thehookundertheback cushion board(70).
4) Attachthe cushion Holder(69)tothe cushionsupportframe(75)usingscrew(1L)
washers(2b)and nuts(4a)
5) Attachthe hand back (80)tothe cushion Holder(69),usingscrews(1h)washers(2h)
and fitthe foamsleeves(49)on the grips(50)and the gripssoldered tothecushion
Holder(69)). Moisten the insideofthefoamwithalittlesoapwatertomakethisstep
easier.Attachthe metalgrips(50)tothe cushion Holder(69),facingoutwardsor
inwards(asyou prefer), usingone screw(1h), washers(2h)and nuts(3a).
6)Attachthe Back cushionBoard(73)tothecushion supportfame(75)usingscrews
(1c)and washers(2c).
9

10

1) The three cablesof the bodybuildingapparatusshouldbeinstalled atthesametime
the pulleyprotectorsasthe pulleys, asshowninthe detailed drawings.
2) The position ofeachcableisasfollows:Thelowerpulleycable(45)goesfromthe
extension levertothe mainbasewhereitjoinsthe chain(42)whichmaintainscable
tension.Thebutterflyarmscable(44)goesfromthe left arm(5)tothe rightarm(4),
and isattached tobotharmsofthe chestpress.The selectionbarcable(43)goes
fromthe upperpulley,werethe barforexerciseofback musclesisattached (20)to
the upperweight (15).
3)Toadjust cabletension, usethechain(42)and the harness clips(41).
4) Donot forget totighten well all nutsandscrews.
5) Connect thetensionbar(19)totheendof thecable(45)locatedonthelowerpulley
whichisat the extensionlever(22), usingthe harnessclipattached tothebar.
6) Connecttheupperpulleybar(20)tothe end ofthe cable(43)located on theupper
pulleyon the uppersupport (1).
7) Oncethe cablesareinstalled, you areabletoselectthe weightwithwhichyou wishto
exerciseusingthe weight selectorpin(33).
The purposeof the pulleyguide protectorsistopreventthesefromcatchingyourfingers.
Fit the protectorstothepulleys:A,B, C, D, E, F, Gand H.
99%of casesofbreakageof the cablesaredue tothemcomingoutofthe groovesinthe
pulleys.The cablescan comeloosedue toaslackeningintension.Check thattheyare
not slack; shouldtheybe, tightenthembyusingthe chain&the springhooks (i.e. shorten
the chainbylink).
11

EXERCISE INSTRUCTION
12

13
WARNINGS
PRIORTOUNDERTAKINGANYPROGRAMOFEXERCISE THATREQUIRES A
MAJORINCREASE INPHYSICALACTIVITY,CONSULTATIONWITHA
COMPETENTMEDICALAUTHORITYISSTRONGLYRECOMMENDED.IN
ADDITION,ANYONEWHOHAS APHYSICALHANDICAP,SUFFERSFROMA
PROLONGEDILLNESS, ORWHO HAS
INCREASEDRISK FACTORSSUCHAS
OBESITY,HYPERTENSION,CARDIO-
CIRCULATORYPROBLEMS,ETC.,
SHOULDCONSULTACOMPETENTMEDICAL
AUTHORITYBEFORE
UNDERTAKINGANYEXERCISE ORENGAGING INACONTINUING PROGRAM
OFEXERCISING.
PLEASEREADTHROUGHINSTRUCTIONSCAREFULLY
BEFORESTARTINGTOASSEMBLE.
Table of contents
