foc.us RM-518 plus User manual

The Magical remote
User Guide
V.990907

- 1 -
Contents
Introduction of Remote Control P. 3
Specification P. 4
Start the Remote control set up P. 5
1 Prepare P. 5
2 Set ID P. 5
3 Notice P. 6
4 Trouble shooting P. 7
Remote Key description P. 8
1 Key location: P. 8
2 Key Description P. 9
How to install Emitta Smart Commander? P. 10
Make sure before Installation P. 10
Start the installation P. 11
After Installation P. 13
Introduction for Key Remap P. 14
Emitta setup Control panel P. 14
1 Find out the control panel P. 14
2 General setting P. 14
2.1 Set Key delay P. 14
2.2 TEXT Typing P. 17
2.3 Characters selection P. 17
2.4 Automatic hint for text typing on window P. 17
2.5 Symbol table setting P. 19
2.6 Caps lock P. 20
3 Hot key setting: P. 21
3.1 Application list P. 21
3.2 Remap keys list P. 22

- 2 -
3.3 Remap key’s Shortcut: P. 23
3.4 Remap key with macro command P. 24
3.4.1 Normal Characters: P. 24
3.4.2 System Characters P. 24
3.4.3 Special Characters P. 25
FCC Information P. 27
Production Notice P. 28

Introduction of Remote Control
This remote is not only a RF 2.4GHz wireless remote, but also it combines the radio
frequency wireless technology and an optical trackball with mouse keys and MCE start Key.
When you use it under Vista platform, you can press the MCE direct keys, and you can use
the multimedia keys as your media controller.
Installation CD Remote control Receiver
- 3 -

- 4 -
Specification:
1 Remote control:
2.4GHz wireless with 8 channels,
ID: 65536 ID per channel.
Working range: 10 meters360 degree navigation
Key numbers: 47 keys included, 2 mouse key, 4 arrow key, 26 function key and 15
characters key.
Trackball: 19mm Optical, 800DPI
Battery: AA size of Alkali batteries x 2pcs
Dimension: 178 x 50 x32 mm
2 Receiver:
USB interface
Dimension: 78 x 21.5 x 10mm
3 Installation CD:
Dimension: 120 x 120mm
Soft program:
Emitta smart commander SC-503
User manual - PDF type
User manual - Flash type
4 Patent No.
ZL 2005 2 0115609.X
ZL 2005 3 0120667.7

Start the Remote control set up:
1 Prepare:
1.1 Turn on the power of computer, and plug USB receiver into USB port of your
computer.
1.2 Open the battery cover under the remote and place 2 AA batteries inside the
battery compartment.
2 Set ID:
2.1 Press the ID button on Receiver, the LED will be flashing; which means receiver
is sourcing ID.
2.2 Continuously, Press the ID button on the back of remote, the LED on receiver will
be off, which means the setting is successful.
ID Button
LED light
- 5 -

3 Notice:
3.1 RF signal LED light on the receiver will be flashing when the remote is being
used.
3.2 When Battery Low LED light on Remote is lighting, it means the remote requires
changing batteries.
3.3 When doing the ID setting, please make sure the distance between the receiver
and remote is within 60 cm (2 feet).
Battery Low caution
LED light
60cm
- 6 -

- 7 -
4 Trouble shooting:
If your remote cannot work after installation, please check followings:
4.1 Make sure you have connected the receiver correctly to the computer, The
receiver has been properly plugged into computer’s USB port.
4.2 Make sure you have inserted two AA batteries into its compartment correctly.
4.3 If without any interference, such as other computer peripherals, the working
distance ( distance between remote and the receiver) is about 10 meters.
4.4 If using more than two unit and interfere occurred, please reset ID again. (see
section at Page 6)

Remote Key description:
1 Key location:
This remote control has 4 areas of keys with different functions
1. First area is the MCE direct keys. (In
the red block)
2. Second area is the Multimedia control
keys. (In the yellow blocks)
3. Third area is the Mouse & arrows
keys. (The keys in blue round)
4. Forth area is the number keys with
TEXT typing function. (In the Green
block) map them as any function
keys.
1
3 2
4
- 8 -

- 9 -
2 Key Description:
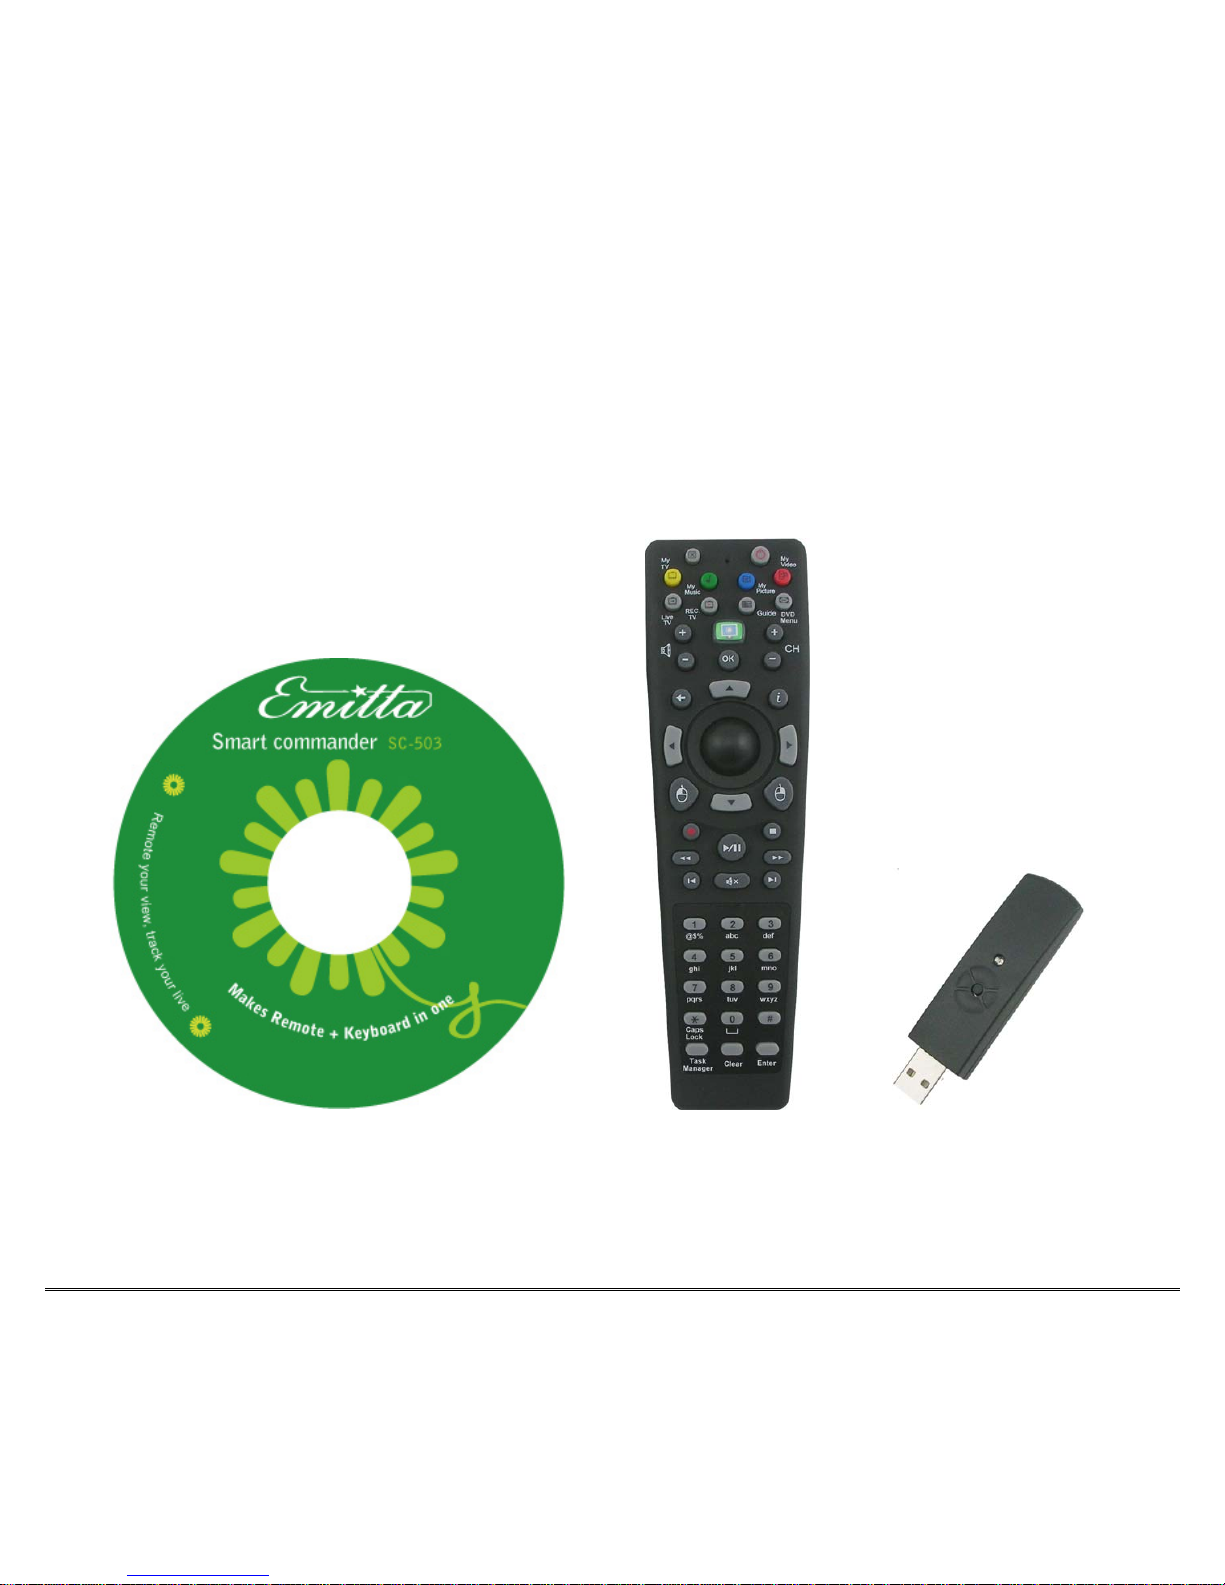
2.1 First area is the MCE direct keys. (In the red block)
You can use those keys into Vista Multimedia Center directly before you
remap keys as other function, or you can remap any one of them as your
customized function key.
2.2 Second area is the Multimedia control keys. (In the yellow blocks)
You can use those keys to control your multimedia application, such as
change volume, change channel, record, stop, Play/Pause, backward, forward,
rewind, Mute... or you can remap any one of them as your customized function
key on different application
2.3 Third area is the Mouse & arrows keys. (The keys in blue round)
They are the most convenient and important keys on this remote, you can use
the track ball and mouse keys as a thumb mouse, move the trackball by
thumb to any where on screen, and the arrows keys help you up, down, left
and right, also you can remap the arrows as function keys as you hope.
=key and i key help you back or get information, the functions are same as
backspace on desktop keyboard and the mouse's right key. Also you can
remap them as different functions
2.4 Forth area is the number keys with TEXT typing function. (In the Green block)
They are similar with your cell phone, you can use this remote as a palm
keyboard, easily type characters or numbers, and also, you can remap them
as any function keys

How to install Emitta Smart Commander?
Make sure below before Installation:
1. Please check your box package should be included Installation CD, Remote control
and USB Receiver.
2. Please make sure your remote control is the right version, difference version or
model will be stopped when you install Emitta Smart Commander SC-503.
3. Please make sure you have connected the receiver correctly to the computer. The
receiver has been properly plugged onto computer's USB Port, otherwise the
installation will be stopped in process
Installation CD Receiver
Remote control
- 10 -

Start the installation
1. Install the installation CD
2. Screen will pop up the installation icons. If not pop up, please click Autorun.exe from
CD for installation.
3. Click first icon “Install now” for installation.
Click for
installation
- 11 -

4. Select the language for process
Select
language
5. Installation will keep on till finished. Please process according with the instruction in
installation.
(For more introduce, please check the User guide - flash file in this CD)
- 12 -

- 13 -
After Installation:
1. After installation, please restart your computer to register the hardware and software
into your computer system.
2. Please plug the USB receiver at the same USB port on your computer, in case you
plug on different USB port, installation will be required by system again.
3. Please keep the CD driver and serial number sticker for future use, when computer
system restores, the hardware and software will be required to re-install.
4. One serial number is for one computer use only, if one serial number is used for two
or more machines at same time, the software will be blocked as an illegally copied
S/N.
5. For the reason of security, Please do not use this RF remote control when you are on
an airplane.

- 14 -
Introduction for Key Remap:
Emitta smart commander is wonderful software; it can remap any key on the remote control
RM-518, makes it as a palm keyboard, makes it as a gaming controller, and remap keys as
different function for different application, it support not only remap key code, but also
support macro command and shortcut keys.
Short to say, RM-518plus with Emitta smart commander, you will have a highly versatility of
remote control.
Emitta setup Control panel:
1 Find out the control panel.
1.1 Find out the Emitta smart commander setup icon from Control panel of your
computer.
1.2 Double click the icon to enter the Emitta's control panel, and then the Control
panel will show up.
(See picture 1-A at page 15)
2 General setting:
2.1 Set Key delay:
Switch the first bar to change the key delay to set the Key input speed which
suitable for you.
Switch the second bar to change the Macro Command key’s speed; you can
set the speed for game use. (See picture 2-A at page 16)

Picture 1-A:
- 15 -

Picture 2-A:
High
speed Low
speed
- 16 -

- 17 -
2.2 TEXT Typing:
Use number pad on remote for TEXT typing.
2.3 Characters selection:
Click first check box in first block for alphabetic character prior to numerical
character. Ex.: abc2, def3, chi4...and so on, Otherwise 2abc, 3def, 4chi…etc
When enable the option, press 1, you will get a symbol table.
When disable the option, press 11 (double click the key of 1) you will get
character a.
When enable the option, press 2:
One click to get a
Two clicks to get b
Three clicks to get c
Four clicks to get 2
When disable the option, press button 2:
One click to get 2
Two clicks to get a
Three clicks to get b
Four clicks to get c
2.4 Automatic hint for text typing on window:
Click first check box in first block to have a hint on window when you press a b
c 2 to make you know which letter you are pressing.
Off the check to forbid the hint on window
(See Picture 2-B at page 15)

Picture 2-B
- 18 -

2.5 Symbol table setting:
When press 1, symbol table will show up.
Select the color from the selection bar to change the table’s color.
Change the bar in second block to change to table’s opacity rate.
- 19 -
Table of contents
Other foc.us Remote Control manuals
Popular Remote Control manuals by other brands

SkyLink
SkyLink MultiLink SD-310M Guide manual

Insignia
Insignia NS-RC01G09 Instruction guide

Hayward
Hayward AQL2-SS-RF owner's manual

Universal Remote Control
Universal Remote Control UR2-DTA operating instructions

Climax Technology
Climax Technology RC-15 quick start guide

ADTRAN
ADTRAN Total Access 3000 Installation and maintenance practice

Universal Remote Control
Universal Remote Control CLIKR-5 UR5U-8500 operating instructions

Classic
Classic SMART2 UNIVERSAL LR03/AAA User instructions

White Rodgers
White Rodgers 1F85RF-275 Quick installation guide

Chamberlain
Chamberlain 375UT instructions

YOKOGAWA
YOKOGAWA 438227 user manual

Craftsman
Craftsman 139.18802 manual