EN
- 9-
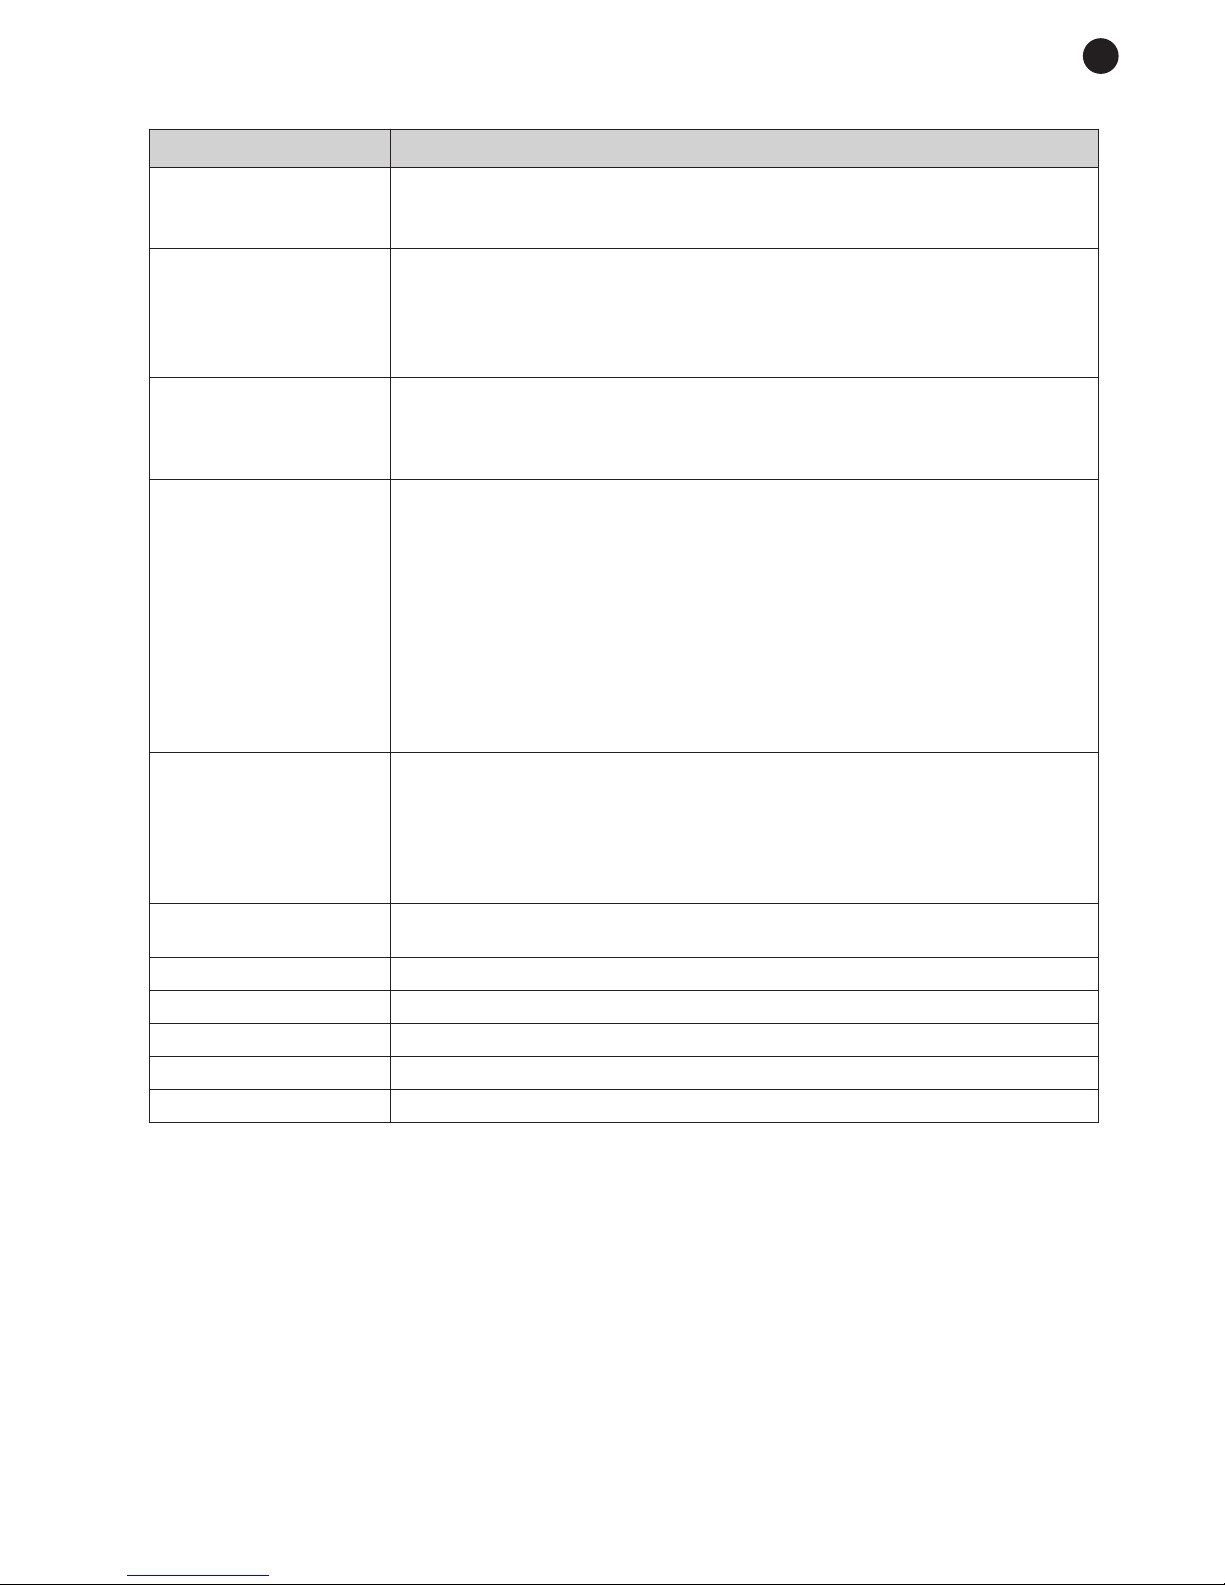
SPECIFICATIONS
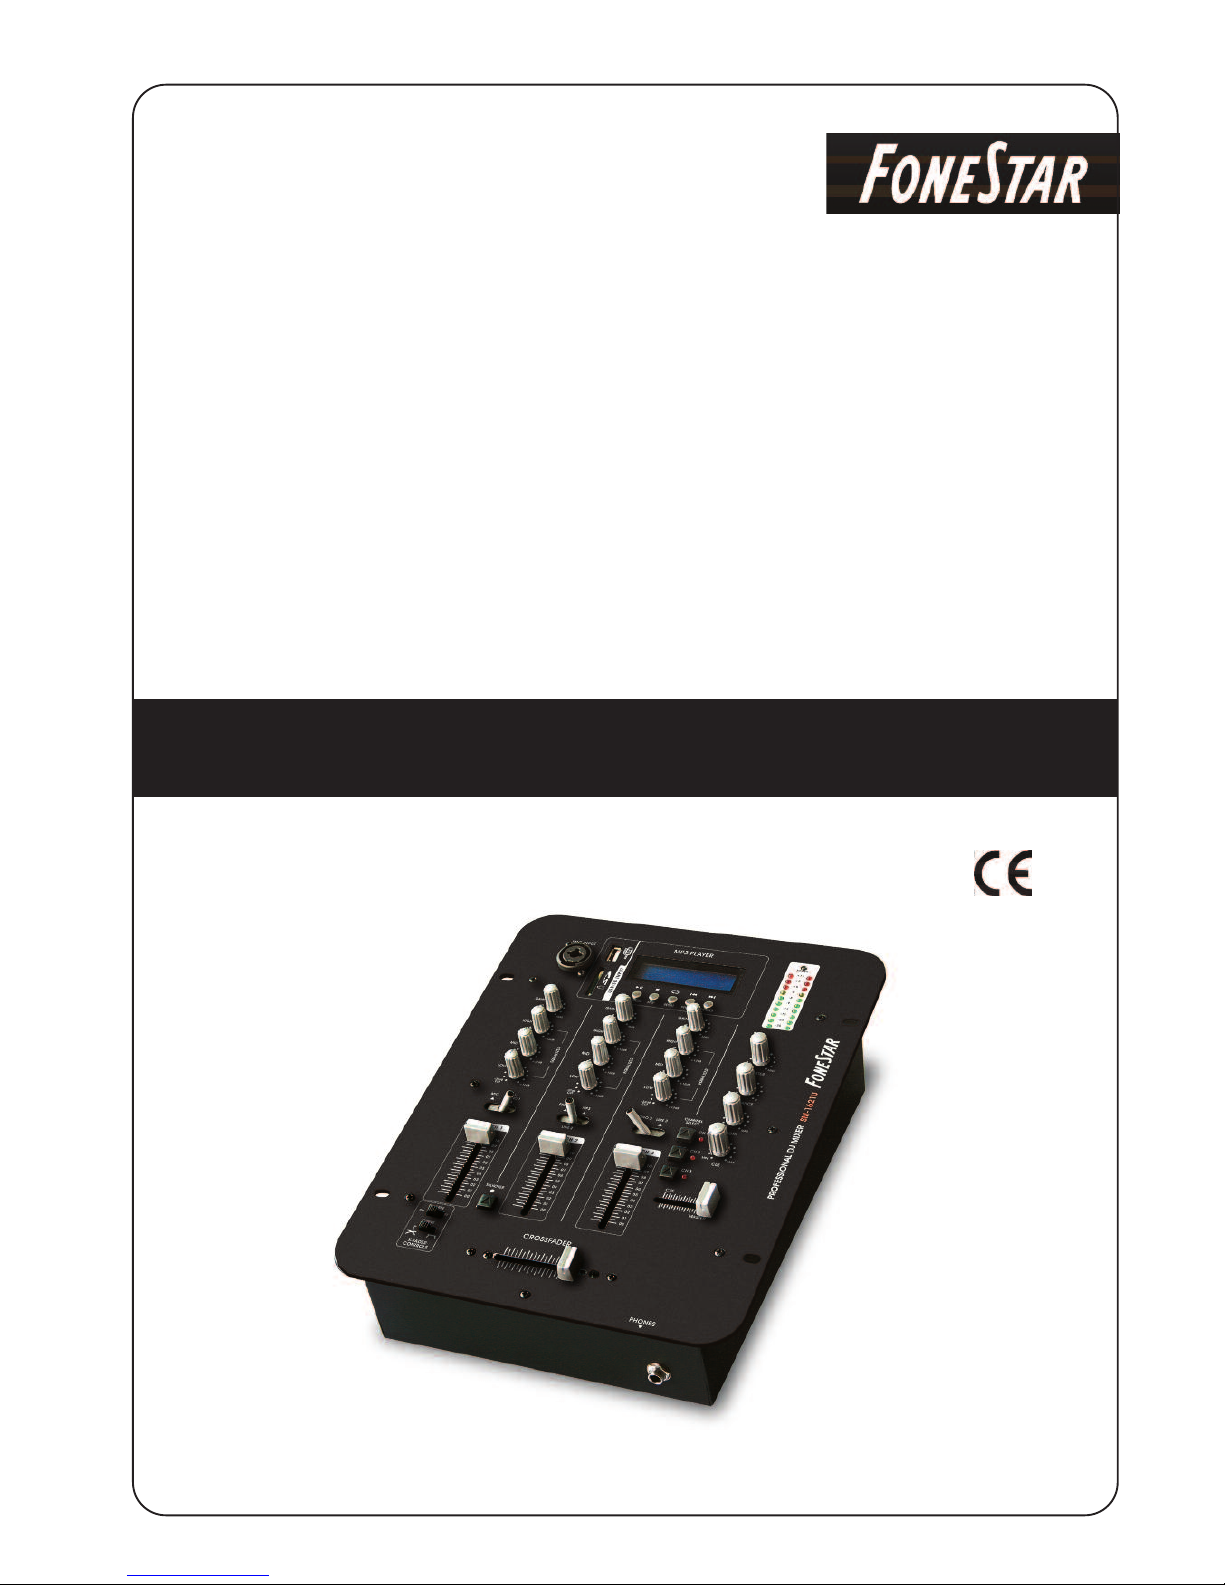
SM-1621U
CHARACTERISTICS Professional mixer with 6 inputs, 3 channels and 2 outputs with independent
volume controls.
USB/SD/MP3 player.
USB PLAYER MP3 file player
USB port for USB drive connection
SD/MMC card reader
Accepts drives of up to 8 GB
D3 tag
INPUTS 1 balanced mic. combo (XLR and 6.3 mm stereo jack), 600Ω 1.5 mV
1 phono/line, 2 x RCA 56 000 Ω 3 mV and 47 000Ω 300 mV
2 phono, 2 x RCA, 56 000 Ω 3 mV
2 lines, 2 x RCA, 47 000 Ω 300 mV
CONTROLS Mic.: gain, treble (-32, +12 dB 10 000Hz), mid (-32, +12 dB 1200 Hz), bass (-
32, +12 dB, 50 Hz), input selector, PFL, talk over and sliding volume
Phono/line: gain, treble (-32, +12 dB 10 000 Hz), mid (-32, +12 dB 1200 Hz),
bass (-32, +12 dB, 50 Hz), input selector, PFL and sliding volume
USB/SD player: play/pause, stop, repeat, fast forward and rewind, gain,
treble (-32, +12 dB, 10 000 Hz), mid (-32, +12 dB 1200 Hz), bass (-32, +12
dB, 50 Hz), input selector, PFL and sliding volume
Master: balance, volume and LED output level indicator
Booth: volume
Cue: volume, and CUE/MASTER allocation control
Cross fader: sliding control, adjustable curve and reversible mode
FUNCTIONS Cue through PFL headphones, assignable for each channel
Replaceable cross fader with adjustable curve and reversible mode
Sliding controls per channel
3-band equalizer per channel
Talk over in channel 1
LED master output level indicator
OUTPUTS Master (2 x XLR and 2 x RCA), booth (2 x RCA), recording (2 x RCA),
headphones (6.3 mm stereo jack)
RESPONSE 20–20 000 Hz
DISTORTION Harmonic: 0.05 %
S/N RATIO > 87 dB
POWER SUPPLY 230/115 V AC, 10 W maximum
DIMENSIONS 245 x 101 x 315 mm depth