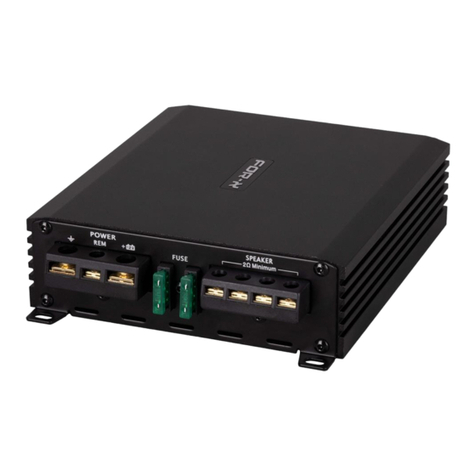
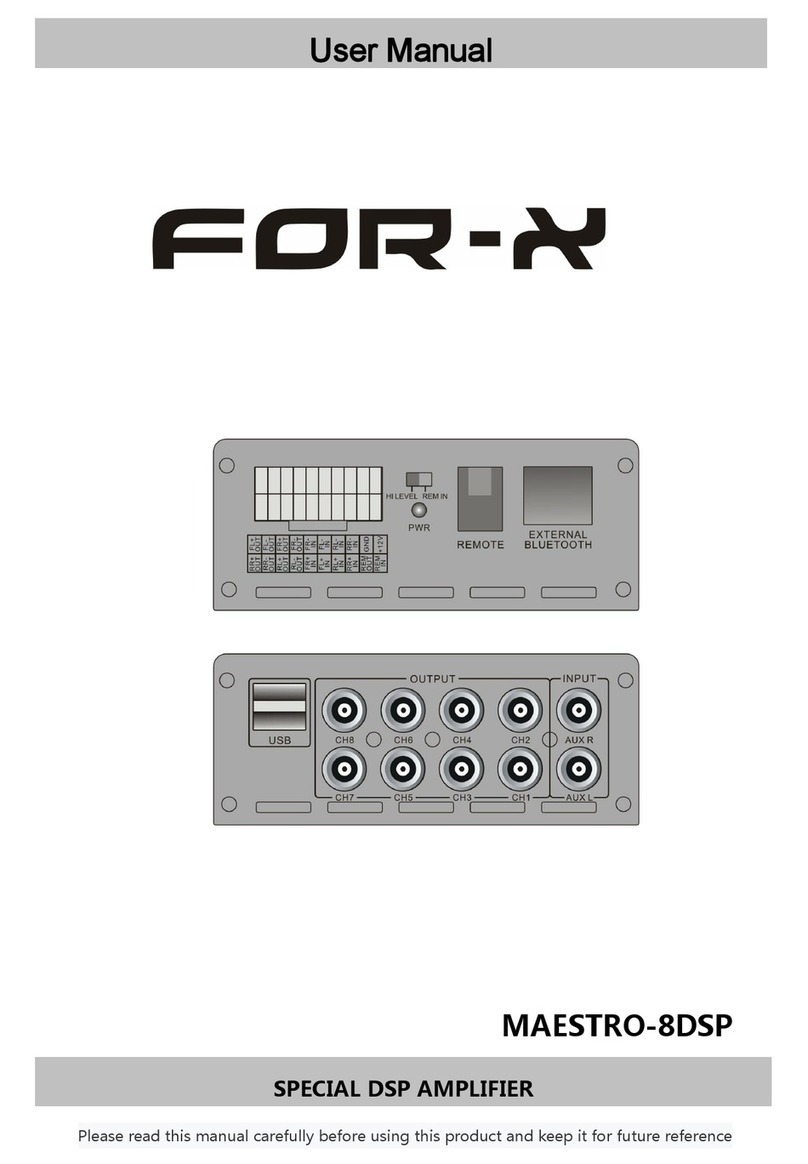
For-x XC-160.4FD User manual

C L A S S D A M F I
XC-160.4FD
XC-250.4FD
XC-3000.1D
U S E R M A N U A L

INSTALLATION
To achieve optimal performance of your system, please take a
few moments to read over this Owner’s manual before starting
your installation.
POWER CONNECTION
BATT ( 12V POWER )
Before mounting amplifiers, disconnect the negative cable from
the battery to protect any accidential damage to your amplifiers
and audio system. Connect the power cables to power terminal
12V. Amplifiers are not equipped with fuses so that external fuses
should be used. Connect one end of fuse holder to the power
cable going into the amplifiers and the other end of fuse holder to
positive battery. This fuse location will protect the system and the
vehicle against the possibility of a short circuit in the power cable.
Be sure to use fuses and fuse holder adequate for the application.
GND ( GROUND )
Locate a secure grounding connection as close to amplifier as
possible. Make sure the location is clean and provides a direct
electrical connection to the frame of the vehicle. The ground
needs to have as low of a resistance as possible. Connect one
end of a short piece of the same size cable as the power cable to
the grounding point or to one of your batteries or battery bank.
Run the other end of 4 ga cable to the mounting location of the
amplifiers for connection to the amplifiers ground terminals and
connect the ground cable to the GND ( ground terminal ).
REM ( REMOTE )
Run a remote turn on cable from the switched 12V source . This
may be a toggle switch, a relay, your source unit's remote trigger
cables, or power antenna trigger cable. Connect the remote turn
on cable to the REM ( remote ) terminal.

PANEL
(XC-160.4FD / XC-250.4FD)
LOW INPUT
Connect signal cables to RCA Input from headunit.
OUTPUT
RCA to lead signal to another amplifier.
GAIN
Matches output voltage of headunit RCA to input.
X-OVER
Range 50 dk 500 Hz @ 12dB/oct
FILTER SELECTOR SWITCH
Filter may be arranged as High Pass (HPF), Full Range or Low Pass
(LPF)
HIGH PASS FILTER
Controls high pass point for speaker outputs.

LOW PASS FILTER
Controls low pass points of speaker outputs.
BAS CONTROL
0-12 dB / 45Hz
XC-3000.1D
LOW INPUT
Connect signal cables to RCA Input from headunit. Minimum level
shall be 0.2V.
GAIN
Matches output voltage of headunit RCA to input.
SUBSONIC FILTER
Controls High Pass Points of speaker to prevent excessive low
frequency.
LOW PASS FILTER
Controls Low Pass Filter of speaker output

REMOTE LEVEL CONTROL
Connects to external level control.
REMOTE CONTROL
Turn the switch clockwise for higher level and turn the switch
counter clockwise for lower level.
MASTER OUTPUT / SLAVE INPUT
Minimum impedance is 2 for the same 2 amplifiers connection. In
this mode, main amplifier shall control gain settings of connected
amplifier.
POWER PROTECTION
Blue color LED means correct operation. Red color LED means
general fault, incorrect connection or termal protection
+12V(B+), GND, REM
XC-160.4FD
XC-250.4FD

XC-3000.1
GND (GROUND CONNECTION)
To connect chassis to the ground 4 gauge cable is recommended
for optimum performance. 0 gauge is recommended for XC-
160.4FD, XC-250.4FD, XC-3000.1D.
REM (Remote Control)
Connect to +12V switched from head unit.
+12V/B+ (Power Connection)
Connects to positive side of acumulator (+12). 4 gauge cable is
recommended for XC-160.4FD and XC-250.4FD in order to best
performance. 0 is recommended for XC-3000.1D.

Speaker Outputs
For speaker – amfi connection, speaker cable shall be minimum 12
gauge. For one unit minimum empedans is 1 (XC-3000.1D & XC-
250.4FD). Minimum empedans is 2 (XC-160.4FD)
POWER PROTECTION
Blue color LED means correct operation. Red color LED means
general fault, incorrect connection or termal protection.
ATTENTION
Following steps shall be followed for mounting of amplificator.
1. Make sure that the ground is proper, then connect
amplificator.
2. Next step is to connect +12V cable; make sure that all power
terminals is being used. For security, this cable shall be
integrate in acumulator.
3. Final step is to connect switched remote control.
+12V (B+), GND, REM CONNECTION
(XC-160.4FD)

(XC-250.4FD)
ATTENTION
The ground should be at equal distance. This drawing is just for an
example.

12 AWG speaker cable is recommended for reaching required
performance.
Connect 12 AWG speaker cable to amplifier’s mounting area.
Keep speaker cables seperate from power cables and
amplificator input cables. Use tabs at the locations where cables
need to be connect to vehicle chassis. Connect speaker cables
as per terminal of each speaker. Peel the isolation of each cable
for 1 cm and connect cables to eachother. Connect cable ends
to amplificator as shown on connection schedule.
+12V (B+) GND, REM Connection
(XC-3000.1D)

The ground should be at equal distance. This drawing is just for an
example.
12 AWG speaker cable is recommended for reaching required
performance.
Connect 12 AWG speaker cable to amplifier’s mounting area.
Keep speaker cables seperate from power cables and
amplificator input cables. Use tabs at the locations where cables
need to be connect to vehicle chassis. Connect speaker cables
as per terminal of each speaker. Peel the isolation of each cable
for 1 cm and connect cables to eachother. Connect cable ends
to amplificator as shown on connection schedule.
SPEAKER CONNECTION

(XC-160.4FD / XC-250.4FD)

SPEAKER CONNECTION
(XC-3000.1D)
Daisy chain connection provides the same amplificator to be
performed as 1 mono amplificator.
Please pursue following schedule for correct connection.
Step 1. Conenct main amplifier to main unit
Step 2. Connect main and slave Amplifier to daisy chain RCA jack
as shown on Schedule.
Step 3. On main amplifier, connect speaker cable (+) to
subwoofer (+).

Step 4. On slave amplifier, connect speaker cable (+) to
subwoofer (+)
Step 5. Through 8 AWG cable, on main amplifier, connect speaker
cable (-) to speaker cable (-).
Minimum impedance 1 unit is 1. Daisy chain configuration
minimum impedance is 2.
SPECIFICATIONS
Power output @14.4V Input
Model : XC-160.4FD
RMS power @ 4 ohm stereo : 160W x 4CH
RMS power @ 2 ohm stereo: 250W x 4CH
RMS power @ 4 ohm bridge: 500W x 2CH
Signal to Noise Ratio: >95dB
Low Pass Filter: 50Hz – 500Hz
High Pass Filter: 50Hz – 500Hz
Bass Boost: 0-12dB
Frequency Response: 20Hz – 25KHz (+/-1 dB)
T.H.D @4 Ohm, 1 KHz: <0.1%
Channel Seperation: 60dB
Input Sensitivity: Variable 200 mV-8V (+/- 5%)
Dimensions (mm): 174 (W) x 52 (H) x 260 (L)
Working Voltage: DC 8.5V – 16V
Fuse Rating Recommended: 30A x 2

Model : XC-250.4FD
Power Output @14.4V Input
RMS power @ 4 ohm stereo : 250W x 4CH
RMS power @ 2 ohm stereo: 450W x 4CH
RMS power @ 1 ohm stereo: 600W x 4CH
RMS power @ 4 ohm bridge: 800W x 2CH
RMS power @ 2 ohm bridge: 1200W x 2CH
Signal to Noise Ratio: >95dB
Low Pass Filter: 50Hz – 500Hz
High Pass Filter: 50Hz – 500Hz
Bass Boost: 0-12dB
Frequency Response: 20Hz – 25KHz (+/-1 dB)
T.H.D @4 Ohm, 1 KHz: <0.1%
Channel Seperation: 75dB
Input Sensitivity: Variable 200 mV-6V (+/- 5%)
Dimensions (mm): 174 (W) x 52 (H) x 398 (L)
Working Voltage: DC 8.5V – 16V
Fuse Rating Recommended: 250A (External)

Model : XC-3000.1D
Power Output @14.4V Input
RMS power @ 4 ohm mono : 1250W x 1CH
RMS power @ 2 ohm mono: 2150W x 1C1H
RMS power @ 1 ohm mono: 3100W x 1CH
RMS power @ 4 ohm linkable / dual mono: 4500W x 1CH
RMS power @ 2 ohm linkable / dual mono: 6500W x 1CH
Signal to Noise Ratio: >95dB
Low Pass Filter: 40Hz – 250Hz
Bass Boost: 10Hz-30Hz
Frequency Response: 10Hz – 300Hz (+/-1 dB)
T.H.D @4 Ohm, 1 KHz: <0.2%
Efficiency @4 Ohm, 100 Hz: 86%
Input Sensitivity: Variable 6V – 200 mV (+/- 5%)
Dimensions (mm): 174 (W) x 52 (H) x 540 (L)
Working Voltage: DC 10V – 16V
Fuse Rating Recommended: 300A (linked 600A)
This manual suits for next models
2
Table of contents
Other For-x Amplifier manuals
Popular Amplifier manuals by other brands

Behringer
Behringer Minimic Mic800 Technical specifications
LAB
LAB IPD SERIES quick start guide

B&K
B&K Reference 3220 owner's manual

Kollmorgen Seidel
Kollmorgen Seidel 60WKS Series Assembly/Installation/Commissioning
Mackie
Mackie FR Series M-1200 Specifications
A.H. Systems
A.H. Systems PAM-0118 Operation manual
